
Yard space harvest can feel like a distant dream when you’re staring at a postage-stamp-sized backyard or a cramped balcony. But fear not, fellow gardening enthusiasts! I’m here to tell you that a bountiful harvest is absolutely within your reach, no matter how limited your outdoor area may seem. Forget those sprawling farms of yesteryear – we’re bringing the farm to you, one clever DIY project at a time!
For centuries, humans have cultivated small plots of land, from the intricate kitchen gardens of medieval monasteries to the vibrant rooftop farms popping up in modern cities. This connection to growing our own food is deeply ingrained in our history and provides a sense of self-sufficiency and connection to nature. But let’s face it, not everyone has access to acres of farmland. That’s where these ingenious DIY tricks and hacks come in.
Are you tired of paying exorbitant prices for fresh herbs and vegetables at the grocery store? Do you yearn for the taste of homegrown tomatoes, bursting with flavor unlike anything you can buy? Or maybe you simply want to add a touch of green to your urban jungle? Whatever your reason, maximizing your yard space harvest is the answer. This article is packed with easy-to-follow DIY projects that will transform your small space into a thriving edible oasis. Get ready to roll up your sleeves, get your hands dirty, and unlock the potential of your limited outdoor area. Let’s get growing!
Maximizing Your Yard Space Harvest: A DIY Guide to Vertical Gardening
Hey there, fellow gardening enthusiasts! Are you dreaming of a bountiful harvest but limited by a small yard? Don’t despair! I’m here to share my favorite DIY hack: vertical gardening. It’s a fantastic way to grow more food in less space, adding beauty and functionality to your outdoor area. Let’s dive in and transform your yard into a vertical oasis!
Why Vertical Gardening?
Before we get our hands dirty, let’s quickly touch on why vertical gardening is so awesome:
* Space Saver: Grow upwards instead of outwards, maximizing your yield in a small footprint.
* Improved Air Circulation: Plants are less susceptible to diseases due to better airflow.
* Easier Harvesting: No more bending over! Harvesting becomes a breeze.
* Pest Control: Elevated plants are less vulnerable to ground-dwelling pests.
* Aesthetic Appeal: Adds a unique and visually stunning element to your yard.
Choosing Your Vertical Garden Style
There are tons of ways to create a vertical garden, so let’s explore a few popular options:
* Pallet Garden: Repurpose a wooden pallet into a charming vertical planter.
* Hanging Baskets: Classic and versatile, perfect for herbs, strawberries, and flowers.
* Stacked Planters: Create a tiered effect with multiple planters stacked on top of each other.
* Trellis Garden: Train climbing plants like tomatoes, cucumbers, and beans to grow upwards.
* Wall-Mounted Planters: Attach planters directly to a wall or fence for a sleek and modern look.
* DIY Tower Garden: Construct a multi-tiered tower using PVC pipes or other materials.
For this guide, I’m going to walk you through building a simple yet effective Pallet Garden. It’s budget-friendly, easy to customize, and adds a rustic touch to any outdoor space.
Materials You’ll Need
Okay, let’s gather our supplies. Here’s what you’ll need for your pallet garden:
* Wooden Pallet: Look for a sturdy pallet that hasn’t been treated with harmful chemicals. Check for an HT (heat treated) stamp, which is a good sign. Avoid pallets marked with MB (methyl bromide), as this is a toxic fumigant.
* Heavy-Duty Landscape Fabric: This will line the pallet and hold the soil in place.
* Staple Gun and Staples: To secure the landscape fabric to the pallet.
* Gloves: To protect your hands.
* Scissors or Utility Knife: For cutting the landscape fabric.
* Potting Soil: Choose a high-quality potting mix that drains well.
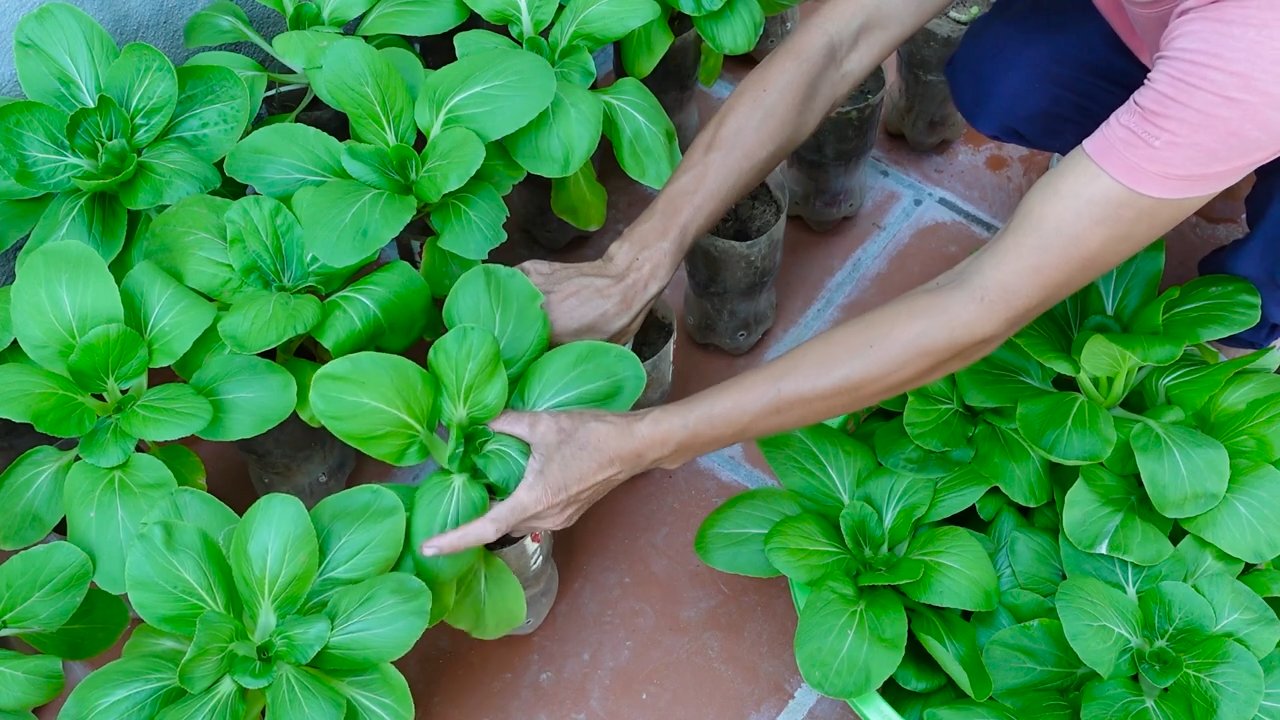
* Plants: Select plants that are suitable for vertical gardening and your local climate. Herbs, strawberries, lettuce, and succulents are great choices.
* Sandpaper (Optional): To smooth out any rough edges on the pallet.
* Paint or Stain (Optional): To customize the look of your pallet.
* Measuring Tape: To measure the sections for the landscape fabric.
Step-by-Step Instructions: Building Your Pallet Garden
Alright, let’s get started! Follow these steps to create your own beautiful pallet garden:
1. Pallet Preparation
1. Inspect the Pallet: Carefully examine the pallet for any loose nails, splinters, or damage. Remove any hazards to ensure safety.
2. Clean the Pallet: Use a brush or hose to clean the pallet and remove any dirt or debris. You can also use a mild soap and water solution.
3. Sand the Pallet (Optional): If the pallet has rough edges or splinters, use sandpaper to smooth them out. This will make it safer to handle and improve its appearance.
4. Paint or Stain the Pallet (Optional): If you want to customize the look of your pallet, now is the time to paint or stain it. Choose a color that complements your outdoor decor. Make sure to use exterior-grade paint or stain to protect the wood from the elements. Let it dry completely before moving on to the next step.
2. Lining the Pallet with Landscape Fabric
This is the most important step to ensure your soil stays in place.
1. Measure the Sections: Measure the width and depth of each section of the pallet where you want to plant. Add a few extra inches to each measurement to allow for overlap.
2. Cut the Landscape Fabric: Cut pieces of landscape fabric according to your measurements. You’ll need enough pieces to line each section of the pallet.
3. Staple the Fabric: Starting with one section, carefully staple the landscape fabric to the inside of the pallet. Make sure to overlap the edges of the fabric to create a secure pocket. Use plenty of staples to ensure the fabric is firmly attached.
4. Repeat for All Sections: Repeat the process for each section of the pallet, creating individual pockets for your plants.
3. Planting Your Vertical Garden
Now for the fun part – planting!
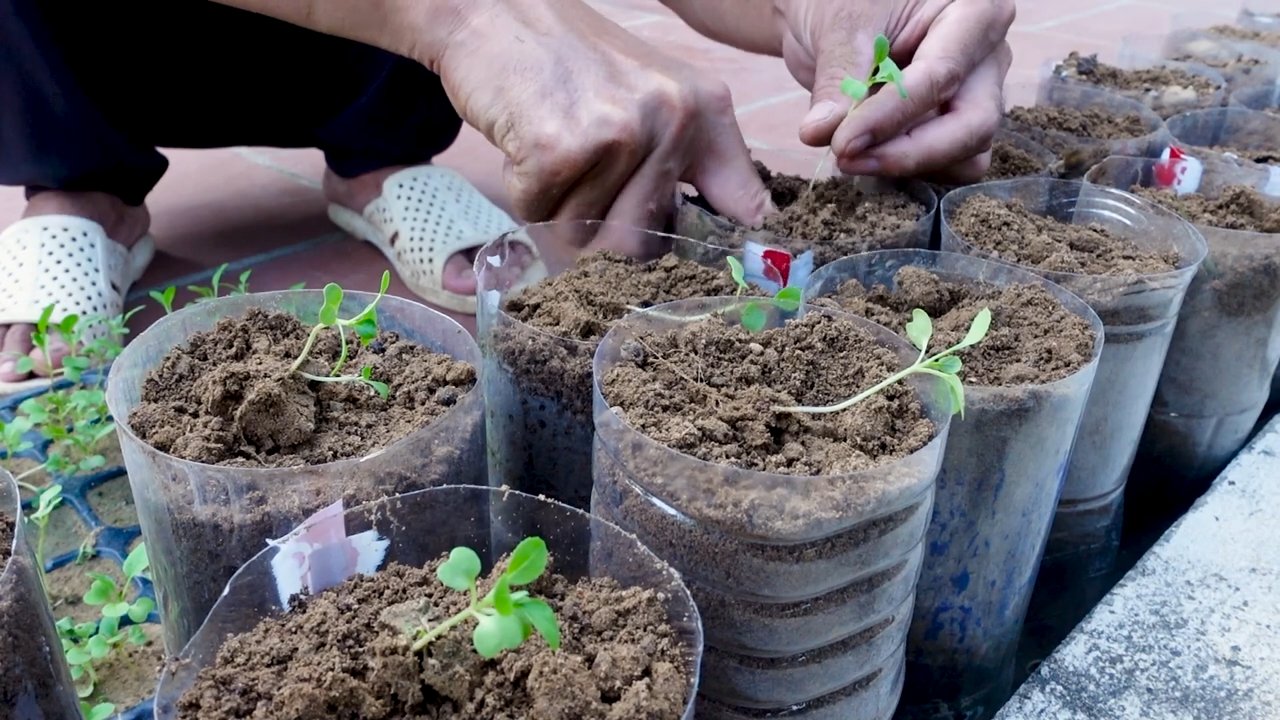
1. Add Potting Soil: Fill each pocket with high-quality potting soil. Leave a little space at the top to prevent the soil from spilling out.
2. Plant Your Plants: Gently remove your plants from their containers and loosen the roots. Plant them in the soil, making sure to space them appropriately.
3. Water Thoroughly: Water your plants thoroughly after planting. This will help them settle into their new home.
4. Securing and Positioning Your Pallet Garden
1. Lean or Mount: You can either lean your pallet garden against a wall or fence, or mount it directly to a surface. If you’re leaning it, make sure it’s stable and won’t tip over.
2. Mounting (Optional): If you want to mount your pallet garden, use heavy-duty brackets and screws to attach it to a wall or fence. Make sure the brackets are strong enough to support the weight of the pallet and the plants.
3. Sunlight: Position your pallet garden in a location that receives adequate sunlight for the plants you’ve chosen.
Choosing the Right Plants
Selecting the right plants is crucial for a successful vertical garden. Here are some of my favorites:
* Herbs: Thyme, rosemary, oregano, mint, basil, and parsley are all excellent choices. They’re easy to grow and add fresh flavor to your meals.
* Strawberries: These sweet berries thrive in vertical gardens and are a delicious treat.
* Lettuce and Salad Greens: Grow your own fresh salad ingredients right in your backyard.
* Succulents: These low-maintenance plants are perfect for dry climates and add a unique texture to your garden.
* Flowers: Petunias, impatiens, and pansies are beautiful and colorful additions to any vertical garden.
Tips for Maintaining Your Vertical Garden
* Watering: Water your plants regularly, especially during hot and dry weather. Vertical gardens tend to dry out faster than traditional gardens, so check the soil moisture frequently.
* Fertilizing: Feed your plants with a balanced fertilizer every few weeks to promote healthy growth.
* Pruning: Prune your plants regularly to encourage bushier growth and remove any dead or dying leaves.
* Pest Control: Keep an eye out for pests and diseases. Treat any problems promptly to prevent them from spreading.
* Rotation: Consider rotating your plants seasonally to ensure they receive adequate sunlight and nutrients.
Troubleshooting Common Issues
* Plants Drying Out Quickly: This is a common problem with vertical gardens. Make sure you’re watering frequently enough and consider adding a layer of mulch to help retain moisture.
* Plants Not Growing Well: This could be due to a lack of sunlight, nutrients, or water. Make sure your plants are getting enough of each.
* Pest Infestations: Treat any pest infestations promptly with an appropriate insecticide or organic pest control method.
* Soil Erosion: If you’re experiencing soil erosion, try adding more landscape fabric or using a heavier potting mix.
Beyond the Pallet: Other Vertical Garden Ideas
Once you’ve mastered the pallet garden, why not explore other vertical gardening options? Here are a few ideas to get you started:
* Hanging Gutter Garden: Repurpose old gutters into hanging planters for herbs or flowers.
* Shoe Organizer Garden: Use a hanging shoe organizer to create a vertical garden for small plants like succulents or herbs.
* Ladder Garden: Lean an old ladder against a wall and use the rungs to display potted plants.
* Living Wall: Create a stunning living wall by attaching modular planters to a wall and filling them with a variety of plants.
Final Thoughts
Vertical gardening is a rewarding and sustainable way to grow your own food and beautify your
Conclusion
Transforming your limited yard space into a bountiful harvest is not just a dream; it’s an achievable reality with the right approach and a little bit of ingenuity. We’ve explored a range of DIY tricks and techniques throughout this article, each designed to maximize your yield, minimize your effort, and enhance the overall beauty of your outdoor space. But why should you embrace these DIY methods? Because they empower you to take control of your food source, connect with nature on a deeper level, and create a sustainable and thriving ecosystem right outside your door.
The beauty of these DIY solutions lies in their adaptability. Whether you’re dealing with a tiny balcony, a compact patio, or a small backyard, there’s a technique that can be tailored to your specific needs and preferences. Consider vertical gardening for climbing vegetables like tomatoes, cucumbers, and beans. This not only saves space but also adds a visually stunning element to your garden. For those with limited sunlight, explore the world of shade-tolerant crops like lettuce, spinach, and kale. And don’t forget the power of companion planting, where strategically pairing different plants can deter pests, improve soil health, and boost overall productivity.
The key takeaway is that a successful yard space harvest is within reach, regardless of your experience level or the size of your garden.
But the journey doesn’t end here. We encourage you to experiment with different techniques, try out new varieties of plants, and discover what works best for your unique environment. Perhaps you’ll find that building a simple raised bed dramatically improves drainage and soil quality. Or maybe you’ll discover the joy of composting kitchen scraps to create nutrient-rich fertilizer for your plants. The possibilities are endless.
And most importantly, we want to hear about your experiences! Share your successes, your challenges, and your innovative DIY solutions with us. Let’s create a community of passionate gardeners who are dedicated to transforming their limited spaces into thriving havens of fresh, homegrown goodness. Post your photos, tips, and stories in the comments section below. Let’s learn from each other and inspire others to embark on their own yard space harvest adventures.
Don’t be afraid to get your hands dirty, embrace the learning process, and enjoy the incredible rewards of growing your own food. A vibrant and productive garden is waiting to be unlocked, and with a little bit of DIY magic, you can make it a reality. So, grab your tools, gather your seeds, and get ready to transform your yard space into a source of fresh, healthy, and delicious food. Happy gardening!
Frequently Asked Questions (FAQ)
What if I have absolutely no gardening experience?
That’s perfectly fine! Many of the DIY tricks we’ve discussed are designed for beginners. Start small with a simple project like a container garden or a raised bed. Choose easy-to-grow vegetables like lettuce, radishes, or herbs. There are tons of online resources and tutorials available to guide you through the process. Don’t be afraid to make mistakes – they’re part of the learning curve. The most important thing is to get started and have fun! Consider joining a local gardening club or community garden for support and guidance from experienced gardeners.
How much time will it take to maintain my yard space harvest?
The amount of time required will depend on the size and complexity of your garden. However, even a small garden will require some regular maintenance. This includes watering, weeding, fertilizing, and pest control. Plan to spend at least a few hours each week tending to your plants. You can reduce the amount of time required by using efficient watering techniques like drip irrigation, mulching to suppress weeds, and choosing pest-resistant varieties of plants. Remember, gardening is a relaxing and rewarding activity, so try to enjoy the process!
What if I don’t have enough sunlight in my yard?
Sunlight is essential for plant growth, but there are still options for gardeners with limited sunlight. Choose shade-tolerant crops like lettuce, spinach, kale, arugula, and other leafy greens. You can also try growing herbs like mint, parsley, and chives in shady areas. Consider using grow lights to supplement natural sunlight, especially if you’re starting seedlings indoors. Position your garden strategically to maximize the amount of sunlight your plants receive. Even a few hours of direct sunlight can make a big difference.
How can I protect my plants from pests and diseases?
Pest and disease control is an important part of maintaining a healthy garden. Start by choosing disease-resistant varieties of plants. Practice good garden hygiene by removing dead leaves and debris. Encourage beneficial insects like ladybugs and lacewings, which prey on common garden pests. Use organic pest control methods like insecticidal soap or neem oil. Rotate your crops each year to prevent soilborne diseases from building up. Regularly inspect your plants for signs of pests or diseases and take action promptly.
What are some good companion plants for my vegetables?
Companion planting is a great way to improve the health and productivity of your garden. Some popular companion plant pairings include:
* Tomatoes and basil: Basil repels pests and improves the flavor of tomatoes.
* Carrots and onions: Onions deter carrot root flies, while carrots deter onion flies.
* Cucumbers and marigolds: Marigolds repel nematodes and other pests.
* Beans and corn: Beans fix nitrogen in the soil, which benefits corn.
* Lettuce and radishes: Radishes break up the soil and deter pests that attack lettuce.
Research different companion plant pairings to find the best combinations for your specific garden.
How can I improve the soil quality in my yard?
Healthy soil is essential for a thriving garden. Start by testing your soil to determine its pH and nutrient levels. Amend the soil with compost, manure, or other organic matter to improve its fertility and drainage. Use cover crops to add nutrients to the soil and prevent erosion. Avoid using synthetic fertilizers, which can harm beneficial soil organisms. Practice no-till gardening to minimize soil disturbance. Regularly add organic matter to your soil to maintain its health and fertility.
Can I grow vegetables in containers?
Absolutely! Container gardening is a great option for people with limited space or poor soil. Choose containers that are large enough to accommodate the root systems of your plants. Use a high-quality potting mix that drains well. Water your plants regularly, especially during hot weather. Fertilize your plants regularly with a balanced fertilizer. Choose vegetables that are well-suited for container gardening, such as tomatoes, peppers, herbs, and leafy greens.
How can I save money on gardening supplies?
Gardening can be an affordable hobby, especially if you’re willing to get creative. Start seeds indoors instead of buying transplants. Collect rainwater for watering your plants. Make your own compost from kitchen scraps and yard waste. Reuse containers and materials whenever possible. Shop around for the best deals on gardening supplies. Join a local gardening club or community garden to share resources and knowledge.
What are some easy-to-grow vegetables for beginners?
Some of the easiest vegetables to grow for beginners include:
* Lettuce
* Radishes
* Spinach
* Kale
* Green beans
* Zucchini
* Tomatoes
* Peppers
* Herbs (basil, mint, parsley, chives)
These vegetables are relatively low-maintenance and can be grown in a variety of conditions. Start with a few of these easy-to-grow vegetables and gradually expand your garden as you gain experience.
How do I know when my vegetables are ready to harvest?
The timing of harvest will depend on the specific vegetable. Generally, vegetables are ready to harvest when they reach their mature size and color. Check the seed packet or plant tag for specific harvesting instructions. Regularly inspect your plants for signs of ripeness. Harvest your vegetables at their peak flavor and freshness. Enjoy the fruits (and vegetables) of your labor!
Leave a Comment