
Wheatgrass juicing at home might sound intimidating, conjuring images of expensive equipment and complicated processes. But what if I told you that unlocking the vibrant health benefits of this superfood is surprisingly simple and achievable in your own kitchen? Forget those pricey juice bar concoctions – we’re diving into the world of DIY wheatgrass juicing, and I promise, it’s easier than you think!
For centuries, various cultures have revered grasses for their healing properties. While the modern wheatgrass craze is relatively recent, its roots trace back to ancient civilizations who recognized the potent nutritional value packed within these humble green shoots. Today, we’re rediscovering that wisdom, seeking natural ways to boost our well-being.
Why should you bother with wheatgrass juicing at home? In today’s fast-paced world, it’s easy to fall short on essential nutrients. Wheatgrass is a powerhouse of vitamins, minerals, and antioxidants, offering a concentrated dose of goodness that can revitalize your energy levels, support detoxification, and even boost your immune system. Plus, mastering this DIY trick empowers you to take control of your health and enjoy fresh, potent juice whenever you desire. Ready to ditch the store-bought stuff and embrace the vibrant world of homemade wheatgrass juice? Let’s get started!

DIY Wheatgrass Juicing: A Beginner’s Guide to Green Goodness
Okay, so you’re ready to dive into the world of wheatgrass juicing at home? Awesome! It’s a fantastic way to boost your health and get a concentrated dose of vitamins and minerals. I’ve been juicing wheatgrass for years, and I’m excited to share my tips and tricks with you. It might seem intimidating at first, but trust me, it’s totally doable and incredibly rewarding.
What You’ll Need
Before we get started, let’s gather our supplies. You’ll need:
* Wheatgrass Seeds: Choose organic if possible. You can find these at health food stores or online.
* Growing Trays: These should have drainage holes. I prefer using two trays – one with holes and one without to catch the water.
* Growing Medium: I recommend using organic potting soil or a soilless mix like coco coir.
* Spray Bottle: For misting the wheatgrass.
* Juicer: A dedicated wheatgrass juicer is ideal (more on this later), but a masticating juicer can also work.
* Sharp Knife or Scissors: For harvesting the wheatgrass.
* Water: Filtered water is best.
* Optional: A humidity dome or plastic wrap to help with germination.
Choosing the Right Juicer
This is a crucial step! Not all juicers are created equal when it comes to wheatgrass.
* Wheatgrass Juicers: These are specifically designed for leafy greens and are the most efficient. They extract the maximum amount of juice. Manual or electric options are available. I personally prefer a manual one for its simplicity and ease of cleaning.
* Masticating Juicers (Slow Juicers): These can work, but they might not be as efficient as dedicated wheatgrass juicers. Make sure your masticating juicer is capable of handling leafy greens. You might need to cut the wheatgrass into smaller pieces.
* Centrifugal Juicers: Avoid these! They generate heat, which can destroy some of the nutrients in the wheatgrass. They also tend to be less efficient at extracting juice from leafy greens.
Growing Your Wheatgrass: Step-by-Step
This is where the magic happens! Growing your own wheatgrass is surprisingly easy and much cheaper than buying it pre-grown.
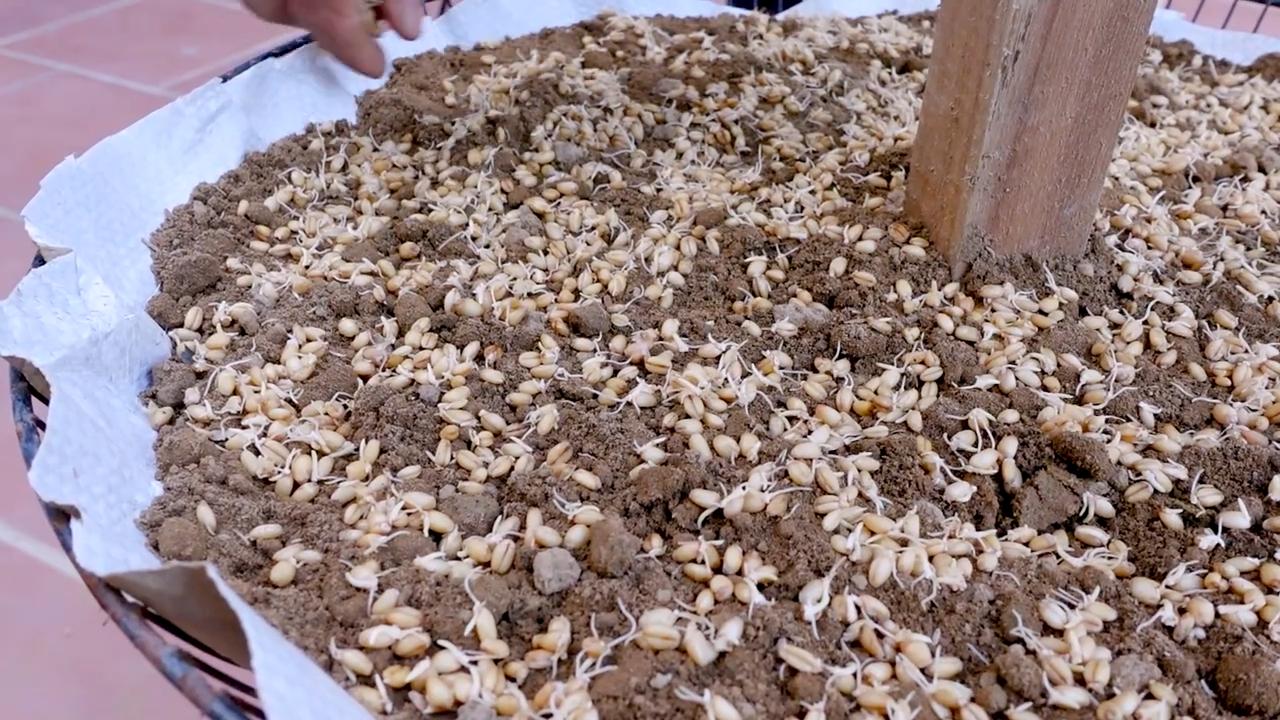
Phase 1: Soaking and Sprouting the Seeds
1. Soak the Seeds: Place about 1 cup of wheatgrass seeds in a jar or bowl. Cover them with cool, filtered water (about 2-3 times the volume of the seeds). Let them soak for 8-12 hours. This helps to break dormancy and kickstart the germination process. I usually do this overnight.
2. Drain and Rinse: After soaking, drain the water completely and rinse the seeds thoroughly with fresh water.
3. Sprout the Seeds: Place the rinsed seeds in a sprouting jar or a shallow dish. Cover the opening with cheesecloth or a sprouting lid. Rinse and drain the seeds 2-3 times a day for 1-2 days, or until you see small sprouts emerging. This keeps them moist and prevents mold growth.
Phase 2: Planting the Seeds
1. Prepare the Tray: Fill your growing tray (the one with drainage holes) with about 1-2 inches of your chosen growing medium. Moisten the soil thoroughly with water, but don’t make it soggy.
2. Sow the Seeds: Spread the sprouted seeds evenly over the surface of the soil. Don’t overcrowd them; they need space to grow.
3. Cover Lightly: Gently press the seeds into the soil. You can sprinkle a thin layer of soil over them, but it’s not essential.
4. Water Gently: Mist the surface of the soil with water using your spray bottle. Be careful not to dislodge the seeds.
Phase 3: Germination and Growth
1. Create a Humid Environment: Cover the tray with a humidity dome or plastic wrap to create a humid environment. This helps the seeds germinate. If using plastic wrap, poke a few holes for ventilation.
2. Place in a Dark, Warm Location: Place the tray in a dark, warm location (around 70-75°F or 21-24°C). This encourages germination.
3. Maintain Moisture: Mist the soil with water 2-3 times a day to keep it moist. Don’t let it dry out.
4. Remove the Cover: After 2-3 days, once the seeds have germinated and you see small green shoots, remove the humidity dome or plastic wrap.
5. Introduce Light: Move the tray to a location with indirect sunlight. Direct sunlight can scorch the young wheatgrass.
6. Water Regularly: Continue to water the wheatgrass regularly, keeping the soil moist but not waterlogged. You can water from the bottom by placing the tray with drainage holes inside the tray without holes and adding water to the bottom tray. The soil will absorb the water through the drainage holes.
7. Rotate the Tray: Rotate the tray regularly to ensure even growth.
Phase 4: Harvesting Your Wheatgrass
1. Harvest Time: Your wheatgrass is ready to harvest when it’s about 4-7 inches tall and has developed a vibrant green color. This usually takes about 7-10 days after planting.
2. Harvesting Technique: Using a sharp knife or scissors, cut the wheatgrass close to the soil surface.
3. One Cut Only: You can only harvest wheatgrass once. After harvesting, discard the used soil and start a new batch.
Juicing Your Wheatgrass: The Fun Part!
Now that you’ve grown your own wheatgrass, it’s time to juice it!
1. Prepare the Wheatgrass: Rinse the harvested wheatgrass thoroughly with water to remove any dirt or debris.
2. Cut into Smaller Pieces (If Necessary): If you’re using a masticating juicer, you might need to cut the wheatgrass into smaller pieces to prevent clogging.
3. Juice the Wheatgrass: Feed the wheatgrass into your juicer according to the manufacturer’s instructions.
4. Enjoy Immediately: Wheatgrass juice is best consumed immediately after juicing to preserve its nutrients.
5. Start Small: Begin with a small amount (about 1-2 ounces) and gradually increase the amount as your body adjusts. Wheatgrass can be quite potent!
6. Dilute if Needed: If the taste is too strong, you can dilute the wheatgrass juice with water or mix it with other fruit or vegetable juices. I sometimes add a slice of lemon or ginger for extra flavor.
Tips and Tricks for Success
* Preventing Mold: Mold can be a common problem when growing wheatgrass. To prevent mold, ensure good air circulation, avoid overwatering, and use a clean growing medium. If you see any mold, remove the affected area immediately.
* Dealing with Bitter Taste: Some people find wheatgrass juice to be bitter. This can be due to the variety of wheatgrass, the growing conditions, or the juicing method. Experiment with different varieties of wheatgrass and adjust your growing conditions to see if it makes a difference. Adding a slice of lemon or ginger to the juice can also help to mask the bitterness.
* Storing Wheatgrass: If you can’t juice all of your wheatgrass at once, you can store it in the refrigerator for a few days. Wrap it in a damp paper towel and place it in a plastic bag.
* Second Crop?: While you can only harvest once from the initial planting, some people try for a second, smaller harvest. The nutrient content will be significantly lower, but it’s an option if you’re trying to maximize your yield.
* Don’t Overwater: Overwatering is a common mistake that can lead to mold and root rot. Make sure the soil is moist but not waterlogged.
* Clean Your Juicer Immediately: Wheatgrass juice can be sticky and difficult to clean if left to dry. Clean your juicer immediately after use.
Troubleshooting
* Seeds Not Germinating: Make sure the seeds are fresh and viable. Also, ensure they are kept moist during the germination process.
* Slow Growth: Ensure the wheatgrass is getting enough light and water. Also, check the temperature; wheatgrass grows best in warm conditions.
* Yellowing Leaves: This can be a sign of overwatering or nutrient deficiency. Adjust your watering schedule and consider adding a small amount of organic fertilizer to the soil.
Benefits of Wheatgrass Juice
I’m not a doctor, so I can’t give medical advice, but here are some of the commonly cited benefits of wheatgrass juice:
* Rich in Nutrients: Wheatgrass is
Conclusion
So, there you have it! Mastering wheatgrass juicing at home is not just a trend; it’s a gateway to unlocking a powerhouse of nutrients and experiencing a tangible boost in your overall well-being. We’ve demystified the process, showing you that you don’t need expensive equipment or specialized knowledge to enjoy the vibrant benefits of this green elixir.
Think about it: store-bought wheatgrass juice can be costly and often lacks the freshness and potency of homemade. By taking control of the juicing process yourself, you’re ensuring that every sip is packed with the maximum amount of vitamins, minerals, and enzymes. You’re also eliminating the preservatives and additives that can sometimes sneak into commercially produced juices.
But the real magic lies in the customization. Feel free to experiment with different variations to find what works best for your palate and your body. Try adding a squeeze of lemon or lime to brighten the flavor and enhance the absorption of nutrients. Blend your wheatgrass juice with a piece of ginger for an extra kick and added anti-inflammatory benefits. Or, if you find the taste a bit too intense, mix it with a sweeter juice like apple or carrot to create a more palatable blend.
Don’t be afraid to get creative! You can even incorporate your homemade wheatgrass juice into smoothies, salad dressings, or even healthy desserts. The possibilities are endless!
Beyond the health benefits, juicing wheatgrass at home is also a rewarding experience in itself. There’s something deeply satisfying about nurturing your own wheatgrass, watching it grow, and then transforming it into a vibrant, life-giving juice. It’s a connection to nature and a commitment to your own well-being.
We understand that trying something new can sometimes feel daunting, but we encourage you to take the plunge and give wheatgrass juicing at home a try. Start small, be patient, and don’t be discouraged if your first batch isn’t perfect. The most important thing is to start and to learn as you go.
We are confident that once you experience the energy boost, the improved digestion, and the overall sense of vitality that comes with drinking fresh wheatgrass juice, you’ll be hooked.
So, what are you waiting for? Gather your supplies, follow our simple steps, and embark on your own wheatgrass juicing adventure. And most importantly, we want to hear about your experience! Share your tips, your variations, and your success stories in the comments below. Let’s create a community of home wheatgrass juicers and inspire each other to live healthier, more vibrant lives. We can’t wait to see what you create!
Ready to unlock the power of wheatgrass?
Don’t delay, start juicing today and feel the difference!
Frequently Asked Questions (FAQ)
What are the benefits of juicing wheatgrass at home compared to buying it pre-made?
Juicing wheatgrass at home offers several advantages over purchasing pre-made juice. Firstly, you have complete control over the freshness and quality of the ingredients. You know exactly when the wheatgrass was harvested and juiced, ensuring maximum nutrient content. Pre-made juices, on the other hand, may have been sitting on shelves for days, losing potency over time. Secondly, it’s significantly more cost-effective in the long run. While the initial investment in seeds and a juicer might seem like a lot, it’s far cheaper than consistently buying individual shots of wheatgrass juice. Finally, you can customize the flavor and blend it with other ingredients to suit your taste preferences.
What type of juicer is best for juicing wheatgrass?
A masticating juicer, also known as a slow juicer or cold-press juicer, is generally considered the best option for juicing wheatgrass. These juicers use a slow-turning auger to crush and squeeze the wheatgrass, extracting more juice and preserving more nutrients compared to centrifugal juicers. Centrifugal juicers use high-speed spinning blades, which can generate heat and destroy some of the enzymes and vitamins in the wheatgrass. While masticating juicers are more expensive, the superior juice quality and yield make them a worthwhile investment for serious wheatgrass enthusiasts. If you’re on a budget, you can also use a manual wheatgrass juicer, which is a hand-cranked device that’s relatively inexpensive and easy to use.
How much wheatgrass juice should I drink per day?
It’s generally recommended to start with a small amount of wheatgrass juice, such as 1-2 ounces (30-60 ml) per day, and gradually increase the amount as your body adjusts. Wheatgrass juice is very potent and can cause detoxification symptoms like nausea, headaches, or diarrhea if consumed in large quantities too quickly. Listen to your body and adjust the dosage accordingly. Most people find that 2-4 ounces (60-120 ml) per day is a good maintenance dose. It’s best to drink wheatgrass juice on an empty stomach, either first thing in the morning or between meals, to maximize absorption.
How do I grow my own wheatgrass at home?
Growing your own wheatgrass is surprisingly easy and rewarding. You’ll need wheatgrass seeds, a tray with drainage holes, potting soil, and water. Soak the seeds in water for 8-12 hours, then drain and spread them evenly over the soil in the tray. Cover the seeds with a thin layer of soil and water gently. Keep the soil moist but not waterlogged. Place the tray in a well-lit area, but avoid direct sunlight, which can scorch the seedlings. Within a few days, the seeds will begin to sprout. Once the wheatgrass reaches about 6-8 inches in height, it’s ready to harvest. Cut the grass just above the soil level and juice immediately.
What if I don’t like the taste of wheatgrass juice?
The taste of wheatgrass juice can be quite strong and earthy, which some people find unpleasant. However, there are several ways to make it more palatable. Try mixing it with other juices, such as apple, carrot, or pineapple, to sweeten the flavor. Adding a squeeze of lemon or lime can also help to brighten the taste. Another option is to blend it into a smoothie with fruits, vegetables, and yogurt. You can also try taking wheatgrass juice in small sips throughout the day instead of drinking it all at once. Over time, you may find that you actually start to enjoy the taste.
How long does wheatgrass juice last after it’s been juiced?
Wheatgrass juice is best consumed immediately after juicing to preserve its nutrients and enzymes. However, if you need to store it, you can keep it in an airtight container in the refrigerator for up to 24 hours. After that, the juice will start to lose its potency and flavor. It’s important to note that wheatgrass juice will oxidize quickly, so it’s best to fill the container to the top to minimize air exposure. You can also add a squeeze of lemon juice to help slow down the oxidation process.
Can I freeze wheatgrass juice?
Yes, you can freeze wheatgrass juice to preserve it for longer periods. Pour the juice into ice cube trays and freeze until solid. Once frozen, transfer the cubes to a freezer bag or container. Frozen wheatgrass juice can be stored for up to 3 months. When you’re ready to use it, simply thaw the desired number of cubes and add them to your smoothies or juices. Keep in mind that freezing may slightly alter the taste and texture of the juice, but it’s still a good way to preserve its nutritional value.
Are there any side effects of drinking wheatgrass juice?
While wheatgrass juice is generally safe for most people, some individuals may experience side effects, especially when starting out. These side effects can include nausea, headaches, diarrhea, and fatigue. These are usually signs of detoxification and should subside as your body adjusts. To minimize side effects, start with a small amount of juice and gradually increase the dosage. If you experience severe or persistent side effects, discontinue use and consult with your doctor. People with allergies to grass or gluten should also exercise caution when consuming wheatgrass juice.
Is wheatgrass juice gluten-free?
While wheatgrass is derived from wheat seeds, it is generally considered gluten-free because only the grass blades are juiced, not the wheat kernels. The gluten is primarily found in the endosperm of the wheat kernel. However, individuals with severe gluten sensitivities or celiac disease should exercise caution and ensure that the wheatgrass is grown and processed in a gluten-free environment to avoid cross-contamination. Look for wheatgrass products that are certified gluten-free.


Leave a Comment