
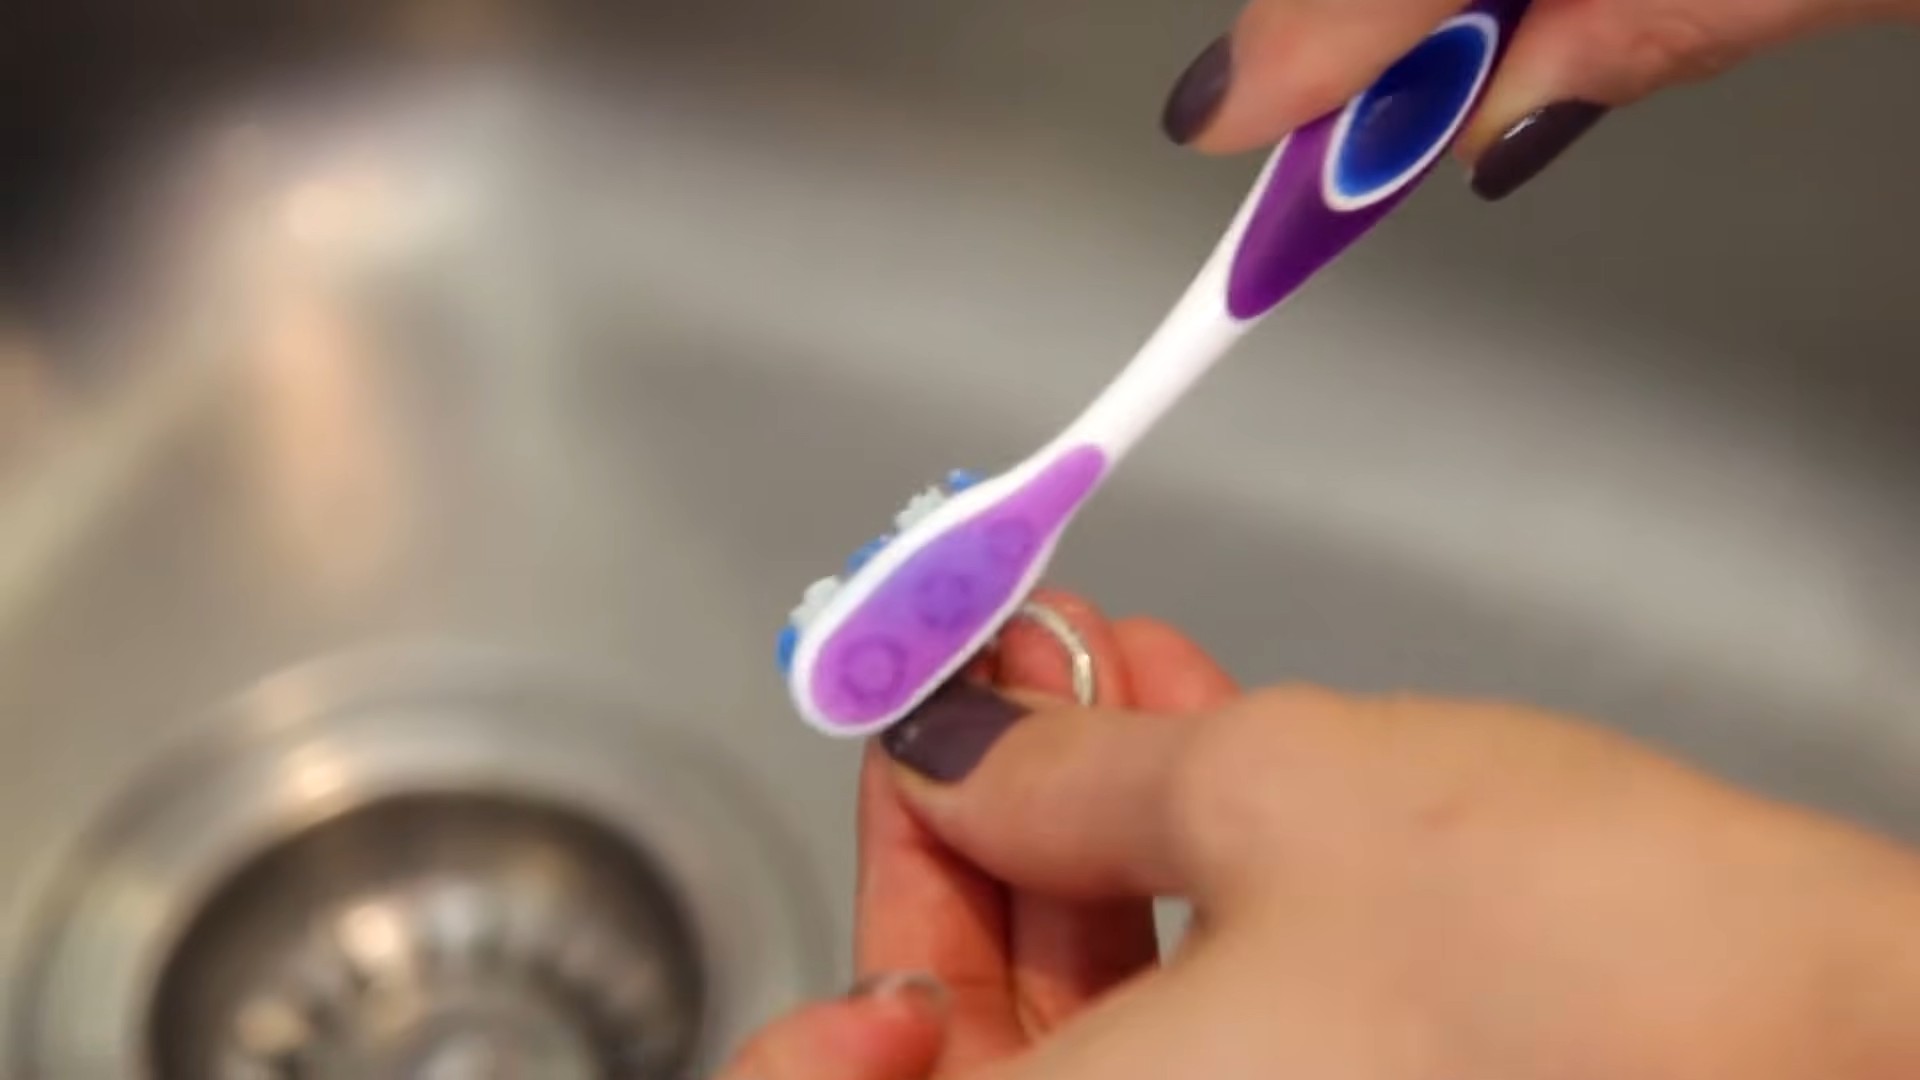
Toothbrush cleaning tips are essential for maintaining not just a sparkling smile, but also overall health! Let’s face it, our toothbrushes work hard, battling bacteria and plaque every single day. But when was the last time you gave *them* a good cleaning? If you’re like most people, probably not often enough!
Throughout history, oral hygiene practices have evolved, from chewing on twigs to using elaborate tools. Today, the humble toothbrush reigns supreme, but its effectiveness hinges on keeping it clean. Think of it this way: you wouldn’t wash your face with a dirty cloth, would you? So why use a toothbrush teeming with germs to clean your teeth?
That’s where these simple, yet incredibly effective, DIY toothbrush cleaning tricks come in. I’m going to show you how to banish those unwanted bacteria and keep your toothbrush fresh and ready for action. Not only will this help prevent the spread of germs and potential illnesses, but it can also extend the life of your toothbrush, saving you money in the long run. Ready to learn some easy toothbrush cleaning tips that will make a big difference in your oral hygiene routine? Let’s dive in!
DIY Toothbrush Sanitizing Station: Never Worry About Germs Again!
Okay, let’s be honest. We all know we *should* be sanitizing our toothbrushes regularly, but how many of us *actually* do it? It always feels like a chore, right? Well, I’m here to tell you that it doesn’t have to be! I’ve come up with a super easy and surprisingly stylish DIY toothbrush sanitizing station that will not only keep your pearly whites sparkling but also look great on your bathroom counter. Get ready to say goodbye to toothbrush germs and hello to a cleaner, healthier smile!
Materials You’ll Need:
* A small, decorative glass jar or container (think mason jar, repurposed candle jar, or even a cute ceramic mug). Make sure it’s wide enough to comfortably hold your toothbrushes without them being crammed together.
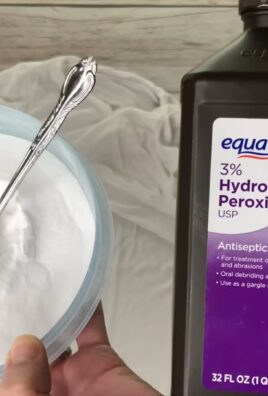
* Hydrogen peroxide (3% solution – the kind you find at the drugstore).
* Distilled white vinegar.
* Baking soda.
* Essential oils (optional, but I love using tea tree, peppermint, or eucalyptus for their antibacterial properties and fresh scent).
* Small glass dropper or pipette (optional, for precise essential oil dispensing).
* Labels and a marker (optional, for labeling your solutions).
* Small cleaning cloths or paper towels.
* A small bowl or container for mixing.
* Measuring spoons or cups.
The Sanitizing Solution Breakdown:
Before we dive into the station setup, let’s talk about the power players in our germ-fighting arsenal:
* Hydrogen Peroxide: This is a fantastic disinfectant that kills bacteria and viruses. It’s safe for use on toothbrushes, but remember to rinse thoroughly afterward.
* Distilled White Vinegar: Another excellent disinfectant, vinegar helps to break down plaque and mineral deposits that can accumulate on your toothbrush.
* Baking Soda: Baking soda acts as a gentle abrasive, helping to scrub away debris and neutralize odors.
* Essential Oils: These add an extra layer of antibacterial protection and leave your toothbrushes smelling fresh and clean.
Building Your Toothbrush Sanitizing Station: Step-by-Step
Here’s the fun part! We’re going to create a system that makes sanitizing your toothbrush a breeze.
1. Prepare Your Jar: Start by thoroughly cleaning your chosen jar or container with soap and water. Make sure it’s completely dry before moving on. This is important to prevent any unwanted mold or mildew growth.
2. Create the Hydrogen Peroxide Solution:
* In your small bowl, mix 1/2 cup of hydrogen peroxide with 1/2 cup of distilled water. This dilution helps to prevent any potential irritation to your gums.
* Add 5-10 drops of your chosen essential oil (tea tree, peppermint, or eucalyptus are great choices).
* Stir well to combine.
* Carefully pour the solution into a separate, smaller container (like a small glass bottle or jar). Label it clearly as “Hydrogen Peroxide Solution” to avoid any confusion.
3. Create the Vinegar Solution:
* In a separate small bowl, mix 1/2 cup of distilled white vinegar with 1/2 cup of distilled water.
* Add 5-10 drops of your chosen essential oil (lemon or orange essential oils work well here for a refreshing scent).
* Stir well to combine.
* Carefully pour the solution into another separate, smaller container. Label it clearly as “Vinegar Solution.”
4. Baking Soda Station:
* Find a small, shallow dish or container to hold your baking soda. A ramekin or a small spice jar works perfectly.
* Fill the dish with baking soda.
5. Assemble Your Station:
* Arrange your jar, the hydrogen peroxide solution, the vinegar solution, and the baking soda dish on your bathroom counter.
* Place a small stack of cleaning cloths or paper towels nearby for wiping down your toothbrushes.
Using Your Toothbrush Sanitizing Station: A Daily Routine
Now that your station is set up, here’s how to incorporate it into your daily routine:
1. Rinse After Brushing: After brushing your teeth, thoroughly rinse your toothbrush under running water to remove any remaining toothpaste and debris.
2. Baking Soda Scrub (Optional, but Recommended): Dip your toothbrush head into the baking soda dish and gently scrub the bristles. This helps to remove any lingering plaque and debris. Rinse thoroughly again.
3. Hydrogen Peroxide Soak: Using the dropper or pipette, carefully dispense a small amount (about 1 teaspoon) of the hydrogen peroxide solution into the bottom of your toothbrush jar. The solution should cover the bristles of your toothbrush. Let it soak for at least 5 minutes, but ideally for 15-20 minutes.
4. Vinegar Rinse (Weekly): Once a week, instead of the hydrogen peroxide soak, soak your toothbrush in the vinegar solution for 30 minutes. This will help to remove any mineral deposits and further disinfect the bristles.
5. Final Rinse and Dry: After soaking in either the hydrogen peroxide or vinegar solution, thoroughly rinse your toothbrush under running water. Shake off any excess water and allow it to air dry in the jar.
6. Maintain Your Station:
* Replace the hydrogen peroxide and vinegar solutions every week to ensure their effectiveness.
* Refill the baking soda dish as needed.
* Clean your toothbrush jar regularly with soap and water to prevent any buildup.
Extra Tips and Tricks for a Sparkling Clean Toothbrush:
* UV Sanitizers: If you want to take your toothbrush sanitizing to the next level, consider investing in a UV toothbrush sanitizer. These devices use ultraviolet light to kill bacteria and viruses.
* Dishwasher Cleaning (Occasional): You can also occasionally clean your toothbrush in the dishwasher (top rack only). Make sure to remove the toothbrush head if it’s detachable.
* Replace Regularly: No matter how well you sanitize your toothbrush, it’s important to replace it every 3-4 months, or sooner if the bristles become frayed or worn.
* Don’t Share: Sharing toothbrushes is a big no-no! It can spread germs and bacteria.
* Travel Sanitizing: When traveling, consider using a toothbrush sanitizer spray or wipes to keep your toothbrush clean on the go. You can also store your toothbrush in a travel case with ventilation holes.
* Consider a Toothbrush Subscription: Services that automatically send you a new toothbrush head every few months can help you stay on top of replacements.
Troubleshooting:
* Strong Vinegar Smell: If you find the vinegar smell too strong, you can add a few more drops of essential oil or use a milder vinegar solution.
* Bristle Discoloration: Hydrogen peroxide can sometimes cause slight discoloration of the toothbrush bristles. This is normal and doesn’t affect the effectiveness of the sanitizing process.
* Solution Cloudiness: If your hydrogen peroxide or vinegar solution becomes cloudy, it’s time to replace it.
Why This Works: The Science Behind the Sanity
This DIY sanitizing station isn’t just about aesthetics; it’s grounded in science. Hydrogen peroxide and vinegar are both proven disinfectants that effectively kill bacteria and viruses. Baking soda helps to remove debris and neutralize odors. And essential oils provide an extra layer of antimicrobial protection. By incorporating this simple routine into your daily life, you can significantly reduce the number of germs on your toothbrush and improve your overall oral health.
Final Thoughts:
Creating this DIY toothbrush sanitizing station has been a game-changer for me. It’s so easy to use, and it gives me peace of mind knowing that I’m doing everything I can to keep my toothbrush clean and my mouth healthy. I hope you find this tutorial helpful and that it inspires you to create your own personalized sanitizing station. Happy brushing!
Conclusion
So, there you have it! This simple yet incredibly effective DIY toothbrush cleaning trick is a game-changer for your oral hygiene routine. We’ve walked you through the steps, highlighting just how easy it is to banish bacteria and keep your toothbrush fresh and ready for action. Think about it: you use your toothbrush every single day to clean your teeth, removing plaque and food particles. But where do all those germs go? They cling to the bristles, creating a breeding ground for bacteria that can potentially re-enter your mouth. That’s why regular cleaning is absolutely essential.
This isn’t just about cleanliness; it’s about your overall health. A clean toothbrush contributes to a healthier mouth, reducing the risk of gum disease, bad breath, and other oral health issues. Plus, a clean toothbrush simply feels better! You’ll notice the difference in how it glides across your teeth, leaving you with a truly refreshed feeling.
But the benefits don’t stop there. By extending the life of your toothbrush through proper cleaning, you’re also saving money and reducing waste. You won’t need to replace your toothbrush as frequently, which is good for your wallet and the environment. It’s a win-win situation!
Why is this DIY toothbrush cleaning trick a must-try? Because it’s quick, easy, affordable, and incredibly effective. It uses ingredients you likely already have in your home, and it takes just a few minutes to complete. The results are immediate and noticeable, leaving you with a toothbrush that’s clean, fresh, and ready to tackle your next brushing session.
Looking for variations? Consider adding a few drops of essential oils like peppermint or tea tree oil to your cleaning solution for an extra boost of antibacterial power and a refreshing scent. You can also experiment with different ratios of ingredients to find what works best for you. Some people prefer a stronger vinegar solution, while others prefer a milder baking soda paste. The key is to find a method that you enjoy and that fits seamlessly into your daily routine.
Ready to take the plunge? We encourage you to try this DIY toothbrush cleaning trick today! You’ll be amazed at how easy it is to keep your toothbrush clean and fresh. And once you’ve experienced the benefits for yourself, we’d love to hear about it! Share your experiences, tips, and variations in the comments below. Let’s create a community of clean toothbrush enthusiasts! Your feedback will not only help other readers but also inspire us to continue sharing valuable tips and tricks for a healthier and happier life. So go ahead, give it a try, and let us know what you think! We’re confident that you’ll be thrilled with the results.
Frequently Asked Questions (FAQ)
How often should I clean my toothbrush using this DIY method?
Ideally, you should clean your toothbrush after each use to remove any lingering debris and bacteria. However, a deep clean using this DIY method is recommended at least once a week. If you’ve been sick, it’s especially important to clean your toothbrush thoroughly to prevent re-infection. You can also consider soaking your toothbrush in an antibacterial mouthwash between deep cleans for added protection. Remember, consistency is key to maintaining good oral hygiene.
What if I don’t have all the ingredients listed? Can I substitute anything?
While the combination of baking soda, vinegar, and hydrogen peroxide is highly effective, you can make some substitutions if necessary. If you don’t have vinegar, you can use lemon juice as a natural alternative. Lemon juice has antibacterial properties and can help to disinfect your toothbrush. If you don’t have hydrogen peroxide, you can skip it altogether, but keep in mind that it adds an extra layer of disinfection. Baking soda is a key ingredient for removing debris and neutralizing odors, so it’s best not to substitute it. However, if you’re allergic to baking soda, you can try using a small amount of salt instead. Always rinse your toothbrush thoroughly after cleaning, regardless of the ingredients you use.
Is this DIY cleaning method safe for all types of toothbrushes, including electric toothbrushes?
This DIY cleaning method is generally safe for most types of toothbrushes, including manual and electric toothbrushes. However, it’s important to exercise caution when cleaning electric toothbrush heads. Avoid submerging the entire electric toothbrush handle in water or cleaning solutions, as this could damage the internal components. Instead, detach the toothbrush head and clean it separately using the DIY method. Be sure to rinse the toothbrush head thoroughly after cleaning and allow it to dry completely before reattaching it to the handle. Always refer to the manufacturer’s instructions for specific cleaning recommendations for your electric toothbrush.
Can this DIY method damage my toothbrush bristles?
While this DIY method is generally safe, excessive or prolonged soaking in harsh cleaning solutions can potentially damage your toothbrush bristles. To minimize the risk of damage, avoid soaking your toothbrush for extended periods of time. A few minutes is usually sufficient to disinfect and clean the bristles. Also, be gentle when scrubbing the bristles with baking soda paste, as excessive scrubbing can cause them to fray or wear down. If you notice that your toothbrush bristles are becoming frayed or damaged, it’s time to replace your toothbrush, regardless of how often you clean it.
My toothbrush still smells after cleaning it. What should I do?
If your toothbrush still smells after cleaning it, it could be due to lingering bacteria or trapped debris. Try soaking your toothbrush in a solution of equal parts water and white vinegar for a longer period of time, such as 30 minutes to an hour. You can also try using a toothbrush sanitizer, which is specifically designed to kill bacteria and eliminate odors. Make sure to rinse your toothbrush thoroughly after soaking it in vinegar or using a sanitizer. If the smell persists, it’s best to replace your toothbrush with a new one.
How often should I replace my toothbrush, even if I’m cleaning it regularly?
Even with regular cleaning, it’s recommended to replace your toothbrush every three to four months, or sooner if the bristles are frayed or worn down. Over time, toothbrush bristles lose their effectiveness at removing plaque and bacteria, and they can also become a breeding ground for germs. If you’ve been sick, it’s especially important to replace your toothbrush to prevent re-infection. Look for signs of wear and tear, such as frayed bristles or discoloration, and replace your toothbrush accordingly.
Can I use this method to clean my tongue scraper as well?
Yes, this DIY cleaning method can also be used to clean your tongue scraper. Tongue scrapers can accumulate bacteria and debris, so it’s important to clean them regularly. Simply follow the same steps as you would for cleaning your toothbrush, using baking soda paste, vinegar, and hydrogen peroxide to disinfect and remove any buildup. Rinse the tongue scraper thoroughly after cleaning and allow it to dry completely before storing it.
Is it safe to swallow any of the cleaning solution if it accidentally gets in my mouth?
While the ingredients used in this DIY cleaning method are generally safe in small amounts, it’s not recommended to swallow any of the cleaning solution. If you accidentally swallow some of the solution, rinse your mouth thoroughly with water. If you experience any adverse reactions, such as nausea or stomach upset, consult a doctor or medical professional. Always supervise children when they are cleaning their toothbrushes and ensure that they understand not to swallow the cleaning solution.

Leave a Comment