
Tomato plant abundant harvest – that’s the dream, isn’t it? Imagine baskets overflowing with juicy, sun-ripened tomatoes, the kind that burst with flavor and make your summer salads sing. But let’s be honest, sometimes our tomato plants seem to have other plans, producing a measly few fruits despite our best efforts.
For centuries, gardeners have sought the secret to coaxing a bountiful harvest from their tomato plants. From ancient Incan terraces where tomatoes were first cultivated to modern-day backyard gardens, the quest for the perfect tomato has been a constant. But what if I told you that achieving a tomato plant abundant harvest doesn’t require a green thumb blessed by the gardening gods?
I’m here to share some simple, yet incredibly effective, DIY tricks and hacks that can transform your tomato-growing game. These aren’t complicated techniques requiring specialized equipment or years of experience. They’re practical, easy-to-implement solutions that address common tomato-growing challenges. Whether you’re struggling with blossom end rot, pests, or simply lackluster fruit production, these tips will empower you to create the ideal environment for your tomato plants to thrive and reward you with a harvest you’ll be proud of. Let’s get started and unlock the secrets to a tomato bounty!
DIY Tomato Plant Abundant Harvest: My Secret Sauce!
Okay, tomato lovers, gather ’round! I’m about to spill my secrets on how to get a truly abundant harvest from your tomato plants. Forget those measly few tomatoes – we’re talking baskets overflowing! This isn’t just about luck; it’s about understanding your plants and giving them exactly what they need. I’ve spent years tweaking this method, and trust me, it works. Let’s get started!
Choosing the Right Tomato Variety
Before we even think about planting, the variety you choose is crucial. Not all tomatoes are created equal! Some are naturally more prolific than others.
* Determinate vs. Indeterminate: This is HUGE. Determinate tomatoes grow to a certain size and produce most of their fruit at once. Indeterminate varieties, on the other hand, keep growing and producing throughout the season. For a continuous harvest, go indeterminate!
* Disease Resistance: Look for varieties labeled with disease resistance codes (like V, F, N, T, A). This will save you a lot of headaches (and lost tomatoes!) down the road.
* Consider Your Climate: Some varieties thrive in hot climates, while others prefer cooler temperatures. Do your research!
My personal favorites for abundant harvests are ‘Sungold’ (cherry tomato), ‘Early Girl’ (early producer), and ‘Roma’ (great for sauce and canning). But experiment and find what works best for you!
Preparing the Soil: The Foundation for Success
Tomato plants are heavy feeders, meaning they need a lot of nutrients to produce all those delicious fruits. Don’t skimp on soil preparation!
* Sunlight: Tomatoes need at least 6-8 hours of direct sunlight per day. Choose a location that gets plenty of sun.
* Soil Testing: Ideally, get your soil tested to determine its pH and nutrient levels. Most garden centers offer soil testing services. Tomatoes prefer a slightly acidic pH (around 6.0-6.8).
* Amendments: Even if your soil is decent, amending it with organic matter is essential. I like to use a combination of:
* Compost: This is my go-to amendment. It improves soil structure, drainage, and adds nutrients.
* Aged Manure: Another excellent source of nutrients. Make sure it’s well-aged to avoid burning your plants.
* Bone Meal: Provides phosphorus, which is crucial for root development and fruit production.
* Epsom Salts: Magnesium sulfate helps prevent blossom-end rot (a common tomato problem). I add about a tablespoon per plant at planting time.
* Drainage: Tomatoes hate soggy feet! Make sure your soil drains well. If you have heavy clay soil, consider adding sand or perlite to improve drainage.
Step-by-Step Soil Preparation:
1. Clear the Area: Remove any weeds, grass, or debris from the planting area.
2. Dig Deep: Dig a hole that’s at least 12 inches deep and wide.
3. Amend the Soil: Mix the compost, aged manure, bone meal, and Epsom salts into the soil you removed from the hole.
4. Refill the Hole: Fill the hole with the amended soil, creating a slightly raised mound. This will help with drainage.
Planting Your Tomato Seedlings: Giving Them a Strong Start
Now for the exciting part – planting! But don’t rush this step. Proper planting techniques can make a huge difference in your harvest.
* Timing: Don’t plant your tomato seedlings until after the last frost. Check your local frost dates to be sure.
* Hardening Off: If you started your seedlings indoors, you need to harden them off before planting them outside. This means gradually exposing them to outdoor conditions over a period of 7-10 days. Start by placing them in a sheltered spot for a few hours each day, gradually increasing the amount of time they spend outside.
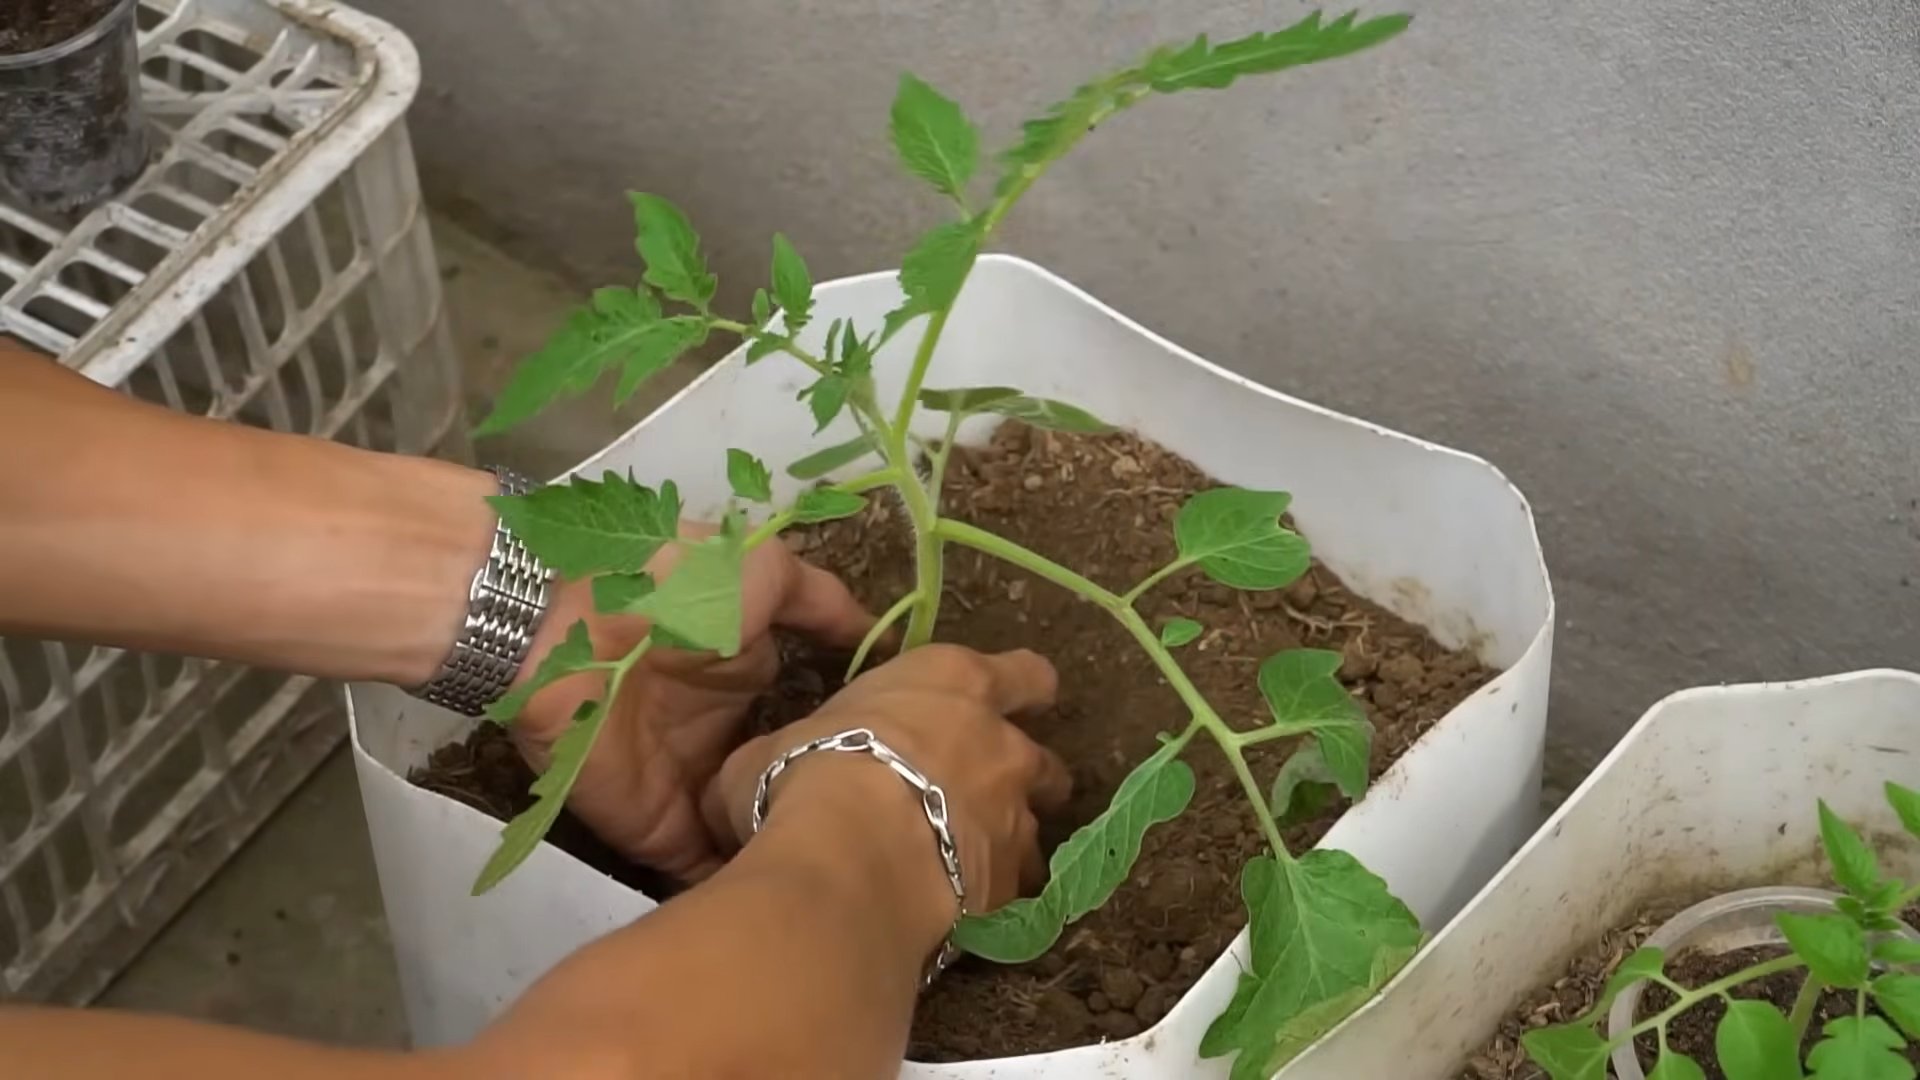
* Planting Depth: This is a trick I swear by! Plant your tomato seedlings DEEP. Bury the stem up to the first set of leaves. Tomato stems will grow roots when buried, resulting in a stronger, healthier plant.
* Spacing: Give your tomato plants plenty of space to grow. Indeterminate varieties need at least 2-3 feet between plants.
* Support: Tomato plants need support to prevent them from sprawling on the ground. Use stakes, cages, or trellises. I prefer cages because they provide all-around support.
Step-by-Step Planting:
1. Dig a Hole: Dig a hole that’s deep enough to bury the stem up to the first set of leaves.
2. Remove Lower Leaves: Remove the leaves from the part of the stem that will be buried.
3. Plant the Seedling: Gently remove the seedling from its container and place it in the hole.
4. Backfill with Soil: Fill the hole with soil, gently patting it down.
5. Water Thoroughly: Water the seedling thoroughly after planting.
6. Add Support: Install your stake, cage, or trellis.
Watering and Feeding: Keeping Them Happy and Healthy
Consistent watering and feeding are essential for a bountiful tomato harvest.
* Watering: Water deeply and regularly, especially during hot, dry weather. Aim for about 1-2 inches of water per week. Water at the base of the plant to avoid wetting the leaves, which can lead to disease.
* Mulching: Apply a layer of mulch around your tomato plants to help retain moisture, suppress weeds, and regulate soil temperature. I like to use straw or shredded leaves.
* Fertilizing: Tomato plants need regular feeding to produce all those fruits. I use a balanced fertilizer (like 10-10-10) every 2-3 weeks. You can also use organic fertilizers like fish emulsion or compost tea.
* Side-Dressing: About a month after planting, side-dress your tomato plants with compost or aged manure. This will provide them with an extra boost of nutrients.
Watering and Feeding Schedule:
1. Water Deeply: Water deeply whenever the top inch of soil feels dry.
2. Fertilize Regularly: Fertilize every 2-3 weeks with a balanced fertilizer.
3. Side-Dress: Side-dress with compost or aged manure about a month after planting.
Pruning and Suckering: Maximizing Fruit Production
Pruning and suckering are essential for indeterminate tomato varieties.
* Suckers: Suckers are small shoots that grow in the “armpit” between the main stem and a branch. They steal energy from the plant and reduce fruit production. Remove suckers regularly, especially those that grow below the first flower cluster.
* Pruning: Pruning can help improve air circulation and sunlight penetration, which can reduce disease and increase fruit production. I like to prune the lower leaves of the plant to prevent them from touching the soil.
Step-by-Step Pruning and Suckering:
1. Identify Suckers: Look for small shoots growing in the “armpit” between the main stem and a branch.
2. Remove Suckers: Pinch off the suckers with your fingers or use pruning shears.
3. Prune Lower Leaves: Remove the lower leaves of the plant to prevent them from touching the soil.
Preventing Pests and Diseases: Protecting Your Investment
Pests and diseases can wreak havoc on your tomato plants. Prevention is key!
* Companion Planting: Plant basil, marigolds, or other companion plants near your tomatoes to deter pests.
* Crop Rotation: Don’t plant tomatoes in the same spot year after year. Rotate your crops to prevent soilborne diseases.
* Watering Practices: Water at the base of the plant to avoid wetting the leaves, which can lead to disease.
* Air Circulation: Provide good air circulation by spacing your plants properly and pruning regularly.
* Organic Pest Control: If you do have pests, use organic pest control methods like insecticidal soap or neem oil.
* Fungicides: If your plants develop fungal diseases, use an organic fungicide like copper fungicide.
Common Tomato Problems and Solutions:
* Blossom-End Rot: Caused by calcium deficiency. Add bone meal to the soil at planting time and water regularly.
* Early Blight: A fungal disease that causes dark spots on the leaves. Remove infected leaves and spray with copper fungicide.
* Tomato Hornworms: Large green caterpillars that can defoliate your plants. Handpick them off or use Bacillus thuringiensis (Bt).
* Aphids: Small insects that suck sap from the leaves. Spray with insecticidal soap.
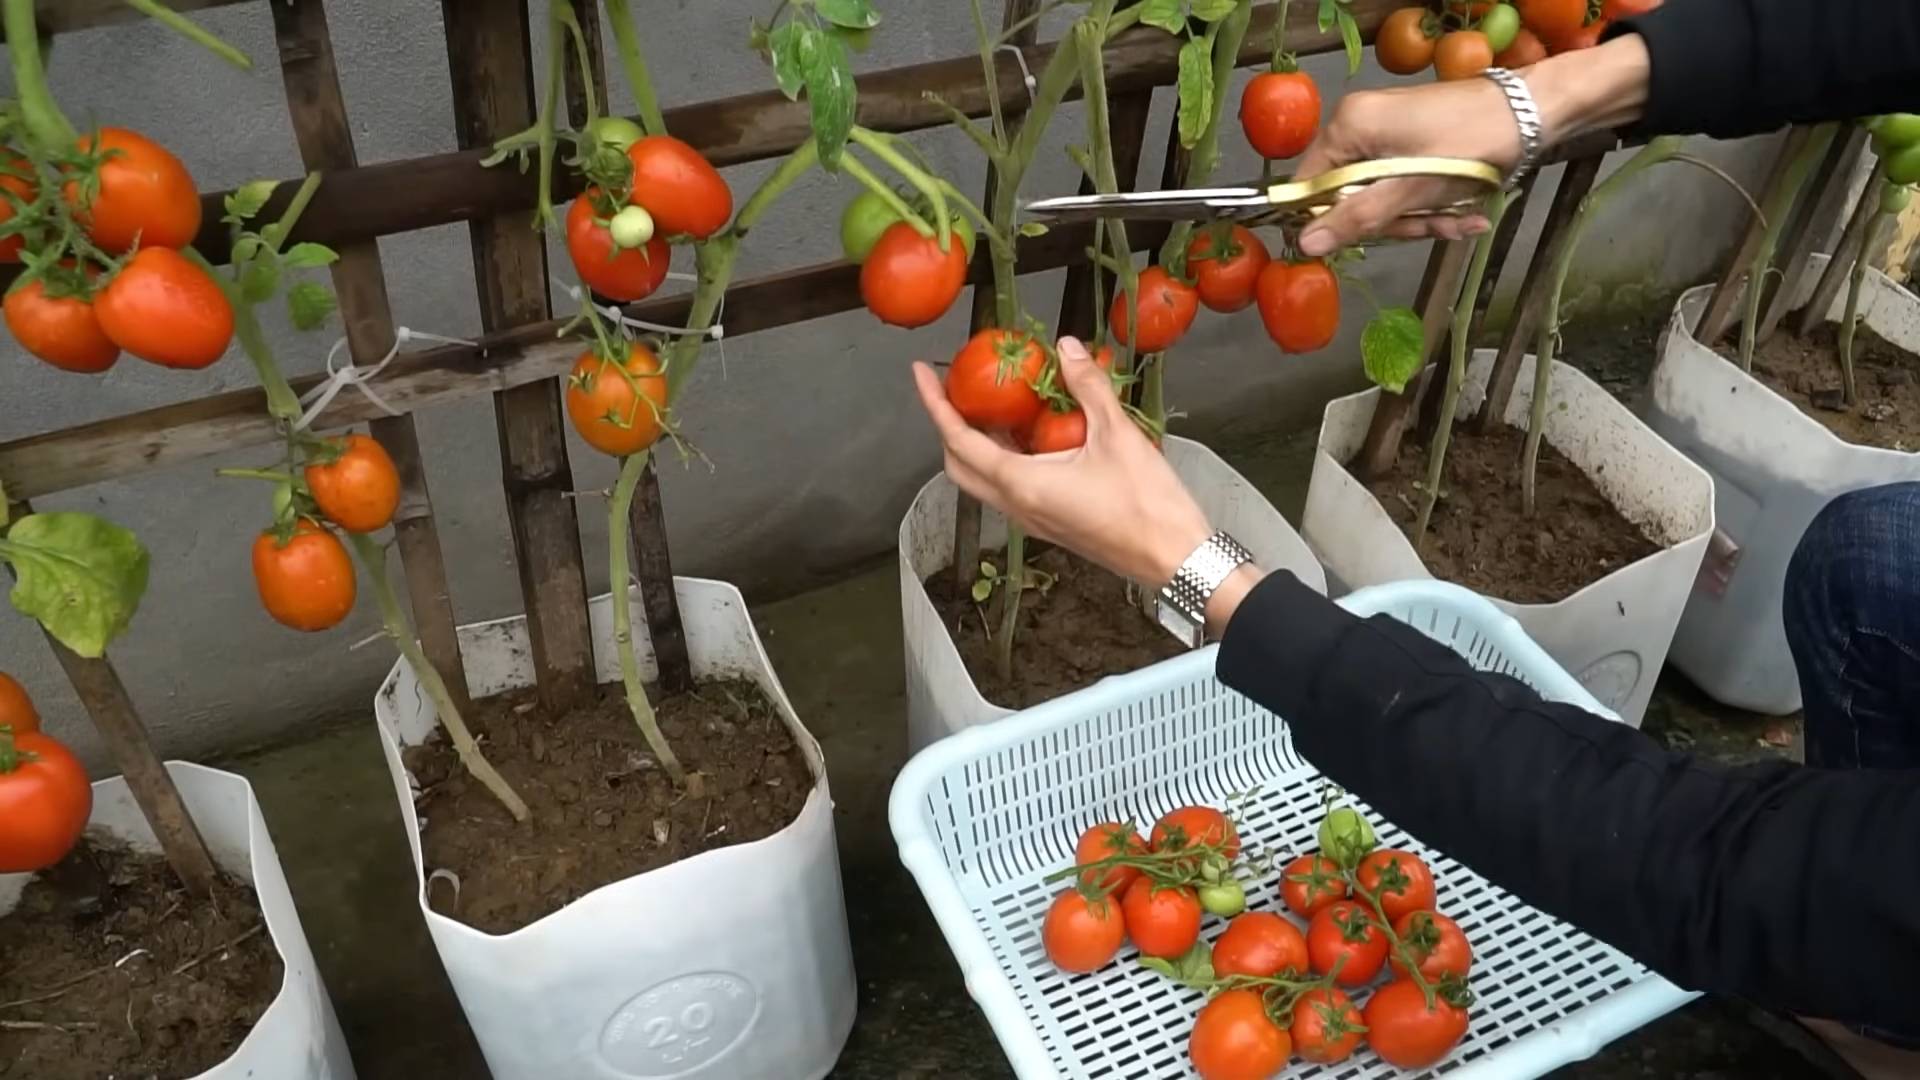
Harvesting Your Tomatoes: The Sweet Reward
Finally, the moment you’ve been waiting for –
Conclusion
So, there you have it! This simple yet incredibly effective DIY trick is a game-changer for anyone looking to maximize their tomato plant abundant harvest. Forget expensive fertilizers and complicated gardening techniques. This method, focusing on readily available resources and a little bit of ingenuity, offers a sustainable and budget-friendly way to nurture your tomato plants and witness them flourish.
Why is this a must-try? Because it works! We’ve seen firsthand the dramatic increase in yield, the healthier, more vibrant plants, and the richer, more flavorful tomatoes that result from implementing this technique. It’s not just about quantity; it’s about quality. You’ll be enjoying tomatoes that are bursting with flavor, packed with nutrients, and grown with love – all thanks to this easy-to-implement strategy.
But don’t just take our word for it. The beauty of this DIY approach is its adaptability. Feel free to experiment with variations to suit your specific needs and growing conditions. For instance, if you live in a particularly dry climate, consider adding water-retaining crystals to the soil mix to help maintain moisture levels. Or, if you’re dealing with nutrient-poor soil, you might supplement the compost with a small amount of organic fertilizer. Another variation could involve using different types of organic matter in your soil mix. Coffee grounds, for example, are a great source of nitrogen, while crushed eggshells provide calcium, which is essential for preventing blossom-end rot. You can also try different ratios of the ingredients to see what works best for your plants.
The key is to observe your plants closely and adjust your approach accordingly. Are the leaves turning yellow? They might need more nitrogen. Are the tomatoes developing dark spots on the bottom? They might need more calcium. Gardening is a continuous learning process, and this DIY trick provides a solid foundation for you to build upon.
We are confident that this DIY trick will transform your tomato growing experience. Imagine baskets overflowing with juicy, ripe tomatoes, ready to be enjoyed in salads, sauces, and countless other culinary creations. Imagine the satisfaction of knowing that you grew those tomatoes yourself, using a simple, sustainable, and effective method.
Don’t delay! Give this DIY trick a try and witness the difference it makes in your tomato plant abundant harvest. We encourage you to share your experiences with us and the gardening community. Let us know what variations you tried, what challenges you faced, and what successes you achieved. Your feedback will help us refine this technique and make it even more effective for everyone. Share your photos, tips, and stories in the comments section below. Let’s grow together!
Frequently Asked Questions (FAQ)
What exactly is this DIY trick supposed to do for my tomato plants?
This DIY trick is designed to improve soil health, provide essential nutrients, and promote strong root development, all of which contribute to a more abundant tomato harvest. It focuses on creating a nutrient-rich and well-draining soil environment that encourages healthy plant growth and maximizes fruit production. By using readily available organic materials, this method provides a sustainable and cost-effective way to boost your tomato yields.
What kind of soil should I use in addition to the DIY amendments?
The best soil to use is a well-draining potting mix or garden soil that is rich in organic matter. Avoid using heavy clay soil, as it can become waterlogged and suffocate the roots. You can amend your existing garden soil with compost, peat moss, or other organic materials to improve its drainage and fertility. A slightly acidic soil pH (around 6.0 to 6.8) is ideal for tomato plants.
How often should I apply this DIY trick to my tomato plants?
The initial application of this DIY trick should be done when you transplant your tomato seedlings into their final growing location. After that, you can reapply the amendments every 4-6 weeks throughout the growing season. This will help to replenish the nutrients in the soil and keep your plants healthy and productive. You can also monitor your plants for signs of nutrient deficiencies and adjust the frequency of application accordingly.
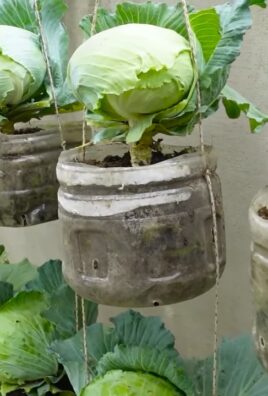
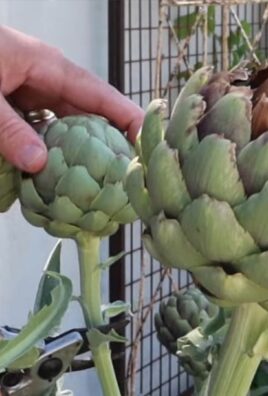
Can I use this DIY trick for other types of plants besides tomatoes?
While this DIY trick is specifically tailored for tomato plants, it can also be beneficial for other fruiting vegetables, such as peppers, eggplants, and cucumbers. The principles of improving soil health and providing essential nutrients apply to many different types of plants. However, you may need to adjust the specific ingredients and ratios to suit the needs of different plants. Research the specific nutrient requirements of the plants you are growing and adjust the DIY trick accordingly.
What if I don’t have access to all the ingredients listed in the DIY trick?
Don’t worry if you can’t find all the exact ingredients. The key is to focus on providing a balanced mix of nutrients and improving soil health. You can substitute ingredients based on what you have available. For example, if you don’t have bone meal, you can use rock phosphate or another source of phosphorus. If you don’t have Epsom salts, you can skip it or use another source of magnesium. The most important thing is to use organic materials that will break down over time and release nutrients into the soil.
My tomato plants are already established. Can I still use this DIY trick?
Yes, you can still use this DIY trick on established tomato plants. Gently work the amendments into the soil around the base of the plants, being careful not to damage the roots. Water thoroughly after applying the amendments. You may not see as dramatic of a result as you would with newly transplanted seedlings, but it can still help to improve the health and productivity of your plants.
How do I know if my tomato plants are getting enough nutrients?
The best way to know if your tomato plants are getting enough nutrients is to observe them closely for signs of nutrient deficiencies. Yellowing leaves, stunted growth, and blossom-end rot are all potential signs of nutrient problems. You can also perform a soil test to determine the nutrient levels in your soil. Based on the results of the soil test, you can adjust your DIY trick to provide the specific nutrients that your plants are lacking.
Is this DIY trick safe for organic gardening?
Yes, this DIY trick is designed to be safe for organic gardening. All of the ingredients are natural and organic, and they will not harm the environment or your plants. However, it is important to source your ingredients from reputable suppliers to ensure that they are free from contaminants. Always follow the instructions carefully and avoid using excessive amounts of any one ingredient.
What are some common mistakes to avoid when using this DIY trick?
Some common mistakes to avoid include using too much fertilizer, overwatering your plants, and not providing enough sunlight. Tomato plants need at least 6-8 hours of sunlight per day to thrive. Overwatering can lead to root rot, while too much fertilizer can burn the roots. It is also important to monitor your plants for pests and diseases and take action to control them promptly.
How long will it take to see results from this DIY trick?
You should start to see results from this DIY trick within a few weeks of application. Your plants should start to grow more vigorously, and the leaves should become greener and healthier. You may also notice an increase in the number of flowers and fruits. However, the exact timing will depend on the specific growing conditions and the overall health of your plants. Be patient and continue to monitor your plants closely, and you will eventually see the benefits of this DIY trick.
Leave a Comment