
Salt and vinegar cleaning: it’s not just for chips anymore! Are you tired of harsh chemicals and expensive cleaning products cluttering your cupboards? Do you yearn for a simpler, more natural way to keep your home sparkling? Well, you’re in luck! For generations, resourceful homemakers have turned to the humble pantry staples of salt and vinegar for effective and eco-friendly cleaning solutions. Think of your grandmother’s cleaning secrets, passed down through generations, now readily available to you.
The beauty of salt and vinegar cleaning lies in its simplicity and effectiveness. Vinegar, with its natural acidity, cuts through grease and grime, while salt acts as a gentle abrasive, scrubbing away stubborn stains. This dynamic duo can tackle everything from hard water stains in your bathroom to burnt-on food in your pots and pans.
In this article, I’m going to share some amazing DIY cleaning tricks using salt and vinegar that will not only save you money but also reduce your exposure to harmful chemicals. We’ll explore how to create powerful cleaning solutions for various areas of your home, from the kitchen to the bathroom, and even your outdoor spaces. Get ready to ditch the harsh chemicals and embrace the power of natural cleaning!
DIY All-Purpose Cleaner: Harnessing the Power of Salt and Vinegar
Okay, friends, let’s ditch those harsh chemicals and whip up a fantastic, all-purpose cleaner using just two ingredients you probably already have in your pantry: salt and vinegar! I’ve been using this concoction for ages, and I’m always amazed at how effective and eco-friendly it is. Get ready to be impressed!
What Makes This Cleaner So Great?
Before we dive into the how-to, let’s talk about why this simple cleaner is so awesome:
* Natural and Non-Toxic: No more worrying about harmful fumes or residues. This cleaner is safe for your family and pets.
* Effective Disinfectant: Vinegar is a natural disinfectant, killing many common household germs and bacteria.
* Deodorizing Power: Say goodbye to lingering odors! Vinegar neutralizes smells instead of just masking them.
* Removes Grime and Grease: Salt acts as a gentle abrasive, helping to scrub away stubborn dirt and grease.
* Inexpensive: Seriously, you can’t beat the price! This cleaner is incredibly budget-friendly.
* Versatile: From countertops to bathroom tiles, this cleaner can tackle a wide range of surfaces.
What You’ll Need
* White vinegar (the cheaper, the better!)
* Table salt (again, nothing fancy needed)
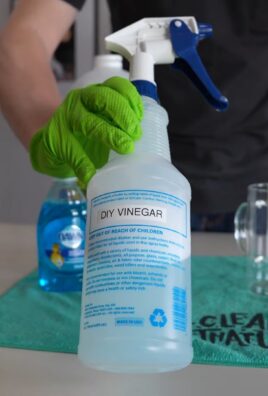
* Spray bottle (a clean, empty one, of course)
* Measuring cup and spoons
* Optional: Essential oils (for a pleasant scent – lemon, lavender, or tea tree are great choices)
* Optional: Funnel (to avoid spills)
Mixing the Magic: Step-by-Step Instructions
Alright, let’s get down to business! Here’s how to create your own powerful salt and vinegar cleaner:
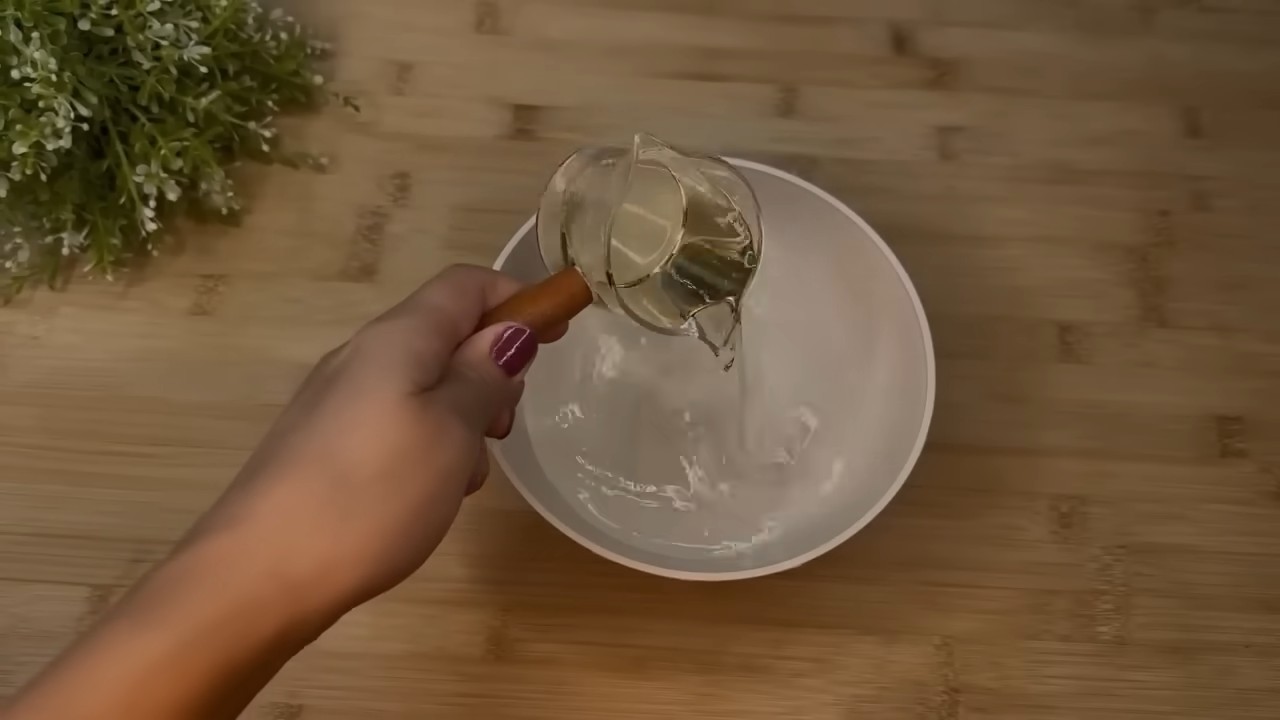
1. Prepare Your Vinegar Solution: In your measuring cup, pour 1 cup of white vinegar. Don’t worry about being exact, a little more or less won’t hurt. The key is the ratio of vinegar to salt.
2. Add the Salt: Now, add 1 tablespoon of table salt to the vinegar. I usually just eyeball it, but if you want to be precise, go for it!
3. Dissolve the Salt: This is the crucial step. You need to make sure the salt is completely dissolved in the vinegar. Stir the mixture thoroughly until no salt crystals are visible at the bottom of the cup. Sometimes, the salt can be stubborn. If it’s not dissolving easily, you can gently warm the vinegar in the microwave for about 30 seconds (be careful not to boil it!). Warming it up helps the salt dissolve faster.
4. Add Essential Oils (Optional): If you want to add a pleasant scent to your cleaner, now’s the time! I usually add about 5-10 drops of my favorite essential oil. Lemon is great for a fresh, clean scent, lavender is calming, and tea tree has added antibacterial properties. But feel free to experiment and find what you like best! Just remember that essential oils are potent, so a little goes a long way.
5. Transfer to Spray Bottle: Using a funnel (if you have one), carefully pour the salt and vinegar mixture into your clean spray bottle. If you don’t have a funnel, just pour slowly and steadily to avoid spills.
6. Label Your Bottle: This is important! Label your spray bottle clearly with “Salt and Vinegar Cleaner” so you don’t accidentally mix it up with something else. You can also add the date you made it.
7. Shake Well: Give your spray bottle a good shake before each use to ensure the salt is evenly distributed.
Where to Use Your Salt and Vinegar Cleaner
This cleaner is incredibly versatile! Here are some of my favorite ways to use it:
* Kitchen Countertops: Spray and wipe down your countertops to remove grease, grime, and food spills. Just be careful on natural stone surfaces like granite or marble, as the vinegar can etch them over time. Test in an inconspicuous area first.
* Bathroom Tiles: This cleaner is great for removing soap scum and mildew from bathroom tiles. Spray, let it sit for a few minutes, and then scrub with a sponge or brush.
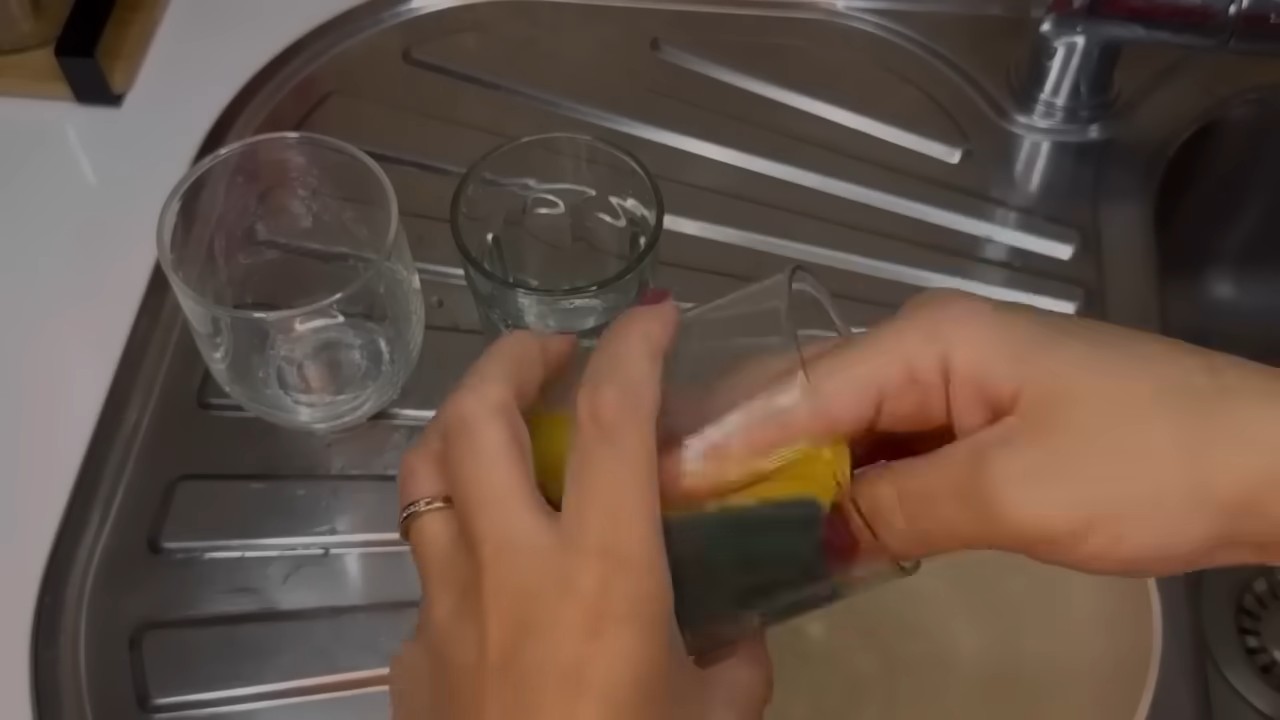
* Sinks and Faucets: Clean and shine your sinks and faucets with this simple solution. It helps remove water spots and mineral buildup.
* Shower Doors: Spray your shower doors to prevent soap scum buildup. Wipe down after each shower for best results.
* Garbage Disposal: Pour a cup of the cleaner down your garbage disposal to freshen it up and kill bacteria. Let it sit for about 30 minutes before running the disposal.
* Cutting Boards: Disinfect your cutting boards after each use by spraying them with the cleaner and wiping them down.
* Microwave: Heat a cup of the cleaner in the microwave for a few minutes to loosen food splatters. Then, wipe down the inside of the microwave with a cloth.
* Windows and Mirrors: Dilute the cleaner with water (1 part cleaner to 1 part water) and use it to clean windows and mirrors for a streak-free shine.
* Toilet Bowl: Pour a cup of the cleaner into the toilet bowl, let it sit for about 30 minutes, and then scrub and flush.
Surfaces to Avoid
While this cleaner is fantastic for many surfaces, there are a few you should avoid:
* Natural Stone: As mentioned earlier, vinegar can etch natural stone surfaces like granite, marble, and limestone.
* Waxed Furniture: The vinegar can strip the wax from waxed furniture.
* Aluminum: Vinegar can react with aluminum, causing it to corrode.
* Electronic Screens: Avoid spraying this cleaner directly onto electronic screens, as it can damage them.
Troubleshooting
* Strong Vinegar Smell: Don’t worry, the vinegar smell will dissipate quickly. If you’re sensitive to the smell, add more essential oils or open a window while you’re cleaning.
* Salt Not Dissolving: Try warming the vinegar slightly in the microwave to help the salt dissolve.
* Cleaner Not Working: Make sure you’re using enough cleaner and letting it sit for a few minutes before wiping. For stubborn stains, you may need to scrub a little harder.
Extra Tips and Tricks
* Infused Vinegar: For an extra boost of cleaning power and a more pleasant scent, try infusing your vinegar with citrus peels or herbs. Simply add the peels or herbs to a jar of vinegar and let it sit for a few weeks before using it to make your cleaner.
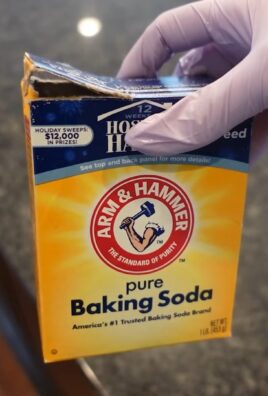
* Baking Soda Boost: For extra-tough cleaning jobs, sprinkle baking soda on the surface before spraying with the salt and vinegar cleaner. The combination of baking soda and vinegar creates a fizzing action that helps to loosen dirt and grime.
* Prevent Mold and Mildew: To prevent mold and mildew growth in your bathroom, spray the shower walls and door with the cleaner after each shower.
* Clean Your Washing Machine: Pour a cup of the cleaner into your washing machine and run a hot cycle to clean and disinfect it.
* Clean Your Dishwasher: Place a cup of the cleaner in the top rack of your dishwasher and run a cycle to clean and freshen it.
Safety First!
* Always test the cleaner in an inconspicuous area before using it on a large surface.
* Avoid mixing this cleaner with bleach, as it can create harmful fumes.
* Keep the cleaner out of reach of children and pets.
* Wear gloves if you have sensitive skin.
Why I Love This DIY Cleaner
Honestly, this salt and vinegar cleaner has become a staple in my cleaning routine. I love that it’s so simple to make, incredibly effective, and doesn’t contain any harsh chemicals. Plus, it saves me money! I feel good knowing that I’m using a natural and eco-friendly cleaner that’s safe for my family and the environment. Give it a try, and I think you’ll be just as impressed as I am! Happy cleaning!
Conclusion
So, there you have it! This simple yet incredibly effective salt and vinegar cleaning solution is a game-changer for anyone looking to ditch harsh chemicals and embrace a more natural and budget-friendly approach to keeping their home sparkling. We’ve explored how the acidic power of vinegar, combined with the abrasive properties of salt, creates a dynamic duo capable of tackling grime, stains, and odors throughout your house.
But why is this DIY trick a must-try? Beyond the obvious benefits of cost savings and eco-friendliness, it’s about taking control of what you’re using in your home. You know exactly what’s in your cleaning solution – no hidden ingredients or potentially harmful chemicals. This is especially important for households with children, pets, or individuals with sensitivities to strong fragrances and synthetic ingredients.
Furthermore, the versatility of this solution is truly remarkable. From scrubbing stubborn stains in your kitchen sink to revitalizing your bathroom tiles, the possibilities are endless. And don’t just limit yourself to the basic recipe! Feel free to experiment with variations to suit your specific needs and preferences.
Here are a few suggestions to get you started:
* **Infused Vinegar:** Before mixing with salt, infuse your vinegar with citrus peels (lemon, orange, grapefruit) or herbs (lavender, rosemary, thyme) for a more pleasant scent and added cleaning power. Simply steep the peels or herbs in vinegar for a week or two, then strain before using.
* **Essential Oil Boost:** Add a few drops of your favorite essential oils to the salt and vinegar mixture for an extra boost of fragrance and antibacterial properties. Lemon, tea tree, and eucalyptus are excellent choices.
* **Paste for Stubborn Stains:** For particularly stubborn stains, create a thicker paste by adding more salt to the vinegar. Apply the paste directly to the stain, let it sit for a few minutes, and then scrub gently.
* **Vinegar Type Variation:** While white vinegar is the most common and readily available option, you can also experiment with apple cider vinegar. Apple cider vinegar has a slightly milder scent and may be preferable for certain surfaces.
We are confident that once you experience the cleaning power of this simple salt and vinegar cleaning solution, you’ll be hooked. It’s a testament to the fact that sometimes, the most effective solutions are also the simplest and most natural.
Now, it’s your turn! We encourage you to give this DIY cleaning trick a try and see the amazing results for yourself. Don’t be afraid to experiment with different variations and find what works best for you. And most importantly, we want to hear about your experience! Share your tips, tricks, and success stories in the comments below. Let’s build a community of eco-conscious cleaners who are passionate about creating a healthier and more sustainable home environment. Your feedback will not only help others but also inspire us to continue sharing valuable and practical DIY solutions. So, grab your vinegar, salt, and a cleaning cloth, and get ready to transform your cleaning routine!
Frequently Asked Questions (FAQ)
Is salt and vinegar cleaning safe for all surfaces?
While salt and vinegar cleaning is generally safe and effective, it’s crucial to exercise caution on certain surfaces. Avoid using it on natural stone surfaces like marble, granite, and limestone, as the acidity of the vinegar can etch and damage them. Similarly, it’s best to avoid using it on waxed or oiled wood furniture, as it can strip the finish. Always test the solution on a small, inconspicuous area first to ensure it doesn’t cause any discoloration or damage. For delicate surfaces, dilute the vinegar with water to reduce its acidity.
What type of salt and vinegar should I use?
For vinegar, distilled white vinegar is the most commonly recommended option due to its high acidity and lack of color, which minimizes the risk of staining. However, you can also use apple cider vinegar, especially if you prefer its milder scent. As for salt, regular table salt works perfectly well for most cleaning tasks. However, for more abrasive cleaning, you can use coarser salts like sea salt or kosher salt. Just be mindful of the surface you’re cleaning and avoid using overly abrasive salts on delicate materials.
Can I use this solution to clean my oven?
Yes, you can use a salt and vinegar cleaning solution to clean your oven, but it may require a bit more effort than commercial oven cleaners. First, remove any loose debris from the oven. Then, create a paste of salt and vinegar and apply it to the interior surfaces of the oven, avoiding the heating elements. Let the paste sit for several hours or overnight to loosen the baked-on grime. Finally, scrub the oven with a sponge or brush and wipe clean with a damp cloth. You may need to repeat the process for particularly stubborn stains.
How do I get rid of the vinegar smell?
The strong smell of vinegar is a common concern for many people. Fortunately, the smell typically dissipates quickly after cleaning. To minimize the odor, ensure proper ventilation by opening windows or using a fan. You can also add a few drops of essential oils, such as lemon or lavender, to the cleaning solution to mask the vinegar smell. Another trick is to boil a pot of water with citrus peels or herbs after cleaning to freshen the air.
Can I store the salt and vinegar cleaning solution?
Yes, you can store the salt and vinegar cleaning solution for later use. However, it’s best to store it in a sealed container in a cool, dark place. Over time, the salt may settle to the bottom of the container, so be sure to shake it well before each use. While the solution doesn’t typically expire, it’s best to use it within a few months for optimal effectiveness.
Is this cleaning solution safe for septic systems?
Yes, salt and vinegar cleaning is generally considered safe for septic systems. Unlike harsh chemical cleaners, vinegar is a natural substance that breaks down quickly and doesn’t harm the beneficial bacteria in your septic tank. Salt, in small quantities, is also unlikely to cause any problems. However, it’s always a good idea to avoid pouring large amounts of any cleaning solution down the drain, regardless of whether it’s natural or chemical-based.
What are some other uses for salt and vinegar cleaning?
Beyond the uses mentioned earlier, salt and vinegar cleaning can be used for a variety of other tasks, including:
* **Cleaning grout:** Apply a paste of salt and vinegar to grout lines, let it sit for a few minutes, and then scrub with a brush.
* **Removing hard water stains:** Soak items with hard water stains in a solution of vinegar and water.
* **Polishing chrome and stainless steel:** Wipe chrome and stainless steel surfaces with a vinegar-soaked cloth and then buff with a dry cloth.
* **Cleaning coffee makers:** Run a cycle of vinegar and water through your coffee maker to remove mineral buildup.
* **Deodorizing garbage disposals:** Pour a mixture of salt and vinegar down the garbage disposal and let it sit for a few minutes before running the disposal with cold water.
Can I use this solution on my car?
While vinegar can be used for some car cleaning tasks, it’s important to exercise caution. Avoid using it on the car’s paint, as the acidity can damage the clear coat. However, you can use a diluted vinegar solution to clean the interior windows and mirrors. You can also use it to remove water spots from the exterior glass. Always test the solution on a small, inconspicuous area first to ensure it doesn’t cause any damage.
What if the salt scratches the surface I’m cleaning?
If you’re concerned about the salt scratching the surface you’re cleaning, you can try a few things. First, use a finer grain of salt, such as table salt, instead of a coarser salt like sea salt. Second, dilute the salt and vinegar solution with more water to reduce its abrasiveness. Finally, use a soft cloth or sponge to apply the solution and avoid scrubbing too hard. If you’re still concerned, test the solution on a small, inconspicuous area first to ensure it doesn’t cause any scratches.

Leave a Comment