
Rosemary indoor gardening kitchen – sounds like a dream, right? Imagine stepping into your kitchen and snipping fresh, fragrant rosemary to elevate your culinary creations. No more sad, dried-out herbs from the supermarket! This isn’t just a whimsical fantasy; it’s a totally achievable reality with a few simple tricks and DIY hacks.
For centuries, rosemary has been cherished not only for its culinary uses but also for its medicinal properties and symbolic significance. In ancient Greece, students wore rosemary garlands to improve memory, and it was often associated with remembrance and fidelity. Today, we can bring this historical herb right into our homes, adding a touch of tradition and a burst of fresh flavor to our lives.
But why bother with rosemary indoor gardening kitchen, you might ask? Well, for starters, it’s incredibly convenient! Having fresh herbs at your fingertips means you’re more likely to cook healthy, delicious meals. Plus, it’s a fantastic way to add a touch of greenery and life to your kitchen space, especially if you’re short on outdoor gardening space. I’m going to share some easy-to-follow DIY tips and tricks that will have you harvesting your own rosemary in no time. Get ready to transform your kitchen into a fragrant, herb-filled haven!
Grow Your Own Rosemary Oasis: A Kitchen Herb Garden DIY
Hey there, fellow herb enthusiasts! I’m so excited to share my foolproof method for growing rosemary indoors, right in your kitchen. Fresh rosemary at your fingertips is a game-changer for cooking, and it’s surprisingly easy to achieve with this DIY project. Let’s get started!
What You’ll Need
Before we dive in, let’s gather our supplies. This is a pretty straightforward project, so you probably have a lot of these items already.
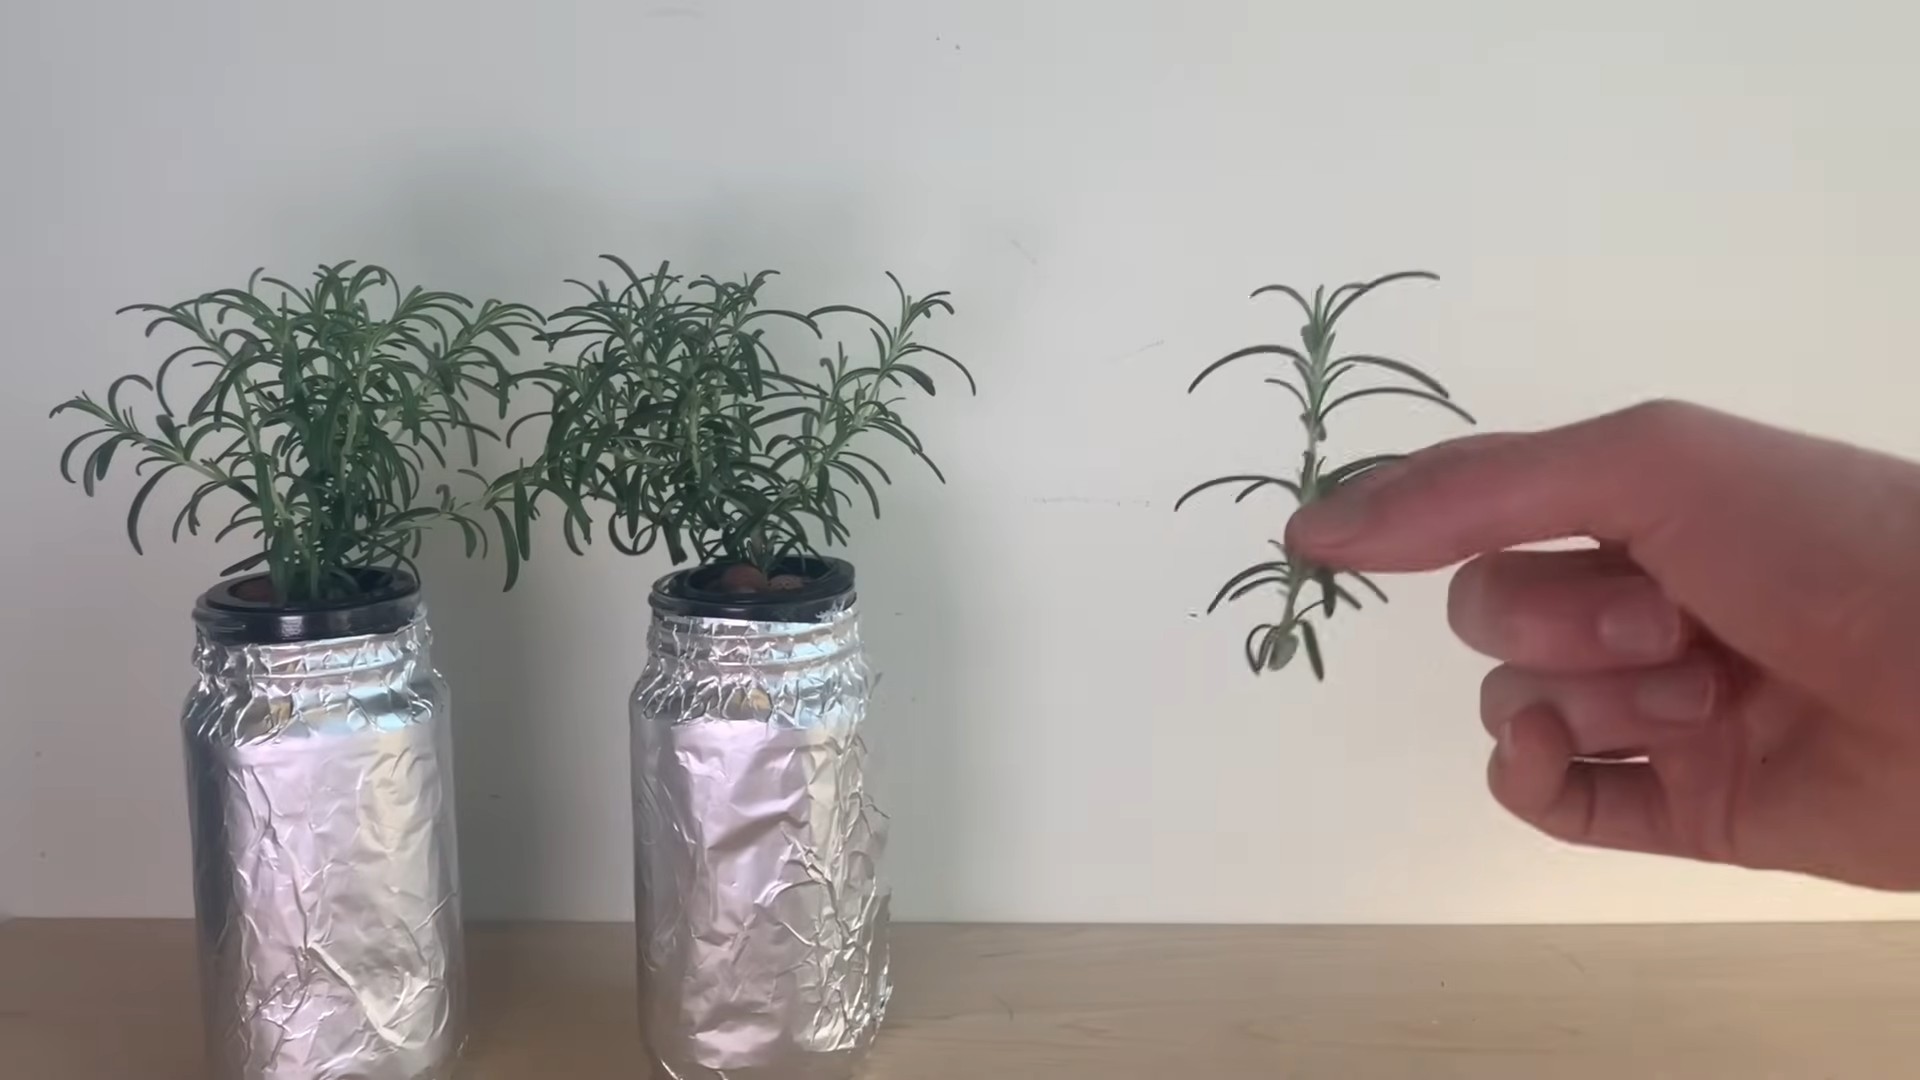
* Rosemary Plant or Cuttings: You can either buy a small rosemary plant from your local nursery or propagate your own from cuttings. I’ll cover both methods!
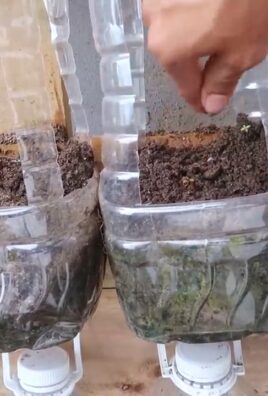
* Pot: Choose a pot that’s at least 6 inches in diameter with good drainage holes. Terracotta pots are great because they allow the soil to breathe.
* Potting Mix: Rosemary thrives in well-draining soil. A mix specifically formulated for herbs or a blend of potting soil, perlite, and sand works perfectly.
* Grow Light (Optional but Recommended): Rosemary needs a lot of sunlight, and if your kitchen doesn’t get enough, a grow light will be your best friend.
* Watering Can or Spray Bottle: For gentle watering.
* Pebbles or Gravel: To improve drainage.
* Rooting Hormone (If Propagating): This helps cuttings develop roots faster.
* Small Glass or Jar (If Propagating): For rooting cuttings in water.
* Pruning Shears or Scissors: For taking cuttings and trimming your plant.
* Gloves (Optional): To keep your hands clean.
Section 1: Planting a Rosemary Plant
If you’ve opted to buy a small rosemary plant, this section is for you. It’s the quickest way to get started, and you’ll have a thriving plant in no time.
1. Prepare the Pot:
* First, place a layer of pebbles or gravel at the bottom of your pot. This helps with drainage and prevents the soil from becoming waterlogged.
* Next, fill the pot about two-thirds full with your chosen potting mix.
2. Remove the Rosemary Plant from Its Container:
* Gently squeeze the sides of the nursery pot to loosen the soil.
* Carefully tip the pot upside down, supporting the plant with your hand.
* If the roots are tightly bound (root-bound), gently tease them apart with your fingers. This encourages them to spread out and grow into the new pot.
3. Plant the Rosemary:
* Place the rosemary plant in the center of the pot.
* Add more potting mix around the plant, filling the pot to about an inch below the rim.
* Gently pat down the soil to secure the plant.
4. Water Thoroughly:
* Water the rosemary plant until water drains out of the drainage holes. This ensures that the soil is evenly moistened.
5. Place in a Sunny Location:
* Rosemary needs at least 6-8 hours of sunlight per day. Place your pot in a south-facing window or under a grow light.
Section 2: Propagating Rosemary from Cuttings
Want to save some money and multiply your rosemary? Propagating from cuttings is a fun and rewarding way to do it. It takes a little more time, but it’s totally worth it!
1. Take Rosemary Cuttings:
* Using clean pruning shears or scissors, take cuttings that are about 4-6 inches long from the tips of healthy rosemary stems.
* Choose stems that are green and flexible, not woody.
* Remove the leaves from the bottom inch or two of each cutting. This is where the roots will grow.
2. Apply Rooting Hormone (Optional):
* Dip the cut ends of the rosemary cuttings into rooting hormone powder. This helps stimulate root growth.
* Tap off any excess powder.
3. Rooting in Water:
* Fill a small glass or jar with water.
* Place the rosemary cuttings in the water, making sure that the bottom inch or two (where you removed the leaves) is submerged.
* Place the glass in a bright, indirect light location. Avoid direct sunlight, which can overheat the water.
* Change the water every few days to keep it fresh.
4. Wait for Roots to Develop:
* It usually takes about 2-4 weeks for roots to develop. You’ll see small white roots emerging from the cut ends of the stems.
* Be patient! Rooting can take time, especially in cooler temperatures.
5. Plant the Rooted Cuttings:
* Once the roots are about an inch long, it’s time to plant the cuttings in soil.
* Prepare a pot with well-draining potting mix, as described in Section 1.
* Gently plant the rooted cuttings in the pot, spacing them a few inches apart.
* Water thoroughly and place in a sunny location or under a grow light.
Section 3: Rosemary Care Tips
Now that your rosemary is planted, let’s talk about how to keep it happy and healthy. Rosemary is relatively low-maintenance, but it does have a few specific needs.
* Watering:
* Rosemary prefers to dry out slightly between waterings. Overwatering can lead to root rot, which is a common problem.
* Water thoroughly when the top inch of soil feels dry to the touch.
* Make sure the pot has good drainage to prevent water from sitting at the bottom.
* During the winter months, when growth slows down, you’ll need to water less frequently.
* Sunlight:
* Rosemary needs at least 6-8 hours of sunlight per day. If you don’t have a sunny window, use a grow light.
* Rotate the pot regularly to ensure that all sides of the plant receive equal sunlight. This prevents the plant from leaning towards the light.
* Soil:
* Rosemary thrives in well-draining soil. Avoid heavy, clay-based soils that retain too much moisture.
* You can amend your potting mix with perlite or sand to improve drainage.
* Consider using a potting mix specifically formulated for herbs.
* Fertilizing:
* Rosemary doesn’t need a lot of fertilizer. Over-fertilizing can lead to leggy growth and a loss of flavor.
* Feed your rosemary plant with a balanced liquid fertilizer diluted to half strength every 2-3 months during the growing season (spring and summer).
* Avoid fertilizing during the winter months.
* Pruning:
* Pruning is essential for keeping your rosemary plant healthy and productive.
* Regularly trim the tips of the stems to encourage bushier growth.
* Remove any dead or yellowing leaves.
* You can also prune your rosemary plant to shape it and control its size.
* The best time to prune rosemary is in the spring, after it has finished flowering.
* Pests and Diseases:
* Rosemary is generally resistant to pests and diseases, but it can occasionally be affected by aphids, spider mites, or powdery mildew.
* Inspect your plant regularly for signs of pests or diseases.
* If you find any pests, you can try washing them off with a strong stream of water or using insecticidal soap.
* Powdery mildew can be treated with a fungicide.
* Good air circulation can help prevent fungal diseases.
* Temperature and Humidity:
* Rosemary prefers temperatures between 60-80°F (15-27°C).
* It can tolerate slightly cooler temperatures, but it’s best to avoid frost.
* Rosemary prefers low to moderate humidity. If your kitchen is very humid, make sure to provide good air circulation.
Section 4: Troubleshooting
Even with the best care, you might encounter a few challenges along the way. Here are some common problems and how to fix them:
* Yellowing Leaves:
* This can be caused by overwatering, underwatering, nutrient deficiencies, or pests.
* Check the soil moisture and adjust your watering accordingly.
* Fertilize your plant if it’s been a while since the last feeding.
* Inspect your plant for pests.
* Leggy Growth:
* This is usually caused by insufficient sunlight.
* Move your plant to a sunnier location or use a grow light.
* Prune the plant to encourage bushier growth.
* Root Rot:
* This is caused by overwatering and

Conclusion
So, there you have it! Transforming your kitchen into a fragrant, herb-filled haven with your own DIY rosemary indoor garden is not just a whimsical dream, but a readily achievable reality. We’ve walked you through the simple steps, highlighting the benefits of fresh, homegrown rosemary – from its culinary versatility to its air-purifying qualities and the sheer joy of nurturing a living thing.
Why is this DIY trick a must-try? Because it’s more than just growing a plant; it’s about elevating your cooking, enriching your home environment, and connecting with nature in a tangible way. Imagine the satisfaction of snipping fresh rosemary sprigs to season your roasted chicken, infuse your olive oil, or garnish your cocktails. The aroma alone will transform your kitchen into a culinary sanctuary. Plus, you’ll be reducing your reliance on store-bought herbs, saving money, and minimizing waste.
But the beauty of this DIY project lies in its adaptability. Feel free to experiment with different containers – terracotta pots, repurposed mason jars, or even stylish ceramic planters. Consider adding companion plants like thyme or oregano to create a miniature herb garden ecosystem. If you’re short on space, a vertical planter can be a fantastic solution. And don’t be afraid to get creative with your soil mix – adding perlite or vermiculite can improve drainage and aeration.
For those who want to take their rosemary cultivation to the next level, consider propagating new plants from cuttings. This is a cost-effective way to expand your rosemary collection and share the joy of gardening with friends and family. You can also experiment with different rosemary varieties, each with its unique flavor profile and growth habit. ‘Blue Boy’ rosemary, for example, is known for its compact size and intense aroma, while ‘Tuscan Blue’ rosemary boasts upright growth and vibrant blue flowers.
Ultimately, creating your own DIY rosemary indoor garden is an investment in your well-being and your culinary creativity. It’s a simple yet profound way to bring the beauty and bounty of nature into your home. So, gather your supplies, follow our guide, and prepare to be amazed by the results.
We wholeheartedly encourage you to embark on this rewarding journey. And once you’ve experienced the magic of homegrown rosemary, we’d love to hear about it! Share your photos, tips, and experiences in the comments below. Let’s create a community of indoor gardeners, inspiring each other to cultivate a greener, more flavorful world, one rosemary sprig at a time. Your success with this **rosemary indoor gardening** project is our success, and we can’t wait to see what you create!
Frequently Asked Questions (FAQ)
1. What kind of rosemary should I grow indoors?
While most rosemary varieties can be grown indoors, some are better suited than others. Compact varieties like ‘Blue Boy’ or ‘Dwarf’ rosemary are excellent choices for smaller spaces. ‘Tuscan Blue’ is another popular option, known for its upright growth and beautiful blue flowers. Consider the size of your container and the amount of sunlight available when selecting your rosemary variety. Ultimately, the best rosemary for you is the one that thrives in your specific indoor environment. Don’t be afraid to experiment and see which variety performs best in your kitchen.
2. How much sunlight does indoor rosemary need?
Rosemary thrives in bright, direct sunlight. Ideally, your indoor rosemary plant should receive at least 6-8 hours of sunlight per day. A south-facing window is usually the best option. If you don’t have access to sufficient natural light, consider supplementing with a grow light. Position the grow light a few inches above the plant and keep it on for 12-14 hours per day. Insufficient sunlight can lead to leggy growth and reduced aroma. Rotate your rosemary plant regularly to ensure that all sides receive adequate light.
3. What kind of soil is best for indoor rosemary?
Rosemary prefers well-draining soil. A mixture of potting soil, perlite, and sand is ideal. This combination provides good drainage and aeration, preventing root rot. Avoid using heavy, clay-based soils, as they can retain too much moisture. You can also add a small amount of compost to the soil mix to provide essential nutrients. Ensure that your container has drainage holes to allow excess water to escape. A slightly acidic to neutral soil pH (around 6.0 to 7.0) is optimal for rosemary growth.
4. How often should I water my indoor rosemary plant?
Water your rosemary plant when the top inch of soil feels dry to the touch. Avoid overwatering, as this can lead to root rot. Rosemary prefers to be slightly dry rather than constantly wet. When you water, water thoroughly until water drains out of the drainage holes. Allow the soil to dry out slightly between waterings. During the winter months, when growth slows down, you may need to water less frequently. Always check the soil moisture before watering to avoid overwatering.
5. How do I fertilize my indoor rosemary plant?
Rosemary is not a heavy feeder, but it benefits from occasional fertilization. Use a balanced liquid fertilizer diluted to half strength. Fertilize every 2-4 weeks during the growing season (spring and summer). Avoid fertilizing during the winter months when growth slows down. Over-fertilizing can lead to leggy growth and reduced aroma. You can also amend the soil with compost or worm castings to provide slow-release nutrients.
6. How do I prune my indoor rosemary plant?
Pruning is essential for maintaining a healthy and productive rosemary plant. Prune regularly to encourage bushier growth and prevent the plant from becoming leggy. Trim the tips of the stems to promote branching. You can also remove any dead or yellowing leaves. Pruning is best done in the spring or summer. Don’t be afraid to prune your rosemary plant – it will encourage new growth and improve its overall health. You can use the pruned rosemary sprigs for cooking or drying.
7. How do I propagate rosemary from cuttings?
Propagating rosemary from cuttings is a simple and cost-effective way to expand your rosemary collection. Take cuttings from healthy, non-flowering stems. Remove the lower leaves and dip the cut end in rooting hormone. Plant the cuttings in a well-draining potting mix and keep them moist. Place the cuttings in a warm, bright location, but avoid direct sunlight. Roots should develop within a few weeks. Once the cuttings have rooted, you can transplant them into individual pots.
8. What are some common problems with indoor rosemary and how do I fix them?
Common problems with indoor rosemary include root rot, powdery mildew, and pests like spider mites and aphids. Root rot is caused by overwatering. To prevent root rot, ensure that your soil is well-draining and avoid overwatering. Powdery mildew is a fungal disease that can occur in humid environments. To prevent powdery mildew, provide good air circulation and avoid overhead watering. Spider mites and aphids can be controlled with insecticidal soap or neem oil. Regularly inspect your rosemary plant for signs of pests or diseases and take action promptly.
9. Can I use tap water for my indoor rosemary plant?
While tap water is generally safe for rosemary plants, it can sometimes contain high levels of chlorine or fluoride, which can be harmful. If your tap water is heavily chlorinated, let it sit out for 24 hours before using it to water your rosemary plant. This will allow the chlorine to evaporate. Alternatively, you can use filtered water or rainwater.
10. How do I harvest rosemary from my indoor plant?
Harvest rosemary by snipping off sprigs as needed. Use sharp scissors or pruning shears to avoid damaging the plant. Harvest from the tips of the stems to encourage bushier growth. You can harvest rosemary at any time of year, but the flavor is usually most intense during the growing season. Freshly harvested rosemary can be used immediately or dried for later use. To dry rosemary, hang the sprigs upside down in a cool, dry place until they are completely dry.


Leave a Comment