
Planting Celery at Home might seem daunting, but trust me, it’s more rewarding than you think! Have you ever wondered if you could skip those grocery store runs for crisp, fresh celery and grow your own right in your backyard or even on your balcony? Well, you absolutely can! For centuries, celery has been cultivated not just for its culinary uses but also for its medicinal properties. Ancient civilizations, like the Greeks and Romans, valued it for its health benefits, and now, we can easily bring this historical vegetable into our modern homes.
I know what you’re thinking: “Gardening is hard!” But that’s where these DIY tricks and hacks come in. We’re going to break down the process of planting celery at home into simple, manageable steps. Imagine the satisfaction of harvesting your own celery, knowing exactly where it came from and what went into growing it. Plus, think of all the delicious celery sticks, soups, and salads you can enjoy! This guide is designed to empower even the most novice gardeners to successfully grow their own celery, saving money, reducing waste, and enjoying the freshest produce possible. Let’s get started and transform your space into a thriving celery patch!
Growing Celery From Kitchen Scraps: A Beginner’s Guide
Hey there, fellow gardening enthusiasts! Ever wondered if you could regrow celery from that leftover stalk you were about to toss? Well, guess what? You absolutely can! It’s a super easy and rewarding DIY project that’s perfect for beginners and seasoned gardeners alike. Plus, it’s a fantastic way to reduce food waste and enjoy fresh, homegrown celery. Let’s dive in!
What You’ll Need
Before we get started, let’s gather our supplies. Here’s what you’ll need:
* A celery stalk base (about 2-3 inches from the bottom, with the root end intact).
* A shallow dish or bowl.
* Water (tap water is fine).
* A sunny windowsill or well-lit area.
* Potting soil.
* A pot or container (at least 6 inches in diameter).
* A spray bottle (optional, but helpful for misting).
* Gardening gloves (optional, but recommended to keep your hands clean).
Phase 1: Rooting Your Celery Base
This is the crucial first step where we encourage the celery base to sprout new roots. It’s surprisingly simple!
1. Prepare the Celery Base: Carefully inspect your celery stalk base. Make sure it’s firm and doesn’t show signs of rot or mold. Gently remove any loose or damaged outer stalks. You want a clean, healthy base to work with.
2. Place in Water: Fill your shallow dish or bowl with about an inch of water. Place the celery base, cut-side up, in the water. Make sure the bottom of the base is submerged, but the top remains dry. This prevents rotting.
3. Find a Sunny Spot: Place the dish with the celery base on a sunny windowsill or in a well-lit area. Celery needs plenty of light to thrive. A south-facing window is ideal, but an east or west-facing window will also work.
4. Change the Water Regularly: This is important! Change the water every 1-2 days to keep it fresh and prevent bacterial growth. This will also provide the celery with a constant supply of oxygen.
5. Observe and Wait: Now comes the waiting game. Within a few days to a week, you should start to see small roots emerging from the bottom of the celery base. You might also notice new green shoots sprouting from the top. This is a great sign!
Phase 2: Planting Your Celery
Once your celery base has developed a good root system, it’s time to move it to a pot with soil.
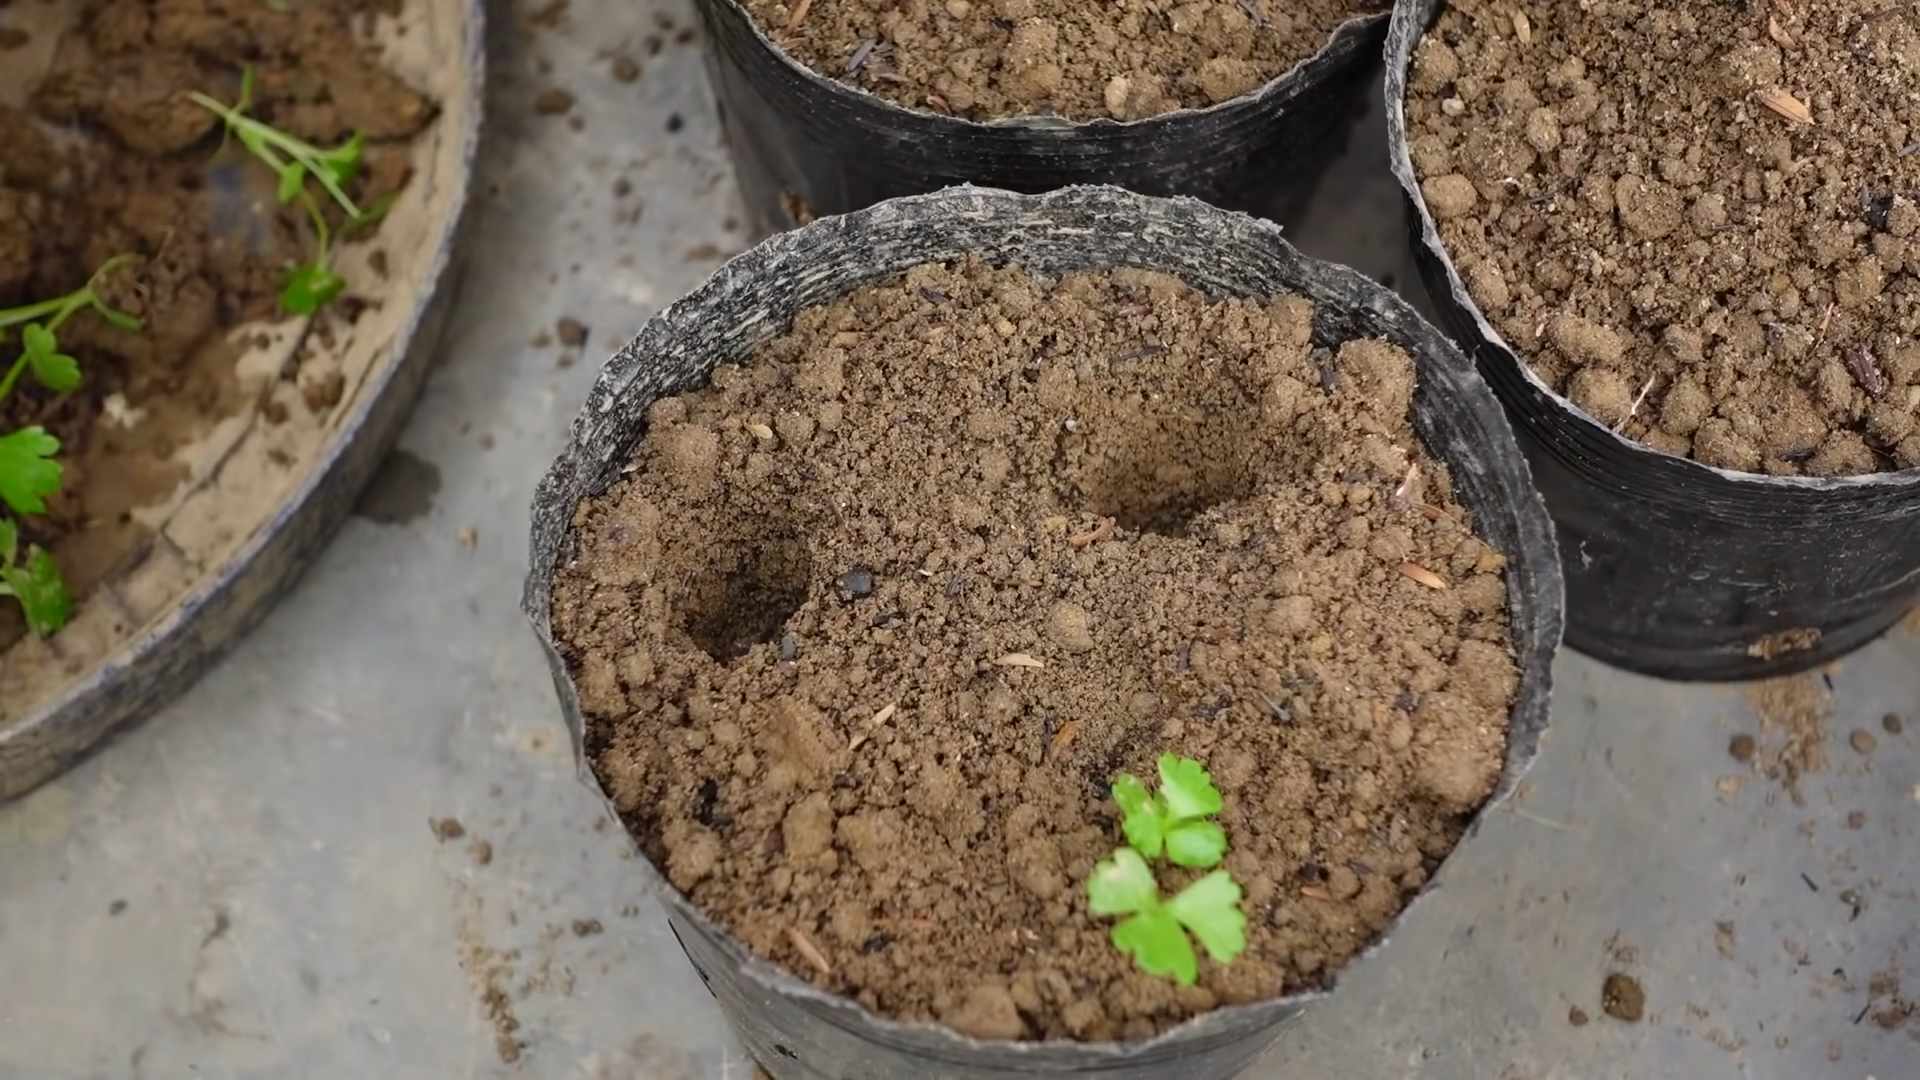
1. Prepare Your Pot: Choose a pot or container that’s at least 6 inches in diameter and has drainage holes. Fill it with good-quality potting soil. You can also add some compost to enrich the soil.
2. Make a Hole: Use your finger or a small trowel to create a hole in the center of the pot, large enough to accommodate the celery base and its roots.
3. Carefully Transplant: Gently remove the celery base from the water. Be careful not to damage the delicate roots. Place the celery base in the hole, making sure the top of the base is level with the soil surface.
4. Fill and Firm: Fill the hole with potting soil, gently firming it around the celery base. Water thoroughly to settle the soil.
5. Watering Schedule: Celery needs consistent moisture, so water your newly planted celery regularly. Aim to keep the soil moist but not waterlogged. Check the soil moisture level daily by sticking your finger into the soil. If the top inch feels dry, it’s time to water.
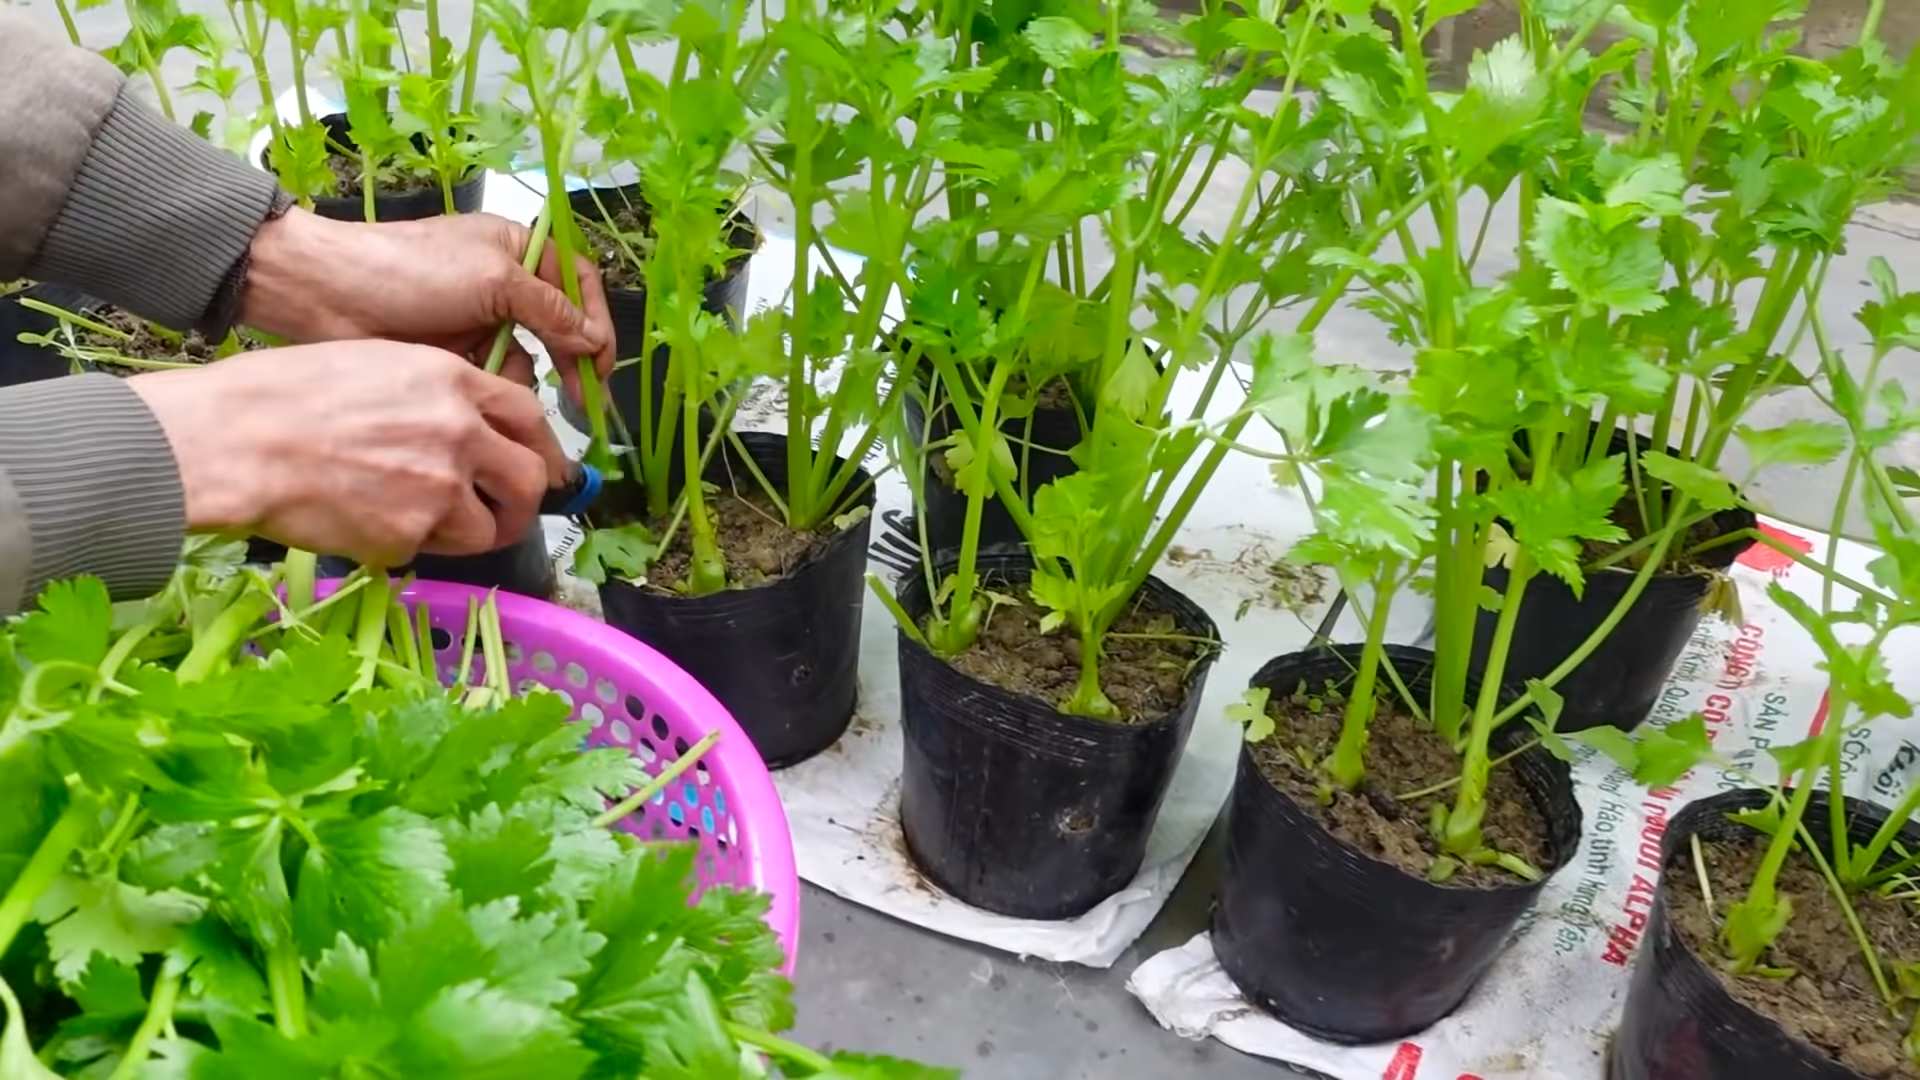
Phase 3: Caring for Your Growing Celery
Now that your celery is planted, it’s time to provide it with the care it needs to grow into a healthy, productive plant.
1. Sunlight: Celery needs at least 6 hours of sunlight per day. If you don’t have a sunny windowsill, you can supplement with a grow light.
2. Watering: As mentioned earlier, consistent moisture is key. Water regularly, especially during hot, dry weather. Avoid letting the soil dry out completely.
3. Fertilizing: Celery is a heavy feeder, so it benefits from regular fertilization. You can use a balanced liquid fertilizer, diluted to half strength, every 2-3 weeks. Alternatively, you can amend the soil with compost or other organic matter.
4. Pest Control: Keep an eye out for common garden pests like aphids, slugs, and snails. You can control these pests with organic methods like hand-picking, insecticidal soap, or diatomaceous earth.
5. Blanching (Optional): Blanching is a technique used to make celery stalks more tender and less bitter. About two weeks before you plan to harvest, you can blanch your celery by wrapping the stalks with newspaper or cardboard, leaving the top leaves exposed. This will block sunlight and prevent the stalks from turning green and bitter.
Troubleshooting Tips
Even with the best care, you might encounter some challenges along the way. Here are some common problems and how to fix them:
* Yellowing Leaves: This could be a sign of overwatering, underwatering, or nutrient deficiency. Check the soil moisture level and adjust your watering schedule accordingly. Fertilize with a balanced fertilizer to provide essential nutrients.
* Stunted Growth: This could be due to insufficient sunlight, poor soil, or pest infestation. Make sure your celery is getting enough sunlight and that the soil is well-draining and nutrient-rich. Inspect your plant for pests and take appropriate action.
* Rotting Base: This is usually caused by overwatering or poor drainage. Make sure your pot has drainage holes and that you’re not letting the celery base sit in standing water.
Harvesting Your Celery
After a few months of care, your celery should be ready to harvest!
1. When to Harvest: You can start harvesting celery stalks when they are at least 6 inches long. The stalks should be firm and crisp.
2. How to Harvest: Use a sharp knife to cut the outer stalks near the base of the plant. You can harvest individual stalks as needed, or you can harvest the entire plant at once.
3. Enjoy Your Harvest: Freshly harvested celery is delicious and nutritious! You can eat it raw in salads, dips, or as a snack. You can also cook it in soups, stews, and stir-fries.
Extra Tips for Success
* Choose a Healthy Celery Stalk: The success of this project depends on starting with a healthy celery stalk. Look for a stalk that’s firm, crisp, and free from blemishes.
* Be Patient: Regrowing celery takes time and patience. Don’t get discouraged if you don’t see results immediately. Just keep providing your celery with the care it needs, and it will eventually thrive.
* Experiment: Once you’ve mastered the basics of regrowing celery, you can experiment with different varieties and growing techniques. Try growing celery in different types of soil, or try blanching your celery to see if you prefer the taste.
* Enjoy the Process: Gardening is a rewarding hobby that can bring you joy and satisfaction. Take the time to appreciate the beauty of nature and the miracle of life.
Growing celery from kitchen scraps is a fun and easy way to add fresh, homegrown produce to your diet. With a little bit of effort, you can enjoy a continuous supply of celery without ever having to buy it from the store. So, what are you waiting for? Grab that celery stalk and get growing! I hope you found this guide helpful, and happy gardening!
Conclusion
So, there you have it! Planting celery at home isn’t just a gardening project; it’s a gateway to fresher, more flavorful meals and a deeper connection with the food you eat. We’ve walked you through the simple steps, from rescuing that celery base to nurturing a thriving plant. The beauty of this DIY trick lies in its accessibility. You don’t need acres of land or a green thumb of mythical proportions. A sunny windowsill, a container, and a little patience are all you need to embark on this rewarding journey.
Why is this a must-try? Because store-bought celery, while convenient, often lacks the vibrant taste and crisp texture of homegrown. Plus, think of the satisfaction of harvesting your own celery, knowing exactly where it came from and how it was grown. It’s a small step towards a more sustainable lifestyle and a delicious one at that.
But the fun doesn’t stop there! Feel free to experiment with different celery varieties. Try growing ‘Utah Tall’ for its classic flavor or ‘Golden Self-Blanching’ for a sweeter, milder taste. You can also explore companion planting. Celery thrives alongside onions, tomatoes, and cabbage, creating a mutually beneficial ecosystem in your garden. Consider adding some marigolds nearby to deter pests naturally.
Don’t be afraid to get creative with your celery harvest. Beyond the classic crudités and soups, try adding chopped celery to salads, stir-fries, or even smoothies for a nutritional boost. The possibilities are endless!
We wholeheartedly encourage you to give this DIY trick a try. It’s a simple, cost-effective, and incredibly rewarding way to enjoy fresh, homegrown celery. And most importantly, we want to hear about your experience! Share your photos, tips, and triumphs in the comments below. Let’s build a community of home gardeners, one celery stalk at a time. Happy planting!
Frequently Asked Questions (FAQs)
Q: How long does it take to grow celery from a base?
A: The initial regrowth from the celery base is relatively quick. You should see new leaves sprouting within a week or two. However, growing a full-sized celery plant ready for harvest takes longer, typically around 3-4 months from the time you transplant the sprouted base into soil. Patience is key! Remember that environmental factors like sunlight and temperature can influence the growth rate.
Q: What kind of soil is best for planting celery?
A: Celery thrives in rich, well-draining soil that is high in organic matter. A good mix would be equal parts of compost, potting soil, and perlite or vermiculite for drainage. The ideal soil pH is between 6.0 and 6.8, which is slightly acidic to neutral. You can amend your soil with compost or aged manure before planting to improve its fertility and drainage. Avoid heavy clay soils, as they can become waterlogged and hinder root development.
Q: How much sunlight does celery need?
A: Celery needs at least 6 hours of direct sunlight per day to thrive. A sunny windowsill or a spot in your garden that receives full sun is ideal. If you live in a particularly hot climate, providing some afternoon shade can help prevent the leaves from scorching. Insufficient sunlight can result in leggy growth and smaller, less flavorful stalks.
Q: How often should I water my celery plant?
A: Celery needs consistent moisture to grow properly. Water deeply whenever the top inch of soil feels dry to the touch. Avoid letting the soil dry out completely, as this can stress the plant and lead to bitter-tasting stalks. However, be careful not to overwater, as soggy soil can lead to root rot. A good rule of thumb is to water thoroughly every 2-3 days, depending on the weather conditions and the drainage of your soil.
Q: What are some common pests and diseases that affect celery?
A: Celery can be susceptible to several pests and diseases, including aphids, celery leaf miners, and fungal diseases like early blight and late blight. Regularly inspect your plants for signs of infestation or disease. Aphids can be controlled with insecticidal soap or a strong blast of water. Celery leaf miners can be managed by removing and destroying infested leaves. To prevent fungal diseases, ensure good air circulation around your plants and avoid overhead watering. You can also use organic fungicides if necessary.
Q: Can I grow celery indoors year-round?
A: Yes, you can grow celery indoors year-round, provided you can meet its sunlight and moisture requirements. A sunny windowsill or a grow light can provide the necessary light. Be sure to choose a pot that is large enough to accommodate the plant’s root system. Regular fertilization is also important to ensure healthy growth.
Q: How do I know when my celery is ready to harvest?
A: Celery is typically ready to harvest when the stalks are at least 6-8 inches long and have reached a desirable thickness. The exact time will depend on the variety and growing conditions. You can harvest individual stalks as needed, or you can harvest the entire plant at once. To harvest, simply cut the stalks at the base of the plant with a sharp knife.
Q: Can I regrow celery from the base more than once?
A: While you can often get a second flush of growth from a celery base, the subsequent stalks may be smaller and less robust than the first. It’s generally best to start with a fresh celery base for each planting cycle to ensure the best results. However, it’s worth experimenting to see how many times you can successfully regrow celery from the same base.
Q: What can I do with the celery leaves?
A: Don’t throw away the celery leaves! They are packed with flavor and nutrients and can be used in a variety of ways. Add them to soups, stews, and broths for extra flavor. You can also chop them up and use them as a garnish for salads or other dishes. Celery leaves can also be dried and used as a seasoning.
Q: Is planting celery at home organic?
A: Planting celery at home can be organic if you use organic soil, fertilizers, and pest control methods. Avoid using synthetic pesticides and herbicides. Choose organic seeds or celery from organic sources to start your planting. By controlling the inputs and practices used in your home garden, you can ensure that your celery is grown organically.


Leave a Comment