
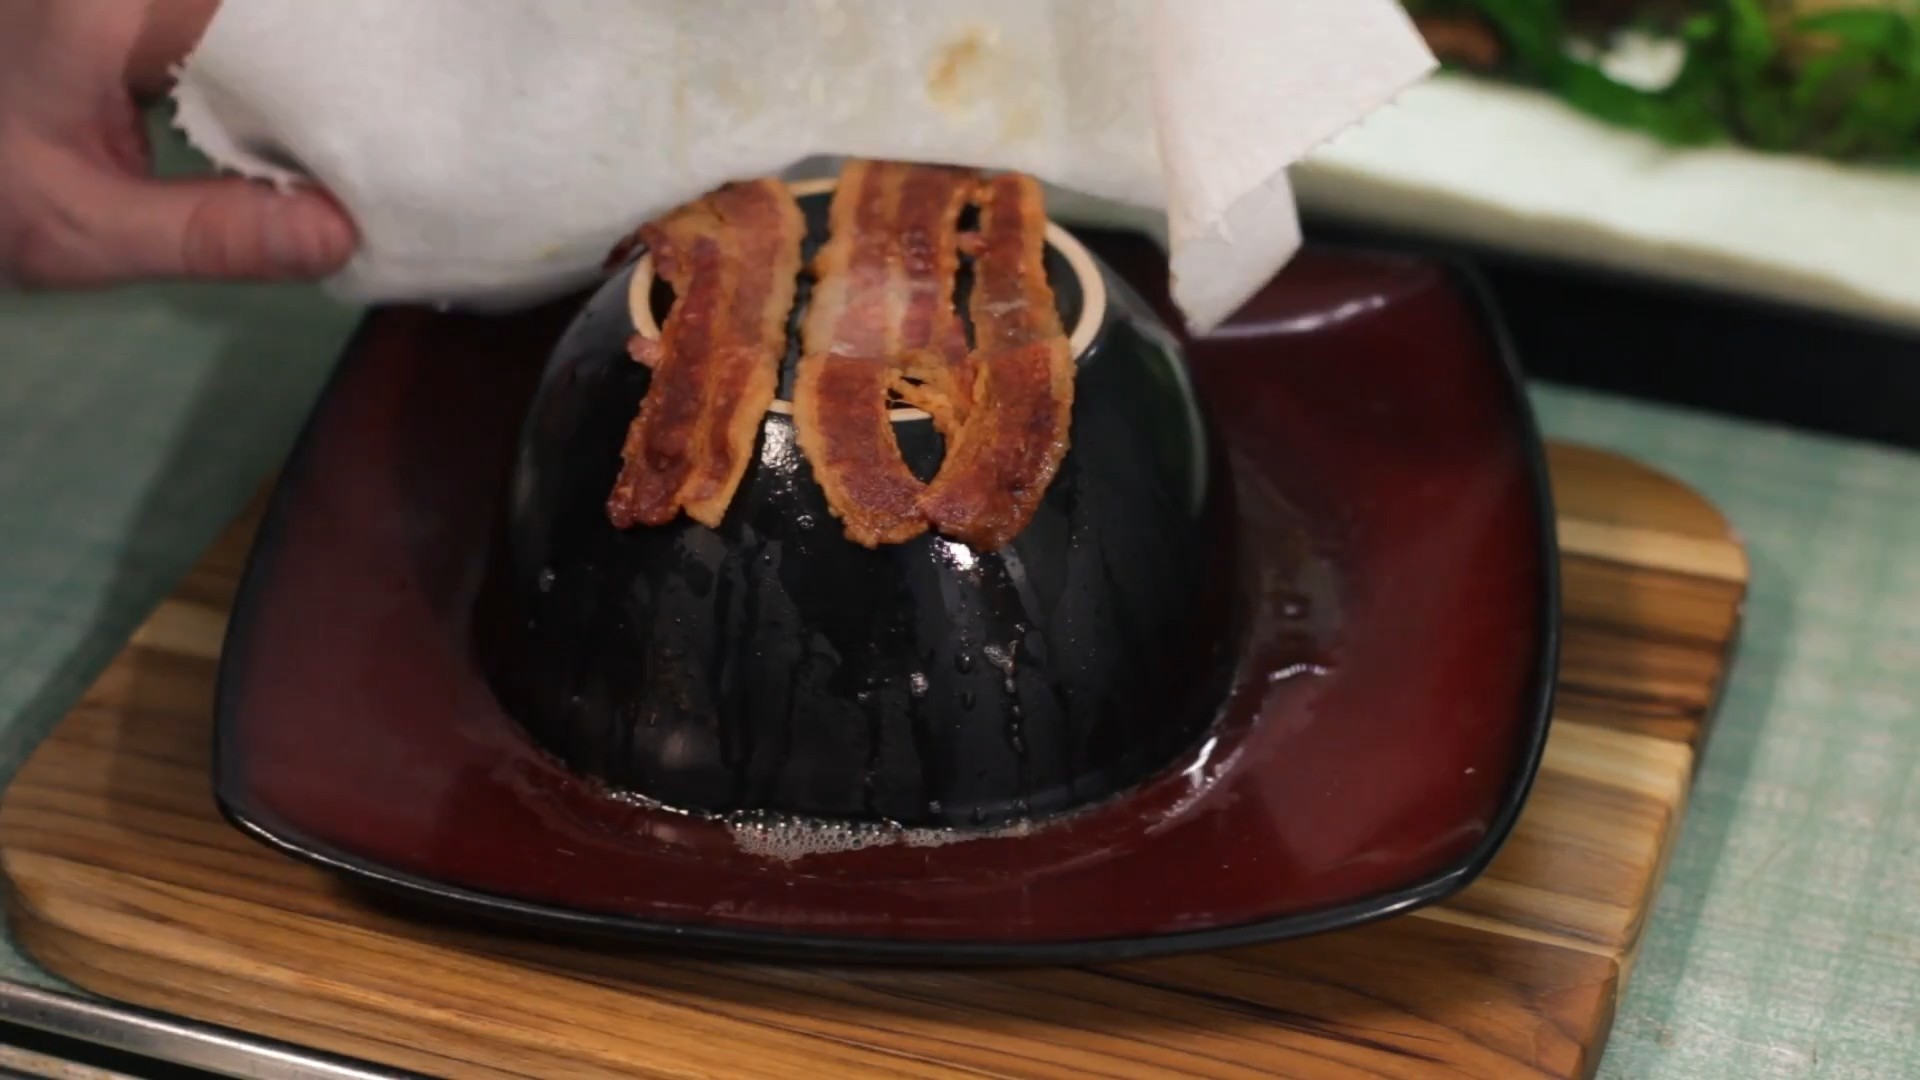
Microwave cleaning hacks 鈥?let’s be honest, is there anyone who enjoys cleaning their microwave? I know I don’t! It’s one of those chores that always seems to get pushed to the bottom of the list, until you’re staring at a Jackson Pollock-esque splatter painting of reheated spaghetti sauce. But fear not, fellow home cooks and busy bees! This isn’t just another article telling you to scrub until your arms ache. We’re diving into the world of clever, easy, and surprisingly effective microwave cleaning hacks that will have your appliance sparkling in minutes.
Microwaves have become such an integral part of our modern lives, zapping leftovers and popping popcorn with incredible speed. While their invention is relatively recent compared to other kitchen appliances, their impact is undeniable. But with great convenience comes great responsibility鈥?the responsibility to keep them clean! And that’s where these hacks come in.
Let’s face it, a dirty microwave isn’t just unsightly; it can also affect the taste of your food and even harbor bacteria. Nobody wants that! These microwave cleaning hacks are designed to save you time, effort, and elbow grease. I’m going to share some of my favorite DIY tricks that use common household ingredients to loosen grime, eliminate odors, and leave your microwave looking (and smelling!) fresh. So, ditch the harsh chemicals and get ready to discover the secrets to a sparkling clean microwave 鈥?the easy way!
Harvesting Zucchini Like a Pro: A DIY Guide
Okay, zucchini lovers, let’s talk about harvesting! There’s nothing quite like the satisfaction of picking your own homegrown zucchini, but knowing when and how to harvest them is key to getting the best flavor and yield. Trust me, I’ve made my share of zucchini-growing mistakes, and I’m here to share what I’ve learned so you can avoid them!
Understanding Zucchini Growth
Before we dive into the harvesting process, let’s quickly cover zucchini growth. Zucchini plants are incredibly prolific, which is both a blessing and a curse! They grow rapidly, and those little zucchini can go from cute to colossal in what feels like overnight.
* Rapid Growth: Zucchini can double in size in just a day or two, especially during warm weather.
* Continuous Production: If you harvest regularly, your plant will continue to produce more zucchini throughout the season.
* Ideal Size: Smaller zucchini (6-8 inches long) are generally more tender and flavorful than larger ones.
When to Harvest: The Golden Rule
The most crucial part of harvesting zucchini is knowing when they’re ready. Here’s the golden rule:
* Harvest when they are young and tender. This is usually when they are 6-8 inches long.
Why this size? Because larger zucchini tend to be seedy, watery, and less flavorful. Plus, leaving large zucchini on the plant can actually inhibit the production of new fruit.
Tools You’ll Need
You don’t need a ton of fancy equipment to harvest zucchini. Here’s what I recommend:
* A sharp knife or pruning shears: This is essential for making a clean cut and preventing damage to the plant.
* Gloves (optional): Zucchini plants can sometimes have prickly stems, so gloves can protect your hands.
* A basket or bag: To carry your harvest!
Step-by-Step Harvesting Guide
Alright, let’s get down to the nitty-gritty. Here’s my step-by-step guide to harvesting zucchini:
1. Inspect Your Plants Regularly: This is probably the most important step. Check your zucchini plants every day or two, especially during peak growing season. Look for zucchini that are 6-8 inches long and have smooth, unblemished skin.
2. Locate the Zucchini Stem: Find where the zucchini stem connects to the main plant stem. You’ll want to make your cut here.
3. Make a Clean Cut: Using your sharp knife or pruning shears, make a clean, angled cut through the stem, about 2 inches from the zucchini. This helps prevent disease from entering the cut stem on the main plant.
4. Handle with Care: Zucchini can bruise easily, so handle them gently. Place them carefully in your basket or bag.
5. Repeat as Needed: Continue harvesting any other zucchini that are ready. Remember, regular harvesting encourages more production!
Dealing with Oversized Zucchini (Oops!)
Okay, so maybe you missed a few days of checking your plants, and now you have a couple of giant zucchini. Don’t panic! Here’s what you can do:
* Harvest them anyway: Even if they’re not ideal for eating fresh, oversized zucchini can still be used in baking or for making zucchini bread.
* Remove the seeds: Cut the zucchini in half lengthwise and scoop out the seeds. They’ll be large and well-developed.
* Grate the flesh: Grate the zucchini flesh and squeeze out any excess moisture. This will help prevent your baked goods from becoming soggy.
* Compost the leftovers: If the zucchini is truly inedible, compost it!
Extending Your Zucchini Harvest
Want to keep those zucchini coming all season long? Here are a few tips:
* Water Regularly: Zucchini plants need consistent moisture, especially during hot weather. Water deeply at the base of the plant, avoiding wetting the leaves (which can lead to fungal diseases).
* Fertilize: Feed your zucchini plants with a balanced fertilizer every few weeks.
* Control Pests and Diseases: Keep an eye out for common zucchini pests like squash bugs and squash vine borers. Treat any infestations promptly. Also, watch for signs of fungal diseases like powdery mildew and take steps to prevent or control them.
* Succession Planting: Plant new zucchini seeds every few weeks to ensure a continuous harvest throughout the season.
Storing Your Harvested Zucchini
So, you’ve got a basket full of beautiful zucchini. Now what? Here’s how to store them properly:
* Refrigerate: Store zucchini in the refrigerator in a plastic bag. They should last for about a week.
* Don’t wash until ready to use: Washing zucchini before storing them can encourage them to rot.
* Freeze: If you have a lot of zucchini, you can freeze it for later use. Grate the zucchini, squeeze out the excess moisture, and freeze it in freezer bags or containers.
* Blanching: Blanching zucchini before freezing helps preserve its color and texture. To blanch, boil zucchini slices for 1-2 minutes, then immediately plunge them into ice water. Drain well and freeze.
Creative Ways to Use Your Zucchini Harvest
Okay, let’s be honest, sometimes it feels like you’re drowning in zucchini! Here are some creative ways to use your harvest:
* Zucchini Bread: A classic for a reason!
* Zucchini Noodles (Zoodles): A healthy and delicious alternative to pasta.
* Grilled Zucchini: Simple and flavorful.
* Zucchini Fritters: A tasty appetizer or side dish.
* Zucchini Soup: A creamy and comforting soup.
* Stuffed Zucchini: Fill zucchini with rice, meat, or vegetables.
* Zucchini Relish: A tangy and flavorful condiment.
* Zucchini Blossoms: Yes, you can eat the flowers! They’re delicious fried or stuffed.
Troubleshooting Common Zucchini Problems
Even with the best care, you might encounter some problems with your zucchini plants. Here are a few common issues and how to address them:
* Lack of Fruit Production: This can be caused by a lack of pollination. Make sure there are plenty of bees and other pollinators in your garden. You can also hand-pollinate the flowers yourself.
* Blossom End Rot: This is caused by a calcium deficiency. Make sure your soil is rich in calcium and water your plants regularly.
* Powdery Mildew: This fungal disease can be prevented by providing good air circulation and avoiding wetting the leaves. Treat with a fungicide if necessary.
* Squash Bugs and Squash Vine Borers: These pests can be controlled with insecticides or by hand-picking them off the plants.
Hand-Pollinating Zucchini: A Quick Guide
If you’re having trouble with fruit production, hand-pollinating your zucchini flowers can help. Here’s how:
1. Identify Male and Female Flowers: Male flowers have a long, thin stem, while female flowers have a small zucchini-like fruit at the base.
2. Collect Pollen: In the morning, pick a male flower and gently remove the petals to expose the stamen (the pollen-bearing part).
3. Transfer Pollen: Gently rub the stamen of the male flower onto the stigma (the sticky part) of the female flower.
4. Repeat: Repeat this process with several female flowers.
Zucchini Varieties to Consider
There are many different varieties of zucchini to choose from. Here are a few of my favorites:
* Black Beauty: A classic dark green zucchini.
* Golden Zucchini: A bright yellow zucchini with a mild flavor.
* Costata Romanesco: A ribbed zucchini with a nutty flavor.
* Eight Ball: A round zucchini that’s perfect for stuffing.
Final Thoughts
Harvesting zucchini is a rewarding experience that allows you to enjoy the fruits (or vegetables!) of your labor. By following these tips, you can ensure a bountiful harvest of delicious, tender zucchini all season long. Happy gardening!

Conclusion
So, there you have it! This simple, yet incredibly effective, DIY microwave cleaning hack is a game-changer for anyone who wants a sparkling clean microwave without harsh chemicals or endless scrubbing. We’ve all been there, staring into the abyss of splattered food and dried-on grime, dreading the task ahead. But with just a lemon (or vinegar!), water, and a few minutes of your time, you can transform your microwave from a biohazard zone to a pristine cooking appliance.
Why is this a must-try? Because it’s fast, it’s cheap, and it’s safe. Forget those expensive microwave cleaners filled with questionable ingredients. This method harnesses the natural cleaning power of steam and citrus (or vinegar) to loosen even the most stubborn messes. Plus, it leaves your microwave smelling fresh and clean, not like a chemical factory.
Beyond the Basics: Variations and Enhancements
While the lemon and vinegar methods are incredibly effective on their own, feel free to experiment and customize this DIY microwave cleaning hack to suit your preferences.
* Essential Oils: Add a few drops of your favorite essential oil (like lavender, eucalyptus, or tea tree) to the water for an extra boost of fragrance and antibacterial properties. Just be sure to use oils that are safe for microwave use.
* Orange Peels: If you don’t have a lemon on hand, orange peels work just as well! They contain similar citric acid and will leave your microwave smelling wonderfully citrusy.
* Baking Soda Paste: For particularly stubborn stains, create a paste of baking soda and water and apply it directly to the affected areas after steaming. Let it sit for a few minutes before wiping clean.
* Dish Soap Boost: Add a tiny drop of dish soap to the water for extra degreasing power. Be careful not to use too much, as it can create excessive suds.
Your Microwave Cleaning Journey Awaits!
We’re confident that this DIY microwave cleaning hack will revolutionize your cleaning routine. It’s a simple, effective, and eco-friendly way to keep your microwave sparkling clean. So, ditch the harsh chemicals and embrace the power of natural cleaning.
We encourage you to try this method and share your experience with us! Let us know in the comments below how it worked for you, what variations you tried, and any tips you discovered along the way. We’re always eager to learn from our readers and build a community of cleaning enthusiasts. Happy cleaning!
Frequently Asked Questions (FAQ)
Q: How often should I clean my microwave using this method?
A: The frequency depends on how often you use your microwave and how prone it is to splatters. As a general rule, cleaning it once a week is a good habit to maintain a clean and hygienic cooking environment. If you notice frequent splatters or spills, you might want to clean it more often. Conversely, if you rarely use your microwave, you can probably get away with cleaning it every other week. Regular cleaning prevents food from hardening and becoming more difficult to remove later.
Q: Can I use any type of lemon or vinegar for this DIY microwave cleaning hack?
A: Yes, you can use any type of lemon or vinegar. Regular lemons and white vinegar are the most commonly used and readily available options. However, you can also use Meyer lemons, which have a slightly sweeter and less acidic flavor. Apple cider vinegar is another suitable alternative to white vinegar, although it may leave a slightly different scent. The key ingredient is the citric acid in lemons or the acetic acid in vinegar, which helps to loosen grime and grease.
Q: Is it safe to microwave a lemon or vinegar solution?
A: Yes, it is generally safe to microwave a lemon or vinegar solution, but it’s crucial to follow the instructions carefully. Always use a microwave-safe bowl and ensure that the bowl is not filled to the brim to prevent boiling over. Keep a close eye on the microwave while it’s running, and stop it immediately if you notice any sparking or unusual activity. The steam generated during the process is what helps to loosen the grime, making it easier to wipe away.
Q: What if I don’t have a lemon or vinegar? Are there any other alternatives?
A: While lemon and vinegar are the most common and effective options, you can try other alternatives. A solution of baking soda and water can also work as a mild cleaning agent. Mix a tablespoon of baking soda with a cup of water and microwave it for a few minutes. Another option is to use a small amount of dish soap diluted in water. However, be cautious not to use too much soap, as it can create excessive suds. In a pinch, even plain water can help to loosen some of the grime, although it may not be as effective as lemon or vinegar.
Q: The grime in my microwave is really stubborn. What can I do?
A: For particularly stubborn grime, you can try a few different approaches. First, extend the microwaving time by a few minutes to generate more steam. Second, after microwaving, let the steam sit inside the microwave for an additional 5-10 minutes before wiping it clean. This allows the steam to penetrate and loosen the grime further. Third, create a paste of baking soda and water and apply it directly to the stubborn areas. Let the paste sit for a few minutes before wiping it away. Finally, use a non-abrasive sponge or cloth to scrub the grime gently. Avoid using harsh scrubbers, as they can damage the interior of the microwave.
Q: My microwave smells lemony/vinegary after cleaning. How can I get rid of the smell?
A: The lemony or vinegary smell should dissipate on its own within a few hours. To speed up the process, you can leave the microwave door open for a while to allow the air to circulate. You can also place a small bowl of baking soda inside the microwave overnight to absorb any lingering odors. Another option is to wipe down the interior of the microwave with a clean, damp cloth. If the smell persists, you can try microwaving a cup of water with a few drops of your favorite essential oil for a minute or two.
Q: Can I use this method to clean the outside of my microwave as well?
A: While this method is primarily designed for cleaning the interior of the microwave, you can use a diluted version of the lemon or vinegar solution to clean the outside as well. Mix equal parts of lemon juice or vinegar with water and use a soft cloth to wipe down the exterior surfaces. Be sure to avoid getting any liquid into the vents or electrical components. For stubborn stains on the outside, you can use a baking soda paste or a commercial cleaning product specifically designed for kitchen appliances.
Q: Is this DIY microwave cleaning hack safe for all types of microwaves?
A: This method is generally safe for most types of microwaves, but it’s always a good idea to consult your microwave’s user manual for specific cleaning instructions. Some microwaves may have special coatings or finishes that could be damaged by certain cleaning agents. If you’re unsure, test the solution on a small, inconspicuous area first to ensure that it doesn’t cause any discoloration or damage. Avoid using abrasive cleaners or scrubbers, as they can scratch the interior surfaces of the microwave.
Q: What kind of bowl should I use for this cleaning method?
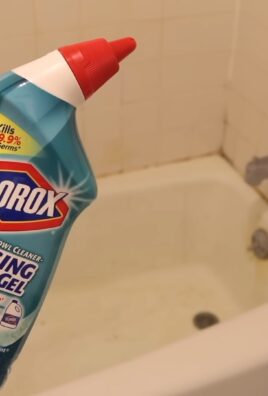
A: It is crucial to use a microwave-safe bowl. Glass or ceramic bowls are generally safe options. Avoid using metal bowls or containers, as they can cause sparking and damage the microwave. Make sure the bowl is large enough to hold the water and lemon/vinegar solution without overflowing. A bowl with a wide opening will also allow for better steam circulation inside the microwave.


Leave a Comment