
Growing Malabar spinach – sounds exotic, doesn’t it? But don’t worry, you don’t need a green thumb from the other side of the world to grow this vitamin-rich leafy vegetable in your own garden or even on your balcony! Imagine harvesting fresh, juicy leaves right on your doorstep that not only taste super delicious, but are also packed with nutrients. In this article, I’ll show you how to become a successful Malabar spinach gardener with simple DIY tricks and hacks.
Malabar spinach, also known as Ceylon spinach or Indian spinach, has a long history in Asian cuisine and has been prized there for centuries for its health benefits. It is not only a delicious substitute for spinach, but also a beautiful climbing plant that will enhance the look of your garden or balcony.
Why should you go to the trouble of growing Malabar spinach? It’s simple: it’s easy to care for, grows quickly and provides you with fresh greenery over a long period of time. It’s also a great alternative to conventional spinach, especially if you want to try something new. And who doesn’t enjoy home-grown vegetables that are free from pesticides and other harmful substances? Let’s dive into the world of Malabar spinach together and turn your garden into a little green oasis!
Growing Malabar Spinach Yourself: A Comprehensive DIY Guide
Hello garden enthusiasts! Today, I’m excited to show you how to easily grow Malabar Spinach (Basella alba), also known as Indian Spinach or Ceylon Spinach, yourself. This heat-loving climbing spinach is not only a delicious and healthy addition to your kitchen, but also a real eye-catcher in the garden or on the balcony. Let’s get started!
What You Need to Grow Malabar Spinach:
- Seeds or cuttings: You can grow Malabar spinach from seeds or take cuttings from an existing plant.
- Seedling pots or trays: For pre-growing the seeds.
- Seedling soil: A nutrient-poor soil that promotes germination.
- Planting pots or a garden bed: Depending on where you want to grow the spinach.
- Good garden soil: Nutrient-rich and well-draining.
- Compost or organic fertilizer: To enrich the soil.
- Trellis: Malabar spinach is a climber and needs support.
- Watering can or garden hose: For watering.
- Patience and love: The most important thing of all!
Sowing and Pre-growing (optional, but recommended)
Pre-growing isn’t strictly necessary, but it gives your plants a head start and extends the harvest season. I especially recommend it if you live in a region with shorter summers.
- Prepare the seeds: Malabar spinach seeds have a hard shell. To speed up germination, you can soak them in lukewarm water for 24 hours before sowing. This helps to soften the shell.
- Sow in seedling pots: Fill your seedling pots with seedling soil. Press the soil down lightly and sow the seeds about 1 cm deep. Place 2-3 seeds per pot to ensure that at least one germinates.
- Keep moist: Water the soil carefully so that it is well-moistened but not waterlogged. It’s best to use a spray bottle to avoid washing away the seeds.
- Place in a warm and bright location: Place the seedling pots in a warm and bright location. A temperature of 20-25°C is ideal for germination. A mini-greenhouse or a clear plastic film over the pots helps to keep the humidity high. But remember to ventilate regularly to avoid mold growth.
- Be patient: Germination can take 1-3 weeks. Keep the soil moist during this time. Once the first seedlings appear, you can remove the weaker ones so that only the strongest seedling remains per pot.
Planting Outdoors or in a Pot
Once the young plants are strong enough (about 10-15 cm high) and there is no more danger of frost (mid-May after the Ice Saints), they can be transplanted outdoors or into larger pots.
- Choose a location: Malabar spinach loves the sun! Choose a sunny to partially shaded location. The soil should be nutrient-rich, well-draining, and slightly moist.
- Prepare the soil: Loosen the soil well and mix in compost or organic fertilizer. This improves the soil structure and provides the plants with important nutrients.
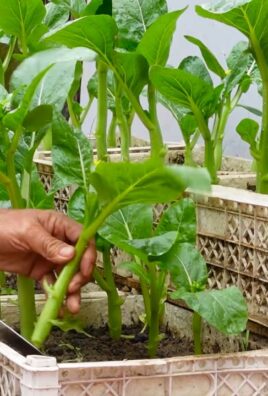
- Plant the seedlings: Dig planting holes that are slightly larger than the root balls of the young plants. Carefully insert the plants and fill the holes with soil. Press the soil down lightly and water the plants well.
- Install a trellis: Malabar spinach is a climber and needs a trellis to climb. You can use a trellis, a fence, an obelisk, or just a few sticks. Make sure the trellis is stable as the plants can become quite heavy.
- Consider spacing: If you are planting multiple plants, keep a distance of about 30-40 cm between the plants. This gives them enough space to develop.
Caring for Malabar Spinach
Caring for Malabar spinach is relatively easy. With a few simple steps, you can ensure that your plants grow healthy and strong and you can reap a rich harvest.
- Water regularly: Malabar spinach needs regular water, especially during hot and dry periods. Make sure the soil is always slightly moist, but avoid waterlogging. It is best to water in the morning or evening to minimize evaporation losses.
- Fertilize: To promote growth, you can fertilize the Malabar spinach regularly. Use an organic fertilizer or compost for this. Fertilizing every 2-3 weeks is sufficient.
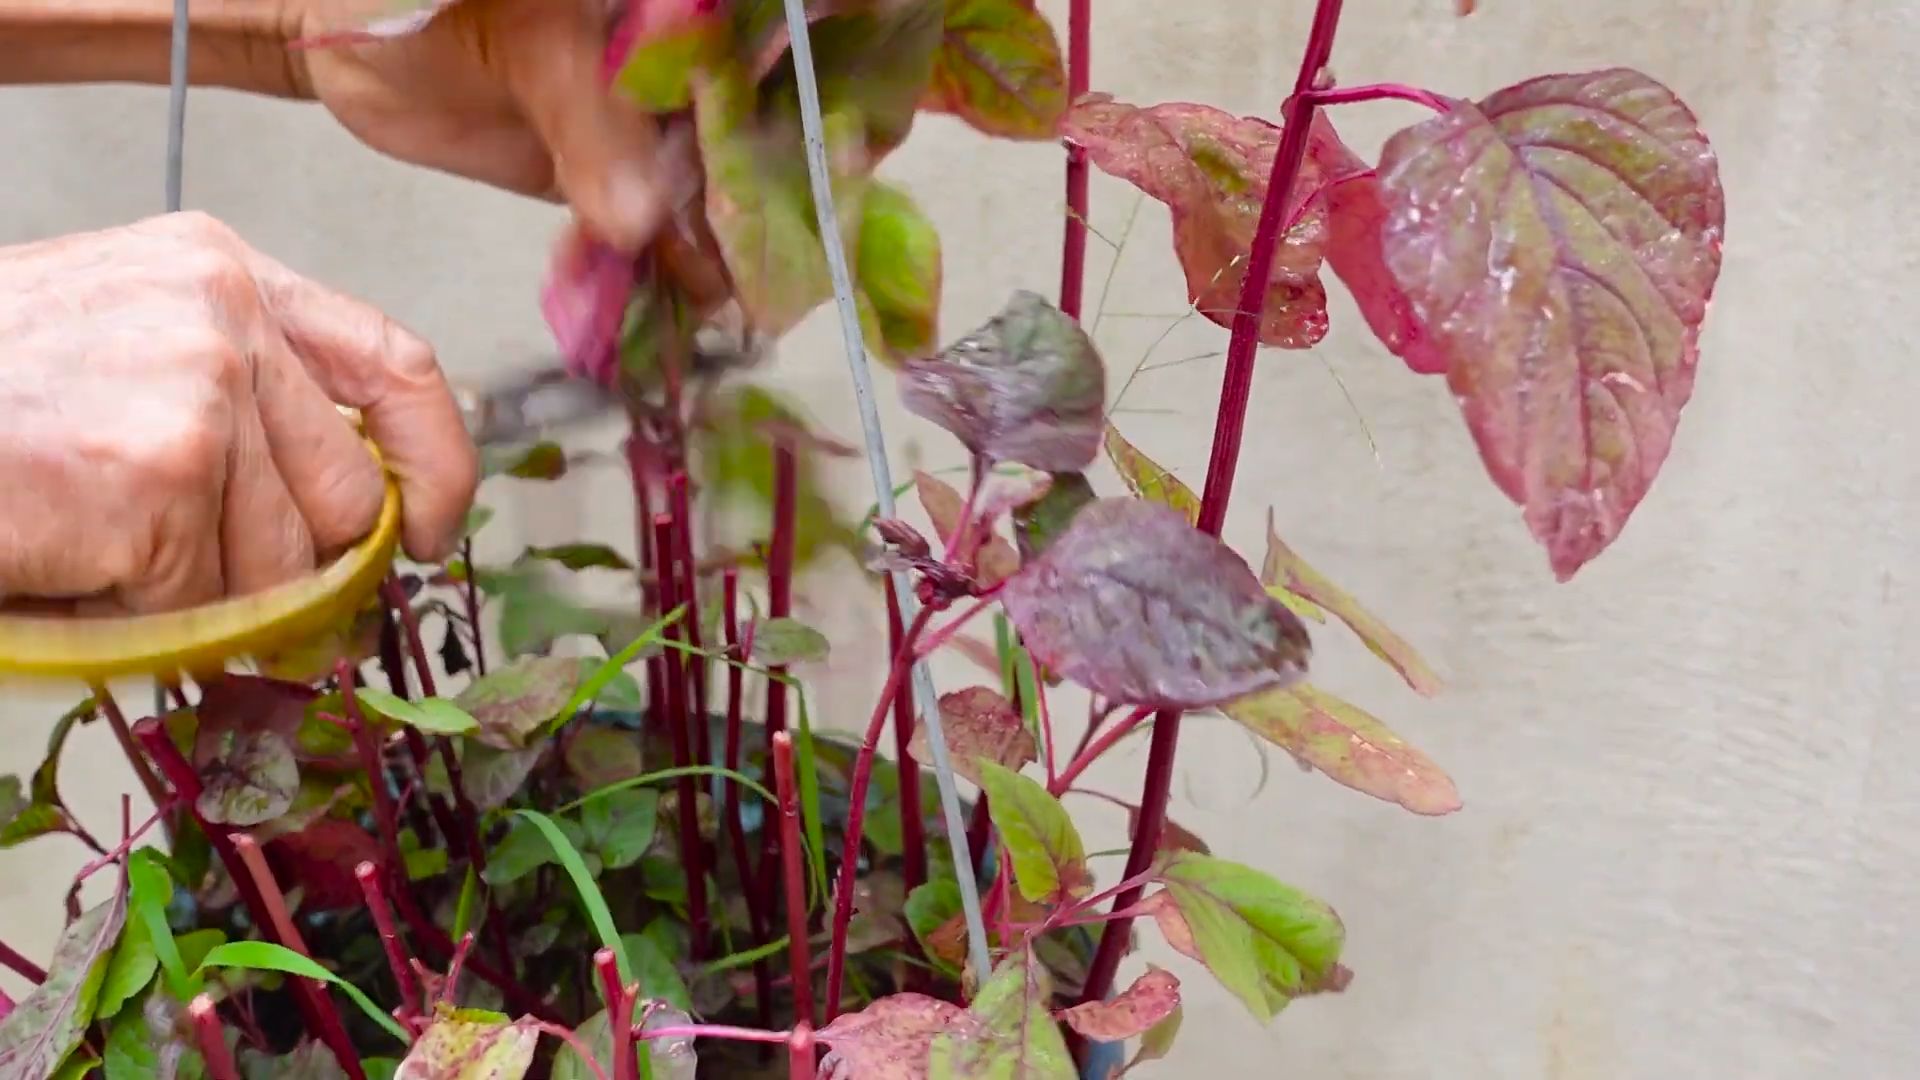
- Prune and harvest: Regular pruning promotes the growth of the plants and prevents them from becoming too large. You can harvest the leaves and young shoots as needed. It is best to harvest the leaves before they become too large and tough.
- Pests and diseases: Malabar spinach is relatively resistant to pests and diseases. Occasionally, aphids may occur. These can be easily rinsed off with a stream of water or controlled with a mild soapy water solution.
Overwintering (in colder regions)
Malabar spinach is not hardy. In colder regions, however, it can be overwintered in a pot.
- Prune the plant back: Before the first frost, prune the plant back hard.
- Bring indoors: Place the pot in a bright and cool place in the house (e.g. an unheated room or a stairwell).
- Water less: Water the plant sparingly during the winter so that the soil does not dry out completely.
- Put back outside in spring: As soon as there is no more danger of frost, you can put the plant back outside and care for it as usual.
Harvest and Use
The harvest of Malabar spinach can begin about 6-8 weeks after planting. You can harvest the leaves and young shoots as needed.
- Leaves: The leaves can be used like spinach. They are slightly thicker and fleshier than normal spinach and have a slightly sour taste. You can eat them raw in salads, steam them, cook them, or use them in soups and stews.
- Shoots: The young shoots are also edible and can be prepared like asparagus.
- Seeds: The ripe seeds can be roasted and used as a spice.
Additional Tips and Tricks
Harvest your own seeds: If you want to harvest seeds, let some flowers ripen on the plant. The seeds are ripe when they are black and dry.
Mulching: A layer of mulch around the plants helps to keep moisture in the soil and suppress weeds.
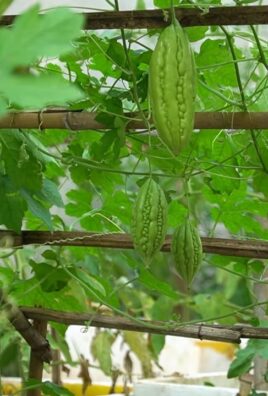
Companion planting: Malabar spinach goes well with other vegetables such as tomatoes, peppers, and eggplants.
Conclusion
Growing Malabar spinach is not only a rewarding gardening project, but also a fantastic way to enrich your diet with a nutritious and versatile leafy green. If you’re looking for a simple way to grow your own fresh greens, this DIY trick is a must-try. Forget expensive supermarket visits and instead enjoy the taste of freshly harvested Malabar spinach straight from your own garden or even your balcony!
The benefits of growing your own Malabar spinach are numerous. You have full control over the growing conditions, can avoid chemical fertilizers and pesticides, and thus harvest a healthy and ecological product. In addition, growing Malabar spinach is an extremely satisfying experience that gives you the opportunity to connect with nature and enjoy the fruits of your labor.
Why Should You Try This DIY Trick?
- Freshness and Taste: Nothing beats the taste of freshly harvested Malabar spinach. It’s crisper, more aromatic, and packed with nutrients than store-bought spinach.
- Sustainability: By growing your own Malabar spinach, you reduce your ecological footprint and support a sustainable lifestyle.
- Cost-Effectiveness: In the long run, you’ll save money because you won’t have to buy spinach in the supermarket anymore.
- Therapeutic Effect: Gardening is a relaxing and stress-relieving activity that can boost your well-being.
- Uniqueness: Malabar spinach is not available everywhere. With this DIY trick, you have access to a special vegetable that will enrich your kitchen.
Variations and Suggestions:
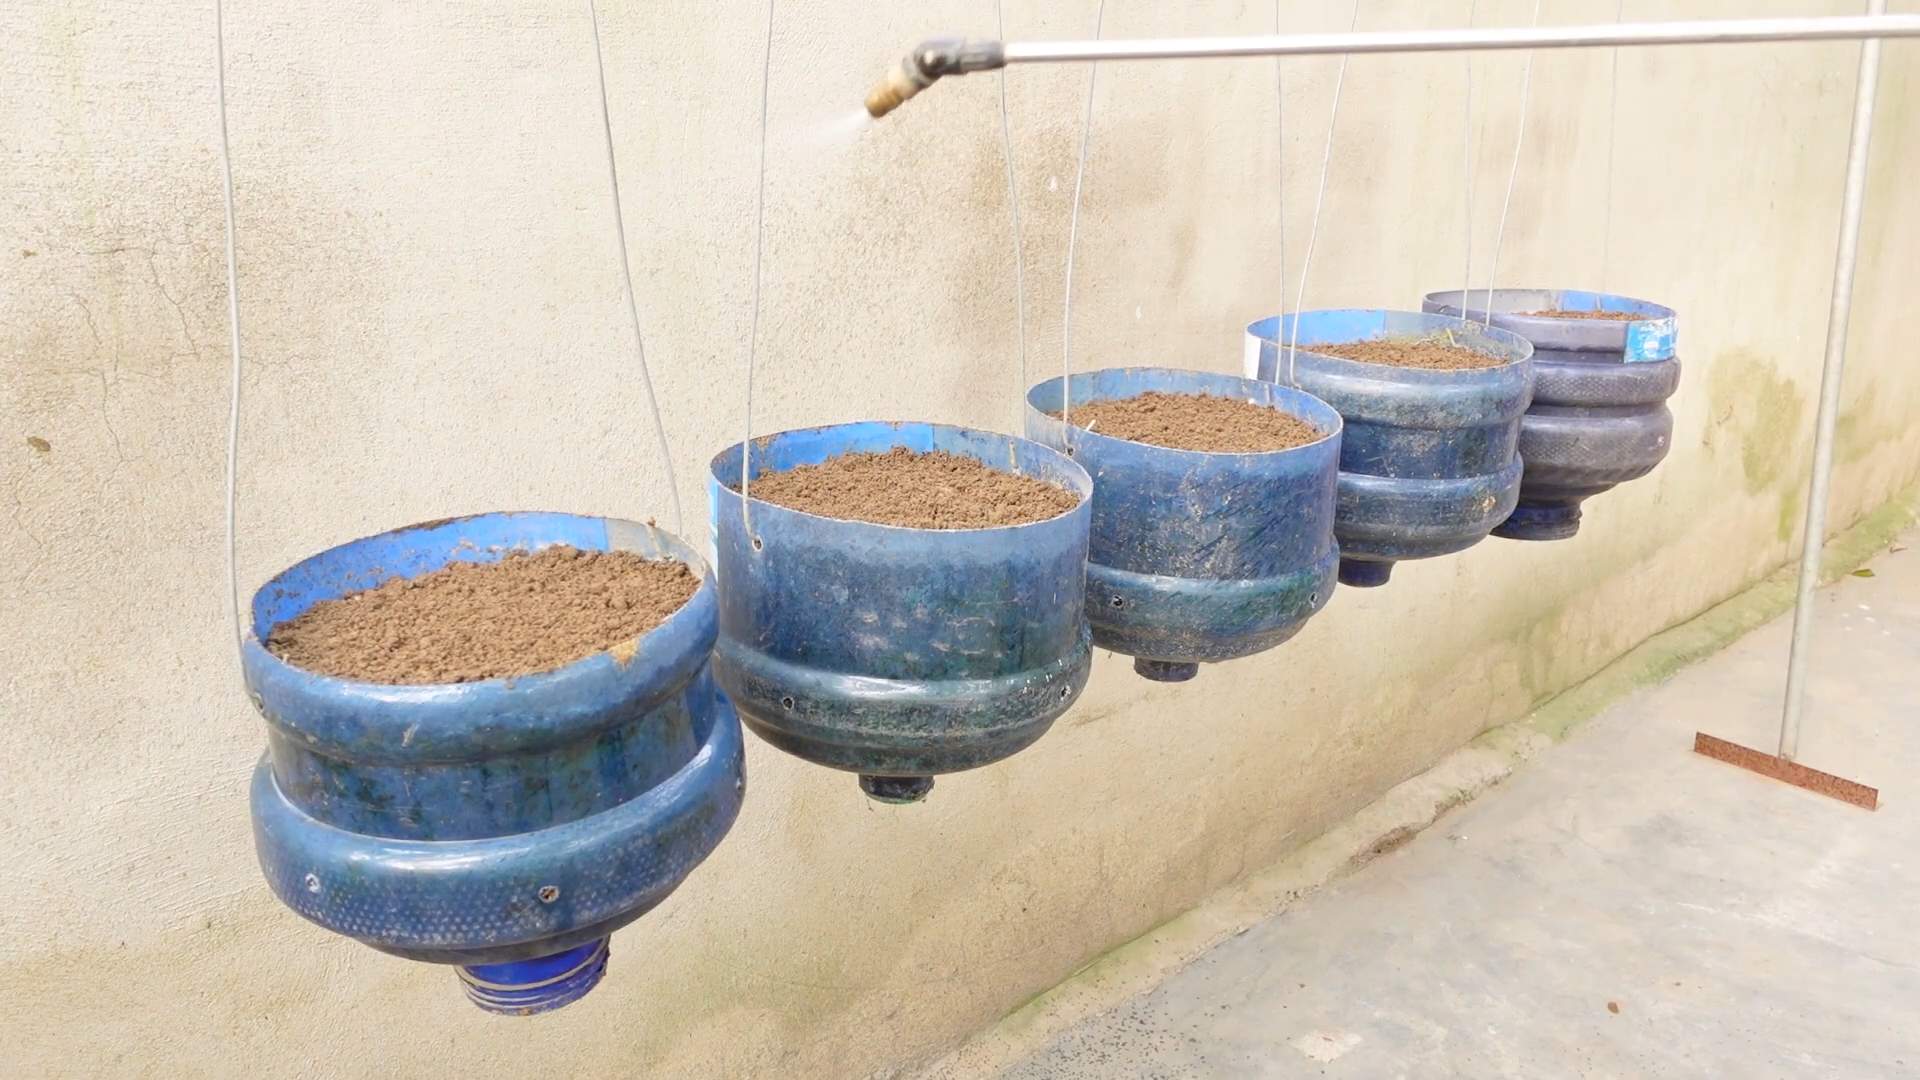
- Vertical Growing: If you have limited space, you can also grow Malabar spinach vertically, e.g. on a trellis or in a hanging planter.
- Combination with Other Plants: Plant Malabar spinach near tomatoes or cucumbers to benefit from their shade.
- Growing in a Pot: Malabar spinach also thrives in pots on the balcony or terrace. Make sure the pot is large enough and has good drainage.
- Use in Various Dishes: Experiment with Malabar spinach in various dishes, such as soups, salads, curries, or as a side dish to meat or fish.
- Harvest Seeds: Let some plants flower and form seeds to harvest your own seeds for the next season.
We are confident that you will be thrilled with this DIY trick. Try it out and experience the joy of growing your own Malabar spinach. Share your experiences, tips, and tricks with us and the community. We look forward to hearing about your successes! Show us your Malabar spinach harvest on social media with the hashtag #MalabarspinatDIY!
FAQ – Frequently Asked Questions About Growing Malabar Spinach
What is Malabar spinach and how does it differ from regular spinach?
Malabar spinach (Basella alba) is a tropical leafy vegetable that bears the name “spinach” but is botanically unrelated to traditional spinach (Spinacia oleracea). It belongs to the Basellaceae family. Unlike regular spinach, Malabar spinach is more heat-resistant and grows as a climbing plant. Its leaves are thicker, fleshier, and have a slightly lemony taste. It is rich in vitamins, minerals, and antioxidants.
What location does Malabar spinach need?
Malabar spinach prefers a sunny to partially shaded location. It needs at least 6 hours of sunlight per day to grow optimally. The soil should be loose, humus-rich, and well-draining. Waterlogging should be avoided.
How do I sow Malabar spinach correctly?
Sowing Malabar spinach can be done directly outdoors as soon as there is no more danger of frost. Alternatively, you can pre-grow the seeds in pots and transplant the young plants later. Soak the seeds in water for 24 hours before sowing to speed up germination. Sow the seeds about 1-2 cm deep in the soil and keep the soil moist.
How do I care for Malabar spinach?
Malabar spinach is relatively easy to care for. Make sure to water regularly, especially during dry periods. Fertilize the plants every few weeks with an organic fertilizer to promote growth. Since Malabar spinach is a climbing plant, it needs a trellis on which to grow.
When can I harvest Malabar spinach?
You can harvest Malabar spinach as soon as the leaves have reached a sufficient size. Cut off the leaves and stems as needed. The plant will continue to produce new leaves. Regular harvesting promotes growth and prevents the plant from starting to flower.
Is Malabar spinach hardy?
No, Malabar spinach is not hardy. It is an annual plant that dies off in frost. In warmer climates, however, it can be grown as a perennial.
Can I grow Malabar spinach in a pot?
Yes, Malabar spinach can easily be grown in a pot. Use a sufficiently large pot with good drainage and fill it with high-quality potting soil. Make sure to water and fertilize regularly.
What pests and diseases can infest Malabar spinach?
Malabar spinach is relatively resistant to pests and diseases. Occasionally, aphids or snails may occur. However, these can usually be controlled with natural remedies. Ensure good ventilation to prevent fungal diseases.
How can I use Malabar spinach in the kitchen?
Malabar spinach can be used in many ways in the kitchen. It can be eaten raw in salads, steamed, cooked, or fried. It is excellent for soups, curries, stews, and as a side dish to meat or fish. The leaves can also be used as a filling for dumplings or as an ingredient in smoothies.
Where can I buy seeds for Malabar spinach?
Seeds for Malabar spinach are available in many garden centers, hardware stores, or online. Make sure to buy seeds of good quality to ensure successful germination.
Is Malabar spinach poisonous?
No, Malabar spinach is not poisonous. It is a healthy and nutritious vegetable that can be consumed without hesitation.
How do I store Malabar spinach properly?
Malabar spinach should be processed as soon as possible after harvesting. It can be stored in the refrigerator in a plastic bag or a food storage container for a few days.
Can I freeze Malabar spinach?
Yes, Malabar spinach can be frozen. Blanch the leaves briefly in boiling water before freezing to preserve the color and taste.
How can I share my experiences with growing Malabar spinach?
Share your experiences, tips, and tricks with us and the community on social media with the hashtag #MalabarspinatDIY. We look forward to hearing about your successes!

Leave a Comment