
Hot vinegar bathroom cleaning: it sounds a little unconventional, doesn’t it? But trust me, this simple DIY trick is about to revolutionize your cleaning routine! Forget those harsh chemicals and expensive store-bought cleaners. I’m going to show you how to harness the power of humble vinegar to achieve a sparkling clean bathroom, naturally and affordably.
Vinegar has been used as a cleaning agent for centuries. In ancient Rome, it was a staple for disinfecting and sanitizing. Our grandmothers knew the secret, and now I’m sharing it with you! But why hot vinegar? Heating the vinegar slightly enhances its cleaning power, allowing it to cut through grime, soap scum, and hard water stains with ease.
Let’s face it, cleaning the bathroom is nobody’s favorite chore. It’s often a battle against stubborn stains and unpleasant odors. Many of us reach for harsh chemicals, but these can be harmful to our health and the environment. That’s where this hot vinegar bathroom cleaning hack comes in. It’s a safe, effective, and eco-friendly alternative that will leave your bathroom smelling fresh and looking fantastic. Plus, it’s incredibly budget-friendly! So, ditch the expensive cleaners and get ready to discover the magic of hot vinegar!
DIY Hot Vinegar Bathroom Cleaning Power!
Okay, friends, let’s talk about a bathroom cleaning hack that’s going to change your life (or at least, your weekends!). I’m talking about the magic of hot vinegar. Yes, you heard me right. Vinegar, heated up, is a powerhouse cleaner, especially in the bathroom where soap scum, hard water stains, and general grime love to hang out. Forget those harsh chemicals with their overpowering smells – we’re going natural (and effective!) today.
Why Hot Vinegar?
Before we dive in, let’s quickly cover why we’re heating up the vinegar. Heating the vinegar makes it more effective at dissolving mineral deposits and soap scum. The heat increases the vinegar’s acidity, allowing it to break down those stubborn stains faster and easier. Think of it as supercharging your cleaning power!
What You’ll Need
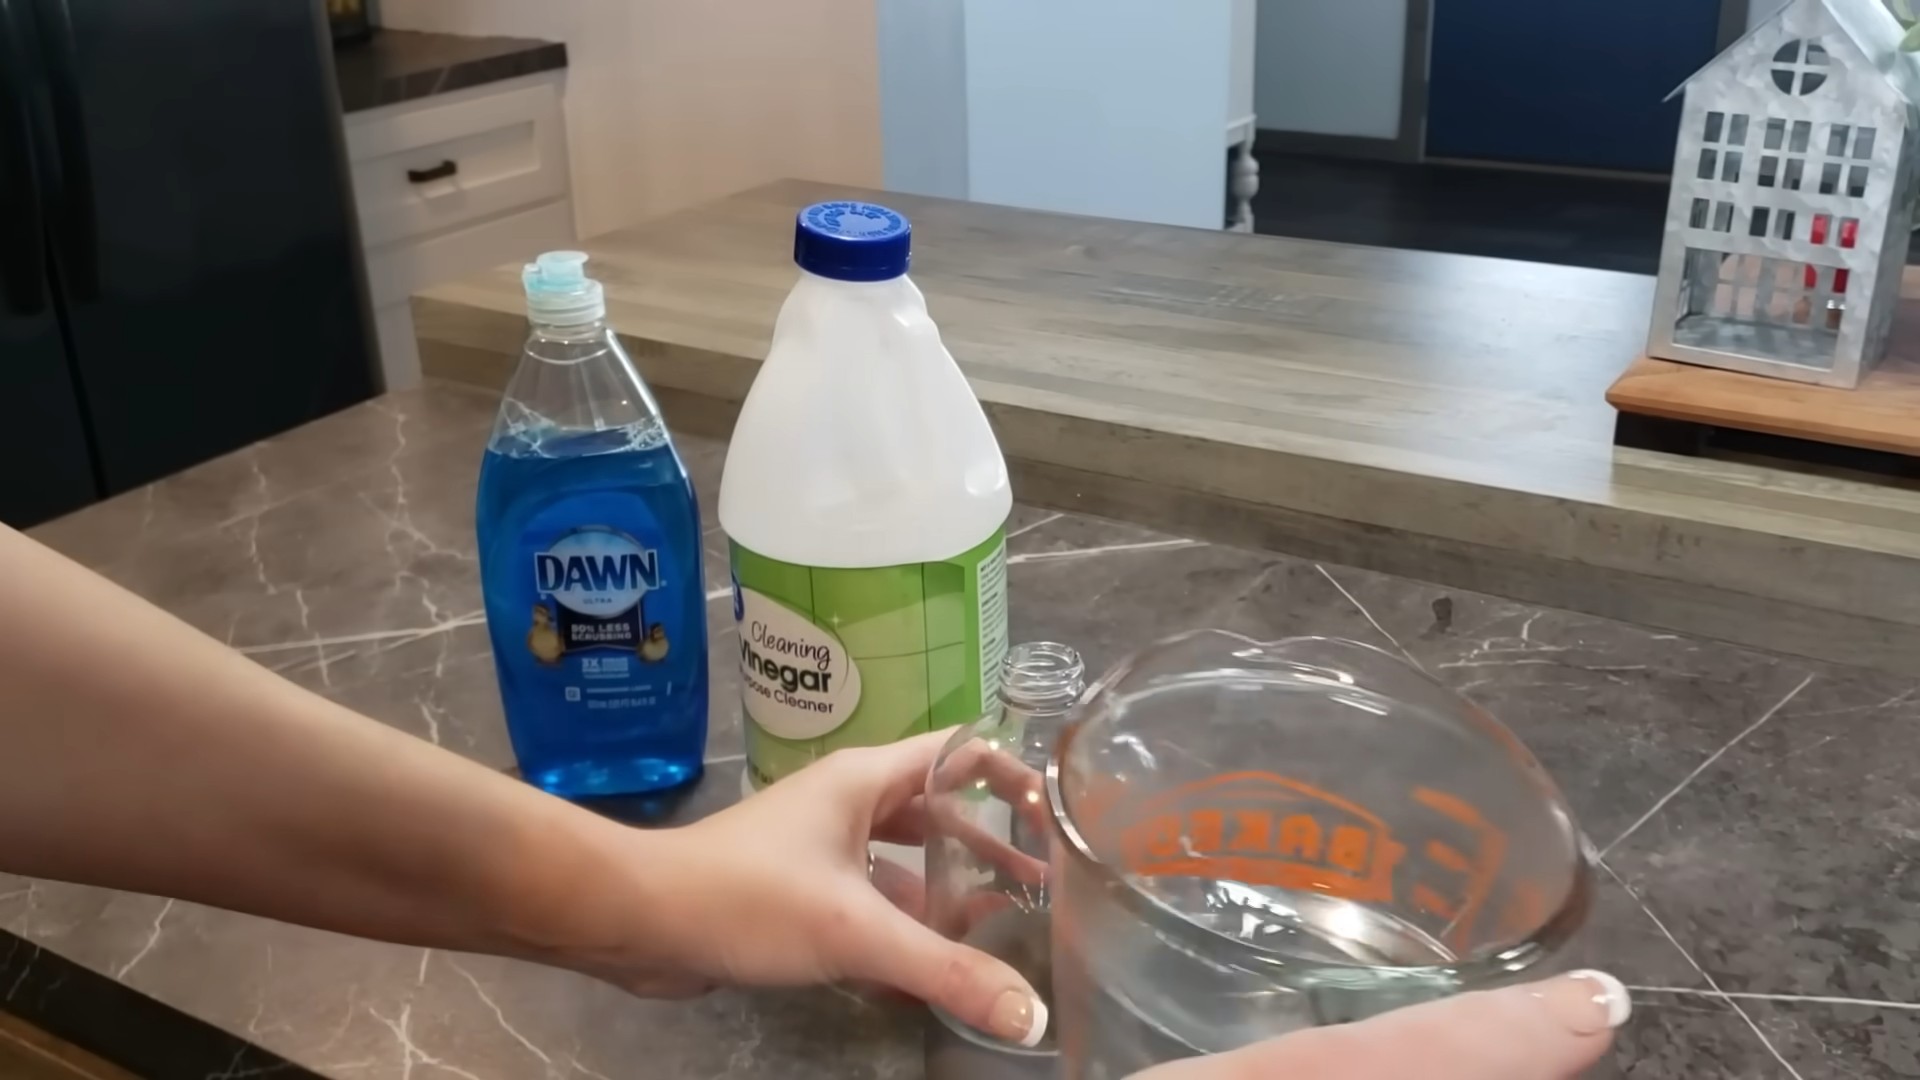
Here’s your shopping list for this cleaning adventure:
* White Vinegar (the star of the show!)
* A microwave-safe bowl or container
* Spray bottle (an empty one, of course!)
* Cleaning cloths or microfiber towels
* Scrub brush or sponge
* Baking soda (optional, but a great addition for extra scrubbing power)
* Rubber gloves (protect those hands!)
* Safety glasses (optional, but recommended, especially if you’re sensitive)
* Old toothbrush (for those hard-to-reach spots)
* Ventilation (open a window or turn on the fan!)
Safety First!
Important! Always remember safety. Vinegar, even diluted, is an acid. Wear gloves to protect your skin and consider safety glasses to protect your eyes. And most importantly, *never* mix vinegar with bleach. This creates toxic fumes that are extremely dangerous. Always ensure good ventilation when cleaning with vinegar.
Heating the Vinegar
This is a crucial step, so pay attention!
1. Pour the Vinegar: Pour about 1-2 cups of white vinegar into your microwave-safe bowl or container. The amount you need will depend on the size of your bathroom and how much cleaning you plan to do. I usually start with 2 cups and add more if needed.
2. Heat it Up: Microwave the vinegar for about 2-3 minutes. You want it hot, but not boiling. Keep a close eye on it to prevent it from boiling over. The goal is to get it steaming.
3. Carefully Transfer: Carefully remove the hot vinegar from the microwave. Use oven mitts or a towel to protect your hands. Pour the hot vinegar into your spray bottle. Be careful not to spill any!
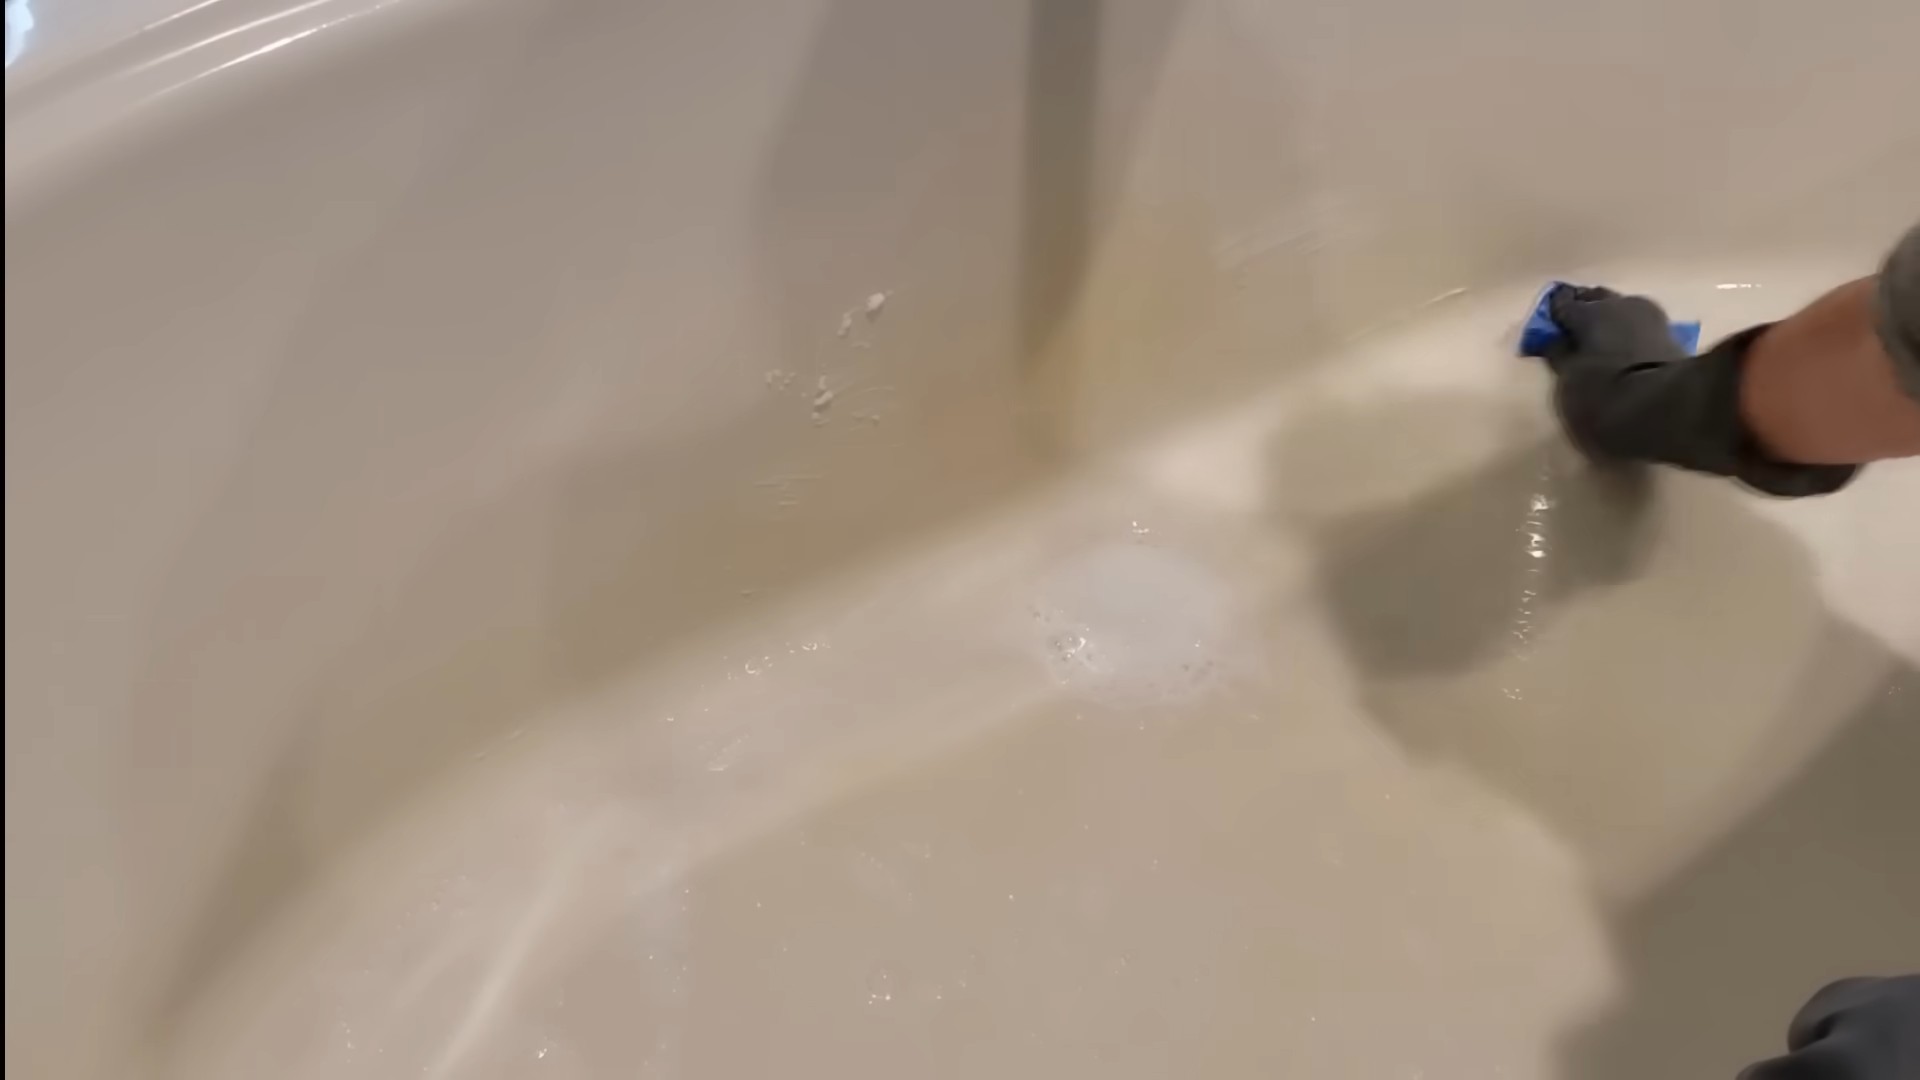
Cleaning the Shower and Tub
This is where the magic happens!
1. Spray it Down: Generously spray the hot vinegar all over the shower walls, tub, and shower door. Focus on areas with soap scum, hard water stains, or mildew.
2. Let it Sit: Allow the hot vinegar to sit for at least 15-20 minutes. This gives it time to break down the grime. For really stubborn stains, you can let it sit for up to an hour.
3. Scrub-a-dub-dub: After the vinegar has had time to work its magic, grab your scrub brush or sponge and start scrubbing. You’ll be amazed at how easily the soap scum and hard water stains come off.
4. Rinse Thoroughly: Rinse the shower and tub thoroughly with hot water. Make sure to remove all traces of vinegar.
5. Dry it Off: Use a clean cloth or microfiber towel to dry the shower and tub. This will help prevent water spots and mildew.
Tackling Stubborn Stains
Sometimes, you’ll encounter stains that just won’t budge. Here’s where baking soda comes to the rescue!
1. Make a Paste: Mix baking soda with a little bit of water to form a paste.
2. Apply the Paste: Apply the paste to the stubborn stain.
3. Scrub Again: Scrub the paste into the stain with your scrub brush or sponge. The baking soda acts as a gentle abrasive, helping to lift the stain.
4. Rinse and Dry: Rinse the area thoroughly with water and dry it with a clean cloth.
Cleaning the Toilet
Don’t forget the throne!
1. Pour into the Bowl: Pour about 1 cup of hot vinegar directly into the toilet bowl.
2. Let it Sit: Let the vinegar sit for at least 30 minutes, or even overnight for really tough stains.
3. Scrub-a-dub-dub (Again!): Use your toilet brush to scrub the bowl thoroughly. Pay attention to the waterline and any areas with stains.
4. Flush: Flush the toilet to rinse away the vinegar and grime.
Cleaning the Toilet Seat and Exterior
1. Spray and Wipe: Spray the hot vinegar onto a cleaning cloth and wipe down the toilet seat, lid, and exterior.
2. Dry it Off: Use a clean cloth to dry the toilet.
Cleaning the Sink and Countertop
The sink and countertop are often overlooked, but they can harbor a lot of germs and grime.
1. Spray and Wipe: Spray the hot vinegar onto the sink and countertop.
2. Let it Sit: Let it sit for a few minutes to disinfect and loosen any grime.
3. Wipe Clean: Wipe the sink and countertop clean with a damp cloth.
4. Dry it Off: Dry the sink and countertop with a clean cloth.
Dealing with Faucet Fixtures
Hard water stains love to cling to faucets.
1. Soak a Cloth: Soak a cleaning cloth in hot vinegar.
2. Wrap the Faucet: Wrap the cloth around the faucet, ensuring that the stained areas are covered.
3. Let it Sit: Let the cloth sit for at least 30 minutes, or even longer for really stubborn stains.
4. Scrub and Rinse: Remove the cloth and scrub the faucet with a scrub brush or sponge. Rinse thoroughly with water.
5. Dry and Shine: Dry the faucet with a clean cloth to restore its shine.
Cleaning the Bathroom Floor
Don’t forget the floor! This method is best for tile or linoleum floors. Avoid using it on hardwood floors, as vinegar can damage the finish.
1. Sweep or Vacuum: Start by sweeping or vacuuming the floor to remove any loose dirt or debris.
2. Mix the Solution: In a bucket, mix 1/2 cup of hot vinegar with 1 gallon of hot water.
3. Mop the Floor: Dip a mop into the vinegar solution and wring out the excess. Mop the floor, making sure to cover all areas.
4. Rinse (Optional): If you’re concerned about a vinegar smell, you can rinse the floor with clean water.
5. Dry the Floor: Allow the floor to air dry or use a clean towel to dry it.
Cleaning Showerheads
Showerheads can get clogged with mineral deposits, reducing water pressure. Here’s how to clean them with hot vinegar:
1. Remove the Showerhead (If Possible): If possible, remove the showerhead from the shower arm. This will make it easier to clean.
2. Soak in Vinegar: Place the showerhead in a bowl or bucket filled with hot vinegar. Make sure the entire showerhead is submerged.
3. Let it Soak: Let the showerhead soak for at least 30 minutes, or even overnight for really stubborn clogs.
4. Scrub and Rinse: Remove the showerhead from the vinegar and scrub it with a scrub brush or sponge to remove any remaining mineral deposits. Rinse thoroughly with water.
5. Reinstall the Showerhead: Reinstall the showerhead onto the shower arm.
If You Can’t Remove the Showerhead
1. Fill a Bag: Fill a plastic bag with hot vinegar.
2. Attach to Showerhead: Secure the bag around the showerhead with a rubber band, ensuring that the showerhead is submerged in the vinegar.
3. Let it Soak: Let it soak for at least 30 minutes, or even overnight.
4. Remove and Rinse: Remove the bag and rinse the showerhead thoroughly with water.
Dealing with Mildew
Vinegar is a great natural mildew fighter!
1. Spray the Area: Spray the affected area with hot vinegar.
2. Let it Sit: Let it sit for at least 30 minutes.
3. Scrub and Rinse: Scrub the area with a scrub brush or sponge and rinse thoroughly with water.
Tips and Tricks for Success
* Ventilation is Key: Always ensure good ventilation when cleaning with vinegar. Open a window or turn on the bathroom fan.
Conclusion
So, there you have it! This simple, yet incredibly effective, hot vinegar bathroom cleaning trick is a game-changer for anyone looking to banish grime, soap scum, and hard water stains without relying on harsh chemicals. We’ve explored how the heat amplifies vinegar’s natural cleaning power, making it a formidable opponent against even the most stubborn bathroom messes. Forget spending a fortune on commercial cleaners filled with questionable ingredients; this DIY method is not only budget-friendly but also environmentally conscious.
Why is this a must-try? Because it works! The combination of heat and vinegar loosens dirt and dissolves mineral deposits with ease, leaving your bathroom sparkling clean and smelling fresh (especially if you add a few drops of your favorite essential oil, like lemon or lavender, to the vinegar solution). Plus, it’s incredibly versatile. You can use it on shower doors, tiles, faucets, toilets, and even drains.
Looking for variations? Consider these:
* **For extra stubborn stains:** Create a paste of baking soda and vinegar, apply it to the affected area, let it sit for 15-20 minutes, and then scrub with a brush before rinsing with hot water.
* **For a deeper clean of showerheads:** Submerge your showerhead in a bag filled with hot vinegar for a few hours or overnight to dissolve mineral buildup.
* **For a refreshing scent:** Infuse your vinegar with citrus peels (lemon, orange, or grapefruit) for a few weeks before using it for cleaning. This will add a pleasant, natural fragrance to your bathroom.
* To clean grout: Use an old toothbrush dipped in the hot vinegar to scrub grout lines. The acidity will help to remove mildew and discoloration.
We are confident that once you try this hot vinegar bathroom cleaning method, you’ll be amazed by the results. It’s a simple, effective, and affordable way to keep your bathroom sparkling clean without exposing yourself or your family to harsh chemicals.
Don’t just take our word for it – give it a try! We encourage you to experiment with the variations and find what works best for your bathroom. And most importantly, we want to hear about your experience. Share your before-and-after photos, tips, and tricks in the comments below. Let’s create a community of clean bathroom enthusiasts who are ditching the chemicals and embracing the power of natural cleaning! We are eager to hear how this method has transformed your cleaning routine and helped you achieve a sparkling clean bathroom. Your feedback will not only inspire others but also help us refine and improve this already fantastic cleaning solution. So, grab your vinegar, heat it up, and get ready to experience the magic of a truly clean bathroom!
Frequently Asked Questions (FAQs)
Is it safe to heat vinegar?
Yes, it is generally safe to heat vinegar for cleaning purposes. However, it’s crucial to do so in a well-ventilated area. Heating vinegar releases acetic acid vapors, which can be irritating to the eyes, nose, and throat if inhaled in large quantities. Ensure your bathroom has adequate ventilation by opening a window or turning on the exhaust fan. Avoid boiling the vinegar, as this will produce even more vapors. Simply heat it until it’s warm to the touch, but not scalding. Never heat vinegar in a sealed container, as the pressure buildup could cause it to explode. Use a microwave-safe container or a pot on the stovetop. If you have respiratory issues, such as asthma, exercise extra caution and consider wearing a mask while cleaning.
Can I use any type of vinegar for bathroom cleaning?
While white vinegar is the most commonly recommended type for cleaning due to its high acidity and lack of color, you can technically use other types of vinegar, such as apple cider vinegar. However, white vinegar is generally preferred because it’s less likely to stain surfaces. Apple cider vinegar, for example, might leave a slight residue on lighter-colored surfaces. If you choose to use a different type of vinegar, test it in an inconspicuous area first to ensure it doesn’t cause any discoloration. Distilled white vinegar is the most effective and economical choice for most bathroom cleaning tasks.
Will hot vinegar damage my bathroom surfaces?
Hot vinegar is generally safe for most bathroom surfaces, including ceramic tiles, porcelain, glass, and stainless steel. However, it’s best to avoid using it on natural stone surfaces like marble, granite, and limestone, as the acidity can etch and damage these materials. Also, avoid using it on waxed or oiled wood surfaces, as it can strip the finish. Always test the hot vinegar solution in an inconspicuous area before applying it to the entire surface, especially if you’re unsure about the material. If you have any doubts, consult the manufacturer’s instructions for your bathroom fixtures and surfaces.
How often should I use hot vinegar to clean my bathroom?
The frequency of cleaning with hot vinegar depends on how often your bathroom is used and how quickly it gets dirty. For general maintenance, cleaning with hot vinegar once a week is usually sufficient to prevent the buildup of soap scum, hard water stains, and mildew. If your bathroom is heavily used or prone to getting dirty quickly, you may need to clean it more frequently, such as every few days. You can also use hot vinegar as a spot treatment for specific areas that need extra attention, such as shower doors or faucets.
What if the hot vinegar doesn’t remove all the stains?
If the hot vinegar alone isn’t enough to remove stubborn stains, there are a few things you can try. First, make sure you’re using a strong enough concentration of vinegar. You can try using undiluted vinegar for particularly tough stains. Second, allow the hot vinegar to sit on the stain for a longer period of time before scrubbing. This will give the vinegar more time to break down the stain. For extremely stubborn stains, you can create a paste of baking soda and vinegar, apply it to the stain, let it sit for 15-20 minutes, and then scrub with a brush. You can also try using a specialized cleaning brush or sponge designed for removing tough stains.
Can I add other cleaning agents to the hot vinegar solution?
While you can add essential oils to the hot vinegar solution for fragrance, it’s generally not recommended to mix it with other cleaning agents, especially bleach. Mixing vinegar with bleach can create toxic chlorine gas, which is extremely dangerous. It’s also best to avoid mixing vinegar with ammonia, as this can create harmful fumes. Stick to using hot vinegar on its own or with essential oils for a safe and effective cleaning solution.
How do I store leftover hot vinegar solution?
If you have any leftover hot vinegar solution, allow it to cool completely before storing it in a labeled spray bottle or container. Store it in a cool, dark place away from children and pets. The solution will remain effective for several weeks. However, it’s best to use it within a reasonable timeframe to ensure optimal cleaning power.
Is hot vinegar bathroom cleaning safe for septic systems?
Yes, hot vinegar is generally safe for septic systems. Vinegar is a natural and biodegradable substance that won’t harm the beneficial bacteria in your septic tank. Unlike harsh chemical cleaners, vinegar won’t disrupt the balance of your septic system. However, it’s always a good idea to use any cleaning product in moderation, even natural ones. Avoid pouring large quantities of vinegar down the drain at once.


Leave a Comment