
High Yield Bush Beans: Imagine stepping into your backyard and harvesting baskets overflowing with fresh, crisp beans – enough for delicious dinners, preserving for winter, and even sharing with neighbors! Sounds like a dream, right? Well, it doesn’t have to be! For centuries, cultivating beans has been a cornerstone of sustainable agriculture, providing essential nutrients and enriching the soil. From ancient civilizations to modern homesteaders, the humble bean has played a vital role in feeding communities.
But let’s be honest, sometimes gardening can feel a little… daunting. That’s where these DIY tricks and hacks come in! I’m here to share my secrets for maximizing your harvest and growing high yield bush beans, even if you’re short on space or time. We’ll explore simple, effective techniques that will transform your garden into a bean-producing powerhouse.
Why do you need these tricks? Because everyone deserves to enjoy the satisfaction of growing their own food! Plus, homegrown beans taste infinitely better than anything you can buy at the store. Get ready to ditch the store-bought veggies and embrace the joy of a bountiful bean harvest!
Grow a Mountain of Bush Beans: My Foolproof Guide to a Bountiful Harvest
Okay, bean lovers, gather ’round! I’m about to spill all my secrets for growing a truly impressive crop of bush beans. Forget those measly handfuls you get from the store – we’re talking about enough beans to freeze, can, and share with the whole neighborhood! This guide is packed with everything I’ve learned over the years, from choosing the right variety to warding off pesky pests. Let’s get started!
Choosing the Right Bush Bean Variety
Before we even think about planting, we need to pick the perfect bean. Not all bush beans are created equal, and some are definitely more prolific than others. Here are a few of my absolute favorites for high yields:
* Blue Lake Bush Beans: These are a classic for a reason! They’re incredibly reliable, produce tons of stringless, flavorful beans, and are resistant to many common bean diseases. I always plant a row or two of these.
* Provider Bush Beans: As the name suggests, these beans are generous! They mature early, even in cooler weather, and keep producing for weeks. If you’re in a shorter growing season, these are a must-try.
* Contender Bush Beans: Similar to Provider, Contender beans are early producers and very adaptable. They’re also known for their excellent flavor and tenderness.
* Derby Bush Beans: These are a slightly newer variety, but they’ve quickly become a favorite of mine. They’re super productive, disease-resistant, and have a beautiful dark green color.
* Roma II Bush Beans: If you love flat, Italian-style beans, Roma II is the way to go. They’re incredibly flavorful and perfect for cooking whole or slicing into salads.
Pro Tip: Consider planting a mix of varieties to extend your harvest season and increase your chances of success. Different varieties have different maturity dates, so you’ll be picking beans for a longer period.
Preparing Your Bean Patch: Location, Location, Location!
Bush beans are relatively easy to grow, but they do have a few preferences. Here’s how to create the perfect environment for them to thrive:
* Sunlight: Beans need at least 6-8 hours of direct sunlight per day. Choose a spot in your garden that gets plenty of sunshine.
* Soil: Well-drained soil is crucial. Beans don’t like to sit in soggy soil, which can lead to root rot. Amend heavy clay soil with compost or other organic matter to improve drainage. Sandy soil should also be amended with compost to help retain moisture.
* Soil pH: Beans prefer a slightly acidic to neutral soil pH of around 6.0 to 7.0. You can test your soil pH with a simple soil testing kit from your local garden center.
* Fertility: Beans are legumes, which means they can actually fix nitrogen from the air into the soil. This means they don’t need a lot of nitrogen fertilizer. In fact, too much nitrogen can actually hinder bean production. Instead, focus on adding phosphorus and potassium to the soil, which are important for root development and flowering. Bone meal and wood ash are great sources of these nutrients.
* Weed Control: Clear the area of any weeds before planting. Weeds compete with beans for sunlight, water, and nutrients.
Planting Your Bush Beans: Getting Started Right
Now for the fun part – planting! Here’s my step-by-step guide to getting your bean seeds in the ground:
1. Wait for Warm Weather: Bush beans are sensitive to frost, so wait until the soil has warmed up to at least 60°F (15°C) before planting. I usually wait until a week or two after the last expected frost date in my area.
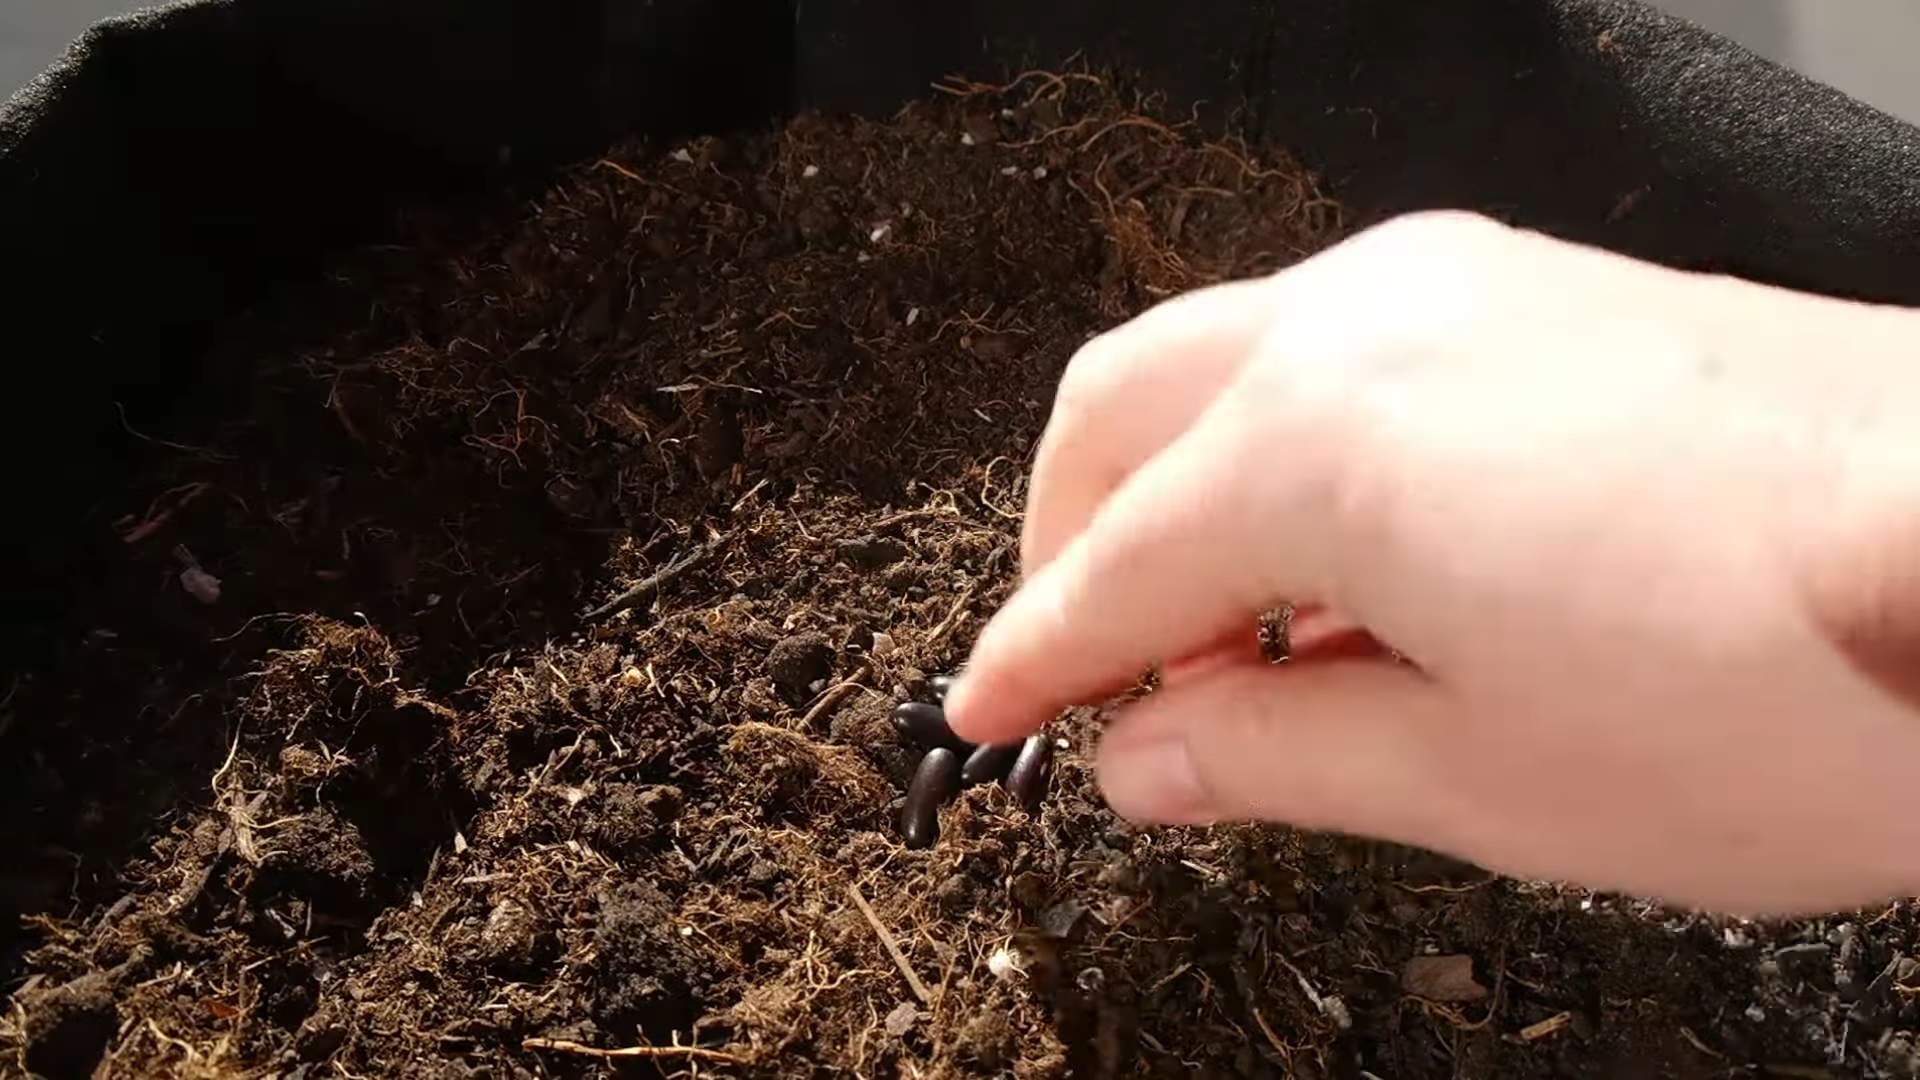
2. Direct Sow: Bush beans are best direct sown, meaning you plant the seeds directly into the garden. They don’t transplant well.
3. Spacing: Plant seeds about 1 inch deep and 2-3 inches apart in rows that are 18-24 inches apart.
4. Water Thoroughly: After planting, water the soil gently but thoroughly. Keep the soil consistently moist until the seeds germinate.
5. Germination: Bean seeds usually germinate within 5-10 days, depending on the soil temperature and moisture levels.
Pro Tip: Soak your bean seeds in water for a few hours before planting to speed up germination. Just don’t soak them for too long, or they might rot.
Caring for Your Bush Beans: Keeping Them Happy and Healthy
Once your bean plants are up and growing, here’s how to keep them thriving:
1. Watering: Water regularly, especially during dry spells. Beans need about 1 inch of water per week. Water deeply and less frequently, rather than shallowly and often. This encourages deep root growth.
2. Weeding: Keep the area around your bean plants free of weeds. Hand-pull weeds carefully to avoid disturbing the bean roots.
3. Mulching: Apply a layer of mulch around your bean plants to help retain moisture, suppress weeds, and regulate soil temperature. Straw, wood chips, or shredded leaves are all good options.
4. Fertilizing: As I mentioned earlier, beans don’t need a lot of nitrogen fertilizer. However, you can give them a boost with a side dressing of compost or a liquid fertilizer that’s low in nitrogen. I like to use a seaweed extract fertilizer.
5. Pest Control: Keep an eye out for common bean pests like aphids, bean beetles, and spider mites. I prefer to use organic pest control methods whenever possible. Insecticidal soap, neem oil, and diatomaceous earth are all effective options.
6. Support: Bush beans don’t typically need staking, but if your plants are getting weighed down with beans, you can provide some support with small stakes or cages.
Dealing with Common Bean Problems
Even with the best care, you might encounter a few problems along the way. Here’s how to troubleshoot some common bean issues:
* Yellowing Leaves: Yellowing leaves can be a sign of nutrient deficiency, overwatering, or disease. Check the soil drainage and pH, and consider adding a balanced fertilizer.
* Bean Beetles: Bean beetles are small, orange beetles that can skeletonize bean leaves. Hand-pick them off the plants or use insecticidal soap.
* Aphids: Aphids are tiny, sap-sucking insects that can weaken bean plants. Blast them off with a strong stream of water or use insecticidal soap.
* Root Rot: Root rot is a fungal disease that can cause bean plants to wilt and die. It’s usually caused by overwatering or poor soil drainage. Improve drainage and avoid overwatering.
* Powdery Mildew: Powdery mildew is a fungal disease that causes a white, powdery coating on bean leaves. Improve air circulation and use a fungicide if necessary.
Harvesting Your Bush Beans: The Sweet Reward
Now for the best part – harvesting your bounty! Here’s how to know when your beans are ready to pick:
1. Timing: Bush beans are usually ready to harvest about 50-60 days after planting.
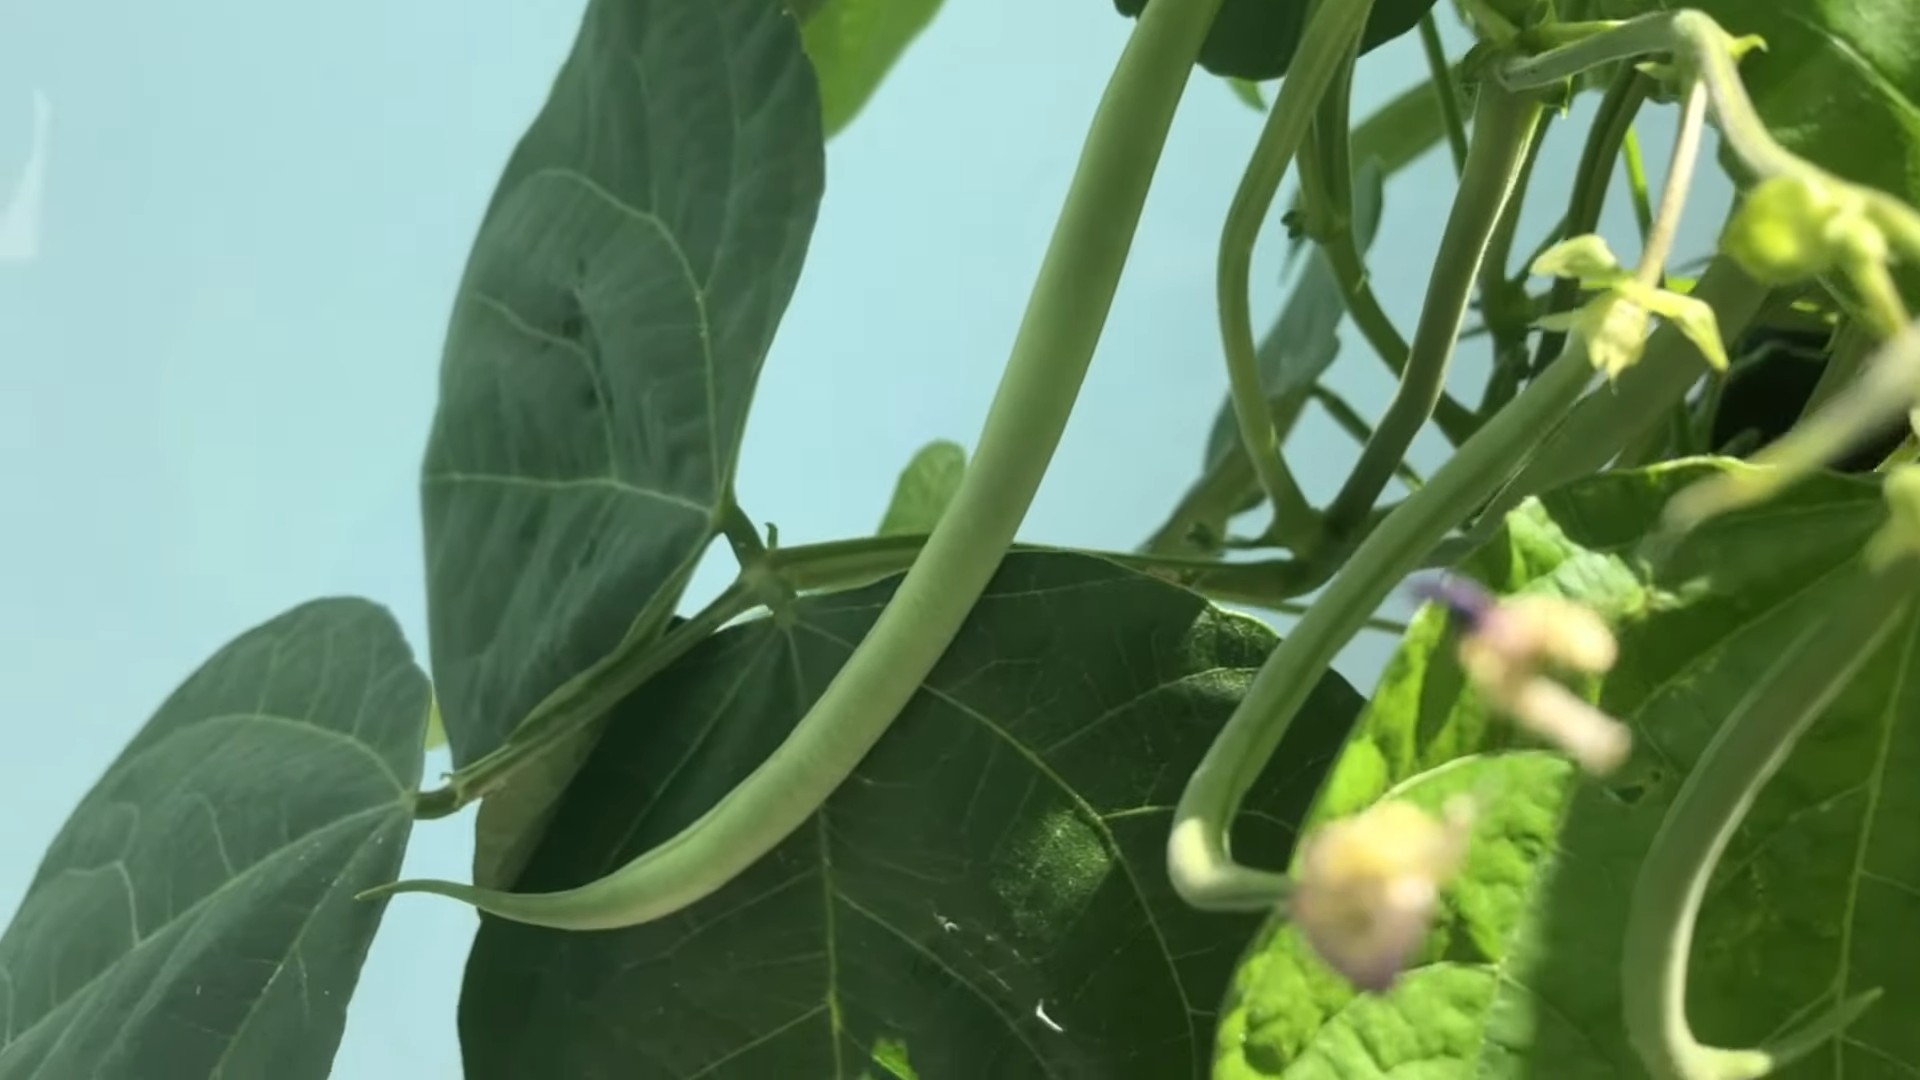
2. Appearance: The beans should be firm, plump, and snap easily when bent. They shouldn’t be bulging or overly mature.
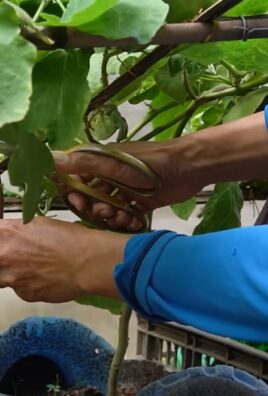
3. Frequency: Harvest beans regularly, every few days, to encourage continued production.
4. Technique: Gently snap the beans off the plant, being careful not to damage the stems.
Pro Tip: Harvest your beans in the morning, after the dew has dried. This is when they’re at their freshest and most flavorful.
Extending Your Bean Harvest: Keeping the Beans Coming
Want to keep those beans coming all season long? Here are a few tips for extending your harvest:
* Succession Planting: Plant a new batch of bean seeds every 2-3 weeks to ensure a continuous harvest.
* Deadheading: Remove any spent flowers or pods to encourage the plant to produce more beans.
* Watering and Fertilizing: Continue to water and fertilize your bean plants regularly to keep them healthy and productive.
Preserving Your Bean Harvest: Enjoying Your Beans All Year Round
If you’re lucky enough to have a bumper crop of beans, you’ll want to preserve some for later. Here are a few of my favorite methods:
* Freezing: Blanch the beans in boiling water for 2-3 minutes, then plunge them into ice water to stop the cooking process. Drain well and freeze in freezer bags or containers.
* Canning: Pressure canning is the safest way to preserve beans. Follow a tested canning recipe carefully.
* Pickling: Pickled beans are a delicious and tangy treat. There are many different pickling recipes to choose from.
* Drying: Dry beans can be stored for long periods of time
Conclusion
So, there you have it! Mastering the art of maximizing your high yield bush beans harvest is not only achievable but also incredibly rewarding. We’ve explored simple yet effective techniques that can transform your garden from a modest producer to a bean-growing powerhouse. From strategic planting and consistent watering to proper fertilization and vigilant pest control, each step contributes significantly to the overall success of your bean bounty.
But why is this DIY approach a must-try? Because it empowers you to take control of your food source, ensuring you have access to fresh, delicious, and nutritious beans right from your backyard. Store-bought beans simply can’t compare to the vibrant flavor and satisfying crunch of homegrown produce. Plus, knowing exactly where your food comes from and how it was grown provides peace of mind and a deeper connection to the natural world.
Beyond the basic techniques, there’s plenty of room for experimentation and personalization. Consider these variations to further enhance your high yield bush beans experience:
* Succession Planting: Plant new rows of beans every two to three weeks to ensure a continuous harvest throughout the growing season. This is especially effective in regions with long summers.
* Companion Planting: Plant beans alongside beneficial companions like carrots, cucumbers, or marigolds. These plants can help deter pests, improve soil health, and even enhance the flavor of your beans.
* Vertical Growing: While bush beans are typically grown in rows, you can experiment with growing them in containers with trellises. This can be a great option for small gardens or balconies.
* Soil Amendments: Experiment with different soil amendments like compost, aged manure, or bone meal to see which ones work best for your soil and bean variety.
* Variety Selection: Don’t be afraid to try different varieties of bush beans. Some varieties are known for their higher yields, disease resistance, or unique flavor profiles. Research and choose varieties that are well-suited to your local climate and growing conditions.
Ultimately, the key to success with high yield bush beans lies in observation, adaptation, and a willingness to learn. Pay close attention to your plants, monitor their growth, and adjust your techniques as needed. Don’t be discouraged by setbacks; every gardening season is a learning opportunity.
We wholeheartedly encourage you to put these DIY tricks into practice and witness the incredible results firsthand. Imagine the satisfaction of harvesting baskets overflowing with plump, juicy beans, ready to be enjoyed in countless delicious meals. Share your experiences with us! We’d love to hear about your successes, challenges, and any unique techniques you’ve discovered along the way. Post photos of your bountiful harvests, share your favorite bean recipes, and connect with fellow gardeners in the comments section. Let’s create a community of bean-growing enthusiasts, sharing knowledge and inspiring each other to achieve even greater success. Happy gardening!
Frequently Asked Questions (FAQ)
What exactly does “high yield” mean when referring to bush beans?
High yield, in this context, refers to the potential of certain bush bean varieties to produce a significantly larger quantity of beans per plant or per square foot of garden space compared to other varieties or less optimized growing methods. It’s about maximizing your harvest from the available resources. Factors like genetics, soil quality, sunlight, watering, and pest control all play a crucial role in achieving a high yield.
How often should I water my high yield bush beans?
Watering frequency depends on several factors, including your climate, soil type, and the stage of growth of your beans. Generally, aim to keep the soil consistently moist but not waterlogged. A good rule of thumb is to water deeply whenever the top inch of soil feels dry to the touch. During hot, dry periods, you may need to water daily. Mulching around the plants can help retain moisture and reduce the need for frequent watering. Avoid overhead watering, as this can increase the risk of fungal diseases. Instead, water at the base of the plants.
What kind of fertilizer is best for high yield bush beans?
Bush beans, like other legumes, have the ability to fix nitrogen from the atmosphere, so they don’t require as much nitrogen fertilizer as other plants. However, they do benefit from phosphorus and potassium, which are essential for root development and overall plant health. A fertilizer with a low nitrogen content (e.g., 5-10-10) is generally recommended. You can also amend the soil with compost or aged manure before planting to provide a slow-release source of nutrients. Avoid over-fertilizing, as this can lead to excessive foliage growth at the expense of bean production.
How do I protect my high yield bush beans from pests and diseases?
Prevention is key when it comes to pest and disease control. Start by choosing disease-resistant varieties of bush beans. Practice good garden hygiene by removing any dead or diseased plant material. Rotate your crops each year to prevent the buildup of soilborne pathogens. Monitor your plants regularly for signs of pests or diseases. Common pests of bush beans include aphids, bean beetles, and spider mites. You can control these pests with insecticidal soap, neem oil, or by handpicking them off the plants. Common diseases include powdery mildew, bean rust, and anthracnose. Improve air circulation around your plants to prevent fungal diseases. If necessary, you can use a fungicide to control these diseases.
When is the best time to harvest my high yield bush beans?
Harvest time depends on the variety of bush beans you’re growing and your personal preference. Generally, bush beans are ready to harvest when the pods are firm, plump, and easily snap off the plant. The beans inside the pods should be well-developed but not bulging. Overripe beans will be tough and stringy. Harvest your beans regularly, every few days, to encourage continued production.
Can I grow high yield bush beans in containers?
Yes, you can successfully grow high yield bush beans in containers, especially if you have limited garden space. Choose a container that is at least 12 inches deep and wide to provide enough room for the roots to grow. Use a well-draining potting mix and water regularly. Provide support for the plants, such as a trellis or stakes, to keep them upright. Place the container in a sunny location that receives at least 6 hours of sunlight per day.
What are some good companion plants for high yield bush beans?
Companion planting can help improve the growth and yield of your bush beans. Some good companion plants include:
* Carrots: Carrots deter bean beetles.
* Cucumbers: Cucumbers provide shade and support for bean vines.
* Marigolds: Marigolds repel nematodes and other soil pests.
* Nasturtiums: Nasturtiums attract aphids away from bean plants.
* Rosemary: Rosemary deters bean beetles and other pests.
* Summer Savory: Is said to improve the flavor of beans and deter bean beetles.
Avoid planting beans near onions or garlic, as these plants can inhibit their growth.
How do I save seeds from my high yield bush beans for next year?
Saving seeds from your bush beans is a great way to ensure a continuous supply of your favorite varieties. Allow some of the bean pods to mature fully on the plant until they are dry and brown. Harvest the pods and shell the beans. Spread the beans out on a tray to dry completely in a cool, dry place for several weeks. Store the dried beans in an airtight container in a cool, dark place. Be sure to label the container with the variety of bean and the date of harvest. Note that hybrid varieties may not produce true-to-type seeds.
My bush beans are flowering but not producing beans. What could be the problem?
There are several reasons why your bush beans might be flowering but not producing beans:
* Lack of pollination: Bees and other pollinators are essential for bean production. If there are not enough pollinators in your area, you can try hand-pollinating the flowers.
* High temperatures: High temperatures can interfere with pollination and bean development.
* Insufficient watering: Water stress can also prevent bean production.
* Nutrient deficiencies: A lack of phosphorus or potassium can inhibit bean development.
* Pest or disease problems: Pests and diseases can damage the flowers and prevent them from setting beans.
Investigate each of these possibilities to determine the cause of the problem and take corrective action.

Leave a Comment