
Harvest Pumpkins Longer: Want to enjoy your homegrown pumpkins well into the fall and even winter? I know I do! There’s nothing quite like the satisfaction of carving a jack-o’-lantern from a pumpkin you nurtured from a tiny seed. But the heartbreak of seeing your prized pumpkin rot before you can even display it? That’s a gardener’s nightmare!
Pumpkins, symbols of autumn abundance, have a rich history. Originating in North America, they’ve been cultivated for thousands of years, serving as a vital food source for indigenous populations. Today, they’re not just a culinary staple and decorative icon, but also a source of immense pride for home gardeners like us.
That’s why I’m sharing my top DIY tricks to harvest pumpkins longer and keep them fresh for weeks, even months! We’ll dive into simple yet effective methods to cure your pumpkins properly, protect them from pests and diseases, and store them in optimal conditions. Forget store-bought pumpkins – with these hacks, you’ll be enjoying your own beautiful, homegrown gourds for longer than you ever thought possible. Let’s get started and make this pumpkin season last!
How to Make Your Harvest Pumpkins Last Longer: A DIY Guide
Hey there, pumpkin enthusiasts! I know the feeling – you’ve spent weeks (or even months!) nurturing your pumpkins, and you’re so excited to display them for Halloween or Thanksgiving. But then, disaster strikes! They start to rot, soften, or get those dreaded mold spots. Don’t worry, I’m here to share my tried-and-true methods for making your harvest pumpkins last longer. Let’s dive in!
Understanding Why Pumpkins Rot
Before we get into the how-to, it’s helpful to understand why pumpkins decay in the first place. It’s all about moisture, bacteria, and fungi. Pumpkins are mostly water, which makes them susceptible to rot. Any cuts, bruises, or imperfections on the skin provide entry points for these nasty organisms. So, our goal is to minimize these factors and create an environment that discourages decay.
Choosing the Right Pumpkins
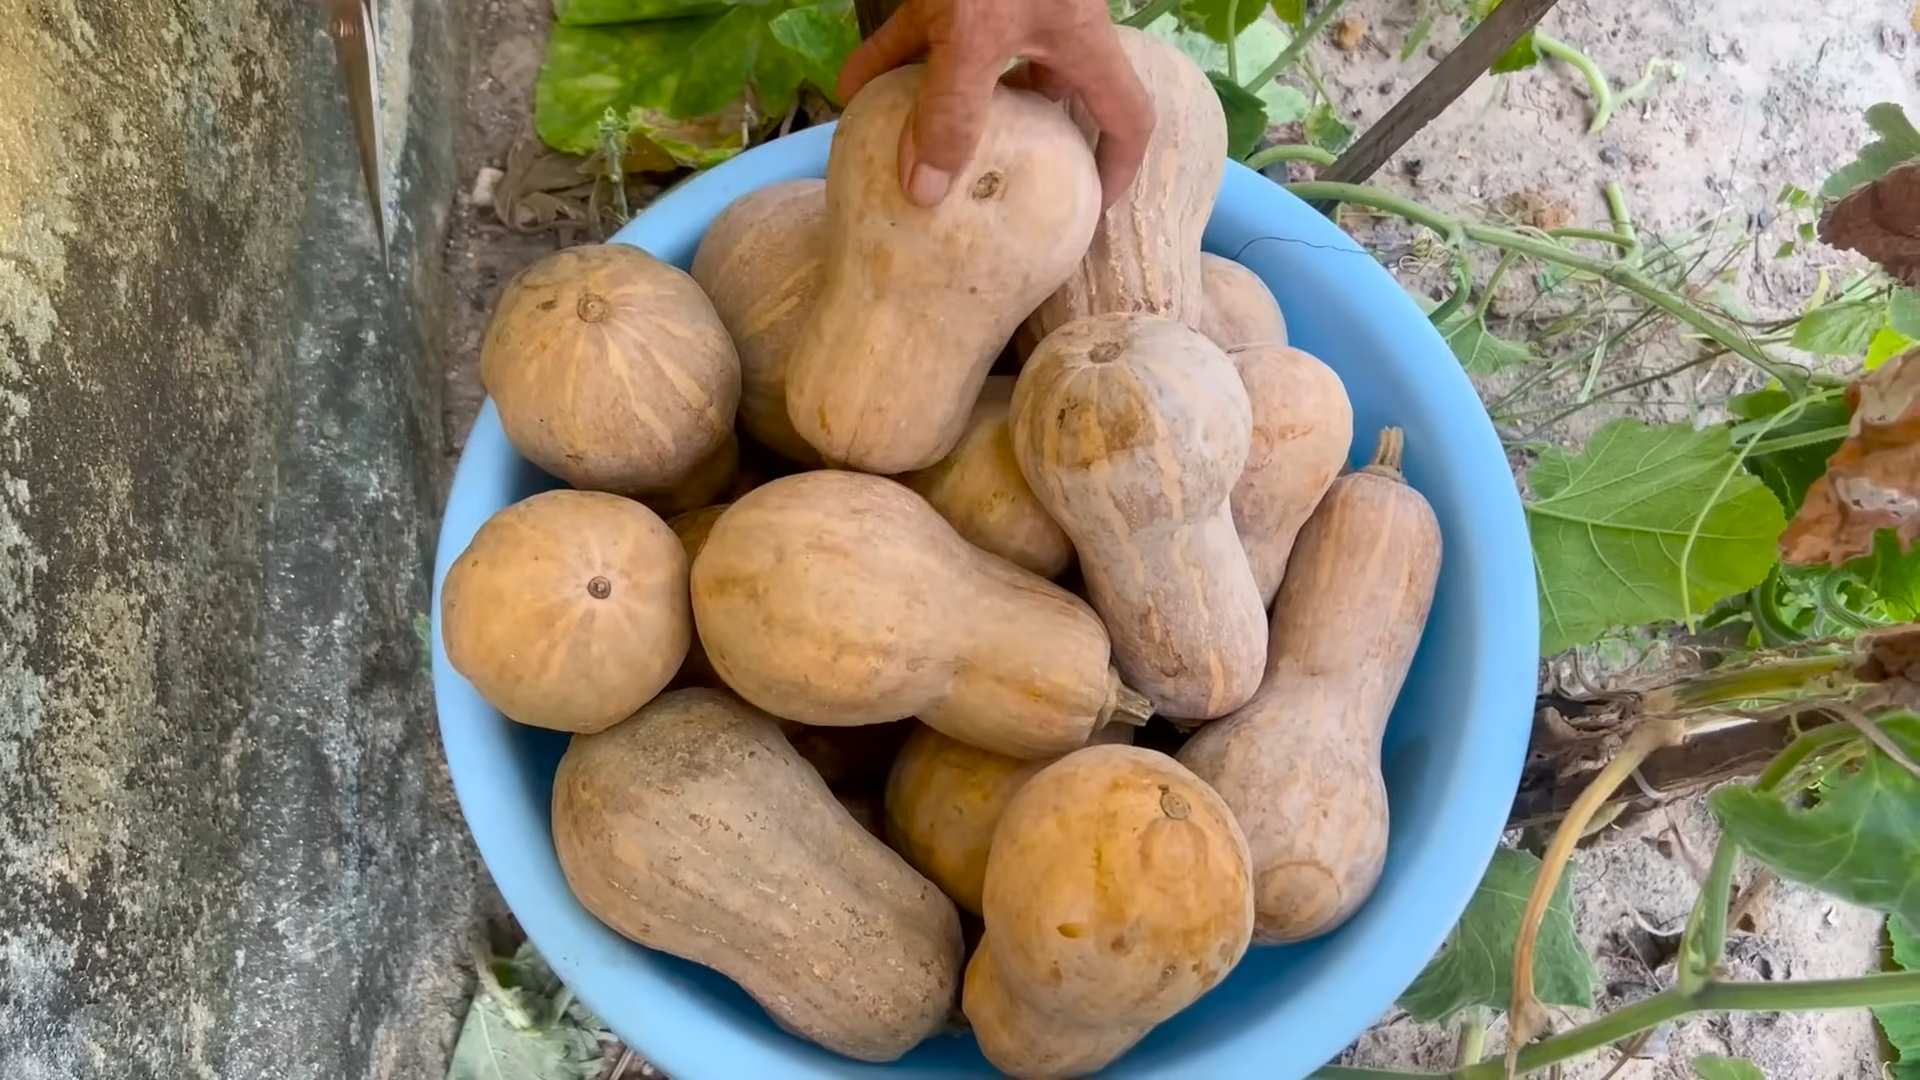
The first step to a long-lasting pumpkin display is selecting healthy pumpkins from the start. Here’s what I look for:
* Hard, thick skin: Gently tap the pumpkin. It should sound hollow and feel firm. Avoid pumpkins with soft spots or thin skin.
* A strong, intact stem: The stem is like the pumpkin’s lifeline. Make sure it’s firmly attached and at least 2-3 inches long. A missing or damaged stem is a major entry point for rot.
* No bruises, cuts, or blemishes: Inspect the pumpkin carefully for any signs of damage. Even small scratches can lead to problems down the road.
* Properly cured pumpkins: If you’re buying from a farm or market, ask if the pumpkins have been cured. Curing involves exposing the pumpkins to warm, dry conditions for a week or two after harvesting. This helps to harden the skin and extend their shelf life.
Prepping Your Pumpkins for Display
Okay, you’ve got your perfect pumpkins. Now it’s time to prep them for a long and happy life on your porch or mantel.
Cleaning and Disinfecting
This is a crucial step that I never skip!
1. Wash the pumpkin: Use a mild dish soap and water solution to gently wash the entire pumpkin. This will remove any dirt, debris, or surface bacteria.
2. Rinse thoroughly: Make sure to rinse off all the soap residue.
3. Disinfect the surface: This is where the magic happens! I use a few different methods, and I’ll share my favorites:
* Bleach solution: Mix 1 tablespoon of bleach with 1 quart of water. Spray the entire pumpkin with the solution, making sure to get into all the nooks and crannies. Let it sit for about 10 minutes, then pat dry with a clean cloth. Be careful not to get bleach on your clothes or in your eyes!
* Vinegar solution: If you’re not a fan of bleach, vinegar is a great alternative. Mix equal parts white vinegar and water. Spray the pumpkin, let it sit for 10 minutes, and pat dry. Vinegar is a natural disinfectant and can help prevent mold growth.
* Commercial pumpkin preservative: You can also find commercial pumpkin preservatives at most craft stores or online. These products are specifically designed to protect pumpkins from rot and mold. Follow the instructions on the label.
4. Dry completely: This is super important! Moisture is the enemy. Use a clean cloth to thoroughly dry the pumpkin, paying special attention to the stem area.
Protecting the Stem
The stem is a vulnerable area, so I like to give it some extra protection.
1. Apply petroleum jelly or wax: Use a cotton swab or your finger to apply a thin layer of petroleum jelly (like Vaseline) or melted candle wax to the cut end of the stem. This will help seal it and prevent moisture from entering.
2. Consider a stem sealant: You can also find stem sealants at craft stores. These products create a waterproof barrier that protects the stem from rot.
Creating a Protective Barrier
Now, let’s create a barrier to protect the pumpkin’s skin from moisture and pests.
1. Apply a sealant: There are several options for sealing your pumpkin:
* Clear acrylic spray: This is my go-to method. It creates a clear, protective layer that helps prevent moisture from penetrating the skin. Apply several thin coats, allowing each coat to dry completely before applying the next. Make sure to use a spray that is designed for outdoor use.
* Floor wax: Some people swear by using floor wax to seal their pumpkins. Apply a thin layer of wax to the entire pumpkin and buff it to a shine. This will create a protective barrier and give your pumpkin a nice glossy look.
* Mod Podge: While Mod Podge is typically used for crafts, it can also be used to seal pumpkins. Apply several thin coats, allowing each coat to dry completely. Keep in mind that Mod Podge may not be as durable as acrylic spray or floor wax.
2. Let it dry completely: Allow the sealant to dry completely before displaying your pumpkin. This may take several hours or even overnight.
Maintaining Your Pumpkins
Even with all these precautions, your pumpkins will still need some TLC to stay looking their best.
1. Keep them dry: Avoid placing your pumpkins in areas where they will be exposed to rain or excessive moisture. If it’s going to rain, consider bringing them indoors or covering them with a tarp.
2. Provide good ventilation: Make sure your pumpkins have good air circulation. Don’t place them in enclosed spaces or pile them on top of each other.
3. Check them regularly: Inspect your pumpkins every few days for any signs of rot or mold. If you spot any problems, address them immediately.
4. Reapply sealant: If you notice the sealant wearing off, reapply a fresh coat.
5. Consider a pumpkin stand: Elevating your pumpkins on a stand can help improve air circulation and prevent moisture from accumulating underneath.
Dealing with Rot and Mold
Even with the best care, sometimes rot and mold are inevitable. Here’s how to deal with them:
1. Remove affected areas: If you spot a small area of rot or mold, carefully cut it away with a sharp knife. Make sure to remove all of the affected tissue.
2. Disinfect the area: Spray the cut area with a bleach or vinegar solution to kill any remaining bacteria or fungi.
3. Seal the area: Apply petroleum jelly or wax to the cut area to prevent further decay.
4. Monitor closely: Keep a close eye on the pumpkin to make sure the rot or mold doesn’t spread.
Extending the Life of Carved Pumpkins
Carved pumpkins are even more susceptible to rot because the exposed flesh provides a perfect breeding ground for bacteria and fungi. Here’s how to extend their life:
1. Soak in bleach water: After carving, soak the pumpkin in a solution of 1 tablespoon of bleach per gallon of water for about an hour. This will kill any bacteria or fungi that may be present.
2. Apply petroleum jelly: Apply a thin layer of petroleum jelly to all the cut surfaces of the pumpkin. This will help seal them and prevent moisture loss.
3. Keep it refrigerated: When you’re not displaying your carved pumpkin, store it in the refrigerator. The cold temperature will slow down the decay process.
4. Use LED lights: Avoid using traditional incandescent candles inside your carved pumpkin. The heat from the candle can accelerate the decay process. Use LED lights instead.
5. Consider a pumpkin preservative spray: There are special sprays designed to help preserve carved pumpkins. These sprays contain fungicides and other ingredients that help prevent rot and mold.
Alternative Preservation Methods
If you’re looking for even more ways to preserve your pumpkins, here are a few alternative methods:
* Dehydrating: You can dehydrate pumpkin slices to make pumpkin chips or other snacks.
* Freezing: You can freeze cooked pumpkin puree for use in pies, soups, and other recipes.
* Canning: You can can pumpkin puree or pumpkin pie filling for long-term storage.
Troubleshooting
* My pumpkin is attracting bugs: If your pumpkin is attracting bugs, try spraying it with a mixture of water and dish soap. You can also try placing a few dryer sheets near the pumpkin to repel insects.
* My pumpkin is starting to smell: If your pumpkin is starting to smell, it’s likely rotting. Remove it immediately to prevent the smell from spreading.
* My pumpkin is getting soft spots: Soft spots are a sign of rot. Cut away the affected areas and disinfect the area.
Final Thoughts
With a little bit of care and attention, you can keep your harvest pumpkins looking beautiful for weeks, or even months! I hope these tips have been helpful. Happy pumpkin season!
Conclusion
So, there you have it! Extending the life of your hard-earned harvest pumpkins doesn’t require expensive equipment or complicated techniques. This simple, yet effective, DIY trick is a game-changer for anyone who wants to enjoy the beauty and bounty of their pumpkins for weeks, even months, longer. We’ve shown you how to create a protective barrier against rot and decay, giving your pumpkins the best possible chance to thrive indoors.
Why is this a must-try? Because it saves you money! Think about it: no more prematurely decaying pumpkins that end up in the compost heap. You’ll be able to use them for fall decorating, Halloween displays, or even for cooking and baking later in the season. Plus, it’s incredibly satisfying to know you’re preserving something you’ve grown (or carefully selected) yourself.
Beyond the basic method we’ve outlined, there are a few variations you might want to consider. For instance, if you live in a particularly humid climate, you could add a small packet of silica gel (those little packets that come in shoe boxes) near your pumpkins to help absorb excess moisture. Another option is to periodically wipe down your pumpkins with a diluted bleach solution (1 part bleach to 10 parts water) to further inhibit mold growth. Just be sure to wear gloves and work in a well-ventilated area when using bleach.
And don’t forget about the power of proper storage! Keep your treated harvest pumpkins in a cool, dry, and well-ventilated space. Avoid stacking them on top of each other, as this can restrict airflow and create pressure points that can lead to bruising and rot. A single layer on a shelf or pallet is ideal.
We are confident that this DIY trick will significantly extend the lifespan of your harvest pumpkins. But the real test is in the doing! We wholeheartedly encourage you to give it a try. Gather your supplies, follow our simple steps, and prepare to be amazed by the results.
More importantly, we want to hear about your experience! Did this method work for you? Did you try any variations? What challenges did you encounter? Share your stories, tips, and photos in the comments section below. Your feedback will not only help other readers but also contribute to our collective knowledge of pumpkin preservation. Let’s work together to make the most of our harvest and enjoy the beauty of fall for as long as possible. Happy pumpkin preserving!
Frequently Asked Questions (FAQ)
Q: What kind of pumpkins does this DIY trick work best on?
A: This DIY trick is effective on a wide variety of pumpkins, including carving pumpkins, pie pumpkins, and decorative gourds. However, it tends to work best on pumpkins that are fully mature and have a hard, thick rind. Pumpkins with soft spots or blemishes are more susceptible to rot, even with treatment. Smaller pumpkins and gourds generally respond very well to this method due to their lower moisture content.
Q: What if I don’t have access to beeswax? Can I use something else?
A: While beeswax is our preferred method due to its natural properties and effectiveness, there are a few alternatives you can consider. Paraffin wax, commonly used for candle making, can also be used, but it’s a petroleum-based product. Another option is to use a thin layer of petroleum jelly (Vaseline). However, petroleum jelly is not as effective as wax in creating a long-lasting barrier against moisture and decay. Some people have also had success with applying a thin coat of clear acrylic sealant, but be sure to use a food-safe sealant if you plan on using the pumpkin for cooking later. Ultimately, beeswax provides the best balance of effectiveness, safety, and natural properties.
Q: How often should I check on my treated pumpkins?
A: It’s a good idea to check on your treated pumpkins at least once a week, especially during the first few weeks after application. Look for any signs of softening, mold growth, or discoloration. If you notice any of these issues, wipe down the affected area with a diluted bleach solution (1 part bleach to 10 parts water) and reapply the wax or sealant. Regular monitoring will help you catch any problems early and prevent them from spreading.
Q: Will this DIY trick prevent my pumpkins from eventually rotting?
A: While this DIY trick significantly extends the lifespan of harvest pumpkins, it doesn’t guarantee that they will last indefinitely. Pumpkins are organic matter and will eventually decompose. However, this method dramatically slows down the process by creating a protective barrier against moisture, bacteria, and fungi, the primary culprits behind pumpkin rot. With proper treatment and storage, you can expect your pumpkins to last for several weeks, or even months, longer than they would otherwise.
Q: Is it safe to eat a pumpkin that has been treated with beeswax or other sealants?
A: If you plan on using your pumpkin for cooking or baking, it’s crucial to use a food-safe sealant like beeswax. Avoid using petroleum-based products or sealants that are not specifically labeled as food-safe. Even with food-safe sealants, it’s always a good idea to thoroughly wash the pumpkin before cutting into it. If you notice any signs of mold or decay on the inside of the pumpkin, discard it immediately. When in doubt, err on the side of caution and avoid consuming a pumpkin that you suspect may be contaminated.
Q: My pumpkins are already showing signs of rot. Can this DIY trick still help?
A: This DIY trick is most effective when applied to pumpkins that are in good condition. If your pumpkins are already showing significant signs of rot, such as soft spots, mold growth, or a foul odor, it’s unlikely that this method will be able to save them. However, you can try removing the affected areas with a sharp knife and then applying the wax or sealant to the remaining healthy tissue. This might help slow down the spread of the rot, but it’s not a guaranteed solution. In general, it’s best to apply this DIY trick as a preventative measure before any signs of rot appear.
Q: What is the best way to store my treated harvest pumpkins?
A: Proper storage is essential for maximizing the lifespan of your treated pumpkins. Store them in a cool, dry, and well-ventilated area. Avoid storing them in direct sunlight or in areas with high humidity. A basement, garage, or shed is often a good choice. Place the pumpkins on a shelf or pallet to allow for good airflow around them. Avoid stacking them on top of each other, as this can create pressure points and lead to bruising. Regularly check on your pumpkins and remove any that show signs of rot to prevent the spread of decay to other pumpkins.
Q: Can I use this method on other types of gourds and squashes?
A: Yes, this DIY trick can be used on other types of gourds and squashes, such as butternut squash, acorn squash, and ornamental gourds. The principles are the same: creating a protective barrier against moisture and decay. However, the effectiveness may vary depending on the type of gourd or squash and its inherent susceptibility to rot. In general, gourds and squashes with hard, thick rinds will respond best to this method.
Leave a Comment