
Growing Sweet Potatoes Soil Free might sound like something out of a sci-fi movie, but trust me, it’s a real and surprisingly simple way to cultivate these delicious and nutritious root vegetables! Forget lugging heavy bags of soil and battling weeds; we’re diving into the world of hydroponics and water culture to bring you a revolutionary gardening experience.
Sweet potatoes have a rich history, dating back thousands of years in Central and South America. They were a staple food for many ancient civilizations and eventually spread across the globe, becoming a beloved ingredient in countless cuisines. While traditionally grown in soil, innovative gardeners have discovered that these versatile tubers thrive in water, opening up a whole new realm of possibilities.
Why should you consider growing sweet potatoes soil free? Well, for starters, it’s incredibly space-saving, perfect for apartment dwellers or anyone with limited garden space. Plus, it eliminates the need for weeding and reduces the risk of soil-borne diseases. Imagine harvesting a bountiful crop of sweet potatoes right from your kitchen counter! I’m excited to share these simple steps and help you unlock the secrets to successful soil-free sweet potato cultivation. Let’s get started and discover how easy and rewarding growing sweet potatoes soil free can be!
Growing Sweet Potatoes Without Soil: A Fun DIY Hydroponic Adventure!
Hey there, fellow gardening enthusiasts! Ever thought about growing sweet potatoes without getting your hands dirty in the soil? Well, get ready to dive into the exciting world of hydroponics! I’m going to walk you through a simple and rewarding DIY project: growing sweet potatoes in water. It’s easier than you might think, and the results are pretty amazing. Let’s get started!
What You’ll Need
Before we jump into the how-to, let’s gather our supplies. This is a relatively low-cost project, and you probably have some of these items lying around already.
* Sweet Potatoes: Choose organic sweet potatoes that are firm and free from blemishes. The size doesn’t matter too much, but larger ones tend to sprout more vigorously.
* Glass Jars or Containers: Wide-mouthed jars or containers are ideal. Mason jars, old pickle jars, or even plastic containers will work, as long as they can hold water and support the sweet potato.
* Toothpicks or Skewers: These will be used to suspend the sweet potato in the water.
* Water: Tap water is fine, but letting it sit out for 24 hours to dechlorinate is even better.
* Optional:
* Liquid fertilizer (specifically formulated for hydroponics)
* Rooting hormone (to encourage faster root growth)
* Spray bottle
Preparing Your Sweet Potatoes
Okay, let’s get those sweet potatoes ready for their watery adventure!
1. Cleaning: Gently wash the sweet potatoes under cool water to remove any dirt or debris. Don’t scrub too hard, as you don’t want to damage the skin.
2. Choosing the Right End: Sweet potatoes have a slightly pointed end (the “root” end) and a more rounded end (the “sprout” end). We want the sprout end to be facing upwards, out of the water.
3. Inserting Toothpicks: This is where the toothpicks or skewers come in handy. Insert them around the middle of the sweet potato, spacing them evenly. They should stick out far enough to rest on the rim of your jar or container. Aim for about four toothpicks per sweet potato. Make sure they are inserted firmly enough to support the weight of the sweet potato.
4. Water Level: Fill your jar or container with water, leaving about an inch of space at the top. The water level should be high enough to submerge the bottom third to half of the sweet potato.
Setting Up Your Hydroponic System
Now that our sweet potatoes are prepped, let’s set up their new home!
1. Positioning the Sweet Potato: Carefully place the sweet potato on top of the jar or container, using the toothpicks to suspend it. The bottom of the sweet potato should be submerged in the water.
2. Choosing the Right Location: Place your setup in a warm, bright location. A windowsill that receives indirect sunlight is perfect. Avoid direct sunlight, as it can overheat the water and promote algae growth.
3. Monitoring the Water Level: Check the water level daily and add more water as needed to keep the bottom of the sweet potato submerged.
4. Optional: Adding Fertilizer: If you choose to use liquid fertilizer, add a small amount to the water according to the instructions on the fertilizer package. Start with a diluted solution to avoid burning the roots. I usually add a very small amount every other week.
Watching the Magic Happen: Sprouting and Rooting
This is the fun part! Now we get to watch our sweet potatoes come to life.
1. Patience is Key: It can take several weeks for sprouts and roots to appear, so don’t get discouraged if you don’t see anything happening right away. The warmer the environment, the faster they will sprout.
2. Sprout Development: You’ll start to see small buds or “eyes” appearing on the top half of the sweet potato. These will eventually grow into vines.
3. Root Development: At the same time, roots will begin to emerge from the submerged portion of the sweet potato. These roots will initially be thin and white, but they will gradually thicken and become more substantial.
4. Water Changes: Change the water every week or two to keep it fresh and prevent algae growth. When you change the water, gently rinse the roots to remove any debris.
5. Optional: Rooting Hormone: If you want to encourage faster root growth, you can dip the bottom of the sweet potato in rooting hormone before placing it in the water.
From Sprouts to Slips: Preparing for Planting
Once your sweet potato has developed a good amount of sprouts and roots, it’s time to prepare for planting. The sprouts are called “slips,” and they are what we will use to grow new sweet potato plants.
1. Waiting for Sufficient Growth: Let the slips grow to be about 6-8 inches long before removing them. They should have several leaves and a healthy appearance.
2. Removing the Slips: Gently twist or cut the slips off the sweet potato, being careful not to damage the remaining sprouts.
3. Rooting the Slips: Place the slips in a glass of water, making sure that the bottom portion of the stem is submerged. Place the glass in a bright location, but avoid direct sunlight.
4. Waiting for Roots: It will take about a week or two for the slips to develop roots. Change the water every few days to keep it fresh.
5. Planting the Slips: Once the slips have developed a good root system, they are ready to be planted in soil.
Planting Your Sweet Potato Slips
Now for the final step: planting our rooted slips!
1. Choosing the Right Location: Sweet potatoes need plenty of sunshine, so choose a location that receives at least 6-8 hours of direct sunlight per day.
2. Preparing the Soil: Sweet potatoes prefer well-drained soil that is rich in organic matter. Amend your soil with compost or other organic materials to improve its fertility and drainage.
3. Planting the Slips: Dig a small hole for each slip, spacing them about 12-18 inches apart. Gently remove the slip from the water and plant it in the hole, covering the roots with soil.
4. Watering: Water the newly planted slips thoroughly.
5. Mulching: Apply a layer of mulch around the plants to help retain moisture and suppress weeds.
6. Ongoing Care: Water your sweet potato plants regularly, especially during dry periods. Fertilize them with a balanced fertilizer every few weeks.
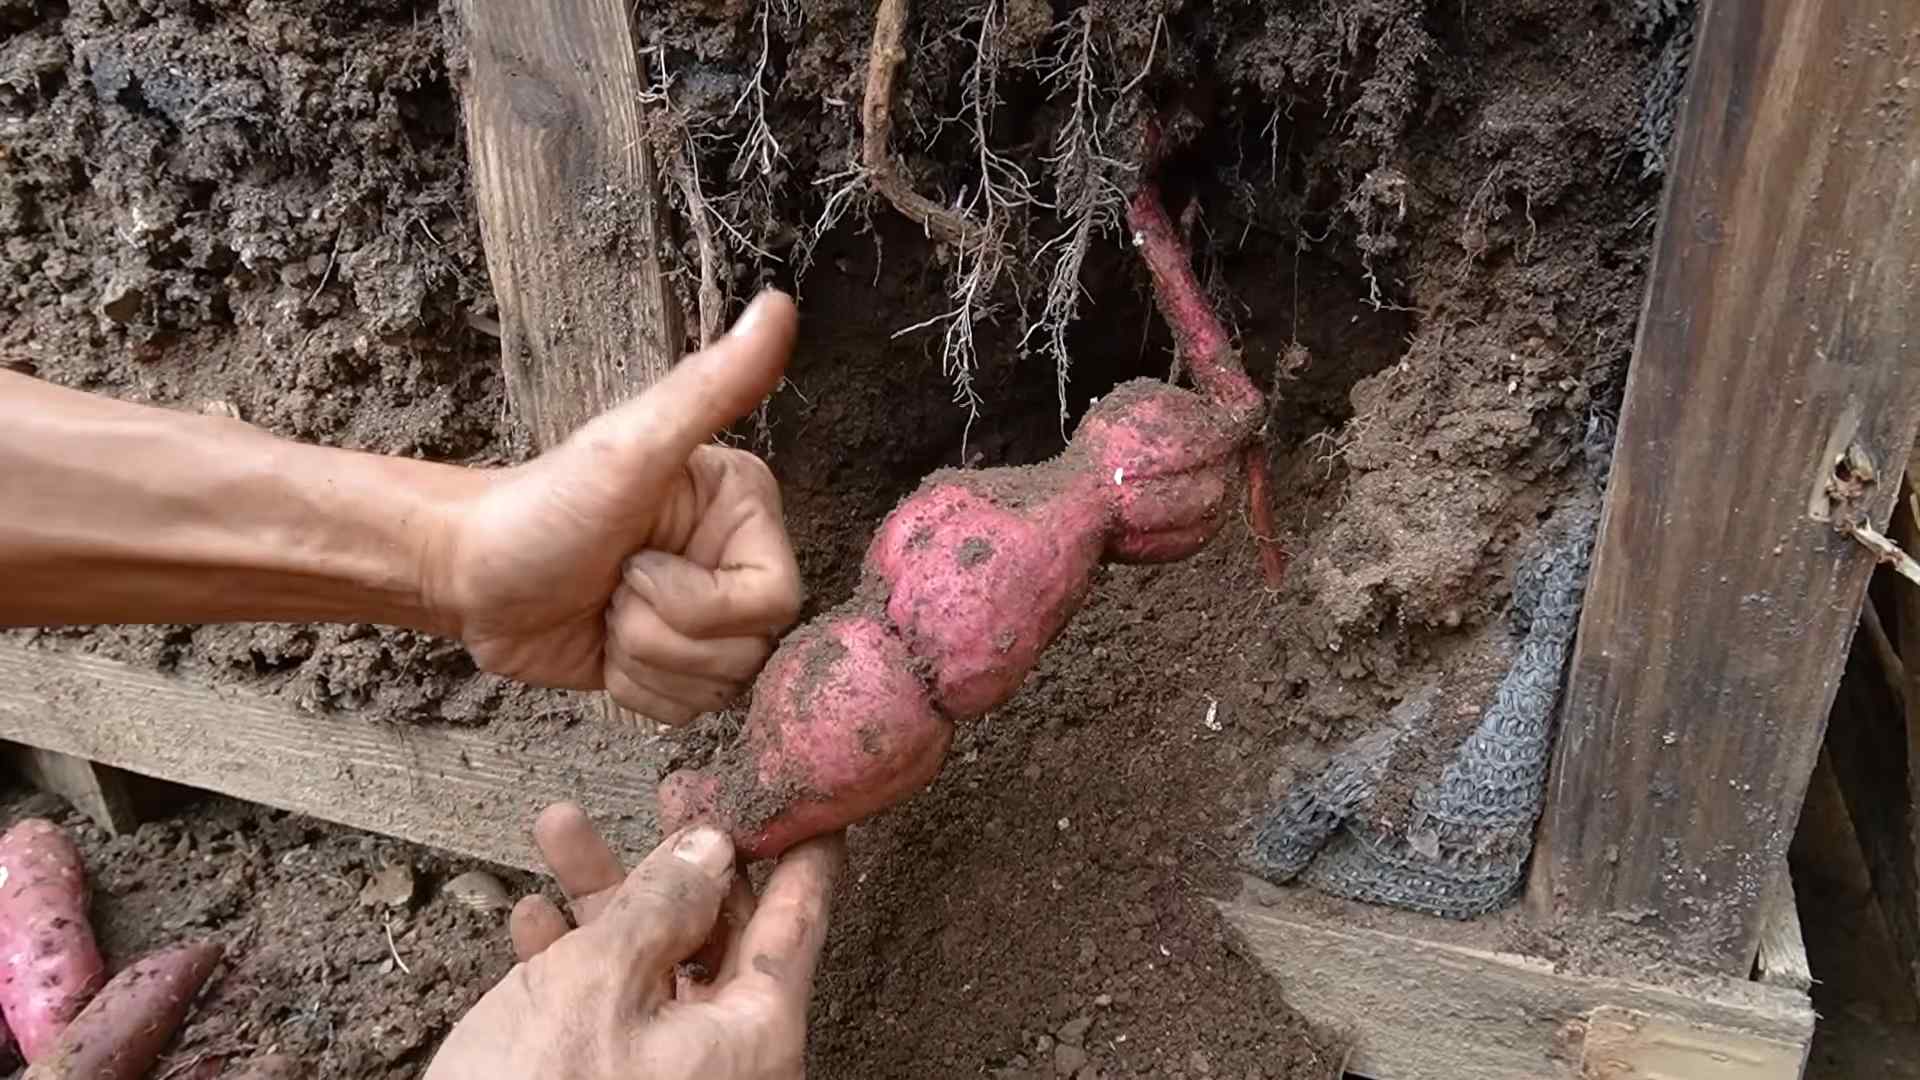
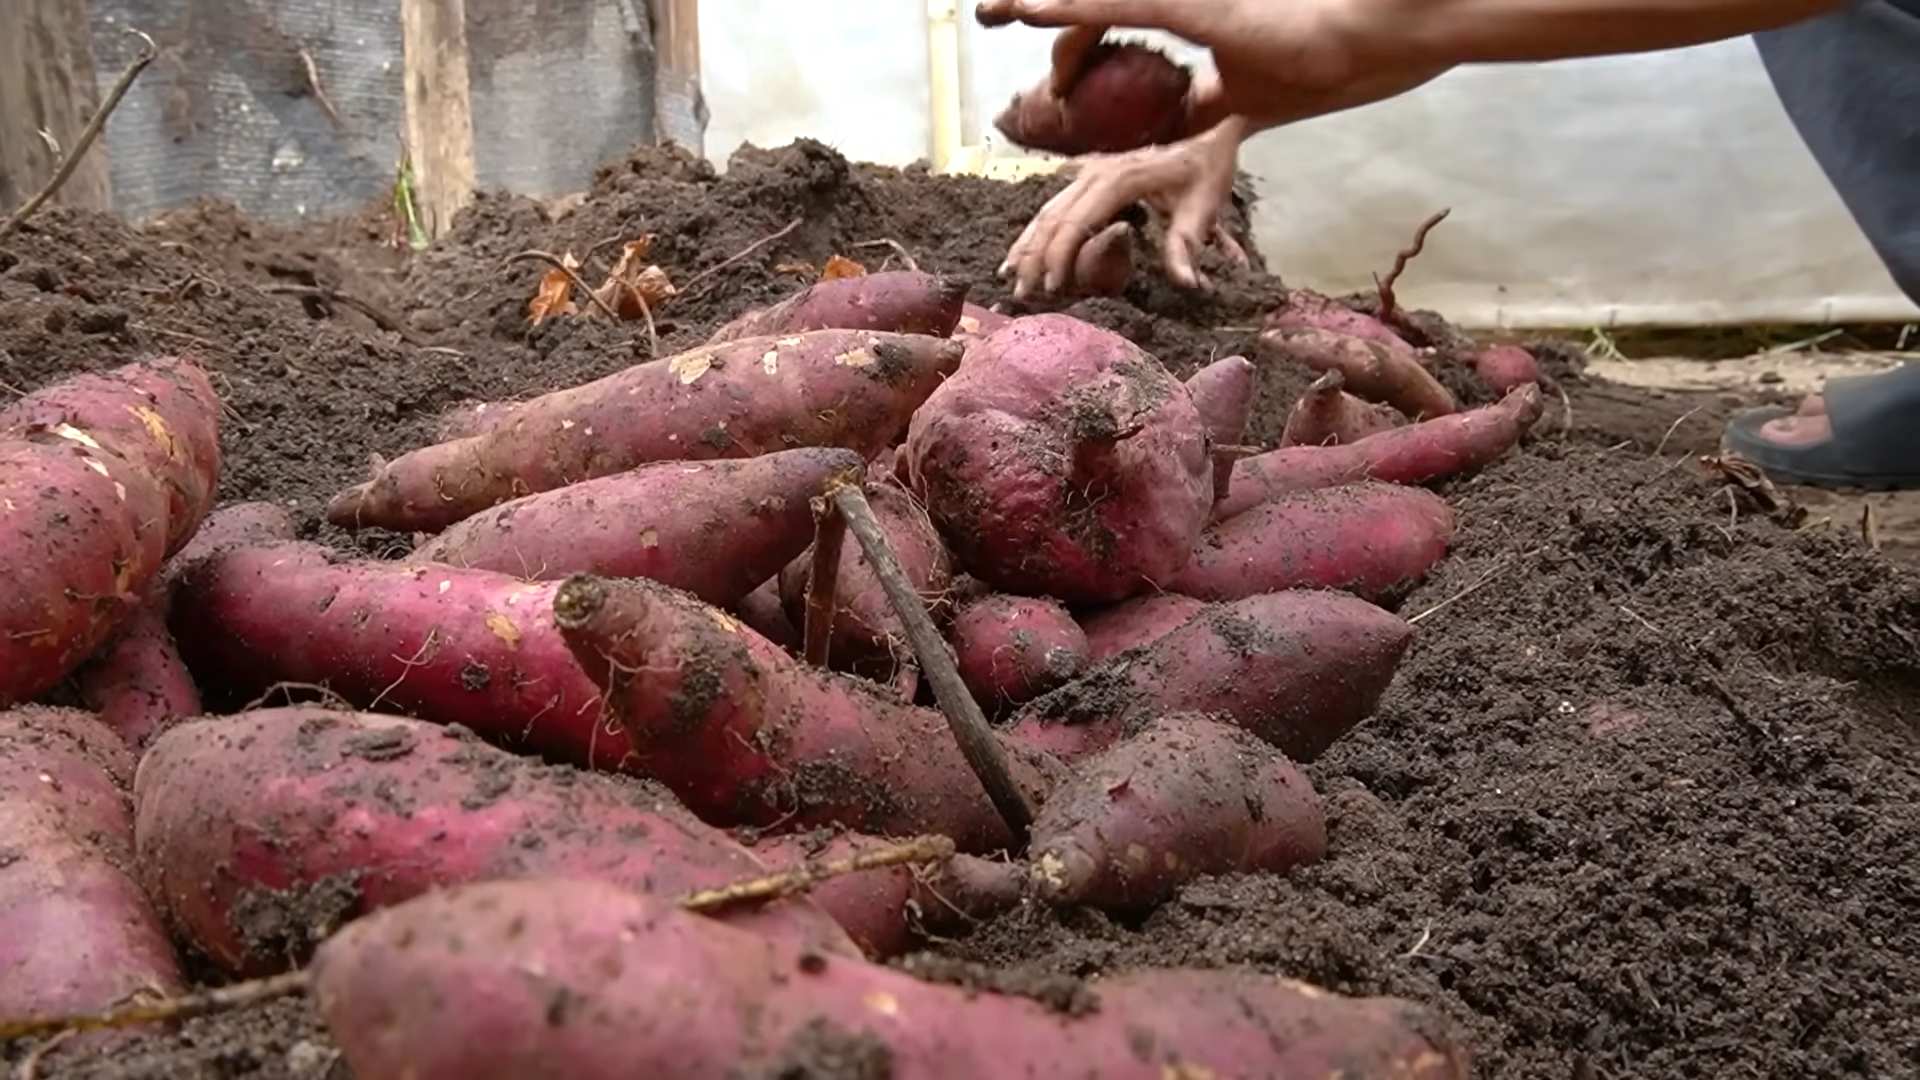
7. Harvesting: Sweet potatoes are typically ready to harvest in the fall, about 90-120 days after planting. The leaves will start to turn yellow and the vines will begin to die back. To harvest, carefully dig around the plants and lift the sweet potatoes out of the ground.
Troubleshooting
Even with the best planning, sometimes things don’t go exactly as expected. Here are a few common issues you might encounter and how to address them:
* No Sprouts or Roots: If your sweet potato isn’t sprouting or rooting, make sure it’s in a warm, bright location. You can also try changing the water more frequently. Sometimes, a sweet potato is just not viable, so you might need to try a different one.
* Algae Growth: Algae growth in the water is a common problem. To prevent it, avoid direct sunlight and change the water regularly. You can also add a small amount of hydrogen peroxide to the water to kill the algae.
* Rotting: If the sweet potato starts to rot, remove it immediately and start with a fresh one. Make sure the water is clean and that the sweet potato is not submerged too deeply.
* Yellowing Leaves: Yellowing leaves can be a sign of nutrient deficiency. Fertilize your plants with a balanced fertilizer to provide them with the nutrients they need.
* Pests: Sweet potatoes are relatively pest-resistant, but they can sometimes be attacked by aphids or other pests. If you notice pests on your plants, treat them with an insecticidal soap or other appropriate pesticide.
Tips for Success
Here are a few extra tips to help you succeed with your hydroponic sweet potato project:
* Choose the Right Sweet Potato: Organic sweet potatoes tend to sprout more readily than conventionally grown ones.
* Maintain a Consistent Water Level: Keep the bottom of the sweet potato submerged in water at all times.
* Provide Adequate Light: Sweet potatoes need plenty of light to sprout and grow.
* Be Patient: It can take several weeks for sprouts and roots to appear, so don’t get discouraged if you don’t see results right away.
* Experiment: Don’t be afraid to experiment with different techniques and methods to find what works best for you.
Enjoy Your Homegrown Sweet Potatoes
Conclusion
So, there you have it! Growing sweet potatoes soil-free, whether you call it hydroponics, aquaponics, or simply water propagation, is not just a novelty; it’s a surprisingly effective and rewarding way to cultivate these delicious and nutritious root vegetables. We’ve walked you through the process, from selecting your sweet potato to nurturing its growth in a water-based environment.
Why is this DIY trick a must-try? Because it offers a unique blend of benefits that traditional soil-based gardening simply can’t match. First, it’s incredibly space-efficient. If you’re limited on garden space, or even just want to bring a touch of greenery indoors, this method is perfect. Second, it’s visually stunning. Watching the roots develop and the slips emerge is a fascinating process, making it a great educational project for kids and adults alike. Third, it’s a fantastic way to propagate new sweet potato plants from a single tuber, expanding your harvest potential exponentially. Finally, it allows for a cleaner growing environment, minimizing the risk of soil-borne diseases and pests.
But the real magic lies in the simplicity and accessibility of this method. You don’t need expensive equipment or specialized knowledge to get started. Just a sweet potato, some water, a container, and a little patience.
Ready to take your sweet potato growing to the next level?
Don’t be afraid to experiment with variations! Try using different types of containers, from mason jars to repurposed plastic bottles. Explore different nutrient solutions to see how they affect growth. Consider adding an air stone to your water to increase oxygenation and promote root development. You can even train the vines to climb a trellis or support structure for a more decorative display.
For example, you could try using a diluted seaweed extract as a natural fertilizer. Seaweed is rich in micronutrients and growth hormones that can boost plant health and vigor. Alternatively, you could experiment with different lighting conditions. While sweet potatoes thrive in sunlight, you can also supplement with grow lights, especially during the winter months.
Another interesting variation is to try growing different varieties of sweet potatoes using this method. Each variety has its own unique characteristics, such as color, flavor, and growth habit. Experimenting with different varieties can be a fun way to discover your favorites.
The possibilities are endless!
We encourage you to embark on this exciting journey of soil-free sweet potato cultivation. It’s a rewarding experience that will not only provide you with fresh, homegrown sweet potatoes but also deepen your understanding of plant propagation and sustainable gardening practices.
So, grab a sweet potato, gather your supplies, and get started today! And most importantly, don’t forget to share your experiences with us. We’d love to hear about your successes, challenges, and creative variations. Share your photos and stories on social media using #SoilFreeSweetPotatoes and let’s build a community of passionate soil-free gardeners! Let us know how your soil-free sweet potato growing goes!
Frequently Asked Questions (FAQ)
Q: What kind of sweet potato should I use?
A: You can use any variety of sweet potato you like! However, organic sweet potatoes are generally recommended, as they are less likely to have been treated with growth inhibitors. Look for firm, unblemished sweet potatoes at your local grocery store or farmers market. Avoid sweet potatoes that are soft, wrinkled, or have signs of rot.
Q: How long does it take for slips to grow?
A: The time it takes for slips to grow can vary depending on factors such as temperature, humidity, and the variety of sweet potato. Generally, you can expect to see slips emerging within 2-4 weeks. Be patient and keep the sweet potato consistently moist.
Q: What do I do with the slips once they’ve grown?
A: Once the slips are about 6-8 inches long and have several leaves, they are ready to be removed from the sweet potato. Gently twist or cut them off, being careful not to damage the roots. You can then root the slips in water or plant them directly into soil or a hydroponic system.
Q: Can I eat the sweet potato after I’ve harvested the slips?
A: Yes, you can still eat the sweet potato after you’ve harvested the slips! However, it may be a bit shriveled and less flavorful than a fresh sweet potato. You can roast it, bake it, or use it in soups and stews.
Q: What kind of container should I use?
A: You can use a variety of containers to grow sweet potatoes soil-free. Glass jars, plastic containers, and even repurposed bottles can work well. The key is to choose a container that is large enough to hold the sweet potato and water, and that allows for good air circulation. A wide-mouthed container is generally easier to work with.
Q: How often should I change the water?
A: It’s important to change the water regularly to prevent the growth of algae and bacteria. Change the water every 3-5 days, or more frequently if it becomes cloudy or discolored. Use clean, fresh water.
Q: Do I need to add nutrients to the water?
A: While sweet potatoes can grow in plain water, adding nutrients can help to promote stronger growth and a more abundant harvest. You can use a diluted liquid fertilizer or a hydroponic nutrient solution. Follow the instructions on the product label carefully.
Q: What kind of light do sweet potatoes need?
A: Sweet potatoes need plenty of sunlight to thrive. Place your sweet potato in a sunny location, such as a windowsill or a greenhouse. If you don’t have access to enough natural light, you can supplement with grow lights.
Q: Can I grow sweet potatoes soil-free indoors year-round?
A: Yes, you can grow sweet potatoes soil-free indoors year-round, provided you have adequate light and temperature. Sweet potatoes prefer warm temperatures, so keep them in a room that is consistently above 60 degrees Fahrenheit.
Q: What are some common problems I might encounter?
A: Some common problems you might encounter when growing sweet potatoes soil-free include algae growth, root rot, and pest infestations. To prevent algae growth, keep the container clean and out of direct sunlight. To prevent root rot, change the water regularly and avoid overwatering. To prevent pest infestations, inspect your plants regularly and take action promptly if you notice any signs of pests.
Q: Can I grow other vegetables using this method?
A: Yes, you can grow other vegetables using similar soil-free methods. Some popular options include herbs, lettuce, tomatoes, and peppers. Each vegetable has its own specific requirements, so be sure to do your research before getting started.
Q: Is growing sweet potatoes soil-free organic?
A: Whether growing sweet potatoes soil-free is considered “organic” depends on the specific inputs you use. If you use organic sweet potatoes, organic fertilizers, and avoid synthetic pesticides, then you can consider your soil-free sweet potato growing to be organic in practice, even if it doesn’t meet the strict certification requirements for soil-based organic agriculture.
Q: How do I prevent root rot?
A: Preventing root rot is crucial for successful soil-free sweet potato growing. Here are some key strategies:
* **Clean Water:** Use clean, filtered water whenever possible.
* **Regular Water Changes:** Change the water every 3-5 days to prevent the buildup of bacteria and fungi.
* **Good Air Circulation:** Ensure good air circulation around the roots. You can achieve this by using a container with adequate ventilation or by adding an air stone to the water.
* **Avoid Overcrowding:** Don’t overcrowd the container with too many slips. This can restrict airflow and increase the risk of root rot.
* **Monitor Root Health:** Regularly inspect the roots for signs of rot, such as discoloration or a slimy texture. If you notice any signs of rot, remove the affected roots immediately.
Q: What type of fertilizer is best for soil-free sweet potatoes?
A: A balanced liquid fertilizer specifically formulated for hydroponics is generally best. Look for a fertilizer that contains essential nutrients such as nitrogen, phosphorus, and potassium, as well as micronutrients like iron, manganese, and zinc. Follow the instructions on the product label carefully to avoid over-fertilizing. Organic options like diluted seaweed extract or compost tea can also be used.
Q: How do I know when my sweet potatoes are ready to harvest after transplanting the slips?
A: This depends on the variety of sweet potato and the growing conditions. Generally, sweet potatoes are ready to harvest about 90-120 days after transplanting the slips. The leaves may start to turn yellow, and the vines may begin to die back. You can also gently dig around the base of the plant to check the size of the tubers. They should be firm and well-formed.

Leave a Comment