
Growing Sweet Potatoes can seem daunting, but trust me, it’s a rewarding experience that brings a taste of the South right to your backyard! For generations, sweet potatoes have been a staple crop, not just for their delicious flavor but also for their nutritional value. From the Caribbean to the American South, these vibrant tubers have nourished communities and played a significant role in culinary traditions.
Have you ever dreamt of harvesting your own sweet potatoes, pulling them fresh from the earth, and knowing exactly where your food comes from? Well, you’re in the right place! This isn’t just another gardening guide; it’s your personal roadmap to sweet potato success. I’m going to share some simple, yet effective, DIY tricks and hacks that will transform your garden into a sweet potato haven.
In today’s world, where we’re increasingly conscious of what we eat and how it’s grown, knowing how to grow your own food is more important than ever. Growing Sweet Potatoes at home allows you to control the entire process, ensuring that your sweet potatoes are free from harmful chemicals and pesticides. Plus, there’s nothing quite like the satisfaction of enjoying a meal made with ingredients you’ve nurtured yourself. So, let’s dive in and unlock the secrets to a bountiful sweet potato harvest!
DIY: Growing Sweet Potatoes Like a Pro!
Okay, so you want to grow sweet potatoes? Awesome! They’re delicious, nutritious, and surprisingly easy to cultivate once you get the hang of it. I’m going to walk you through everything you need to know, from sprouting slips to harvesting your bounty. Let’s get our hands dirty!
Getting Started: Sprouting Your Sweet Potato Slips
The first step to sweet potato success is sprouting slips. Slips are basically the leafy shoots that grow from the sweet potato itself, and they’re what you’ll plant in the ground. You can buy slips, but honestly, it’s way more fun (and cheaper!) to grow your own.
What you’ll need:
* A healthy sweet potato (organic is best to avoid any growth inhibitors)
* A glass jar or container
* Toothpicks
* Water
Step-by-Step Instructions:
1. Choose Your Sweet Potato: Select a sweet potato that’s firm, free from blemishes, and looks generally healthy. Older sweet potatoes that have been sitting around for a while tend to sprout more readily.
2. Prepare the Potato: Give your sweet potato a good wash to remove any dirt or debris.
3. Insert Toothpicks: Insert toothpicks around the middle of the sweet potato, spacing them evenly. These toothpicks will act as supports, allowing you to suspend the potato in the jar.
4. Suspend in Water: Fill your jar with water, leaving about an inch of space at the top. Carefully balance the sweet potato on the rim of the jar, using the toothpicks to hold it in place. The bottom half of the sweet potato should be submerged in water.
5. Find a Sunny Spot: Place the jar in a warm, sunny location. A windowsill is perfect!
6. Maintain Water Level: Check the water level regularly and add more as needed to keep the bottom half of the sweet potato submerged.
7. Wait Patiently: This is the hardest part! It can take several weeks for slips to start sprouting. Be patient and keep an eye on your sweet potato. You should start to see small roots emerging from the bottom and leafy sprouts appearing on top.
8. Harvesting the Slips: Once the slips are about 6-8 inches long, they’re ready to be harvested. Gently twist or cut them off the sweet potato, being careful not to damage the remaining sprouts.
9. Rooting the Slips (Optional but Recommended): While you *can* plant the slips directly into the ground, I’ve found that rooting them in water first gives them a better head start. Place the slips in a glass of water, ensuring that the bottom inch or two is submerged. In a few days, you should see roots starting to form.
Preparing Your Garden Bed
Sweet potatoes need plenty of sunshine and well-drained soil. Before you plant your slips, it’s important to prepare your garden bed properly.
What you’ll need:
* Garden fork or tiller
* Compost or well-rotted manure
* Optional: Raised beds
Step-by-Step Instructions:
1. Choose a Sunny Location: Select a spot in your garden that receives at least 6-8 hours of direct sunlight per day.
2. Prepare the Soil: Sweet potatoes prefer loose, well-drained soil. If your soil is heavy clay, you’ll need to amend it with plenty of organic matter. Use a garden fork or tiller to loosen the soil to a depth of at least 12 inches.
3. Add Compost: Incorporate a generous amount of compost or well-rotted manure into the soil. This will improve drainage, add nutrients, and help retain moisture.
4. Consider Raised Beds: Sweet potatoes thrive in raised beds, as they provide excellent drainage and allow the soil to warm up quickly in the spring. If you’re in an area with heavy clay soil or poor drainage, raised beds are highly recommended.
5. Mound the Soil (Optional): Some gardeners like to create small mounds or ridges in their garden bed before planting sweet potatoes. This can further improve drainage and provide more room for the tubers to develop.
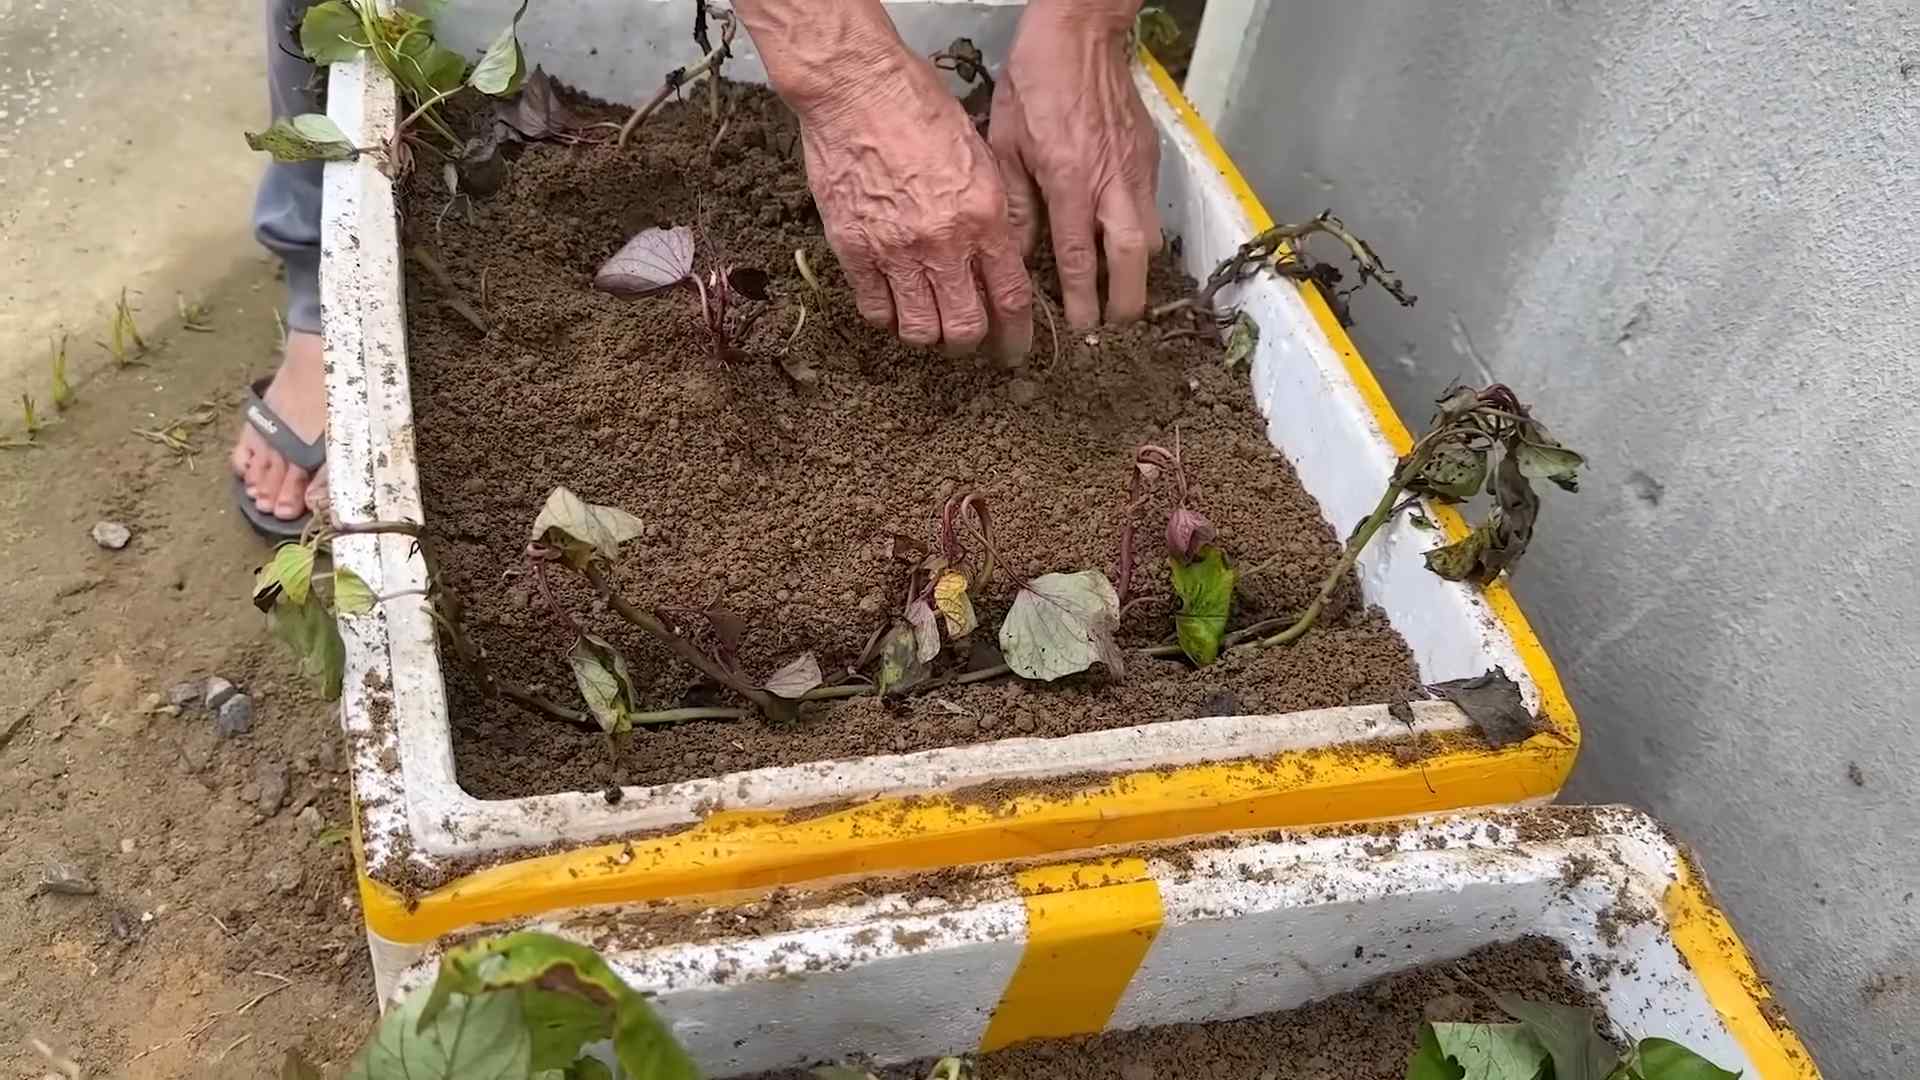
Planting Your Sweet Potato Slips
Now for the fun part – planting your slips!
What you’ll need:
* Your rooted sweet potato slips
* Watering can
* Optional: Mulch (straw, hay, or wood chips)
Step-by-Step Instructions:
1. Wait for Warm Weather: Sweet potatoes are heat-loving plants, so it’s important to wait until the soil has warmed up to at least 60°F (15°C) before planting. This is usually a couple of weeks after the last frost.
2. Water the Soil: Before planting, water the soil thoroughly to ensure it’s moist.
3. Plant the Slips: Dig small holes about 12 inches apart in rows that are 3-4 feet apart. Gently remove the slips from the water and plant them in the holes, burying the roots and the bottom portion of the stem. Leave the top leaves exposed.
4. Water Again: Water the newly planted slips thoroughly to help them settle in.
5. Mulch (Optional): Apply a layer of mulch around the plants to help retain moisture, suppress weeds, and regulate soil temperature.
Caring for Your Sweet Potato Plants
Once your sweet potato slips are planted, they’ll need regular care to thrive.
What you’ll need:
* Watering can or hose
* Optional: Organic fertilizer
Step-by-Step Instructions:
1. Water Regularly: Sweet potatoes need consistent moisture, especially during the first few weeks after planting. Water deeply whenever the soil feels dry to the touch.
2. Weed Regularly: Keep the garden bed free of weeds, as they can compete with your sweet potato plants for nutrients and water.
3. Fertilize (Optional): If your soil is poor, you can fertilize your sweet potato plants with an organic fertilizer. Follow the instructions on the fertilizer package. Avoid using fertilizers that are high in nitrogen, as this can promote excessive foliage growth at the expense of tuber development.
4. Control Pests and Diseases: Sweet potatoes are generally resistant to pests and diseases, but it’s still important to keep an eye out for any problems. Common pests include sweet potato weevils and flea beetles. Diseases include stem rot and fungal leaf spots. If you notice any problems, take action promptly to prevent them from spreading. Organic pest control methods are always the best option.
5. Vine Training (Optional): Sweet potato vines can spread quite a bit, so you may want to train them to grow in a specific direction. You can use stakes or trellises to support the vines.
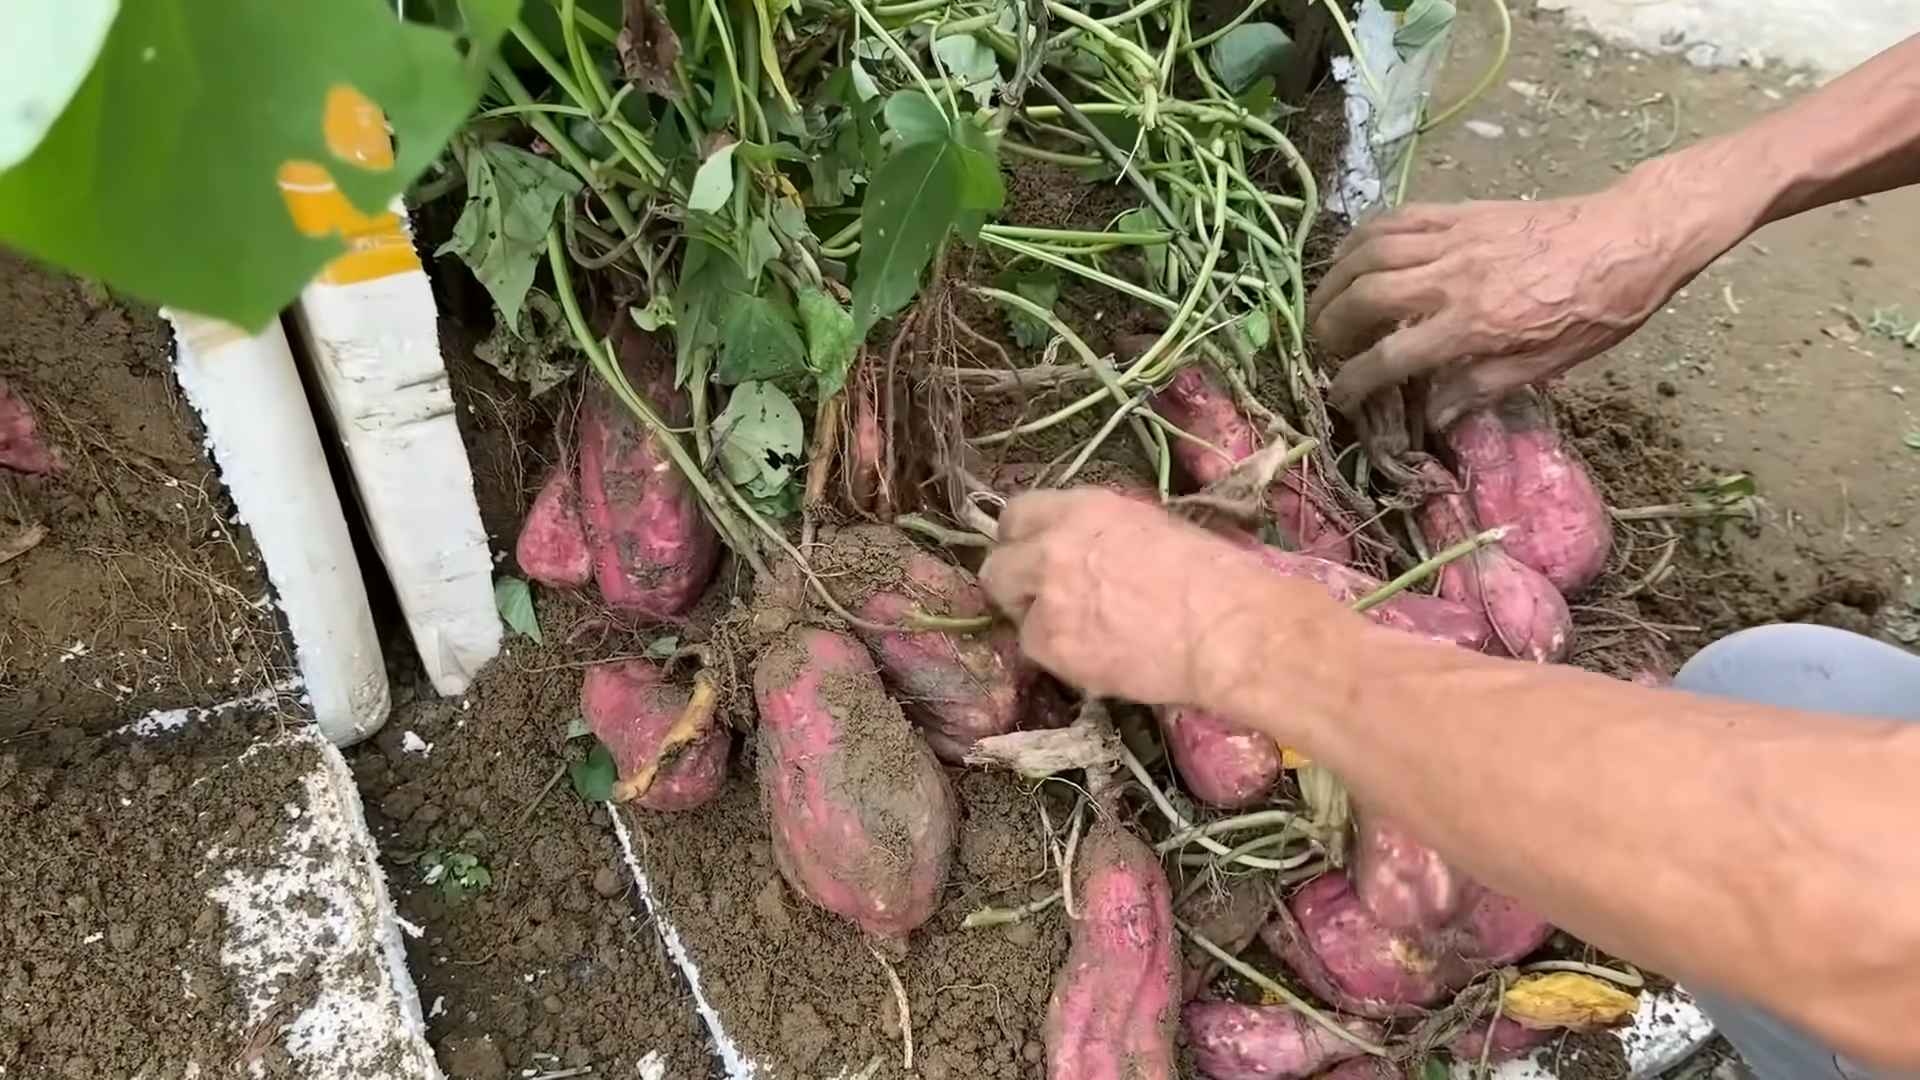
Harvesting Your Sweet Potatoes
The moment you’ve been waiting for! Harvesting your sweet potatoes is the most rewarding part of the process.
What you’ll need:
* Garden fork
* Gloves
* Optional: Pruning shears
Step-by-Step Instructions:
1. Know When to Harvest: Sweet potatoes are typically ready to harvest about 90-120 days after planting. The leaves will start to turn yellow and the vines will begin to die back.
2. Prepare for Harvest: A week or two before harvesting, stop watering the plants to allow the soil to dry out slightly. This will help the sweet potatoes cure properly.
3. Cut Back the Vines: Use pruning shears to cut back the vines, leaving about 6 inches of stem above the ground. This will make it easier to dig up the sweet potatoes.
4. Dig Carefully: Use a garden fork to carefully dig up the sweet potatoes. Be careful not to damage the tubers. Start digging a few inches away from the base of the plant and gently lift the soil.
5. Handle with Care: Sweet potatoes are delicate and can bruise easily, so handle them with care.
6. Curing Your Sweet Potatoes: Curing is an essential step in the sweet potato growing process. It allows the skins to harden and the starches to convert to sugars, resulting in a sweeter, more flavorful potato.
* What you’ll need:
* A well-ventilated room with high humidity (80-90%) and a temperature of 80-85°F (27-29°C)
* Cardboard boxes or crates
* Step-by-Step Instructions:
1. Clean the Sweet Potatoes: Gently brush off any excess dirt from the sweet potatoes. Avoid washing them, as this can promote rot.
2. Arrange in Boxes: Place the sweet potatoes in cardboard boxes or crates, making sure they are not touching each other.
3. Maintain Humidity and Temperature: The ideal curing conditions are high humidity (
Conclusion
So, there you have it! Growing sweet potatoes at home, while it might seem daunting at first, is surprisingly achievable and incredibly rewarding. We’ve walked through the process, from sprouting slips to harvesting those beautiful, nutrient-packed tubers. But why should you bother with this DIY project when you can simply buy sweet potatoes at the store?
The answer lies in the unparalleled freshness and flavor. Commercially grown sweet potatoes often spend weeks in transit and storage, losing some of their vibrancy along the way. When you grow your own, you’re enjoying sweet potatoes at their peak, bursting with natural sweetness and a texture that’s simply unmatched. Plus, you have complete control over the growing process, ensuring that your sweet potatoes are free from harmful pesticides and chemicals.
Beyond the superior taste and quality, growing sweet potatoes is a deeply satisfying experience. There’s something truly special about nurturing a plant from a simple slip to a bountiful harvest. It’s a connection to nature, a lesson in patience, and a source of immense pride.
This DIY sweet potato growing method is a must-try for several reasons:
* Freshness and Flavor: Homegrown sweet potatoes offer unparalleled taste and texture compared to store-bought varieties.
* Control and Quality: You have complete control over the growing process, ensuring organic and pesticide-free produce.
* Sustainability: Growing your own food reduces your carbon footprint and promotes sustainable living.
* Educational and Rewarding: It’s a fun and educational activity for the whole family, fostering a connection to nature.
* Cost-Effective: Over time, growing your own sweet potatoes can save you money on groceries.
Ready to take your sweet potato growing to the next level? Consider these variations:
* Container Gardening: If you’re short on space, grow sweet potatoes in large containers or grow bags. Choose a variety that’s well-suited for container growing, such as ‘Bush Porto Rico’.
* Vertical Gardening: Get creative and try growing sweet potatoes vertically using trellises or hanging baskets. This is a great way to maximize space and add visual interest to your garden.
* Different Varieties: Experiment with different sweet potato varieties to discover your favorites. ‘Beauregard’ is a classic choice, while ‘Japanese’ sweet potatoes offer a unique flavor and texture.
* Companion Planting: Plant sweet potatoes alongside beneficial companion plants like beans, peas, and thyme to deter pests and improve soil health.
Don’t be afraid to experiment and adapt the techniques to suit your specific climate and growing conditions. The most important thing is to get started and learn along the way.
We’re confident that you’ll find growing sweet potatoes at home to be a rewarding and enjoyable experience. So, grab some slips, prepare your garden, and get ready to harvest your own delicious sweet potatoes!
We encourage you to try this DIY trick and share your experiences with us. Let us know what worked well for you, what challenges you faced, and any tips you have for fellow gardeners. Share your photos and stories on social media using #HomegrownSweetPotatoes. We can’t wait to see your sweet potato success!
FAQ
What are sweet potato slips, and where can I get them?
Sweet potato slips are sprouts that grow from a mature sweet potato. They are essentially baby sweet potato plants ready to be transplanted. You can grow your own slips by placing a sweet potato in water (partially submerged) or purchase them from nurseries, garden centers, or online retailers. When buying, ensure the slips look healthy, with vibrant green leaves and strong stems. Avoid slips that are yellowed, wilted, or have signs of disease.
How much space do sweet potatoes need to grow?
Sweet potatoes need ample space to spread their vines and develop tubers. Generally, allow at least 12-18 inches between plants in rows that are 3-4 feet apart. If you’re growing in containers, choose a large container (at least 20 gallons) for each plant. Remember that the vines can spread quite a bit, so plan accordingly. Regular pruning can help manage the vine growth if space is limited.
What kind of soil is best for growing sweet potatoes?
Sweet potatoes thrive in well-drained, sandy loam soil. Heavy clay soil can hinder tuber development. Amend your soil with compost or other organic matter to improve drainage and fertility. A slightly acidic soil pH (around 6.0-6.5) is ideal. Avoid soils that are too rich in nitrogen, as this can promote excessive vine growth at the expense of tuber production.
How often should I water sweet potatoes?
Water sweet potatoes regularly, especially during dry periods. Keep the soil consistently moist, but avoid overwatering, which can lead to root rot. Water deeply and less frequently, rather than shallowly and often. Mulching around the plants can help retain moisture and suppress weeds. Once the plants are established, they become more drought-tolerant.
When is the best time to harvest sweet potatoes?
Sweet potatoes are typically ready to harvest about 90-120 days after planting slips. The leaves will start to yellow and the vines may begin to die back. A light frost can also signal harvest time. Use a garden fork to carefully lift the tubers from the soil, being careful not to damage them. Cure the sweet potatoes for 7-10 days in a warm, humid place (80-85°F and 85-90% humidity) to allow the skins to harden and the starches to convert to sugars.
What are common pests and diseases that affect sweet potatoes?
Common pests include sweet potato weevils, flea beetles, and wireworms. Diseases include fusarium wilt, black rot, and scurf. Practice crop rotation, use disease-resistant varieties, and inspect plants regularly for signs of pests or diseases. Organic pest control methods, such as neem oil or insecticidal soap, can be effective.
Can I grow sweet potatoes in containers?
Yes, sweet potatoes can be successfully grown in containers. Choose a large container (at least 20 gallons) with good drainage. Use a well-draining potting mix and provide plenty of sunlight. Water regularly and fertilize as needed. Container-grown sweet potatoes may produce smaller tubers than those grown in the ground, but they can still provide a satisfying harvest.
How do I store sweet potatoes after harvesting?
After curing, store sweet potatoes in a cool, dark, and dry place (55-60°F and 70-75% humidity). Avoid storing them in the refrigerator, as this can cause them to develop a hard core. Properly cured and stored sweet potatoes can last for several months. Check them periodically for signs of spoilage and discard any that are soft or moldy.
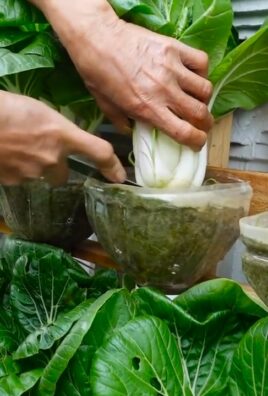
Can I eat the sweet potato leaves?
Yes, sweet potato leaves are edible and nutritious. They can be cooked like spinach or other leafy greens. Harvest young, tender leaves for the best flavor. Avoid eating leaves from plants that have been treated with pesticides.
What are some creative ways to use homegrown sweet potatoes?
The possibilities are endless! You can roast them, bake them, mash them, fry them, or add them to soups, stews, and casseroles. Sweet potatoes are also delicious in desserts like pies, cakes, and muffins. Get creative and experiment with different recipes to discover your favorite ways to enjoy your homegrown sweet potatoes.

Leave a Comment