
Growing chives indoors is easier than you might think, and I’m here to show you how! Forget those sad, wilted chives from the grocery store – imagine snipping fresh, flavorful chives right from your kitchen windowsill whenever you need them.
For centuries, chives have been a staple in cuisines around the world, adding a delicate oniony flavor to everything from soups and salads to omelets and dips. Their ease of cultivation has made them a favorite in kitchen gardens, and now, with a few simple tricks, you can enjoy that same fresh flavor year-round, regardless of your outdoor space.
Why bother with growing chives indoors? Well, for starters, it’s incredibly convenient! No more last-minute trips to the store when you realize you’re out. Plus, it’s a fantastic way to add a touch of green to your home, especially during those dreary winter months. But more importantly, it’s about having access to fresh, healthy ingredients at your fingertips. In this article, I’ll share my favorite DIY tricks and hacks to ensure your indoor chive garden thrives, even if you don’t have a green thumb. Get ready to enjoy the delicious, fresh taste of homegrown chives all year long!
Growing Chives Indoors: A Beginner’s Guide
Hey there, fellow plant enthusiasts! Ever dreamt of snipping fresh chives right from your kitchen windowsill? Well, dream no more! Growing chives indoors is surprisingly easy, even if you don’t have a green thumb. I’m going to walk you through everything you need to know to have a thriving chive garden right inside your home. Let’s get started!
What You’ll Need
Before we dive into the nitty-gritty, let’s gather our supplies. Here’s a checklist of everything you’ll need to successfully grow chives indoors:
* **Chive Seeds or a Chive Plant:** You can start from seeds, which is more budget-friendly, or buy a small chive plant from a nursery for faster results. I personally prefer starting from seeds; it’s just so rewarding to watch them sprout!
* **Pot with Drainage Holes:** Drainage is crucial! Chives don’t like soggy roots. Choose a pot that’s at least 6 inches in diameter and has drainage holes at the bottom.
* **Well-Draining Potting Mix:** Regular garden soil is too heavy for indoor containers. Opt for a good quality potting mix that’s designed for containers.
* **Watering Can or Spray Bottle:** For gentle watering.
* **Grow Light (Optional but Recommended):** Especially if you don’t have a sunny windowsill.
* **Small Shovel or Trowel:** For planting.
* **Scissors or Kitchen Shears:** For harvesting.
* **Fertilizer (Optional):** A balanced liquid fertilizer can give your chives a boost.
Starting from Seeds: A Step-by-Step Guide
Okay, so you’ve decided to start from seeds? Awesome! Here’s how to do it:
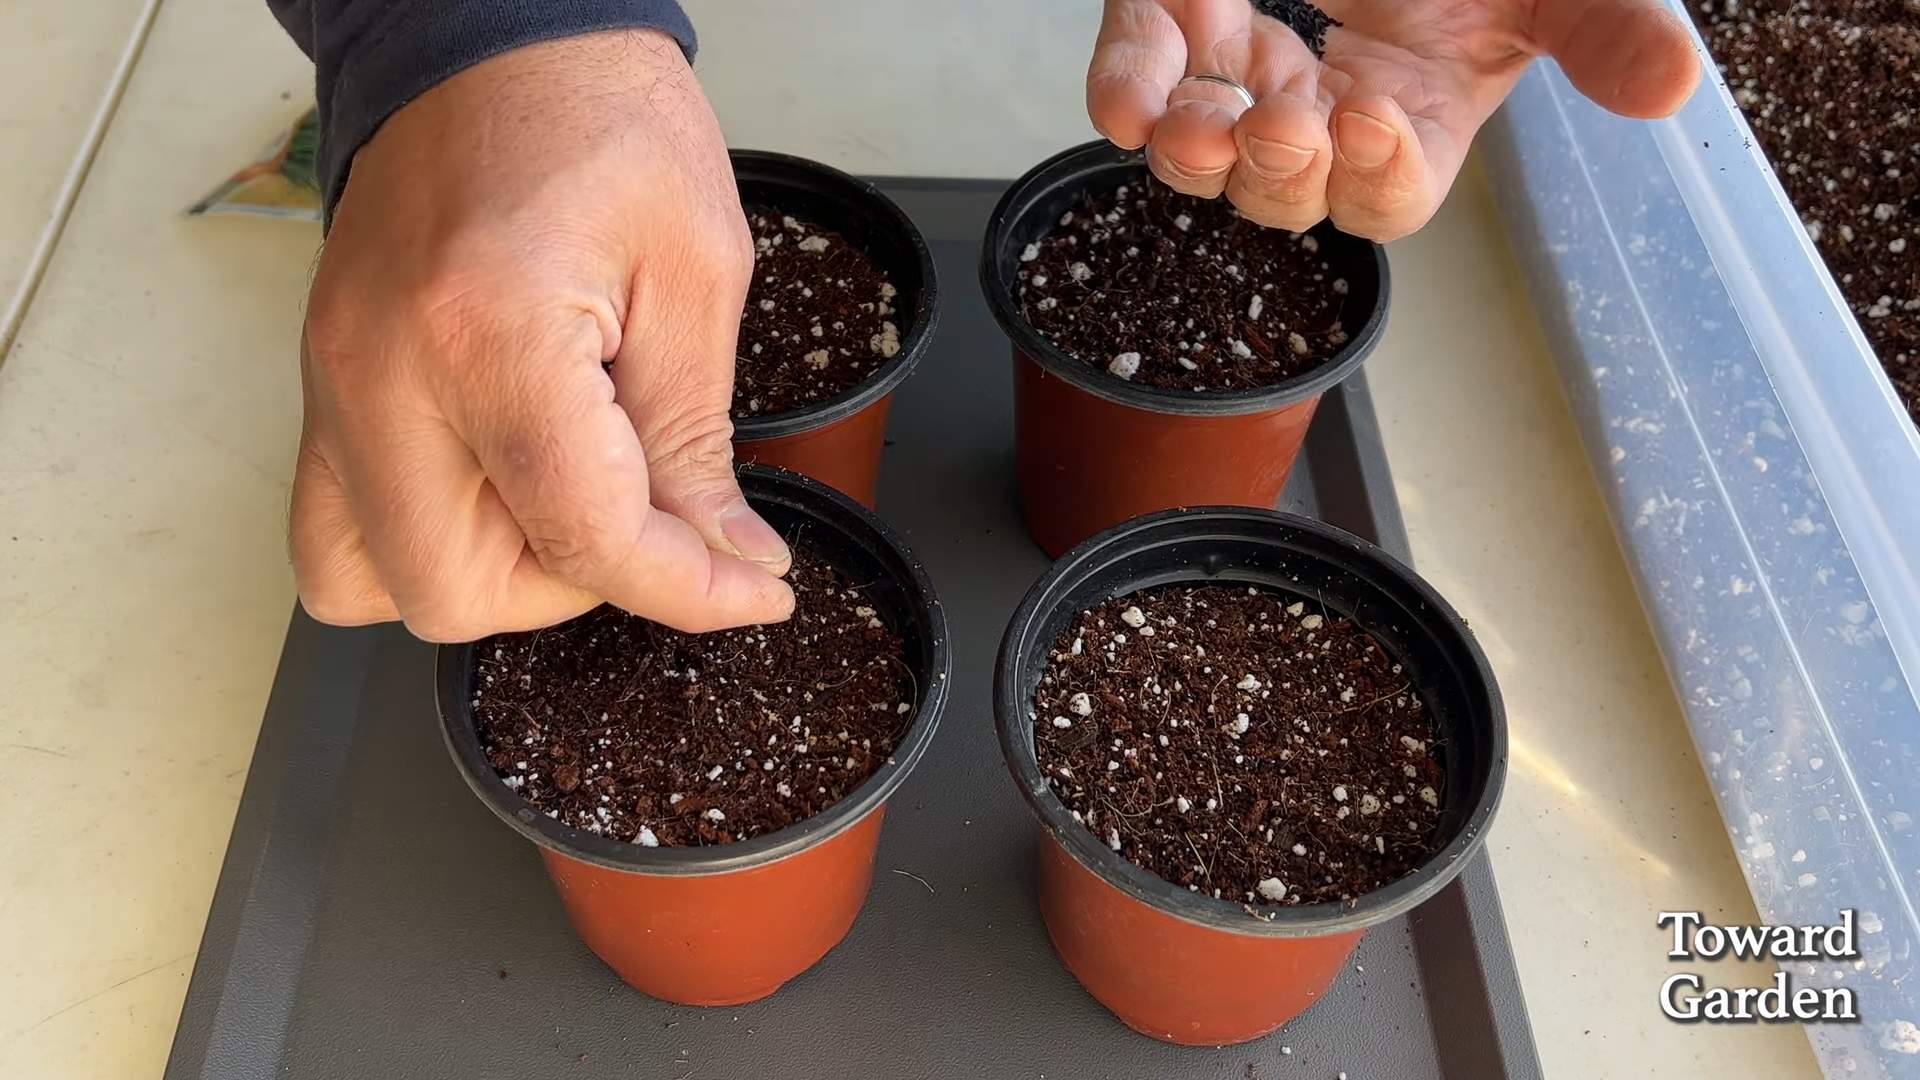
1. **Prepare the Pot:** Fill your pot with the well-draining potting mix, leaving about an inch of space at the top. Gently pat down the soil to create a level surface.
2. **Sow the Seeds:** Sprinkle the chive seeds evenly over the surface of the soil. You don’t need to bury them too deep; about ¼ inch is perfect. You can also sow them in rows if you prefer a more organized look.
3. Cover the Seeds:** Lightly cover the seeds with a thin layer of potting mix.
4. **Water Gently:** Use a watering can or spray bottle to gently moisten the soil. Avoid overwatering, as this can cause the seeds to rot. The soil should be damp, not soggy.
5. **Provide Warmth and Light:** Place the pot in a warm location with plenty of sunlight. A south-facing windowsill is ideal. If you don’t have enough natural light, use a grow light. Chives need at least 6 hours of sunlight per day.
6. **Keep the Soil Moist:** Keep the soil consistently moist, but not waterlogged. Check the soil moisture daily and water when the top inch feels dry to the touch.
7. **Be Patient:** Chive seeds can take anywhere from 7 to 21 days to germinate, so be patient! Once the seedlings emerge, thin them out so that they’re about an inch apart. This will give them enough room to grow.
Transplanting a Chive Plant
If you’ve opted to buy a chive plant, the process is even simpler:
1. **Prepare the Pot:** Fill your pot with well-draining potting mix, leaving about an inch of space at the top.
2. **Remove the Plant from its Container:** Gently remove the chive plant from its original container. If the roots are tightly bound, gently loosen them with your fingers.
3. **Plant the Chives:** Dig a hole in the center of the pot that’s large enough to accommodate the root ball of the chive plant. Place the plant in the hole and fill in around it with potting mix.
4. **Water Thoroughly:** Water the plant thoroughly until water drains out of the bottom of the pot.
5. **Place in a Sunny Location:** Place the pot in a sunny location with at least 6 hours of sunlight per day.
Caring for Your Indoor Chives
Now that your chives are planted, it’s time to learn how to care for them. Here’s what you need to know:
* **Watering:** Water your chives regularly, keeping the soil consistently moist but not waterlogged. Check the soil moisture daily and water when the top inch feels dry to the touch.
* **Light:** Chives need at least 6 hours of sunlight per day. If you don’t have enough natural light, use a grow light.
* **Fertilizing (Optional):** If you want to give your chives a boost, you can fertilize them every few weeks with a balanced liquid fertilizer. Follow the instructions on the fertilizer label. I usually dilute the fertilizer to half strength to avoid burning the plants.
* **Temperature:** Chives prefer temperatures between 60°F and 70°F (15°C and 21°C).
* **Humidity:** Chives don’t need high humidity, but they appreciate a little extra moisture in the air. You can increase the humidity around your plants by placing a tray of water near them or using a humidifier.
* **Pruning:** Regular pruning is essential for keeping your chives healthy and productive. Trim off any yellow or brown leaves.
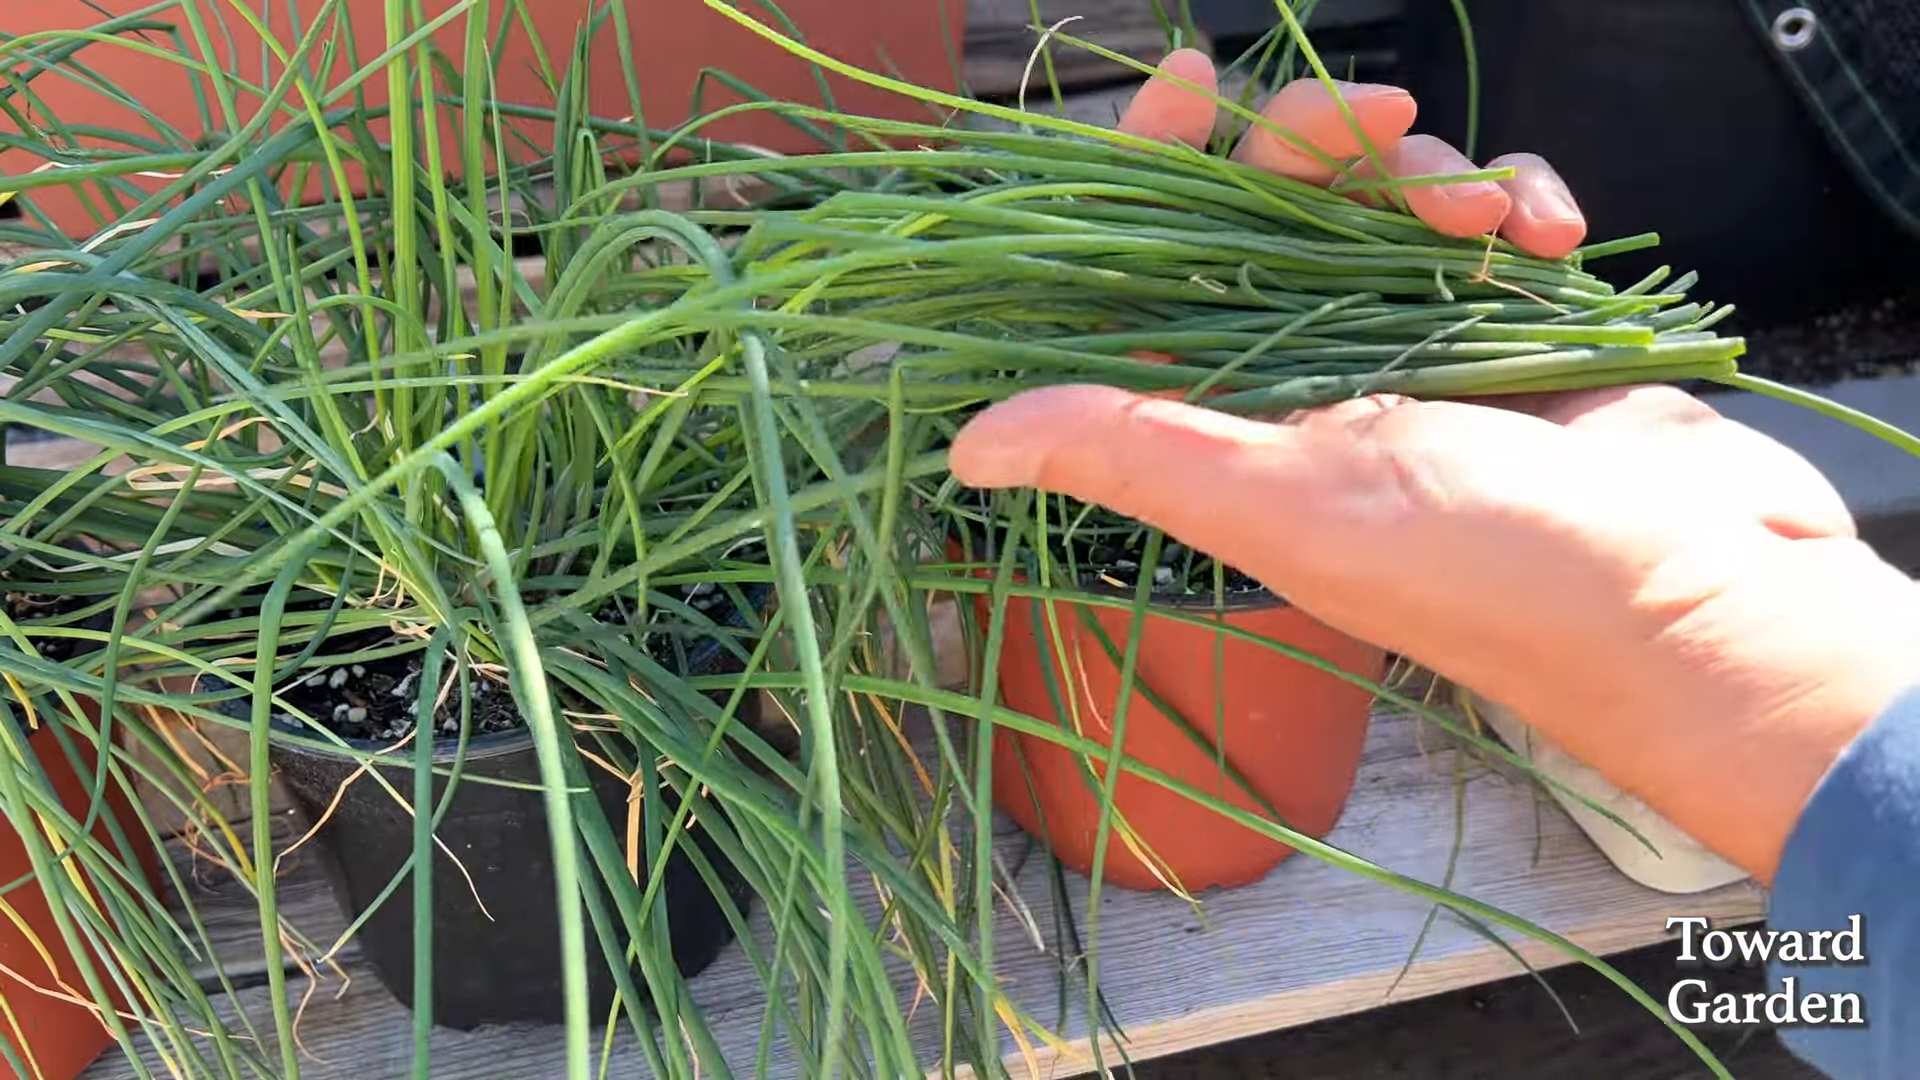
Harvesting Your Chives
The best part about growing chives is, of course, harvesting them! Here’s how to do it:
1. **Wait Until the Chives are Established:** Don’t start harvesting until the chives are at least 6 inches tall. This will give them time to establish a strong root system.
2. **Use Scissors or Kitchen Shears:** Use sharp scissors or kitchen shears to cut the chives about an inch above the soil line.
3. **Harvest Regularly:** Harvest your chives regularly to encourage new growth. The more you harvest, the more they’ll produce!
4. **Don’t Harvest More Than One-Third at a Time:** Avoid harvesting more than one-third of the plant at a time, as this can weaken it.
5. **Use Fresh or Freeze for Later:** Use your freshly harvested chives in your favorite recipes. You can also freeze them for later use. To freeze chives, chop them up and place them in a freezer bag. They’ll keep in the freezer for several months.
Troubleshooting Common Problems
Even with the best care, you might encounter some problems when growing chives indoors. Here are some common issues and how to fix them:
* **Yellowing Leaves:** Yellowing leaves can be caused by overwatering, underwatering, or lack of nutrients. Check the soil moisture and adjust your watering accordingly. If the soil is dry, water more frequently. If the soil is soggy, water less frequently. You can also try fertilizing your chives with a balanced liquid fertilizer.
* **Brown Tips:** Brown tips can be caused by dry air or lack of humidity. Increase the humidity around your plants by placing a tray of water near them or using a humidifier.
* **Leggy Growth:** Leggy growth (long, spindly stems) is usually caused by lack of light. Move your chives to a sunnier location or use a grow light.
* **Pests:** Chives are generally pest-resistant, but they can occasionally be attacked by aphids or spider mites. If you notice pests on your plants, spray them with insecticidal soap.
Dividing Your Chives
Over time, your chive plant may become overcrowded. When this happens, it’s time to divide it. Here’s how:
1. **Remove the Plant from the Pot:** Gently remove the chive plant from its pot.
2. **Divide the Plant:** Use your hands or a sharp knife to divide the plant into several smaller clumps. Each clump should have its own roots and shoots.
3. **Replant the Clumps:** Replant the clumps in separate pots filled with well-draining potting mix.
4. **Water Thoroughly:** Water the newly planted clumps thoroughly.
5. **Place in a Sunny Location:** Place the pots in a sunny location with at least 6 hours of sunlight per day.
Enjoy Your Homegrown Chives!
And there you have it! You’re now equipped with all the knowledge you need to grow chives indoors. With a little care and attention, you’ll be enjoying fresh, flavorful chives in your cooking all year round. Happy gardening!
Conclusion
So, there you have it! Growing chives indoors is not only achievable, but it’s also incredibly rewarding. Imagine having fresh, flavorful chives at your fingertips, ready to elevate your culinary creations any time of year. No more sad, wilted bunches from the grocery store – just vibrant, aromatic chives bursting with flavor.
This DIY trick is a must-try for several compelling reasons. First, it’s incredibly cost-effective. A packet of chive seeds is significantly cheaper than constantly buying fresh chives, and once your plants are established, they’ll provide you with a continuous supply for months, even years, to come. Second, it’s incredibly convenient. Having chives growing right in your kitchen means you can snip off exactly what you need, when you need it, without any last-minute trips to the store. Third, it’s a fantastic way to add a touch of green to your indoor space and connect with nature, even in the heart of the city.
But the benefits don’t stop there. Growing your own chives allows you to control the growing environment, ensuring that your herbs are free from harmful pesticides and chemicals. You know exactly what’s going into your food, giving you peace of mind and a healthier, more flavorful experience.
Looking for variations? Consider experimenting with different types of chives. Garlic chives, with their subtle garlic flavor, are a fantastic alternative to regular chives and can be grown using the same method. You can also try growing chives in different types of containers, from simple terracotta pots to stylish self-watering planters. Get creative and find what works best for your space and aesthetic. Another great variation is to companion plant your chives with other herbs like parsley or basil in a larger container. This creates a mini indoor herb garden that’s both beautiful and practical.
Don’t be intimidated if you’ve never grown herbs indoors before. Growing chives indoors is a beginner-friendly project that requires minimal effort and yields impressive results. With just a few simple supplies and a little bit of patience, you can enjoy the taste of fresh, homegrown chives all year round.
We wholeheartedly encourage you to give this DIY trick a try. It’s a simple, affordable, and rewarding way to enhance your cooking and bring a touch of nature into your home. Once you’ve experienced the joy of harvesting your own fresh chives, you’ll never want to go back to store-bought again.
So, grab your seeds, pots, and soil, and get ready to embark on your indoor chive-growing adventure! And most importantly, we want to hear about your experience. Share your tips, tricks, and photos with us in the comments below. Let’s create a community of indoor chive enthusiasts and inspire others to discover the joys of growing their own fresh herbs. Happy growing!
Frequently Asked Questions (FAQ)
What kind of soil is best for growing chives indoors?
The best soil for growing chives indoors is a well-draining potting mix. Avoid using garden soil, as it can be too heavy and compact, which can lead to root rot. Look for a potting mix that contains ingredients like peat moss, perlite, and vermiculite, which will help to improve drainage and aeration. You can also amend your potting mix with compost to provide additional nutrients. A slightly acidic to neutral pH (around 6.0 to 7.0) is ideal for chives.
How much sunlight do indoor chives need?
Chives need at least 6 hours of direct sunlight per day to thrive indoors. If you don’t have a sunny windowsill, you can supplement with a grow light. Place the grow light about 6-12 inches above the plants and keep it on for 12-14 hours per day. Insufficient sunlight can lead to leggy growth and reduced flavor. Rotate your chive plants regularly to ensure that all sides receive adequate light.
How often should I water my indoor chives?
Water your chives when the top inch of soil feels dry to the touch. Avoid overwatering, as this can lead to root rot. Water thoroughly until excess water drains out of the bottom of the pot. During the winter months, when growth slows down, you may need to water less frequently. Check the soil moisture regularly and adjust your watering schedule accordingly.
How do I harvest chives without killing the plant?
To harvest chives without harming the plant, use sharp scissors or kitchen shears to snip off the leaves about 1-2 inches above the soil line. Avoid cutting the entire plant down to the base, as this can weaken it. Harvest from the outer leaves first, allowing the inner leaves to continue growing. Regular harvesting encourages new growth and keeps the plant healthy and productive.
Can I grow chives from seed or should I buy a starter plant?
You can grow chives from either seed or a starter plant. Growing from seed is a more economical option, but it takes longer to establish a mature plant. Sow chive seeds indoors 6-8 weeks before the last expected frost. Keep the soil moist and warm until the seeds germinate. Once the seedlings are large enough to handle, transplant them into individual pots. Buying a starter plant is a faster way to get started, as you’ll have a mature plant that’s ready to harvest right away.
Do I need to fertilize my indoor chives?
Yes, fertilizing your indoor chives will help them to grow strong and healthy. Use a balanced liquid fertilizer diluted to half strength every 2-4 weeks during the growing season (spring and summer). Avoid over-fertilizing, as this can burn the roots. You can also amend the soil with compost or worm castings to provide a slow-release source of nutrients.
Why are my chives turning yellow?
Yellowing chives can be caused by several factors, including overwatering, underwatering, nutrient deficiencies, or pests. Check the soil moisture to ensure that you’re not overwatering or underwatering. If the soil is dry, water thoroughly. If the soil is soggy, allow it to dry out before watering again. Fertilize your chives with a balanced liquid fertilizer to address any nutrient deficiencies. Inspect the plants for pests, such as aphids or spider mites, and treat them accordingly.
Can I move my indoor chives outdoors in the summer?
Yes, you can move your indoor chives outdoors in the summer, but you’ll need to acclimate them gradually to avoid shocking the plants. Start by placing them in a shady spot for a few hours each day, gradually increasing the amount of sunlight they receive over the course of a week or two. Make sure to protect them from strong winds and extreme temperatures. Bring them back indoors before the first frost.
How long will my indoor chive plant last?
With proper care, an indoor chive plant can last for several years. Regularly harvest the leaves to encourage new growth and prevent the plant from becoming leggy. Repot the plant every year or two into a larger container with fresh potting mix. Divide the plant if it becomes overcrowded.
Are there any pests or diseases that affect indoor chives?
Indoor chives are generally resistant to pests and diseases, but they can occasionally be affected by aphids, spider mites, or fungal diseases. Inspect your plants regularly for signs of infestation or disease. Treat aphids and spider mites with insecticidal soap or neem oil. Prevent fungal diseases by providing good air circulation and avoiding overwatering.

Leave a Comment