
Grow Onions at Home – imagine stepping into your garden and harvesting plump, flavorful onions, ready to elevate your next culinary masterpiece. Sounds dreamy, right? Well, it doesn’t have to be just a dream! For centuries, cultivating onions has been a cornerstone of gardens worldwide, dating back to ancient civilizations who valued them for both their culinary and medicinal properties. From the pyramids of Egypt to the bustling markets of the Silk Road, onions have nourished and sustained communities.
But let’s be honest, the thought of growing your own onions can seem a little daunting. Where do you even start? That’s where this DIY guide comes in! I’m here to share some simple, effective tricks and hacks that will empower you to grow onions at home, even if you have limited space or gardening experience.
In today’s world, knowing where your food comes from is more important than ever. Plus, store-bought onions can sometimes lack that fresh, vibrant flavor. By learning these easy techniques, you’ll not only enjoy the satisfaction of growing your own food but also have access to delicious, homegrown onions whenever you need them. So, grab your gardening gloves, and let’s get started on this exciting journey to onion-growing success!
Growing Onions at Home: A Beginner’s Guide
Hey there, fellow gardening enthusiasts! I’m so excited to share my experience with growing onions at home. It’s surprisingly easy and rewarding, and nothing beats the taste of freshly harvested onions from your own garden. Whether you’re a seasoned gardener or just starting out, this guide will walk you through everything you need to know to successfully grow onions.
Choosing Your Onions: Sets, Seeds, or Transplants?
Before we dive into the nitty-gritty, let’s talk about the different ways you can start your onion journey. You have three main options: onion sets, seeds, and transplants. Each has its pros and cons.
* **Onion Sets:** These are small, immature onion bulbs that have already started growing. They’re the easiest and fastest way to get onions growing, especially for beginners. They’re less prone to diseases and pests than seeds, and you’ll get a harvest much sooner. However, they can sometimes bolt (flower prematurely), which reduces bulb size.
* **Onion Seeds:** Starting from seed gives you the widest variety of onion types to choose from. It’s also the most economical option. However, it requires more patience and effort, as you need to start the seeds indoors several weeks before the last frost.
* **Onion Transplants:** These are young onion plants that have already been started from seed. They offer a good balance between the convenience of sets and the variety of seeds. You can often find them at local nurseries or garden centers.
For this guide, I’ll primarily focus on using onion sets, as they’re the most beginner-friendly. But I’ll also touch on starting from seed for those who are feeling a bit more adventurous.
Preparing Your Garden Bed: Location, Soil, and Amendments
Onions need a sunny spot and well-drained soil to thrive. Here’s how to prepare your garden bed:
* **Sunlight:** Onions need at least 6-8 hours of direct sunlight per day. Choose a location in your garden that gets plenty of sun.
* **Soil:** Onions prefer loose, fertile soil with a pH between 6.0 and 7.0. If your soil is heavy clay or sandy, you’ll need to amend it with organic matter.
* **Amendments:**
* **Compost:** Add plenty of compost to your soil to improve its drainage, fertility, and water-holding capacity. I usually add a 2-3 inch layer of compost and work it into the top 6-8 inches of soil.
* **Well-rotted Manure:** Manure is another great amendment that adds nutrients to the soil. Make sure it’s well-rotted to avoid burning your plants.
* **Fertilizer:** Onions are heavy feeders, so you’ll need to fertilize them regularly. A balanced fertilizer with a ratio of 10-10-10 or 12-12-12 is a good choice. You can also use a fertilizer specifically formulated for onions and vegetables.
* **Bone Meal:** Adding bone meal to the soil provides phosphorus, which is essential for root development.
Remember to test your soil before adding any amendments. This will help you determine what nutrients your soil is lacking and avoid over-fertilizing.
Planting Onion Sets: A Step-by-Step Guide
Now for the fun part: planting your onion sets! Here’s how to do it:
1. **Choose the Right Time:** Plant onion sets in early spring, as soon as the soil can be worked. In my area (zone 6), that’s usually around late March or early April. You can also plant them in the fall for a spring harvest, but make sure to choose a variety that’s suitable for overwintering.
2. **Prepare the Soil:** Rake the soil smooth and remove any rocks or debris.
3. **Create Furrows:** Use a hoe or trowel to create furrows in the soil, about 1 inch deep and 4-6 inches apart.
4. **Plant the Sets:** Place the onion sets in the furrows, about 2-3 inches apart. Make sure the pointy end of the set is facing up.
5. **Cover the Sets:** Gently cover the sets with soil, leaving the very tip of the set exposed.
6. **Water Thoroughly:** Water the newly planted sets thoroughly to help them settle in.
Planting Onion Seeds: A More Involved Process
If you’re starting from seed, here’s a general overview. Keep in mind that specific timing and techniques may vary depending on your location and the onion variety.
1. **Start Seeds Indoors:** Begin 8-10 weeks before the last expected frost. Sow seeds thinly in seed trays or pots filled with seed-starting mix.
2. **Provide Light and Warmth:** Keep the soil moist and provide plenty of light, either from a sunny window or grow lights. A heat mat can help with germination.
3. **Harden Off Seedlings:** Gradually acclimate the seedlings to outdoor conditions over a week or two before transplanting.
4. **Transplant Seedlings:** Once the soil is workable and the risk of frost has passed, transplant the seedlings into your prepared garden bed, spacing them 4-6 inches apart.
Caring for Your Onions: Watering, Weeding, and Fertilizing
Once your onions are planted, it’s important to provide them with the care they need to thrive.
* **Watering:** Onions need consistent moisture, especially during bulb formation. Water deeply whenever the top inch of soil feels dry. Avoid overwatering, as this can lead to rot.
* **Weeding:** Keep the area around your onions free of weeds. Weeds compete with onions for nutrients and water. Hand-pull weeds carefully to avoid disturbing the onion roots. You can also use mulch to suppress weeds.
* **Fertilizing:** Fertilize your onions every 2-3 weeks with a balanced fertilizer. You can also side-dress them with compost or well-rotted manure. Stop fertilizing about a month before harvest.
* **Pest and Disease Control:** Onions are relatively pest-resistant, but they can be susceptible to certain pests and diseases, such as onion maggots, thrips, and fungal diseases. Inspect your plants regularly for signs of problems and take action promptly. Organic pest control methods, such as insecticidal soap or neem oil, can be effective.
Harvesting Your Onions: Knowing When They’re Ready
The time it takes for onions to mature depends on the variety and growing conditions. Generally, onions are ready to harvest when the tops start to fall over and turn brown.
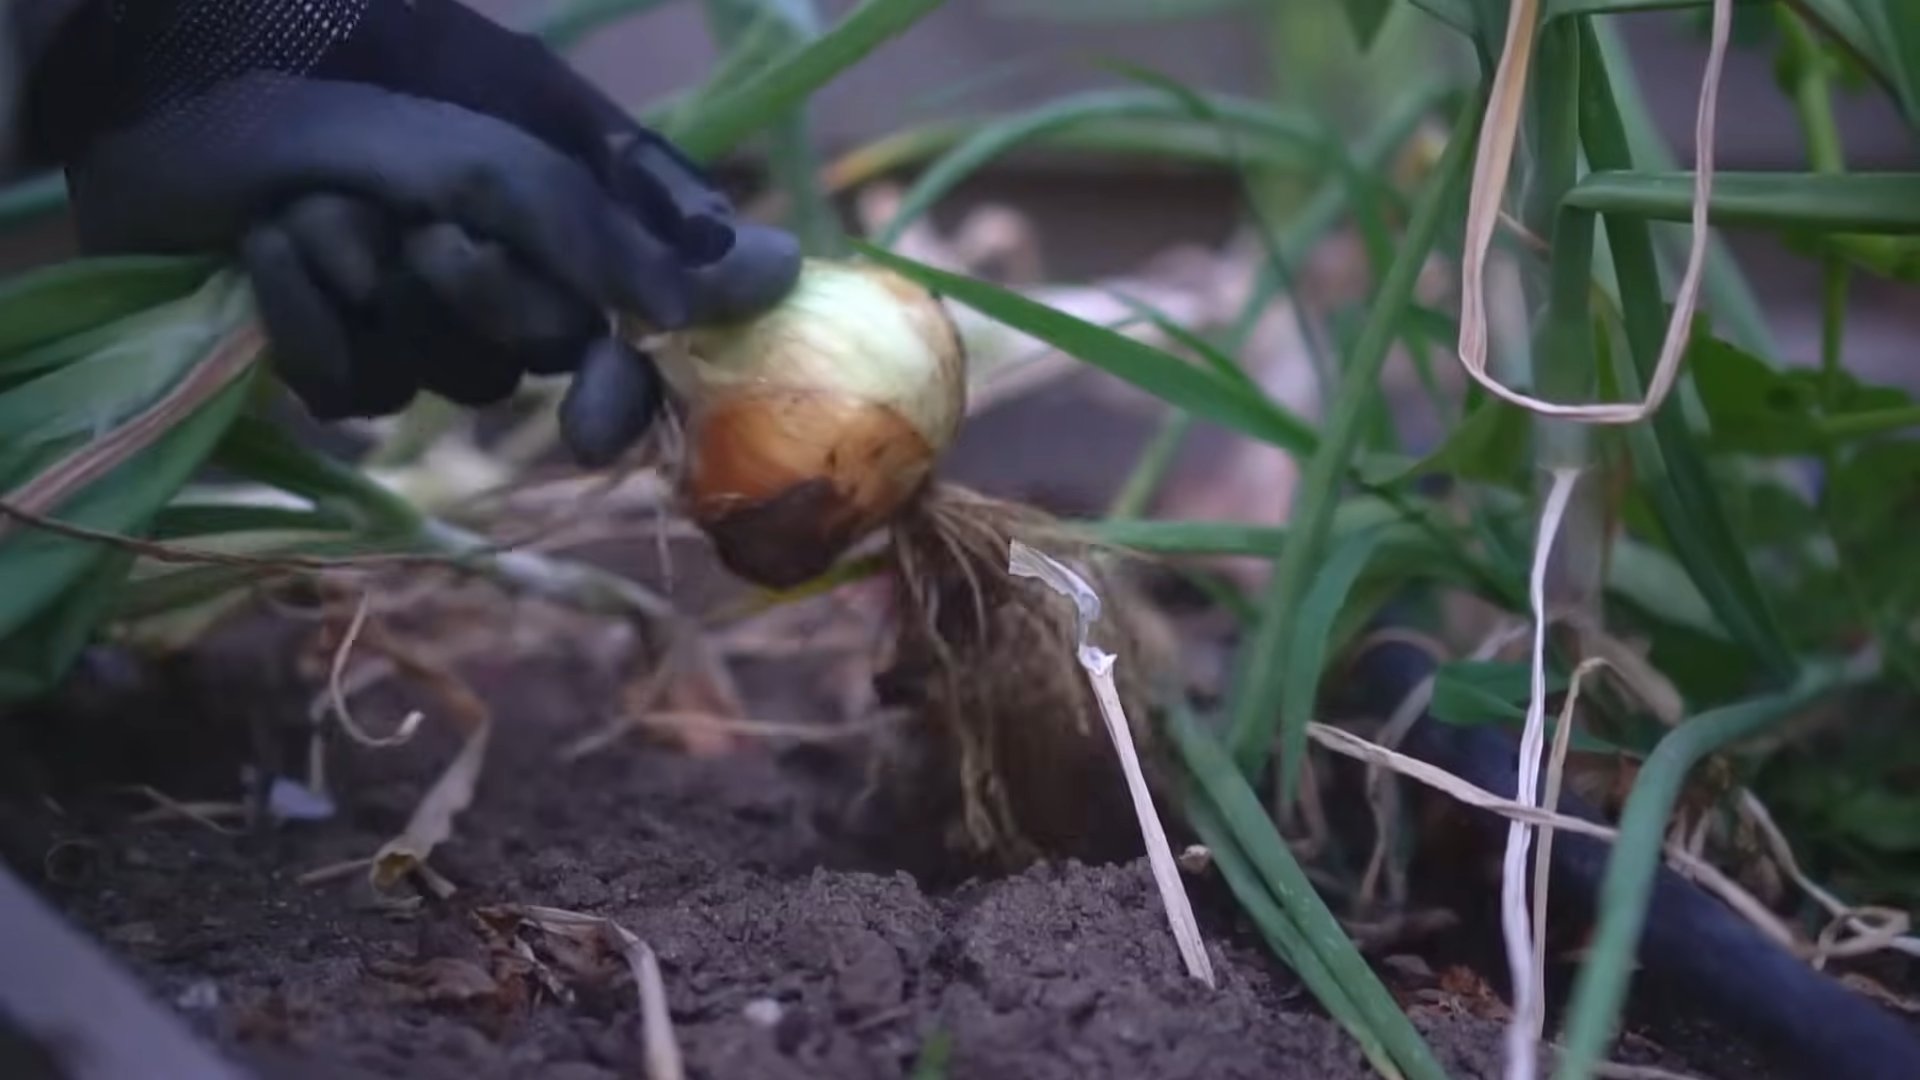
1. **Loosen the Soil:** Before harvesting, loosen the soil around the onions with a garden fork.
2. **Pull the Onions:** Gently pull the onions from the soil.
3. **Cure the Onions:** Cure the onions by laying them out in a warm, dry, well-ventilated place for 1-2 weeks. This allows the outer layers to dry and toughen, which helps to prevent rot.
4. **Store the Onions:** Once the onions are cured, you can store them in a cool, dry, dark place. Braiding the tops together and hanging them is a traditional way to store onions. You can also store them in mesh bags or crates.
Troubleshooting Common Onion Problems
Even with the best care, you might encounter some problems along the way. Here are a few common issues and how to address them:
* **Bolting (Premature Flowering):** This can happen when onions are exposed to cold temperatures early in their growth. To prevent bolting, choose a variety that’s less prone to bolting and avoid planting too early.
* **Small Bulbs:** Small bulbs can be caused by a variety of factors, including poor soil, lack of sunlight, insufficient watering, and overcrowding. Make sure your onions have the right conditions to thrive.
* **Rotting:** Rotting can be caused by overwatering, poor drainage, or fungal diseases. Improve drainage, avoid overwatering, and use a fungicide if necessary.
* **Pest Infestations:** Keep an eye out for pests like onion maggots and thrips. Use organic pest control methods to manage infestations.
Enjoying Your Homegrown Onions
Congratulations! You’ve successfully grown your own onions. Now it’s time to enjoy the fruits (or rather, vegetables) of your labor. Use your homegrown onions in all your favorite recipes, from soups and stews to salads and stir-fries. They’ll add a delicious, fresh flavor that you just can’t get from store-bought onions.
Growing onions at home is a rewarding experience that anyone can enjoy. With a little bit of planning and effort, you can have a bountiful harvest of delicious onions to enjoy all season long. Happy gardening!
Conclusion
So, there you have it! Growing onions at home, even if you’re a complete beginner, is not only achievable but also incredibly rewarding. Forget those bland, mass-produced onions from the grocery store. Imagine the satisfaction of harvesting plump, flavorful onions that you nurtured from tiny sets or even scraps. The difference in taste is truly remarkable – a vibrant, fresh onion flavor that elevates every dish.
This DIY trick isn’t just about saving a few dollars (although that’s a definite perk!). It’s about connecting with your food, understanding the growing process, and enjoying the unparalleled taste of homegrown produce. It’s about reducing your carbon footprint by minimizing trips to the store and supporting a more sustainable lifestyle. And let’s be honest, there’s something deeply satisfying about watching those little green shoots emerge and transform into robust, bulbous onions.
But the best part? The possibilities are endless! Experiment with different varieties of onions to find your favorites. Try growing red onions for vibrant salads, yellow onions for caramelized sweetness, or white onions for a milder flavor. You can even explore growing scallions or shallots using similar techniques. Consider companion planting your onions with carrots or marigolds to deter pests and improve growth.
Don’t be afraid to get your hands dirty and embrace the learning process. There will be successes and maybe a few minor setbacks along the way, but that’s all part of the fun. The key is to be patient, observant, and willing to adapt your approach as needed. Remember to adjust your watering schedule based on your climate and soil conditions, and don’t hesitate to seek out additional resources online or from local gardening experts.
We wholeheartedly encourage you to give this DIY trick for growing onions at home a try. It’s a simple, cost-effective, and incredibly fulfilling way to enhance your culinary creations and connect with nature. Once you’ve tasted the difference between store-bought and homegrown onions, you’ll never go back!
And most importantly, we want to hear about your experiences! Share your tips, tricks, and triumphs in the comments below. Let us know what varieties you’re growing, what challenges you’ve faced, and what delicious dishes you’ve created with your homegrown onions. Your insights will not only inspire others but also help us all learn and grow together as a community of home gardeners. So, grab your gardening gloves, prepare your soil, and get ready to experience the joy of growing your own delicious, flavorful onions! Happy gardening!
Frequently Asked Questions (FAQ)
Q: What is the best time of year to plant onions?
A: The best time to plant onions depends on your climate and the type of onion you’re growing. In general, onions are classified as either long-day or short-day varieties. Long-day onions need 14-16 hours of daylight to form bulbs and are best suited for northern climates, while short-day onions need 10-12 hours of daylight and are ideal for southern climates. Plant onion sets or transplants in early spring, as soon as the ground can be worked. If you’re starting from seed, you’ll need to start them indoors 8-10 weeks before the last expected frost. Fall planting is also possible in milder climates.
Q: What kind of soil do onions need?
A: Onions thrive in well-drained, fertile soil that is rich in organic matter. The ideal soil pH is between 6.0 and 7.0. Before planting, amend your soil with compost, well-rotted manure, or other organic materials to improve drainage and fertility. Avoid heavy clay soils, as they can hinder bulb development. If you have clay soil, consider growing onions in raised beds or containers.
Q: How much sunlight do onions need?
A: Onions require at least 6-8 hours of direct sunlight per day to grow properly. Choose a sunny location in your garden where your onions will receive ample sunlight throughout the growing season. If you’re growing onions indoors, use grow lights to supplement natural sunlight.
Q: How often should I water my onions?
A: Onions need consistent moisture, especially during bulb formation. Water deeply and regularly, keeping the soil consistently moist but not waterlogged. Avoid overhead watering, as it can promote fungal diseases. Use a soaker hose or drip irrigation to water at the base of the plants. Reduce watering as the onions mature and the tops begin to fall over.
Q: What are some common onion pests and diseases?
A: Common onion pests include onion maggots, thrips, and aphids. Onion diseases include downy mildew, botrytis leaf blight, and pink root. To prevent pests and diseases, practice good garden hygiene, such as removing plant debris and weeds. Use insecticidal soap or neem oil to control pests, and apply fungicides to prevent or treat diseases. Crop rotation can also help to reduce the risk of soilborne diseases.
Q: How do I know when my onions are ready to harvest?
A: Onions are typically ready to harvest when the tops begin to fall over and turn yellow or brown. This usually happens in late summer or early fall. Once the tops have fallen over, stop watering the onions and allow them to dry out in the ground for a few days. Then, carefully dig up the onions, being careful not to damage the bulbs.
Q: How should I store my harvested onions?
A: After harvesting, cure the onions by laying them out in a single layer in a well-ventilated area for 2-3 weeks. This allows the outer layers to dry and toughen, which helps to prevent spoilage. Once the onions are cured, store them in a cool, dry, and dark place, such as a basement or pantry. Braiding the onion tops together and hanging them up is a traditional storage method. Properly stored onions can last for several months.
Q: Can I grow onions in containers?
A: Yes, you can definitely grow onions in containers! Choose a container that is at least 8-10 inches deep and wide to allow for adequate root development. Use a well-draining potting mix and ensure that the container has drainage holes. Water regularly and fertilize every few weeks with a balanced fertilizer. Container-grown onions may need more frequent watering and fertilization than those grown in the ground.
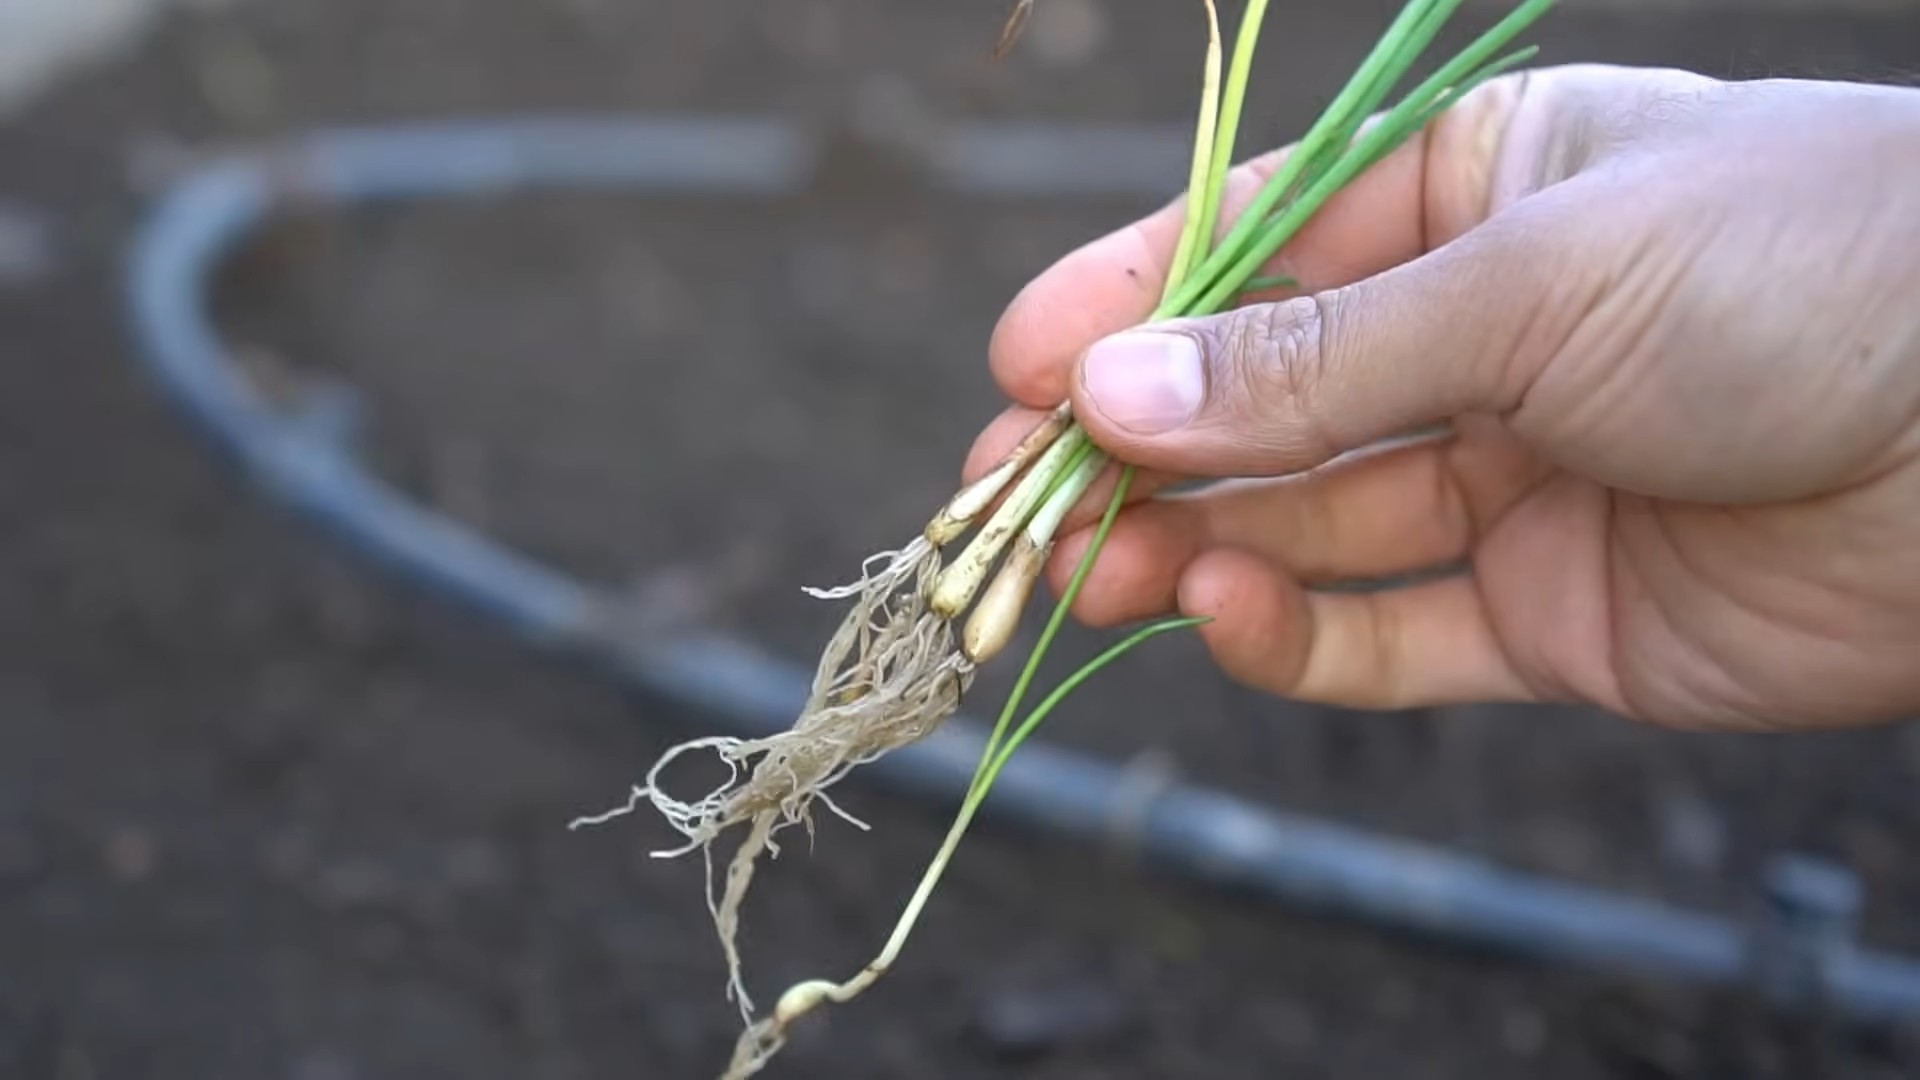
Q: Can I grow onions from scraps?
A: Yes, you can regrow onions from scraps! Save the bottom inch or two of an onion bulb that has roots attached. Plant the scrap in a pot of soil, leaving the top exposed. Water regularly and watch as new green shoots emerge. You can also regrow green onions (scallions) by placing the root end in a glass of water. Once new roots have formed, transplant the scallion into a pot of soil. While regrowing from scraps won’t produce a full-sized onion bulb, you’ll still get plenty of fresh green onions to use in your cooking. This is a great way to reduce food waste and enjoy a continuous supply of fresh onions.
Leave a Comment