
Grow Luffa Indoors? Absolutely! Imagine harvesting your own natural sponges right from the comfort of your home. Forget those scratchy, mass-produced sponges – we’re talking about the real deal, the kind that’s gentle on your skin and the environment. For centuries, luffa (also spelled loofah) has been cultivated in various cultures, not just for its exfoliating properties but also as a sustainable resource. In some Asian countries, young luffa fruits are even eaten as a vegetable!
But why should you bother learning how to grow luffa indoors? Well, for many of us, outdoor space is a luxury. Maybe you live in an apartment, or perhaps your growing season is too short to successfully cultivate luffa outside. That’s where this DIY guide comes in! I’m going to share some simple yet effective tricks and hacks that will empower you to nurture these amazing plants, even without a sprawling garden.
This isn’t just about having a cool, eco-friendly sponge; it’s about connecting with nature, learning a new skill, and enjoying the satisfaction of growing something yourself. Plus, imagine the bragging rights when you gift a homegrown luffa sponge to your friends! So, let’s dive in and unlock the secrets to successfully growing luffa indoors. Get ready to get your hands dirty (in a good way!).

Growing Luffa Indoors: From Seed to Scrub!
Hey there, fellow gardening enthusiasts! Ever dreamt of growing your own natural sponges? Well, you can! Luffa, also known as loofah, is a fantastic vine that produces these amazing scrubbing tools. While they thrive in warm climates with long growing seasons, don’t let that discourage you if you live in a cooler area. You can absolutely grow luffa indoors, giving them a head start and ensuring a bountiful harvest. I’m going to walk you through the entire process, step-by-step, so you can enjoy your own homegrown luffa sponges.
Getting Started: Seeds and Supplies
Before we dive into the planting process, let’s gather everything we need. This will make the whole experience smoother and more enjoyable.
* Luffa Seeds: Purchase high-quality luffa seeds from a reputable source. Look for varieties suitable for your climate.
* Seed Starting Trays or Small Pots: These will be your nursery for the baby luffas.
* Seed Starting Mix: This is a light, well-draining soil mix specifically designed for seedlings.
* Larger Pots (at least 5 gallons): Once the seedlings are big enough, they’ll need a bigger home.
* Potting Soil: A good quality potting mix for mature plants.
* Grow Lights: Luffa needs a lot of sunlight, so grow lights are essential for indoor growing, especially during winter months.
* Trellis or Support System: Luffa vines are climbers, so they need something to grow on.
* Watering Can or Spray Bottle: For gentle watering.
* Liquid Fertilizer: To provide nutrients for healthy growth.
* Heat Mat (Optional): Luffa seeds germinate best with warmth.
Phase 1: Seed Starting
This is where the magic begins! Getting your seeds to sprout is the first crucial step.
1. Soak the Seeds: To help speed up germination, soak the luffa seeds in warm water for 24-48 hours. This softens the hard outer shell and allows moisture to penetrate. I usually put them in a small bowl on my kitchen counter.
2. Prepare the Seed Starting Trays: Fill your seed starting trays or small pots with seed starting mix. Moisten the mix thoroughly, but don’t let it get soggy.
3. Plant the Seeds: Make a small hole (about 1/2 inch deep) in the center of each cell or pot. Place one or two luffa seeds in each hole and cover them gently with the seed starting mix.
4. Water Gently: Water the seeds gently with a spray bottle or watering can to avoid disturbing them.
5. Provide Warmth: Luffa seeds germinate best in warm temperatures (around 70-80°F or 21-27°C). Place the seed starting trays on a heat mat or in a warm location.
6. Maintain Moisture: Keep the seed starting mix consistently moist, but not waterlogged. Cover the trays with a clear plastic dome or plastic wrap to help retain moisture.
7. Wait Patiently: Germination can take anywhere from 7 to 21 days, so be patient. Check the trays daily for signs of sprouting.
8. Remove Cover: Once the seedlings emerge, remove the plastic dome or plastic wrap to allow for air circulation.
Phase 2: Transplanting and Growing
Now that you have adorable little luffa seedlings, it’s time to give them more space to grow.
1. Choose the Right Time: Transplant the seedlings when they have developed at least two sets of true leaves (the leaves that appear after the initial seed leaves). This usually takes a few weeks.
2. Prepare the Larger Pots: Fill the larger pots (at least 5 gallons) with a good quality potting mix.
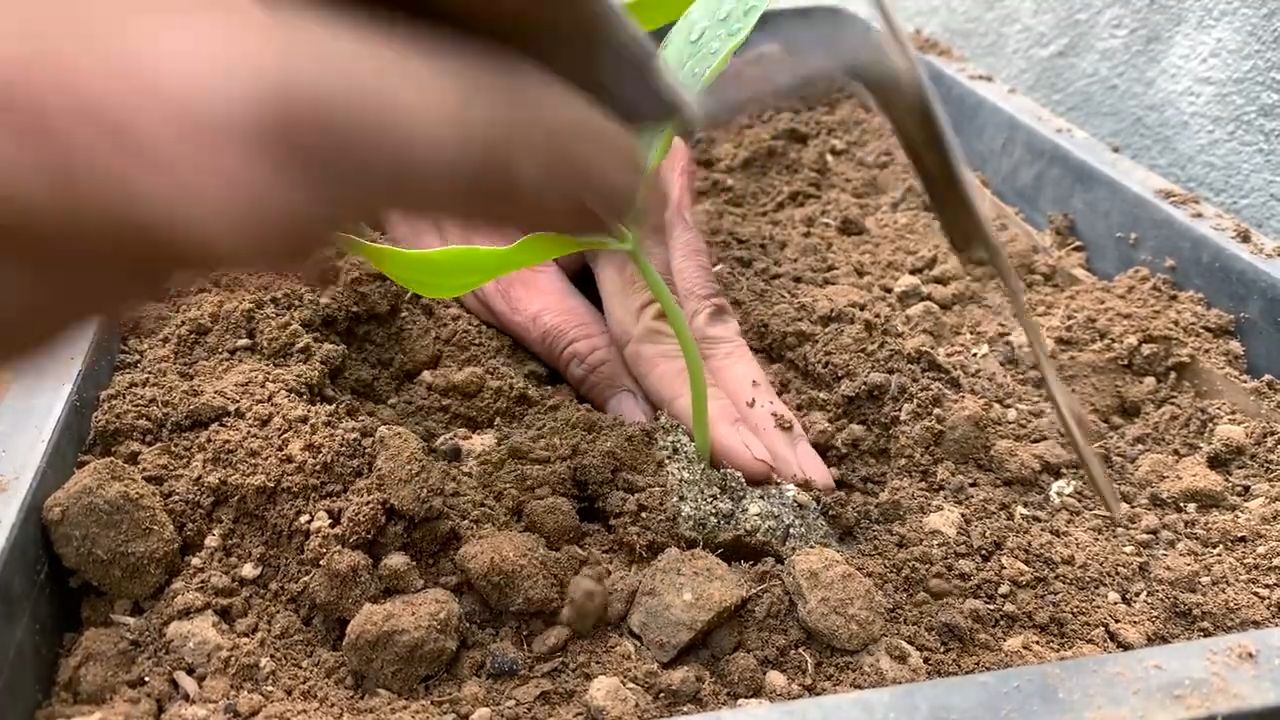
3. Carefully Remove Seedlings: Gently remove the seedlings from the seed starting trays or small pots. Be careful not to damage the roots. I like to use a small spoon to help lift them out.
4. Plant the Seedlings: Make a hole in the center of each pot large enough to accommodate the root ball. Place the seedling in the hole and cover the roots with potting mix. Gently firm the soil around the base of the plant.
5. Water Thoroughly: Water the transplanted seedlings thoroughly to help them settle in.
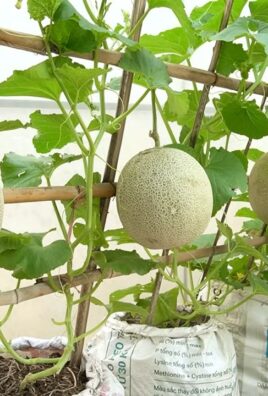
6. Provide Support: Luffa vines are climbers, so they need a trellis or other support system to grow on. Install the trellis in the pot or nearby. Make sure it’s sturdy enough to support the weight of the mature vine and the luffa fruits. I’ve used everything from bamboo stakes to repurposed tomato cages.
7. Provide Adequate Light: Luffa plants need at least 6-8 hours of sunlight per day. If you don’t have enough natural light, use grow lights to supplement. Position the grow lights a few inches above the plants and adjust as they grow.
8. Water Regularly: Water the luffa plants regularly, especially during hot weather. Check the soil moisture regularly and water when the top inch of soil feels dry to the touch. Avoid overwatering, as this can lead to root rot.
9. Fertilize Regularly: Luffa plants are heavy feeders, so they need regular fertilization. Use a liquid fertilizer diluted to half strength every 2-3 weeks. Look for a fertilizer that is high in phosphorus and potassium, which are essential for fruit production.
10. Prune the Vines (Optional): Pruning can help to encourage branching and fruit production. You can prune the vines by pinching off the tips of the main stems. This will encourage the plant to produce more side shoots, which will bear more flowers and fruits.
Phase 3: Pollination
Luffa plants have separate male and female flowers. The female flowers are the ones that will develop into luffa fruits, but they need to be pollinated first.
1. Identify Male and Female Flowers: Male flowers have a long stem and produce pollen. Female flowers have a small, immature luffa fruit behind the flower.
2. Hand Pollination: If you’re growing luffa indoors, you’ll likely need to hand-pollinate the flowers. Use a small paintbrush or cotton swab to collect pollen from the male flowers and transfer it to the female flowers. Do this in the morning when the flowers are open.
3. Monitor for Fruit Set: After pollination, the female flowers will start to develop into luffa fruits. If the flowers don’t get pollinated, they will wither and fall off.
Phase 4: Harvesting and Processing
This is the most rewarding part! Harvesting your homegrown luffa sponges.
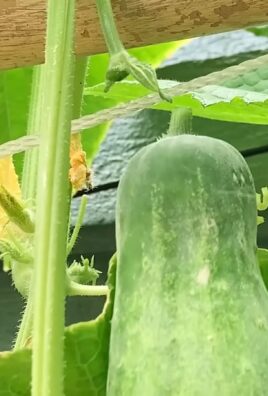
1. Harvest When Mature: Luffa fruits are ready to harvest when they turn yellow or brown and the skin becomes dry and brittle. The fruit should also feel lightweight.
2. Cut the Luffa: Use a sharp knife or pruning shears to cut the luffa fruit from the vine.
3. Peel the Skin: Peel off the outer skin of the luffa fruit. This can be a bit messy, so I recommend doing it outdoors or in a well-ventilated area. You can use your hands to peel the skin, or you can use a knife to make a slit in the skin and then peel it off.
4. Remove the Seeds: Shake out the seeds from the luffa sponge. You can save the seeds for planting next year.
5. Rinse and Clean: Rinse the luffa sponge thoroughly with water to remove any remaining pulp or seeds.
6. Dry the Luffa: Hang the luffa sponge in a well-ventilated area to dry completely. This can take several days or even weeks, depending on the humidity.
7. Bleach (Optional): If you want to bleach the luffa sponge, soak it in a solution of water and bleach (1 part bleach to 10 parts water) for about 30 minutes. Rinse the luffa sponge thoroughly with water after bleaching.
8. Enjoy Your Homegrown Luffa: Once the luffa sponge is dry, it’s ready to use! Use it for scrubbing your body, washing dishes, or cleaning your home.
Troubleshooting Tips
Even with the best planning, you might encounter a few hiccups along the way. Here are some common issues and how to address them:
* Poor Germination: Make sure your seeds are fresh and viable. Provide adequate warmth and moisture.
* Slow Growth: Ensure your plants are getting enough light, water, and nutrients.
* Lack of Flowers: Make sure your plants are getting enough sunlight and fertilizer.
* Fruit Rot: Avoid overwatering and ensure good air circulation.
* Pests: Inspect your plants regularly for pests
Conclusion
So, there you have it! Growing luffa indoors might seem like a challenge reserved for seasoned gardeners, but with a little planning, the right setup, and a dash of patience, you can absolutely cultivate these amazing sponges right in your own home. This DIY project isn’t just about saving money on store-bought luffas; it’s about experiencing the satisfaction of nurturing a plant from seed to harvest, and knowing exactly where your bath and kitchen scrubbers come from.
Think about the possibilities! Imagine gifting homegrown luffas to friends and family, knowing you’re providing them with a sustainable and eco-friendly alternative to synthetic sponges. Or, consider incorporating your luffa harvest into homemade soaps and skincare products, adding a touch of natural luxury to your daily routine.
The beauty of growing luffa indoors is that you have complete control over the environment. You can tailor the temperature, humidity, and light levels to create the ideal conditions for your plants to thrive. Plus, you’ll be able to enjoy the beauty of the luffa vines as they climb and produce their vibrant yellow flowers.
Don’t be afraid to experiment with different varieties of luffa seeds. Some varieties are better suited for indoor growing than others, so do your research and choose seeds that are known for their compact size and early maturity. You can also try different growing mediums, such as coco coir or perlite, to see which one works best for your setup.
This DIY project is more than just a gardening endeavor; it’s a step towards a more sustainable and self-sufficient lifestyle. By growing your own luffa, you’re reducing your reliance on mass-produced products and taking control of your environmental impact.
We encourage you to give growing luffa indoors a try. It’s a rewarding and educational experience that will provide you with a sustainable supply of natural sponges for years to come. And most importantly, don’t forget to share your experiences with us! We’d love to hear about your successes, challenges, and any tips you’ve learned along the way. Share your photos and stories on social media using #IndoorLuffa or leave a comment below. Let’s build a community of indoor luffa growers and inspire others to embrace this amazing DIY project.
Now, let’s address some frequently asked questions to help you get started on your indoor luffa growing journey.
Frequently Asked Questions (FAQ)
1. What is the best time of year to start growing luffa indoors?
The best time to start growing luffa indoors is typically 6-8 weeks before the last expected frost in your area. This allows the seedlings to develop a strong root system before being transplanted into larger containers or, if you choose, moved outdoors during the warmer months. Starting early indoors is crucial because luffa plants require a long growing season, often 150-200 days from seed to mature fruit. Check your local frost dates to determine the optimal starting time for your region.
2. What kind of lighting do luffa plants need indoors?
Luffa plants require a significant amount of light to thrive and produce fruit. Ideally, they need at least 6-8 hours of direct sunlight per day. If you don’t have a sunny window that provides enough light, you’ll need to supplement with artificial grow lights. Full-spectrum LED grow lights are a great option because they provide the necessary wavelengths of light for plant growth and are energy-efficient. Position the grow lights close enough to the plants to provide adequate illumination, but not so close that they burn the leaves. Monitor your plants closely and adjust the lighting as needed.
3. What size container should I use for growing luffa indoors?
Luffa plants have extensive root systems, so they need a large container to accommodate their growth. A minimum of a 10-gallon container is recommended, but a 15-20 gallon container is even better. The container should also have drainage holes to prevent waterlogging, which can lead to root rot. Choose a sturdy container that can support the weight of the mature plant and its fruit. Consider using fabric pots, as they allow for better aeration of the roots.
4. How often should I water my luffa plants indoors?
Luffa plants need consistent moisture, but they don’t like to be waterlogged. Water your plants when the top inch of soil feels dry to the touch. Water deeply, ensuring that the water drains out of the drainage holes. Avoid overwatering, as this can lead to root rot. During hot weather, you may need to water your plants more frequently. Monitor the soil moisture regularly and adjust your watering schedule accordingly.
5. What kind of fertilizer should I use for luffa plants?
Luffa plants are heavy feeders and require regular fertilization to produce abundant fruit. Use a balanced fertilizer with equal amounts of nitrogen, phosphorus, and potassium (e.g., 10-10-10) during the early stages of growth. Once the plants start to flower and produce fruit, switch to a fertilizer with a higher phosphorus content (e.g., 5-10-5) to promote fruit development. Fertilize your plants every 2-3 weeks, following the instructions on the fertilizer label. You can also supplement with organic fertilizers, such as compost tea or fish emulsion.
6. How do I pollinate luffa flowers indoors?
Luffa plants have separate male and female flowers. The female flowers have a small luffa fruit behind the flower, while the male flowers do not. In order for the female flowers to develop into mature luffa fruits, they need to be pollinated. Indoors, you’ll need to hand-pollinate the flowers. Use a small paintbrush or cotton swab to collect pollen from the male flowers and transfer it to the stigma of the female flowers. Do this in the morning, when the flowers are open. You can also gently shake the male flowers over the female flowers to release the pollen.
7. How long does it take for luffa fruits to mature?
Luffa fruits typically take 90-120 days to mature, depending on the variety and growing conditions. The fruits are ready to harvest when they turn yellow or brown and the skin becomes dry and brittle. You should be able to easily crack the skin with your fingers. If you’re unsure, wait until the fruit is completely dry and lightweight.
8. How do I process the luffa sponges after harvesting?
Once the luffa fruits are harvested, you’ll need to process them to remove the seeds and skin. Crack the dry skin and peel it away from the sponge. Shake out the seeds and save them for planting next year. Rinse the luffa sponge thoroughly with water to remove any remaining debris. You can then soak the sponge in a solution of water and bleach (1 part bleach to 10 parts water) for 30 minutes to disinfect it. Rinse the sponge again and allow it to dry completely before using it.
9. Can I grow luffa in a hydroponic system indoors?
Yes, you can grow luffa in a hydroponic system indoors. Hydroponics can provide the plants with the nutrients and water they need in a controlled environment. However, luffa plants are large and require a robust hydroponic system to support their growth. Deep water culture (DWC) or nutrient film technique (NFT) systems are good options for growing luffa hydroponically. You’ll also need to provide adequate support for the vines and fruits.
10. What are some common problems when growing luffa indoors and how can I prevent them?
Some common problems when growing luffa indoors include powdery mildew, aphids, and spider mites. Powdery mildew is a fungal disease that can be prevented by providing good air circulation and avoiding overhead watering. Aphids and spider mites are common pests that can be controlled with insecticidal soap or neem oil. Regularly inspect your plants for signs of pests or diseases and take action promptly to prevent them from spreading. Ensure your plants have adequate light and nutrients to maintain their health and resistance to problems.

Leave a Comment