
Grow Hibiscus Year Round? Absolutely! Imagine the vibrant splash of tropical color gracing your home, even when the snow is falling outside. It’s not just a dream; it’s an achievable reality with a few clever tricks and a little DIY know-how. For centuries, the hibiscus, with its flamboyant blooms, has been a symbol of beauty and hospitality in many cultures, from Hawaii to Southeast Asia. These stunning flowers have been used in teas, traditional medicine, and even as decorative elements in religious ceremonies.
But let’s face it, most of us don’t live in a tropical paradise. So, how do we keep these sun-loving beauties thriving when the weather turns chilly? That’s where this DIY guide comes in! I’m going to share some simple, yet effective, techniques to help you grow hibiscus year round, regardless of your climate. We’ll cover everything from proper potting and lighting to temperature control and pest management.
Why is this so important? Because bringing a touch of the tropics indoors can boost your mood, purify the air, and add a unique aesthetic to your living space. Plus, mastering these DIY tricks will give you a serious sense of accomplishment. So, grab your gardening gloves, and let’s get started on this exciting journey to enjoy the beauty of hibiscus all year long!
Growing Hibiscus Indoors: A Year-Round Tropical Paradise in Your Home
Hey there, fellow plant enthusiasts! Ever dreamt of having vibrant hibiscus blooms brightening up your home, even when the snow is falling outside? Well, you’re in luck! Growing hibiscus indoors is totally achievable, and I’m here to guide you through the process. It takes a little know-how, but trust me, the reward of those gorgeous flowers is well worth the effort.
Choosing the Right Hibiscus
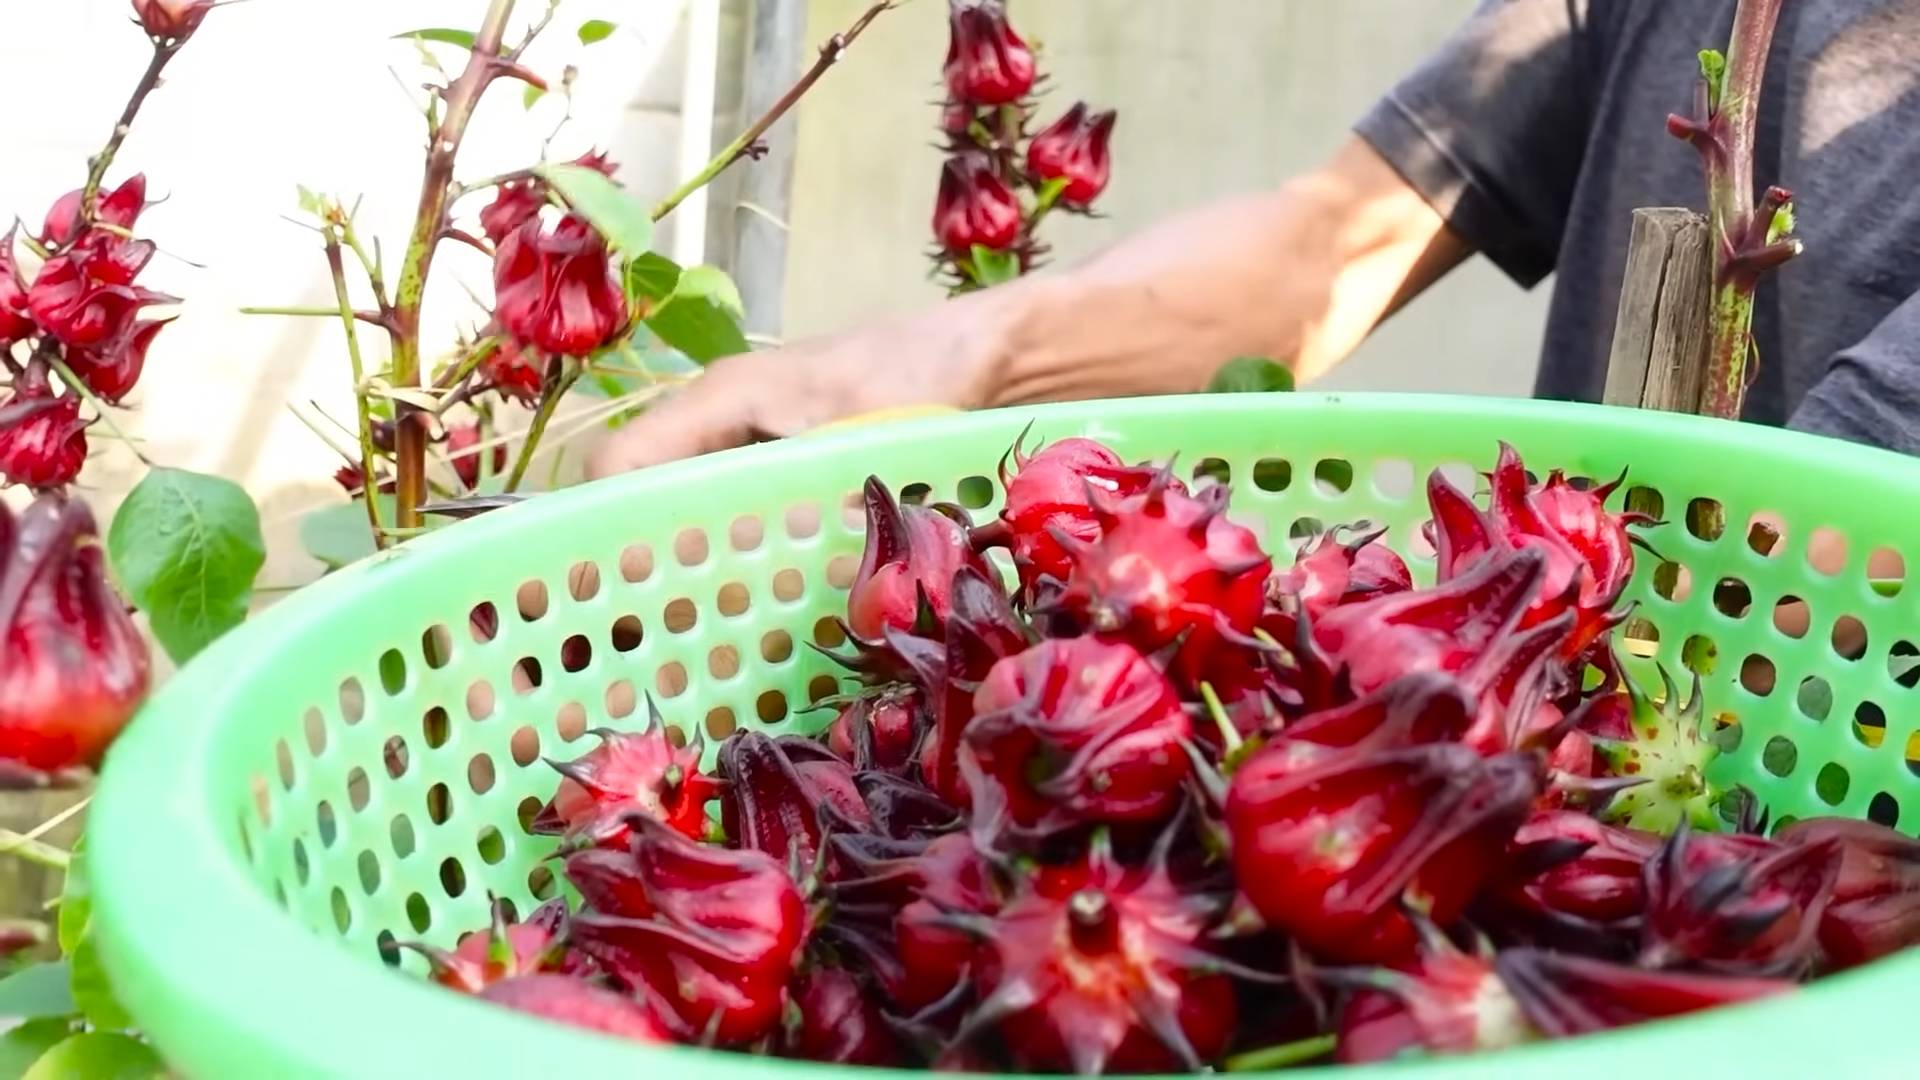
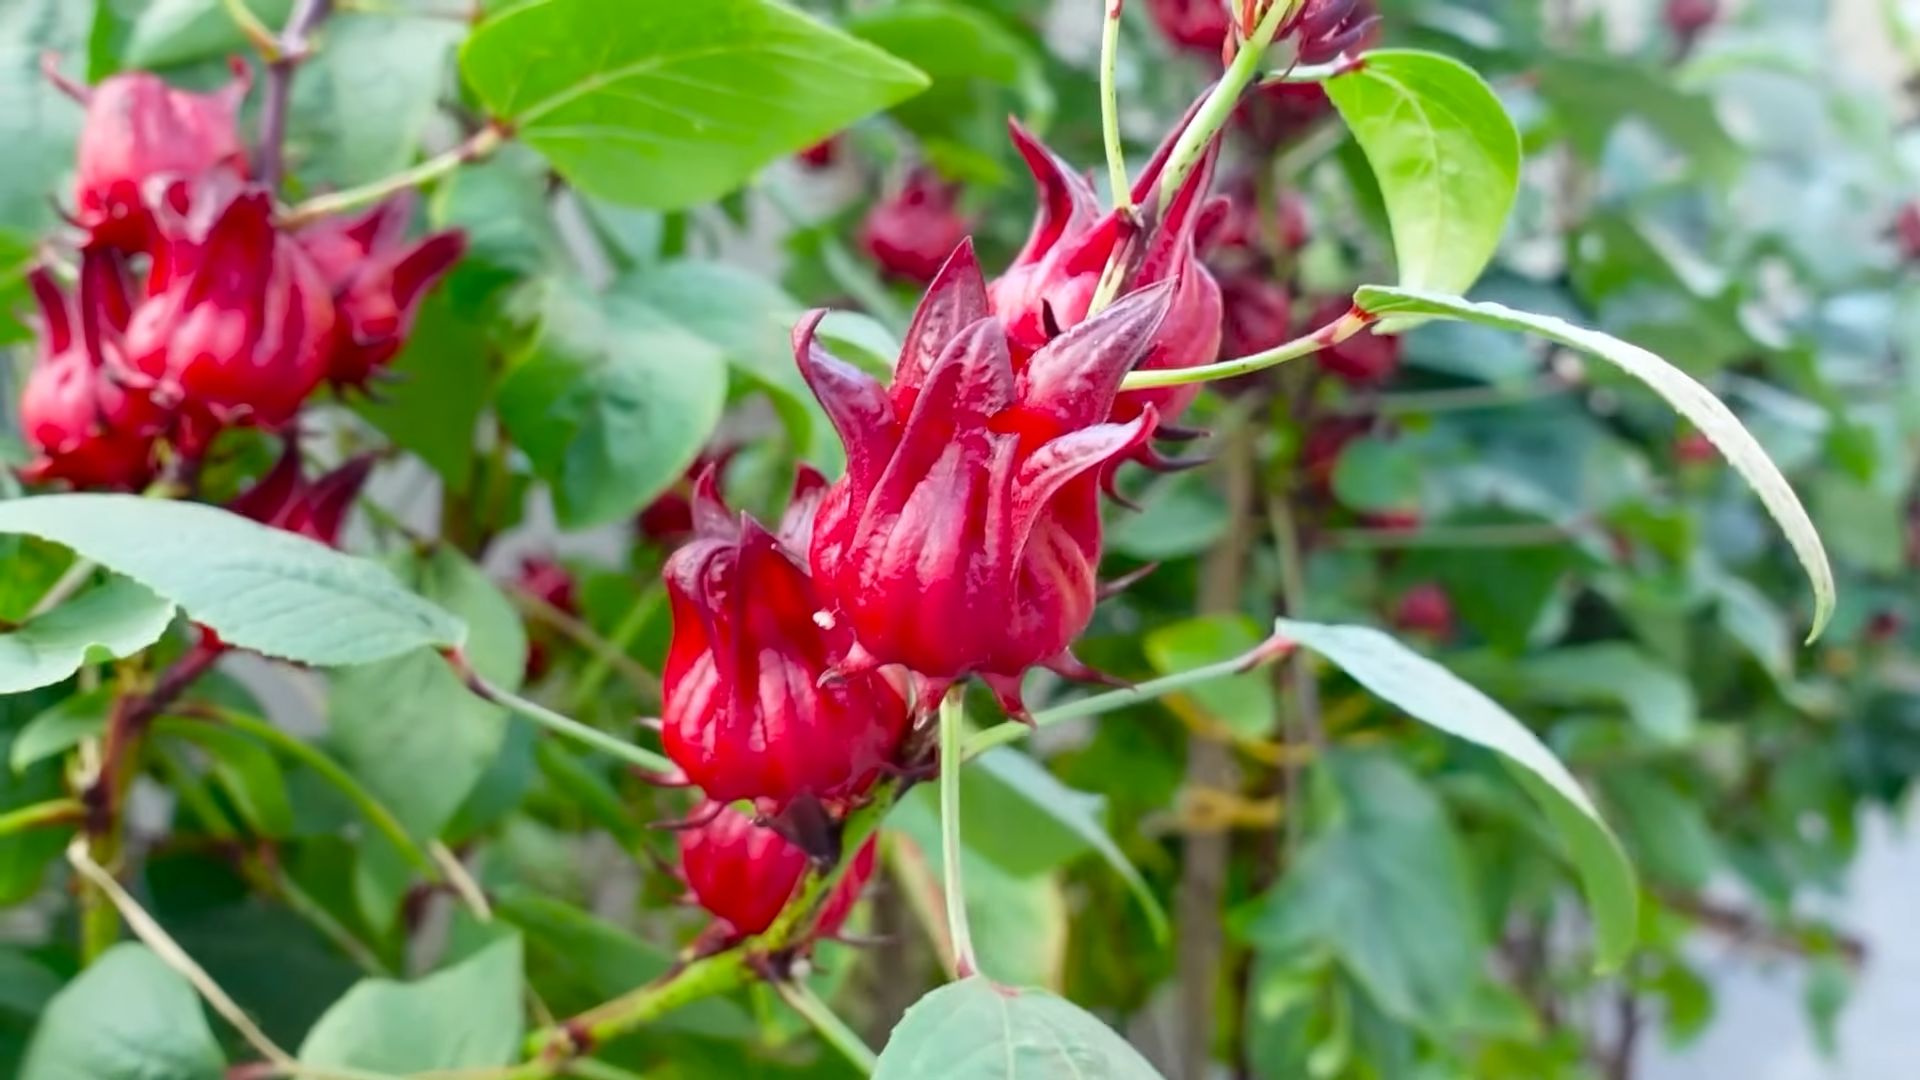
First things first, not all hibiscus varieties are created equal when it comes to indoor growing. Tropical hibiscus (Hibiscus rosa-sinensis) is your best bet. They tend to adapt better to indoor conditions than their hardy cousins.
* Look for compact varieties: Smaller varieties are easier to manage indoors. Think about the space you have available.
* Check for healthy foliage: Avoid plants with yellowing leaves, spots, or signs of pests.
* Consider bloom color: Hibiscus come in a rainbow of colors, so pick one (or several!) that you love.
Preparing Your Hibiscus for Indoor Life
Okay, you’ve got your hibiscus. Now, let’s get it ready for its indoor adventure!
1. Repotting (if necessary): If your hibiscus is in a small or unsuitable pot, repot it into a slightly larger container with good drainage. Use a well-draining potting mix specifically formulated for hibiscus or tropical plants. I like to add a bit of perlite to improve drainage.
2. Acclimatization: This is super important! Don’t just shock your hibiscus by bringing it straight from the garden center into your living room. Gradually introduce it to indoor conditions. Start by placing it in a shaded outdoor area for a few days, then move it to a brighter spot, and finally bring it indoors. This helps it adjust to the lower light levels and humidity.
3. Pest Check: Before bringing your hibiscus inside, give it a thorough inspection for pests like aphids, spider mites, or whiteflies. Treat any infestations with insecticidal soap or neem oil. Trust me, you don’t want those critters spreading to your other houseplants!
Creating the Ideal Indoor Environment
Hibiscus are tropical plants, so they need specific conditions to thrive indoors. Here’s what you need to keep in mind:
* Light: Hibiscus need at least 6 hours of direct sunlight per day. A south-facing window is ideal. If you don’t have enough natural light, supplement with a grow light. I’ve found that LED grow lights work really well and don’t generate too much heat.
* Temperature: Hibiscus prefer temperatures between 65°F and 75°F (18°C and 24°C). Avoid placing them near drafts or heating vents.
* Humidity: Hibiscus love humidity! Indoor air can be quite dry, especially during the winter. Increase humidity by:
* Using a humidifier.
* Placing the pot on a pebble tray filled with water (make sure the bottom of the pot isn’t sitting directly in the water).
* Misting the leaves regularly.
* Watering: Water your hibiscus when the top inch of soil feels dry to the touch. Water thoroughly until water drains out of the bottom of the pot. Avoid overwatering, as this can lead to root rot.
* Fertilizing: Hibiscus are heavy feeders, especially during the blooming season. Fertilize every 2-3 weeks with a balanced fertilizer formulated for hibiscus or flowering plants. Follow the instructions on the fertilizer label. I like to use a liquid fertilizer diluted to half strength.
Pruning and Shaping Your Hibiscus
Pruning is essential for keeping your hibiscus healthy and encouraging more blooms.
* When to prune: The best time to prune hibiscus is in late winter or early spring, before new growth begins.
* How to prune:
* Remove any dead, damaged, or crossing branches.
* Pinch back the tips of new growth to encourage branching and more flowers.
* Shape the plant as desired.
* Deadheading: Remove spent flowers to encourage the plant to produce more blooms.
Troubleshooting Common Problems
Even with the best care, you might encounter some problems when growing hibiscus indoors. Here are some common issues and how to address them:
* Yellowing leaves: This can be caused by overwatering, underwatering, nutrient deficiencies, or pests. Check the soil moisture, fertilize if necessary, and inspect for pests.
* Bud drop: This is a frustrating problem! It can be caused by sudden changes in temperature, humidity, or light, as well as overwatering or underwatering. Try to maintain consistent conditions and avoid stressing the plant.
* Pests: Aphids, spider mites, and whiteflies are common hibiscus pests. Treat infestations with insecticidal soap or neem oil.
* Lack of blooms: This can be caused by insufficient light, improper fertilization, or lack of pruning. Make sure your hibiscus is getting enough light, fertilize regularly, and prune as needed.
Step-by-Step Guide to Growing Hibiscus Indoors
Okay, let’s break down the whole process into easy-to-follow steps:
1. Choose your hibiscus: Select a healthy tropical hibiscus variety that is suitable for indoor growing. Consider size, bloom color, and overall health.
2. Prepare the pot and soil: Use a pot with good drainage and a well-draining potting mix formulated for hibiscus or tropical plants.
3. Repot (if needed): If the hibiscus is in a small or unsuitable pot, repot it into a slightly larger container.
4. Acclimatize the plant: Gradually introduce the hibiscus to indoor conditions over a period of a week or two.
5. Find the perfect spot: Place the hibiscus in a location that receives at least 6 hours of direct sunlight per day. Supplement with a grow light if necessary.
6. Maintain the right temperature: Keep the temperature between 65°F and 75°F (18°C and 24°C).
7. Increase humidity: Use a humidifier, pebble tray, or mist the leaves regularly to increase humidity.
8. Water properly: Water when the top inch of soil feels dry to the touch. Water thoroughly until water drains out of the bottom of the pot.
9. Fertilize regularly: Fertilize every 2-3 weeks with a balanced fertilizer formulated for hibiscus or flowering plants.
10. Prune and shape: Prune in late winter or early spring to remove dead or damaged branches and encourage branching. Deadhead spent flowers.
11. Monitor for pests and diseases: Regularly inspect the plant for pests and diseases and treat any problems promptly.
12. Enjoy the blooms! With proper care, your hibiscus will reward you with beautiful blooms throughout the year.
Seasonal Adjustments
Growing hibiscus indoors isn’t a set-it-and-forget-it kind of thing. You’ll need to make some adjustments based on the season.
* Spring/Summer: This is the growing season! Your hibiscus will need more water and fertilizer during this time. Make sure it’s getting plenty of sunlight.
* Fall/Winter: Growth slows down during the cooler months. Reduce watering and fertilizing. You might need to supplement with a grow light if natural light is limited. Also, be extra vigilant about humidity, as indoor air tends to be drier in the winter.
Propagating Your Hibiscus
Want more hibiscus plants? You can propagate them from cuttings!
1. Take a cutting: In spring or summer, take a 4-6 inch cutting from a healthy stem. Remove the lower leaves.
2. Rooting hormone: Dip the cut end of the stem in rooting hormone.
3. Plant the cutting: Plant the cutting in a pot filled with moist potting mix.
4. Create humidity: Cover the pot with a plastic bag or place it in a humidity dome to create a humid environment.
5. Wait for roots: Keep the soil moist and wait for roots to develop. This can take several weeks.
6. Transplant: Once the cutting has developed roots, transplant it into a larger pot.
Choosing the Right Pot
The pot you choose for your hibiscus is more important than you might think!
* Drainage: Make sure the pot has drainage holes to prevent waterlogging.
* Material: Clay pots are porous and allow the soil to breathe, which can be beneficial. Plastic pots retain moisture better, which can be helpful if you tend to underwater.
* Size: Choose a pot that is slightly larger than the root ball of the hibiscus. Don’t go too big, as this can lead to overwatering.
Soil Matters
Using the right soil is crucial for healthy hibiscus growth.
* Well-draining: Hibiscus
Conclusion
So, there you have it! Mastering the art of growing hibiscus year round doesn’t require a greenhouse or a tropical climate. With a little planning, some strategic care, and this simple DIY trick, you can enjoy the vibrant blooms of these stunning flowers throughout the entire year, regardless of where you live.
Why is this a must-try? Because it unlocks the potential of your hibiscus plants, allowing them to thrive beyond their typical seasonal limitations. Imagine the joy of seeing those brilliant red, pink, orange, or yellow blossoms gracing your home or garden even in the dead of winter. It’s a burst of color and life when everything else is dormant, a reminder of warmer days and the promise of spring.
Beyond the sheer aesthetic pleasure, this DIY approach is also incredibly rewarding. You’ll gain a deeper understanding of your hibiscus plants, their needs, and how to manipulate their environment to encourage optimal growth and flowering. It’s a hands-on learning experience that connects you with nature in a meaningful way.
Ready to take your hibiscus game to the next level?
Consider these variations to personalize your approach:
* **Experiment with different light sources:** While grow lights are highly effective, you can also try using reflective surfaces to maximize natural light exposure.
* **Adjust the humidity levels:** Depending on your local climate, you might need to increase humidity during the winter months. A humidifier or even a simple pebble tray can make a big difference.
* **Explore different potting mixes:** A well-draining potting mix is crucial for hibiscus health. Experiment with different combinations of peat moss, perlite, and vermiculite to find what works best for your plants.
* **Try different hibiscus varieties:** Some hibiscus varieties are naturally more cold-tolerant than others. Consider adding these to your collection for even greater success.
Don’t be afraid to experiment and adapt this DIY trick to suit your specific environment and the needs of your hibiscus plants. The key is to observe your plants closely and make adjustments as needed.
We’re confident that with a little effort, you’ll be amazed at the results. So, go ahead, give it a try! We’re eager to hear about your experiences. Share your photos, tips, and challenges in the comments below. Let’s create a community of hibiscus enthusiasts who are passionate about growing these beautiful flowers year round. Let us know what worked for you and what didn’t. Your insights could help other gardeners achieve their hibiscus dreams. Happy growing!
Frequently Asked Questions (FAQ)
1. What exactly is the “DIY trick” you’re referring to?
The “DIY trick” encompasses a combination of strategies designed to mimic the ideal growing conditions for hibiscus plants year-round, even outside of their natural blooming season. This primarily involves controlling light, temperature, and humidity. Specifically, it includes bringing your hibiscus indoors before the first frost, providing supplemental light using grow lights (especially during shorter days), maintaining a consistent temperature between 65-75°F (18-24°C), and ensuring adequate humidity levels, especially in drier indoor environments. The specific methods for achieving these conditions can vary depending on your resources and climate, but the core principle remains the same: creating a tropical-like environment for your hibiscus to thrive.
2. What kind of grow lights are best for hibiscus?
For growing hibiscus year round, LED grow lights are generally considered the best option due to their energy efficiency, long lifespan, and ability to provide a full spectrum of light that mimics natural sunlight. Look for LED grow lights that are specifically designed for plants and have a color temperature of around 6500K (Kelvin) for vegetative growth and 2700K for flowering. T5 fluorescent grow lights are another viable option, although they are less energy-efficient than LEDs. Avoid using incandescent bulbs, as they produce too much heat and not enough of the right kind of light. The wattage of the grow light will depend on the size of your hibiscus plant and the area you need to cover. A good rule of thumb is to provide at least 20-40 watts of light per square foot.
3. How do I know if my hibiscus is getting enough light?
Several signs indicate whether your hibiscus is receiving adequate light. Healthy, vibrant green leaves are a good indicator. If the leaves are pale, yellowing, or dropping off, it could be a sign of insufficient light. Another sign is leggy growth, where the stems become long and stretched with few leaves. This indicates that the plant is reaching for more light. Lack of flowering or reduced bloom size can also be a sign of insufficient light. To test the light levels, you can use a light meter or simply observe your plant closely. If you suspect that your hibiscus is not getting enough light, try moving it closer to a window or increasing the intensity or duration of your grow lights.
4. What temperature range is ideal for hibiscus indoors?
Hibiscus plants thrive in warm temperatures, ideally between 65-75°F (18-24°C) during the day and slightly cooler at night, around 60-65°F (15-18°C). Avoid exposing your hibiscus to temperatures below 50°F (10°C), as this can damage the plant. When bringing your hibiscus indoors for the winter, gradually acclimate it to the indoor environment to prevent shock. Keep your hibiscus away from drafts and cold windows, as these can cause temperature fluctuations that can stress the plant.
5. How can I increase humidity for my hibiscus indoors?
Indoor environments, especially during winter, tend to be drier than what hibiscus plants prefer. To increase humidity, you can use a humidifier, place a pebble tray filled with water near the plant, or mist the leaves regularly with water. Grouping plants together can also help to create a more humid microclimate. Avoid placing your hibiscus near heat sources, such as radiators or vents, as these can dry out the air. Aim for a humidity level of around 50-60% for optimal hibiscus growth.
6. How often should I water my hibiscus indoors?
Watering frequency will depend on several factors, including the size of the pot, the type of potting mix, the temperature, and the humidity. Generally, you should water your hibiscus when the top inch of soil feels dry to the touch. Avoid overwatering, as this can lead to root rot. Make sure the pot has drainage holes to allow excess water to escape. During the winter months, when the plant is not actively growing, you may need to water less frequently.
7. Do I need to fertilize my hibiscus indoors?
Yes, fertilizing your hibiscus is important for promoting healthy growth and flowering. Use a balanced fertilizer specifically formulated for hibiscus or flowering plants. Follow the instructions on the fertilizer label for application rates and frequency. During the growing season (spring and summer), you can fertilize your hibiscus every 2-4 weeks. Reduce or stop fertilizing during the winter months when the plant is dormant.
8. What are some common pests that affect hibiscus indoors, and how can I control them?
Common pests that can affect hibiscus indoors include aphids, spider mites, whiteflies, and mealybugs. Regularly inspect your plant for signs of infestation, such as sticky residue, webbing, or visible insects. To control pests, you can try spraying the plant with insecticidal soap or neem oil. You can also manually remove pests with a cotton swab dipped in rubbing alcohol. For severe infestations, you may need to use a stronger insecticide.
9. Can I propagate hibiscus from cuttings indoors?
Yes, you can propagate hibiscus from cuttings indoors. Take cuttings from healthy stems in the spring or summer. Dip the cut end in rooting hormone and plant it in a well-draining potting mix. Keep the soil moist and provide warmth and humidity. Rooting typically takes several weeks. Once the cuttings have rooted, you can transplant them into individual pots.
10. My hibiscus is not flowering indoors. What could be the reason?
There are several reasons why your hibiscus might not be flowering indoors. Insufficient light is a common cause. Make sure your plant is receiving enough light, either from a sunny window or grow lights. Improper watering, either too much or too little, can also affect flowering. Nutrient deficiencies can also prevent flowering. Make sure you are fertilizing your hibiscus regularly with a balanced fertilizer. Finally, stress from temperature fluctuations or pest infestations can also inhibit flowering. Address any potential stressors to encourage your hibiscus to bloom.

Leave a Comment