
Grow fresh parsley at home, even if you think you have a black thumb! Have you ever been halfway through a recipe, only to realize you’re missing that crucial sprig of fresh parsley? Or perhaps you’re tired of buying those sad, wilted bunches from the grocery store that seem to expire the moment you get them home? I know I have! That’s why I’m so excited to share these simple, yet effective, DIY tricks and hacks that will have you harvesting your own vibrant, flavorful parsley in no time.
Parsley, with its bright green leaves, isn’t just a pretty garnish; it’s been a culinary staple for centuries. Originating in the Mediterranean, parsley was revered by the ancient Greeks and Romans, not only for its flavor but also for its medicinal properties. They even used it to crown victors in athletic competitions! Today, parsley continues to be a beloved herb worldwide, adding a fresh, peppery note to countless dishes.
But let’s face it, buying fresh herbs can be expensive and wasteful. That’s where these DIY home gardening tricks come in. Imagine stepping outside your door and snipping off exactly the amount of parsley you need, knowing it’s fresh, organic, and bursting with flavor. I’m going to show you how to grow fresh parsley at home, regardless of your gardening experience or the size of your space. From choosing the right container to mastering the art of watering, these tips will empower you to cultivate your own thriving parsley patch and elevate your cooking to a whole new level. Get ready to ditch the store-bought stuff and embrace the joy of homegrown goodness!

Frische Petersilie zu Hause ziehen: Ein DIY-Leitfaden
Hallo liebe Gartenfreunde! Habt ihr auch genug davon, im Supermarkt immer nur welken, teuren Petersilie zu kaufen? Ich auch! Deshalb zeige ich euch heute, wie ihr ganz einfach und kostengünstig eure eigene, frische Petersilie zu Hause ziehen könnt. Es ist einfacher als ihr denkt und ihr werdet den Unterschied schmecken!
Was ihr für den Petersilien-Anbau braucht
Bevor wir loslegen, hier eine Liste mit allem, was ihr benötigt:
* Petersiliensamen: Am besten Bio-Qualität, damit ihr sicher sein könnt, dass keine schädlichen Stoffe enthalten sind.
* Anzuchttöpfe oder -schalen: Kleine Töpfe oder Schalen mit Drainagelöchern sind ideal. Ihr könnt auch recycelte Joghurtbecher oder Eierkartons verwenden.
* Anzuchterde: Diese ist nährstoffarm und locker, perfekt für die Keimung der Samen.
* Blumenerde: Für später, wenn die Pflänzchen größer sind.
* Gießkanne oder Sprühflasche: Zum Bewässern.
* Ein sonniger Standort: Petersilie liebt Licht!
* Optional: Ein Mini-Gewächshaus oder Frischhaltefolie, um die Luftfeuchtigkeit zu erhöhen.
Schritt-für-Schritt-Anleitung: Petersilie säen
Jetzt geht’s ans Eingemachte! Hier ist eine detaillierte Anleitung, wie ihr eure Petersilie erfolgreich aussät:
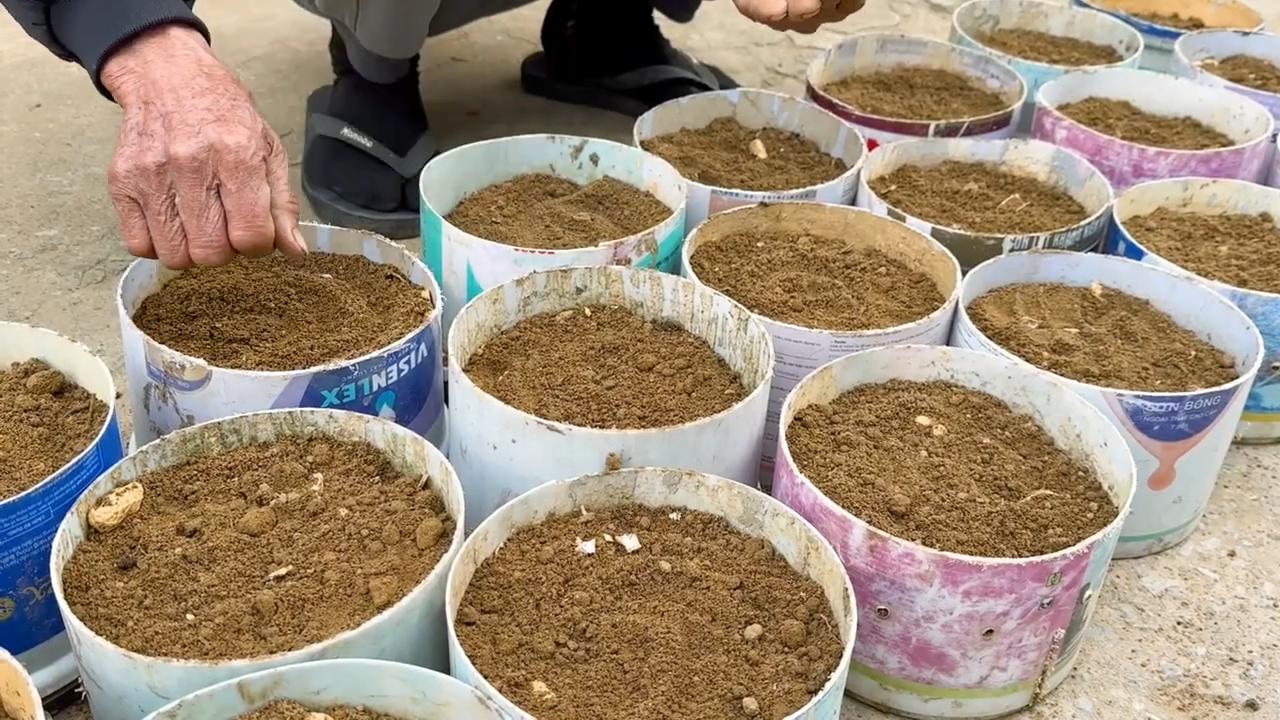
1. Vorbereitung der Anzuchttöpfe: Füllt eure Anzuchttöpfe oder -schalen mit Anzuchterde. Drückt die Erde leicht an, aber nicht zu fest. Sie sollte locker und luftig bleiben.
2. Aussaat der Samen: Petersiliensamen sind etwas zickig, wenn es ums Keimen geht. Weicht sie am besten 24 Stunden vor der Aussaat in lauwarmem Wasser ein. Das hilft, die Keimung zu beschleunigen. Verteilt dann die Samen gleichmäßig auf der Erde. Achtet darauf, dass sie nicht zu dicht liegen, sonst konkurrieren die Pflänzchen später um Licht und Nährstoffe. Eine Handvoll Samen pro Topf reicht in der Regel.
3. Bedecken der Samen: Bedeckt die Samen mit einer dünnen Schicht Anzuchterde (ca. 0,5 cm). Drückt die Erde leicht an.
4. Bewässerung: Befeuchtet die Erde vorsichtig mit einer Gießkanne oder Sprühflasche. Die Erde sollte feucht, aber nicht nass sein. Vermeidet Staunässe, da dies zu Schimmelbildung führen kann.
5. Schaffen eines Gewächshausklimas (optional): Um die Luftfeuchtigkeit zu erhöhen und die Keimung zu beschleunigen, könnt ihr die Töpfe mit einem Mini-Gewächshaus oder Frischhaltefolie abdecken. Achtet darauf, dass die Folie nicht direkt auf der Erde aufliegt. Lüftet das Gewächshaus oder die Folie täglich kurz, um Schimmelbildung zu vermeiden.
6. Der richtige Standort: Stellt die Anzuchttöpfe an einen hellen, warmen Ort. Eine Fensterbank mit direkter Sonneneinstrahlung ist ideal. Die optimale Keimtemperatur liegt zwischen 18 und 22 Grad Celsius.
7. Geduld ist gefragt: Petersiliensamen brauchen etwas länger zum Keimen. Es kann bis zu drei Wochen dauern, bis die ersten Pflänzchen sprießen. Habt Geduld und haltet die Erde feucht.
Pflege der jungen Petersilienpflanzen
Sobald die ersten Pflänzchen aus der Erde kommen, beginnt die eigentliche Arbeit. Hier sind ein paar Tipps, wie ihr eure jungen Petersilienpflanzen pflegt:
1. Regelmäßige Bewässerung: Haltet die Erde weiterhin feucht, aber vermeidet Staunässe. Gießt am besten morgens, damit die Blätter über den Tag abtrocknen können.
2. Ausreichend Licht: Petersilie braucht viel Licht, um gut zu wachsen. Wenn die Pflanzen zu wenig Licht bekommen, werden sie lang und dünn. Dreht die Töpfe regelmäßig, damit alle Seiten gleichmäßig Licht bekommen.
3. Vereinzeln der Pflänzchen: Wenn die Pflänzchen zu dicht stehen, solltet ihr sie vereinzeln. Das bedeutet, dass ihr die schwächsten Pflänzchen entfernt, damit die stärkeren genug Platz zum Wachsen haben. Lasst zwischen den Pflänzchen etwa 5-7 cm Platz.
4. Düngen (optional): Wenn die Pflänzchen etwas größer sind (ca. 5 cm hoch), könnt ihr sie mit einem milden Flüssigdünger düngen. Achtet darauf, dass der Dünger für Kräuter geeignet ist. Düngt nicht zu oft, da Petersilie nicht viel Dünger benötigt.
Umtopfen in größere Töpfe oder ins Freiland
Wenn die Petersilienpflanzen groß genug sind (ca. 10 cm hoch) und das Wetter es zulässt (kein Frost mehr!), könnt ihr sie in größere Töpfe oder ins Freiland umtopfen.
1. Vorbereitung der Töpfe oder des Beets: Füllt die größeren Töpfe mit Blumenerde. Wenn ihr die Petersilie ins Freiland pflanzen wollt, lockert den Boden auf und entfernt Unkraut.
2. Umtopfen: Grabt ein Loch, das etwas größer ist als der Wurzelballen der Petersilienpflanze. Setzt die Pflanze vorsichtig in das Loch und füllt es mit Erde auf. Drückt die Erde leicht an.
3. Bewässerung: Gießt die umgetopften Pflanzen gründlich.
4. Der richtige Standort: Petersilie bevorzugt einen sonnigen bis halbschattigen Standort. Im Freiland sollte der Boden gut durchlässig sein.
Petersilie ernten und verwenden
Endlich! Jetzt könnt ihr eure selbst gezogene Petersilie ernten und genießen.
1. Ernten: Schneidet die Stängel der Petersilie mit einer Schere oder einem Messer ab. Schneidet die äußeren Stängel zuerst ab, damit die inneren Stängel weiterwachsen können. Erntet die Petersilie regelmäßig, um das Wachstum anzuregen.
2. Verwendung: Petersilie ist vielseitig einsetzbar. Sie passt hervorragend zu Suppen, Salaten, Saucen, Fleisch- und Fischgerichten. Ihr könnt sie auch zum Garnieren verwenden.
3. Lagerung: Frische Petersilie hält sich im Kühlschrank einige Tage. Wickelt sie am besten in ein feuchtes Tuch oder stellt sie in ein Glas Wasser. Ihr könnt Petersilie auch einfrieren. Hackt sie dazu klein und füllt sie in Eiswürfelbehälter. Füllt die Behälter mit Wasser auf und friert sie ein. So habt ihr immer frische Petersilie zur Hand.
Tipps und Tricks für den erfolgreichen Petersilien-Anbau
Hier noch ein paar zusätzliche Tipps, die euch beim Petersilien-Anbau helfen können:
* Petersilie ist ein Lichtkeimer: Das bedeutet, dass die Samen zum Keimen Licht benötigen. Bedeckt sie daher nur dünn mit Erde.
* Petersilie mag keine Staunässe: Achtet darauf, dass das Wasser gut ablaufen kann.
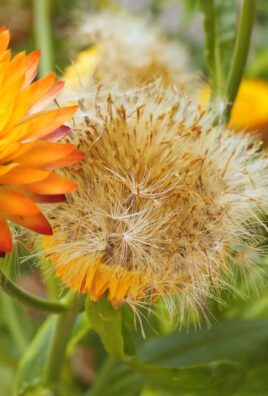
* Petersilie ist zweijährig: Im ersten Jahr bildet sie Blätter, im zweiten Jahr blüht sie und bildet Samen. Nach der Blüte stirbt die Pflanze ab.
* Kräuselige Petersilie ist robuster als glatte Petersilie: Sie ist weniger anfällig für Krankheiten und Schädlinge.
* Petersilie verträgt sich gut mit Tomaten: Pflanzt sie nebeneinander, um Schädlinge fernzuhalten.
* Schneidet die Blütenstände ab: Wenn die Petersilie blüht, werden die Blätter bitter. Schneidet die Blütenstände daher ab, um die Blätter weiterhin genießen zu können.
Ich hoffe, diese Anleitung hilft euch dabei, eure eigene, frische Petersilie zu Hause zu ziehen. Es ist wirklich nicht schwer und es lohnt sich! Viel Spaß beim Gärtnern!
Conclusion
So, there you have it! Growing fresh parsley at home is not only achievable, but it’s also a rewarding experience that elevates your culinary creations and adds a touch of green to your living space. Forget those sad, wilted bunches from the grocery store – imagine snipping vibrant, flavorful parsley directly from your own little garden whenever you need it. The difference in taste and aroma is truly remarkable.
This DIY trick is a must-try for several compelling reasons. First and foremost, it guarantees a constant supply of fresh parsley, eliminating those last-minute trips to the store when you realize you’re missing that crucial ingredient. Secondly, it’s incredibly cost-effective. A single packet of parsley seeds or a small starter plant will yield far more parsley than you could ever buy, saving you money in the long run. Thirdly, and perhaps most importantly, growing your own parsley allows you to control the growing environment, ensuring that your herbs are free from harmful pesticides and chemicals. You know exactly what you’re putting into your food, and that peace of mind is priceless.
Beyond the basic method outlined, there are several exciting variations you can explore. Consider growing different varieties of parsley, such as curly parsley or flat-leaf (Italian) parsley, to add diverse flavors and textures to your dishes. Experiment with different containers, from terracotta pots to repurposed containers, to create a visually appealing herb garden that complements your home décor. You can even try growing parsley indoors during the colder months, ensuring a year-round supply of this versatile herb. If you’re feeling adventurous, try companion planting parsley with other herbs and vegetables, such as tomatoes, carrots, and roses, to enhance their growth and flavor.
Don’t be intimidated if you’ve never grown herbs before. Parsley is a relatively easy herb to cultivate, and with a little patience and attention, you’ll be harvesting your own fresh parsley in no time. The satisfaction of nurturing a plant from seed to harvest is incredibly rewarding, and the fresh, vibrant flavor of homegrown parsley will transform your cooking.
We wholeheartedly encourage you to give this DIY trick a try. Start small, be patient, and don’t be afraid to experiment. Once you experience the joy of growing your own parsley, you’ll never go back to store-bought again.
And most importantly, we want to hear about your experience! Share your tips, tricks, and photos of your parsley-growing adventures in the comments below. Let’s create a community of parsley enthusiasts and inspire others to embrace the joys of homegrown herbs. What challenges did you face, and how did you overcome them? What are your favorite ways to use your fresh parsley? Your insights and experiences will be invaluable to other readers who are just starting out. Let’s grow together!
Frequently Asked Questions (FAQ)
What kind of soil is best for growing parsley?
Parsley thrives in well-draining soil that is rich in organic matter. A good potting mix specifically formulated for herbs is an excellent choice. You can also amend regular potting soil with compost or aged manure to improve its fertility and drainage. Avoid heavy clay soils, as they can become waterlogged and hinder parsley growth. The ideal soil pH for parsley is between 6.0 and 7.0, which is slightly acidic to neutral.
How much sunlight does parsley need?
Parsley needs at least 6 hours of sunlight per day to thrive. If you’re growing parsley indoors, place it near a sunny window that receives plenty of direct sunlight. If you don’t have enough natural light, you can supplement with a grow light. Insufficient sunlight can result in leggy, weak growth and a less flavorful herb.
How often should I water my parsley plant?
Water parsley regularly, keeping the soil consistently moist but not waterlogged. Check the soil moisture by sticking your finger about an inch deep into the soil. If it feels dry, it’s time to water. Avoid overwatering, as this can lead to root rot. During hot, dry weather, you may need to water more frequently. When watering, water at the base of the plant to avoid wetting the foliage, which can increase the risk of fungal diseases.
How do I harvest parsley?
Harvest parsley by snipping off the outer stems near the base of the plant. This encourages new growth from the center. Avoid cutting more than one-third of the plant at a time, as this can stress the plant and reduce its yield. Harvest parsley in the morning, after the dew has dried, for the best flavor. You can use scissors or pruning shears to harvest the stems.
How do I store fresh parsley?
There are several ways to store fresh parsley to keep it fresh for longer. One method is to wrap the parsley in a damp paper towel and store it in a plastic bag in the refrigerator. Another method is to place the parsley stems in a glass of water, like you would with flowers, and store it in the refrigerator. Change the water every day or two. You can also freeze parsley for longer-term storage. To freeze parsley, wash and dry the leaves, then chop them and place them in an airtight container or freezer bag.
Why is my parsley turning yellow?
Yellowing parsley leaves can be caused by several factors, including overwatering, underwatering, nutrient deficiencies, and pests or diseases. Check the soil moisture to ensure that you’re not overwatering or underwatering. If the soil is consistently dry, water more frequently. If the soil is waterlogged, improve drainage. Yellowing can also indicate a nutrient deficiency, such as nitrogen or magnesium. Fertilize your parsley plant with a balanced fertilizer or a fertilizer specifically formulated for herbs. Inspect your parsley plant for pests, such as aphids or spider mites, and treat accordingly. Fungal diseases can also cause yellowing leaves.
Can I grow parsley from seed?
Yes, you can grow parsley from seed, but it can be a bit slow to germinate. Soak the parsley seeds in water for 24 hours before planting to improve germination rates. Sow the seeds directly into the soil or start them indoors in seed trays. Keep the soil moist and warm until the seeds germinate, which can take up to 2-3 weeks. Once the seedlings are large enough to handle, transplant them into individual pots or into the garden.
Is parsley a perennial or an annual?
Parsley is technically a biennial, meaning it lives for two years. However, it is often grown as an annual because it tends to bolt (flower) in its second year, which can make the leaves bitter. To prevent bolting, pinch off any flower buds that appear. In warmer climates, parsley may survive for more than two years.
What are some common pests and diseases that affect parsley?
Common pests that affect parsley include aphids, spider mites, and parsley worms. Aphids and spider mites can be controlled with insecticidal soap or neem oil. Parsley worms are the larvae of swallowtail butterflies and can be handpicked off the plants. Common diseases that affect parsley include leaf spot and root rot. Leaf spot can be prevented by avoiding overhead watering and ensuring good air circulation. Root rot is caused by overwatering and can be prevented by improving drainage.
Can I grow parsley indoors?
Yes, you can grow parsley indoors, but it requires adequate sunlight or a grow light. Place the parsley plant near a sunny window that receives at least 6 hours of direct sunlight per day. If you don’t have enough natural light, supplement with a grow light. Use a well-draining potting mix and water regularly, keeping the soil consistently moist but not waterlogged. Fertilize your parsley plant every few weeks with a balanced fertilizer.
Leave a Comment