
Grow fresh basil at home? Absolutely! Imagine stepping into your kitchen and snipping fragrant, vibrant basil leaves straight from your own little garden. No more wilted, overpriced bunches from the grocery store! This isn’t just a dream; it’s an achievable reality with a few simple DIY tricks.
Basil, with its rich history stretching back to ancient civilizations, has always been more than just a culinary herb. From its use in traditional medicine to its symbolic representation of love and good wishes in some cultures, basil holds a special place in our hearts and homes. But let’s be honest, sometimes keeping those store-bought basil plants alive feels like an impossible mission! They often seem to wither away despite our best efforts.
That’s where this DIY guide comes in. I’m going to share some easy-to-follow hacks that will empower you to grow fresh basil at home successfully, even if you don’t have a green thumb. We’ll cover everything from choosing the right pot and soil to mastering the art of watering and pruning. Say goodbye to basil-related frustrations and hello to a constant supply of this delicious herb, ready to elevate your pasta dishes, salads, and more! Let’s get started and transform your kitchen into a fragrant, basil-filled haven.
Grow Your Own Delicious Basil: A Beginner’s Guide
Hey there, fellow plant enthusiasts! I’m so excited to share my tried-and-true method for growing fresh, fragrant basil right in your own home. Forget those wilted, overpriced bunches at the grocery store – with a little love and these simple steps, you’ll be snipping off your own homegrown basil in no time. Trust me, the flavor difference is incredible!
What You’ll Need: The Basil Starter Kit
Before we dive in, let’s gather our supplies. Here’s what you’ll need to get started:
* **Basil Seeds:** Choose your favorite variety! Genovese is a classic for pesto, but there are also lemon basil, Thai basil, and purple basil to explore. I usually get mine from a local garden center, but online retailers are great too.
* **Seed Starting Tray or Small Pots:** These will be your basil’s first home. Make sure they have drainage holes!
* **Seed Starting Mix:** This is a light, fluffy soil specifically formulated for seedlings. Don’t use regular potting soil – it’s too heavy and can suffocate the delicate roots.
* **Spray Bottle:** For gently watering the seedlings.
* **Grow Lights (Optional but Recommended):** Especially if you don’t have a super sunny windowsill.
* **Potting Soil:** For transplanting your basil into larger containers.
* **Larger Pots (6-inch or larger):** These will be your basil’s permanent home.
* **Liquid Fertilizer:** A balanced fertilizer will help your basil thrive.
* **Scissors or Pruning Shears:** For harvesting and pruning.
Phase 1: Starting Your Basil Seeds
This is where the magic begins! We’re going to coax those tiny seeds into becoming vibrant basil plants.
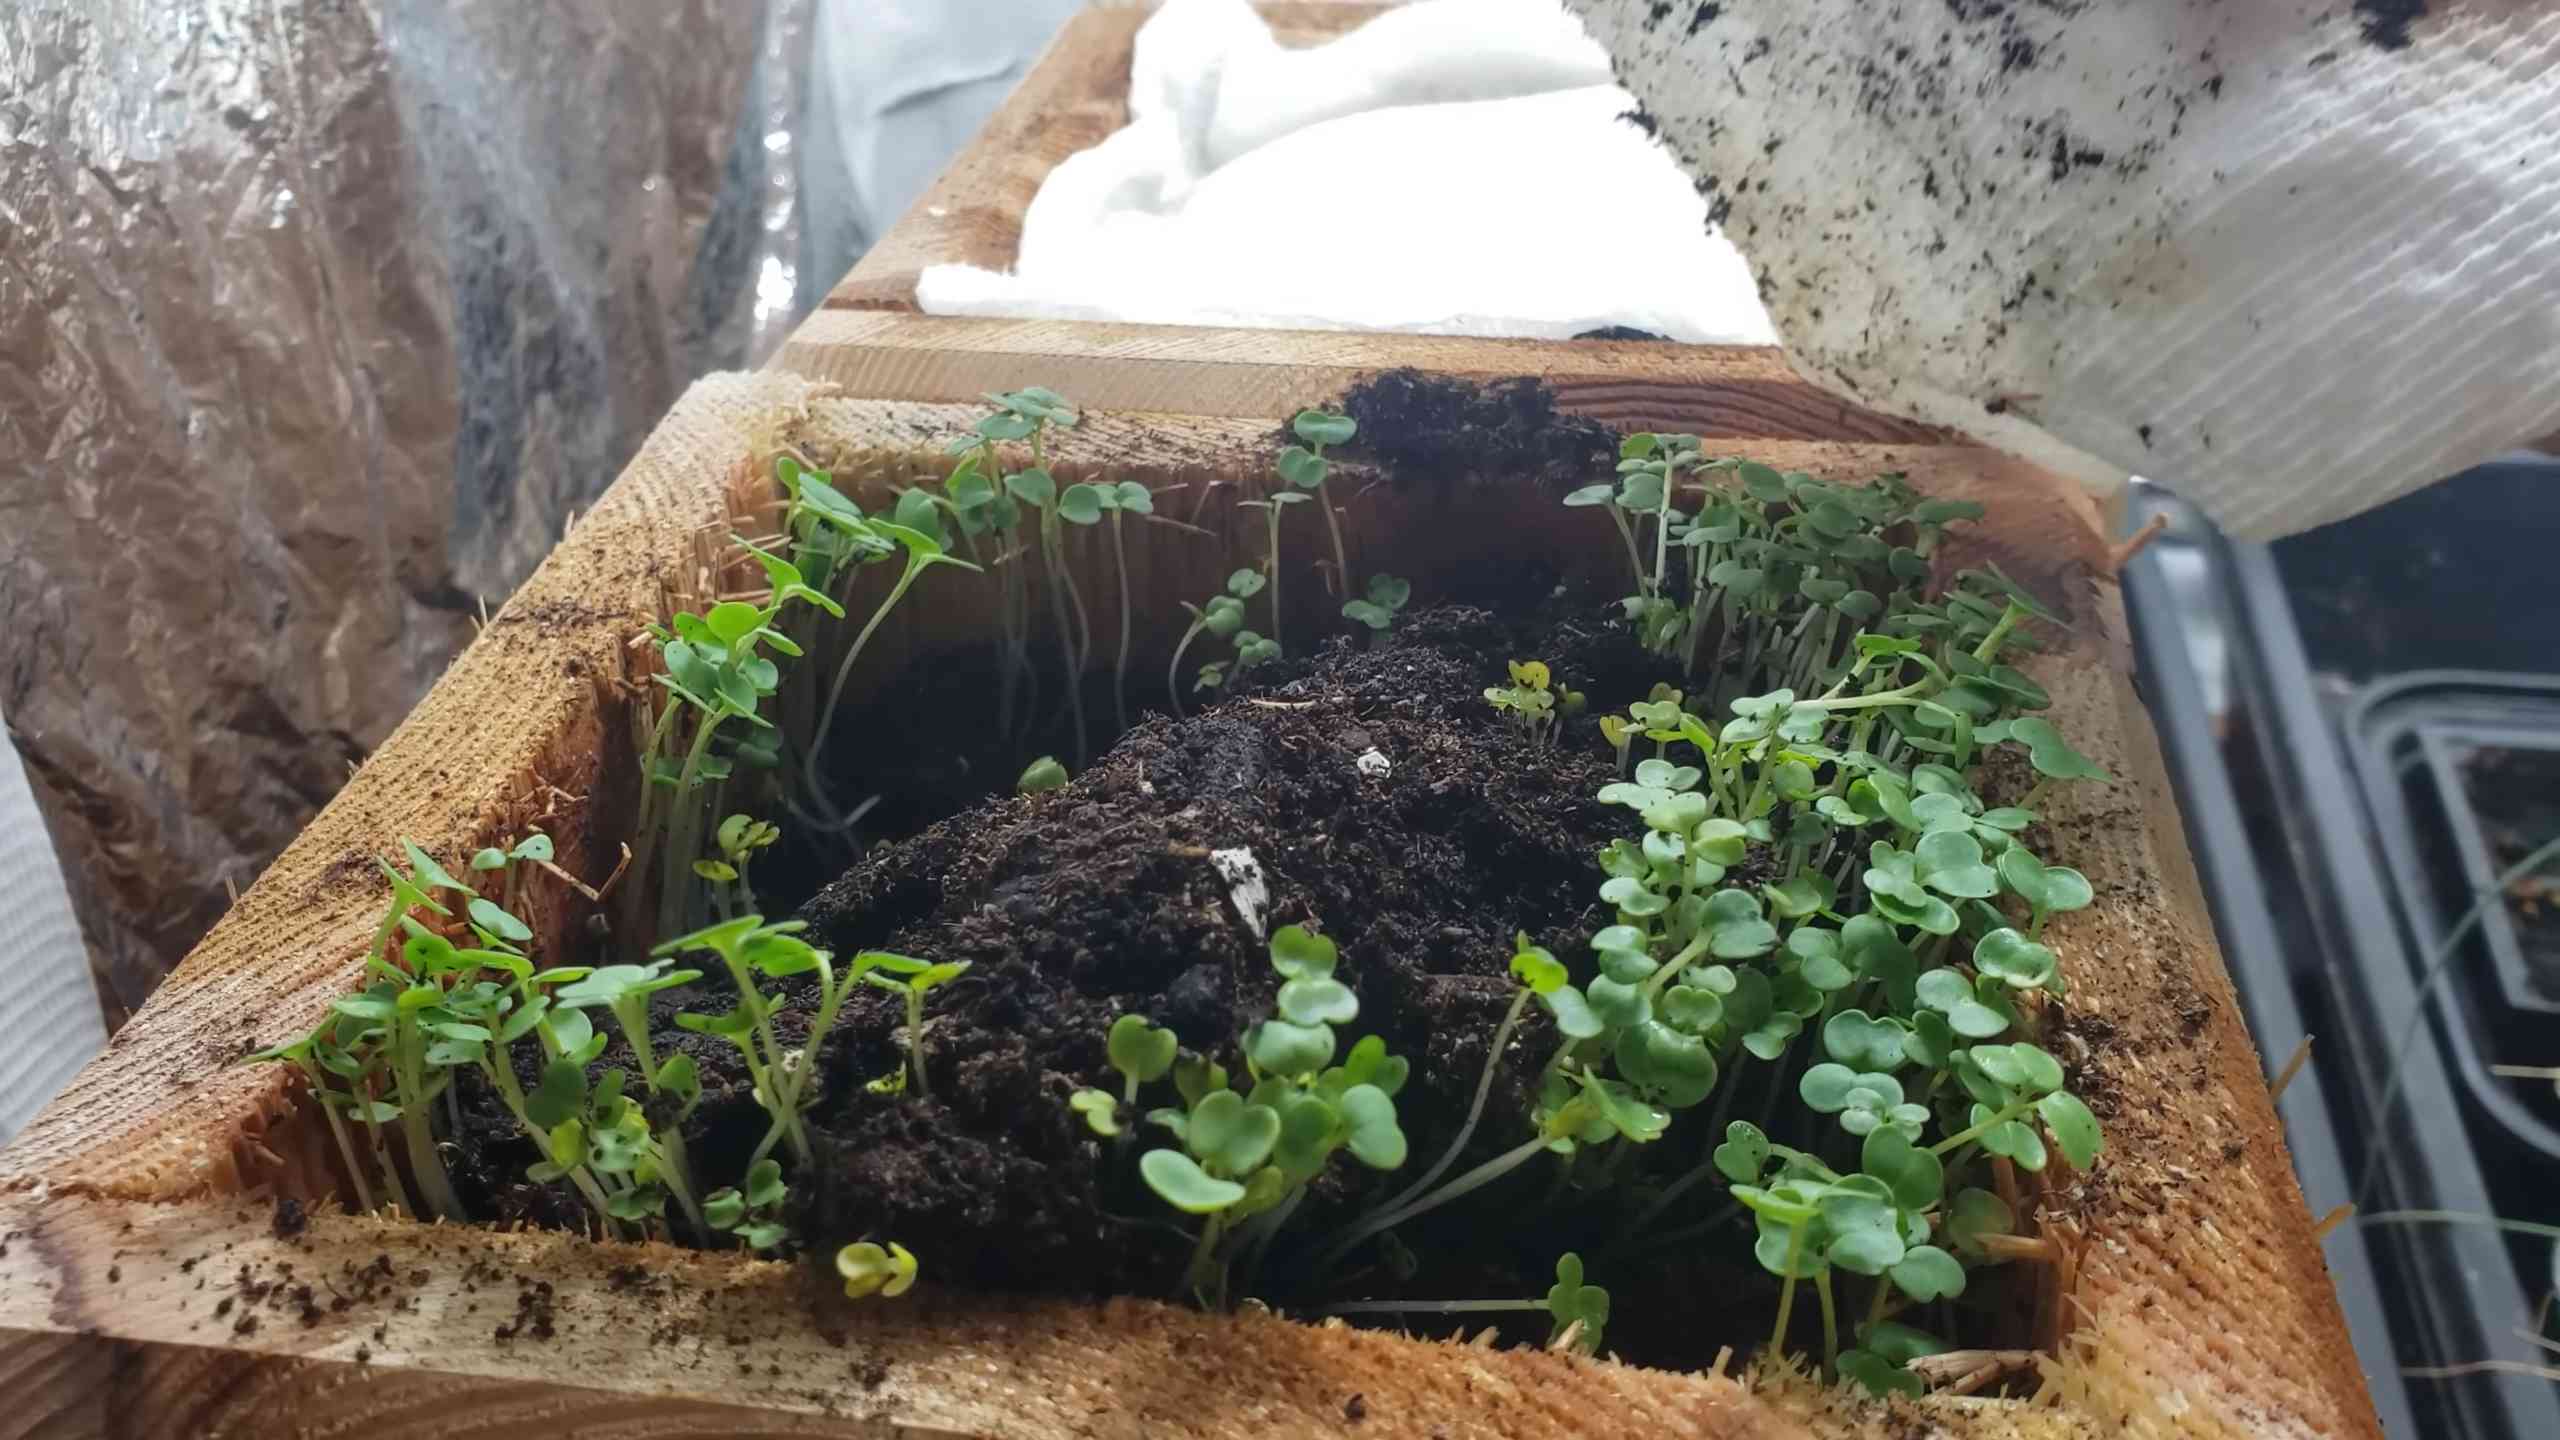
1. **Prepare Your Seed Starting Tray:** Fill your seed starting tray or small pots with seed starting mix. Gently pat it down to remove any large air pockets, but don’t compact it too much.
2. **Sow the Seeds:** Sprinkle a few basil seeds on top of the soil in each cell or pot. Basil seeds are tiny, so don’t overdo it. I usually aim for 2-3 seeds per cell.
3. **Cover the Seeds:** Lightly cover the seeds with a thin layer of seed starting mix. They only need a tiny bit of soil to germinate.
4. **Water Gently:** Use your spray bottle to thoroughly moisten the soil. Be careful not to blast the seeds away with a strong stream of water. You want the soil to be damp, but not soggy.
5. **Create a Humid Environment:** Cover the seed starting tray with a clear plastic lid or plastic wrap. This will help retain moisture and create a warm, humid environment that’s perfect for germination. If you’re using individual pots, you can place them inside a clear plastic bag.
6. **Place in a Warm Location:** Place the tray or pots in a warm location, ideally around 70-75°F (21-24°C). A heat mat can be helpful if your home is cooler.
7. **Wait Patiently:** Basil seeds typically germinate in 5-10 days. Keep the soil consistently moist by checking it daily and misting with your spray bottle as needed.
8. **Remove the Cover:** Once the seedlings emerge, remove the plastic lid or wrap. This will allow for better air circulation and prevent fungal diseases.
9. **Provide Light:** Place the seedlings under grow lights or in a sunny windowsill. They need at least 6 hours of light per day. If you’re using a windowsill, rotate the tray or pots regularly to ensure that the seedlings get even light exposure. This will prevent them from becoming leggy and stretching towards the light.
Phase 2: Nurturing Your Basil Seedlings
Now that your basil seeds have sprouted, it’s time to give them the care they need to grow strong and healthy.
1. **Water Regularly:** Keep the soil consistently moist, but not waterlogged. Water when the top inch of soil feels dry to the touch. Avoid overwatering, as this can lead to root rot.
2. **Provide Adequate Light:** Continue to provide at least 6 hours of light per day. If you’re using grow lights, adjust the height as the seedlings grow to keep them close to the light source.
3. **Thin the Seedlings (If Necessary):** If you planted multiple seeds in each cell or pot, you’ll need to thin them out to give the strongest seedling room to grow. Use small scissors to snip off the weaker seedlings at the soil line.
4. **Fertilize Gently:** Once the seedlings have developed their first set of true leaves (the leaves that look like miniature basil leaves), you can start fertilizing them with a diluted liquid fertilizer. Follow the instructions on the fertilizer label. I usually use a half-strength solution to avoid burning the delicate seedlings.
5. **Harden Off the Seedlings (If Transplanting Outdoors):** If you plan to transplant your basil seedlings outdoors, you’ll need to harden them off gradually to acclimate them to the outdoor environment. Start by placing them outdoors in a sheltered location for a few hours each day, gradually increasing the amount of time they spend outside over the course of a week. This will help them adjust to the sun, wind, and temperature changes.
Phase 3: Transplanting Your Basil Plants
Once your basil seedlings have grown a few inches tall and have developed several sets of true leaves, it’s time to transplant them into larger pots.
1. **Choose Your Pots:** Select pots that are at least 6 inches in diameter. Make sure they have drainage holes to prevent water from accumulating at the bottom.
2. **Prepare the Potting Soil:** Fill the pots with a good-quality potting soil. You can also add some compost to the soil to provide extra nutrients.
3. **Gently Remove the Seedlings:** Carefully remove the basil seedlings from their seed starting tray or small pots. Be gentle to avoid damaging the roots. If the seedlings are root-bound (the roots are tightly circling the bottom of the pot), gently loosen the roots before transplanting.
4. **Plant the Seedlings:** Dig a hole in the potting soil that’s large enough to accommodate the root ball of the seedling. Place the seedling in the hole and gently backfill with soil. Make sure the top of the root ball is level with the soil surface.
5. **Water Thoroughly:** Water the transplanted basil plants thoroughly to help settle the soil and reduce transplant shock.
6. **Place in a Sunny Location:** Place the pots in a sunny location that receives at least 6 hours of sunlight per day.
7. **Monitor and Water Regularly:** Monitor the soil moisture and water when the top inch of soil feels dry to the touch.
Phase 4: Caring for Your Mature Basil Plants
Now that your basil plants are established in their new pots, it’s time to provide them with the ongoing care they need to thrive.
1. **Water Regularly:** Basil plants need consistent moisture, but they don’t like to be waterlogged. Water when the top inch of soil feels dry to the touch.
2. **Fertilize Regularly:** Fertilize your basil plants every 2-3 weeks with a balanced liquid fertilizer. Follow the instructions on the fertilizer label.
3. **Provide Adequate Light:** Basil plants need at least 6 hours of sunlight per day. If you’re growing them indoors, you may need to supplement with grow lights.
4. **Pinch Off Flower Buds:** Basil plants will eventually produce flower buds. Pinching off these buds will encourage the plant to produce more leaves and prevent it from going to seed. Once a basil plant goes to seed, the leaves become bitter and less flavorful.
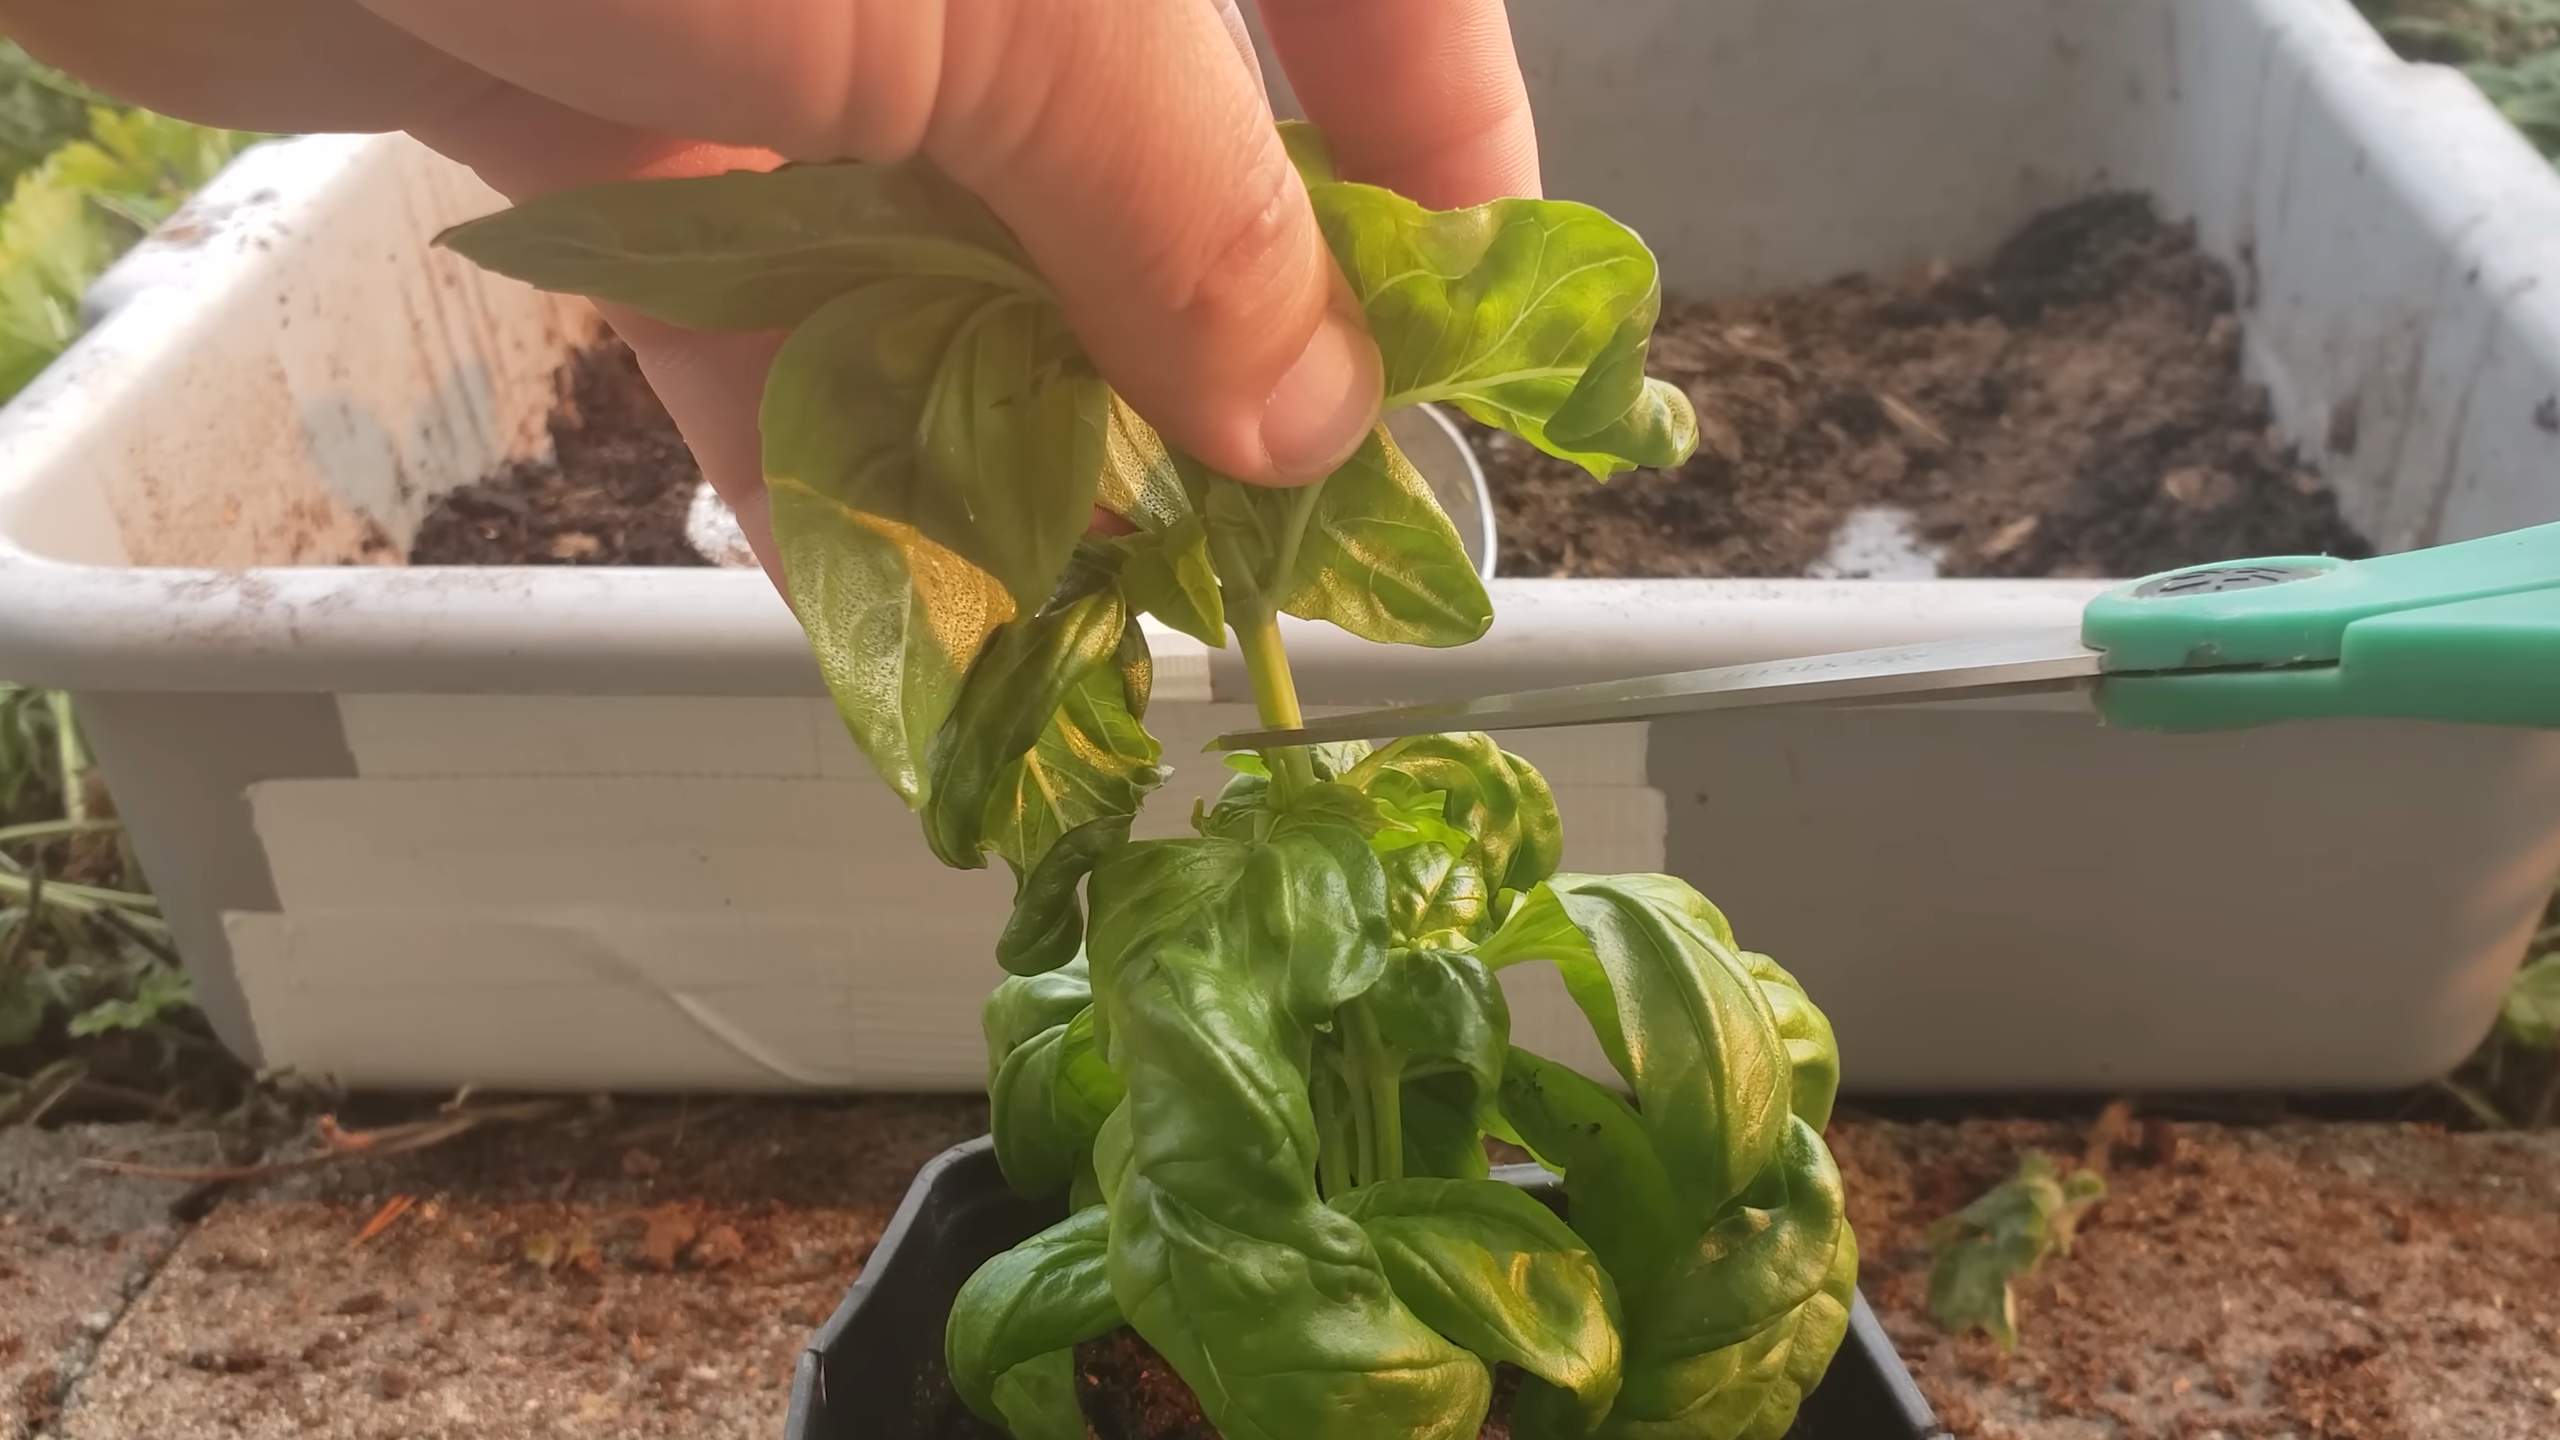
5. **Prune Regularly:** Pruning your basil plants regularly will encourage them to grow bushier and produce more leaves. When pruning, cut the stems just above a leaf node (the point where a leaf grows out of the stem).
6. **Watch Out for Pests and Diseases:** Basil plants can be susceptible to pests such as aphids and spider mites, as well as diseases such as fungal leaf spot. Inspect your plants regularly for signs of pests or diseases and take action promptly if you notice any problems. Insecticidal soap or neem oil can be used to control pests, and fungicides can be used to treat fungal diseases.
7. **Harvest Regularly:** The more you harvest your basil, the more it will grow! To harvest, simply snip off the leaves with scissors or pruning shears. Start by harvesting the larger leaves at the bottom of the plant.
Harvesting Your Basil: The Sweet Reward
This is the best part! You can start harvesting your basil leaves as soon as the plant is large enough. Simply snip off the leaves with scissors or pruning shears. Start by harvesting the larger leaves at the bottom of the plant. Regular harvesting encourages the plant to produce more leaves, so don’t be shy!
Pro Tip: Harvest your basil in the morning, after the dew has dried, for the best flavor.
Using Your Fresh Basil: Culinary Delights
Now that you have a bounty of
Conclusion
So, there you have it! Growing fresh basil at home is not only achievable, but it’s also incredibly rewarding. Imagine stepping into your kitchen and having access to vibrant, fragrant basil leaves whenever you need them. No more last-minute trips to the grocery store or settling for wilted, lackluster herbs. This simple DIY trick empowers you to elevate your cooking and enjoy the unparalleled flavor of homegrown basil.
Why is this a must-try? Because it’s cost-effective, sustainable, and incredibly satisfying. Think about the money you’ll save by not buying basil from the store. Consider the reduced plastic waste from those clamshell containers. And most importantly, relish the joy of nurturing a plant from a tiny seedling to a thriving herb bush. The aroma alone is worth the effort!
But the beauty of this method lies in its adaptability. Feel free to experiment with different varieties of basil. Genovese basil is a classic choice for pesto, while Thai basil adds a unique anise-like flavor to Asian dishes. Lemon basil offers a citrusy twist, and purple basil brings a beautiful visual element to your garden and your plate. You can also try different containers, from terracotta pots to repurposed jars. Just ensure they have adequate drainage.
Don’t be afraid to get creative with your growing environment. If you live in an apartment with limited sunlight, consider investing in a grow light. If you’re prone to forgetting to water your plants, try using self-watering pots or setting up a watering schedule on your phone. The key is to find what works best for you and your lifestyle.
We’ve covered the basics, but the real magic happens when you put these tips into practice. So, grab some basil seeds or cuttings, gather your supplies, and embark on your own basil-growing adventure. We’re confident that you’ll be amazed at how easy and rewarding it is to grow fresh basil at home.
Now, we want to hear from you! Have you tried growing basil at home before? What challenges did you face, and what successes did you celebrate? Share your experiences, tips, and variations in the comments below. Let’s create a community of basil-loving gardeners and learn from each other. Your insights could inspire someone else to take the plunge and discover the joy of homegrown herbs. We are eager to see your basil growing success stories!
Frequently Asked Questions (FAQ)
What is the best time of year to plant basil?
The best time to plant basil is in late spring or early summer, after the last frost. Basil thrives in warm weather and needs consistent temperatures above 50°F (10°C) to grow well. If you live in a colder climate, you can start your basil seeds indoors 6-8 weeks before the last expected frost and then transplant them outdoors once the weather warms up. Alternatively, you can grow basil indoors year-round if you have adequate lighting.
How much sunlight does basil need?
Basil requires at least 6-8 hours of direct sunlight per day to thrive. If you’re growing basil indoors, place it near a sunny window or use a grow light to supplement natural light. Insufficient sunlight can lead to leggy growth and reduced flavor. Rotate your basil plant regularly to ensure all sides receive adequate light.
What kind of soil is best for growing basil?
Basil prefers well-draining soil that is rich in organic matter. A good potting mix for basil should contain a blend of peat moss, perlite, and vermiculite. You can also amend your soil with compost or aged manure to improve its fertility and drainage. Avoid using heavy clay soil, as it can retain too much moisture and lead to root rot. The ideal soil pH for basil is between 6.0 and 7.5.
How often should I water my basil plant?
Water your basil plant regularly, keeping the soil consistently moist but not waterlogged. Check the soil moisture by sticking your finger about an inch deep into the soil. If the soil feels dry, it’s time to water. Avoid overwatering, as this can lead to root rot. During hot weather, you may need to water your basil plant more frequently. When watering, water at the base of the plant to avoid wetting the leaves, which can increase the risk of fungal diseases.
How do I harvest basil leaves?
Harvest basil leaves regularly to encourage bushier growth. Pinch off the top sets of leaves, just above a leaf node (the point where leaves grow from the stem). This will encourage the plant to branch out and produce more leaves. Avoid harvesting more than one-third of the plant at a time, as this can stress the plant. You can also harvest entire stems of basil by cutting them off at the base of the plant.
How do I prevent basil from flowering?
Once basil starts to flower, it will stop producing as many leaves and the flavor of the leaves may become bitter. To prevent basil from flowering, pinch off any flower buds as soon as you see them. Regular harvesting of the leaves will also help to prevent flowering. If your basil plant does start to flower, you can still use the flowers in salads or as a garnish.
What are some common pests and diseases that affect basil?
Some common pests that can affect basil include aphids, spider mites, and whiteflies. These pests can be controlled with insecticidal soap or neem oil. Common diseases that can affect basil include fungal diseases such as downy mildew and fusarium wilt. To prevent these diseases, ensure good air circulation around your basil plant and avoid overwatering. If you notice signs of disease, remove the affected leaves or stems immediately.
Can I propagate basil from cuttings?
Yes, you can easily propagate basil from cuttings. Take a cutting that is about 4-6 inches long, removing the lower leaves. Place the cutting in a glass of water, making sure that the leaves are above the water line. Change the water every few days. After a week or two, the cutting should start to develop roots. Once the roots are about an inch long, you can plant the cutting in a pot of soil.
How can I store fresh basil?
There are several ways to store fresh basil. One method is to wrap the basil leaves in a damp paper towel and store them in a plastic bag in the refrigerator. This will keep the basil fresh for several days. Another method is to freeze the basil leaves. Wash and dry the basil leaves, then blanch them in boiling water for a few seconds. Drain the leaves and pat them dry. Place the leaves in a freezer bag and freeze them. You can also make basil pesto and freeze it for later use.
Is growing fresh basil at home really worth the effort?
Absolutely! While it requires some initial effort to set up, growing fresh basil at home is incredibly rewarding in the long run. You’ll have access to fresh, flavorful basil whenever you need it, saving you money and reducing your reliance on store-bought herbs. Plus, the process of nurturing a plant from seed to harvest is incredibly satisfying. The taste of homegrown basil is far superior to anything you can buy in the store. So, give it a try and experience the joy of growing your own herbs!
Leave a Comment