
Grow Fennel Indoors? Absolutely! Imagine fresh, aromatic fennel fronds gracing your dishes all year round, regardless of the weather outside. For centuries, fennel has been cherished not only for its culinary versatility but also for its medicinal properties. From ancient Rome, where gladiators believed it brought strength, to modern kitchens worldwide, fennel has held a special place.
But let’s be honest, not everyone has a sprawling garden or the perfect climate to cultivate this delightful herb. That’s where the magic of DIY comes in! I’m here to show you that you don’t need acres of land to enjoy the fresh, anise-like flavor of fennel. This guide will provide you with simple, effective tricks and hacks to successfully grow fennel indoors, even if you have limited space or gardening experience.
Think of the possibilities! Fresh fennel bulbs for salads, delicate fronds for garnishing soups, and even fennel seeds for baking. Plus, growing your own herbs is incredibly rewarding and a fantastic way to connect with nature, even within the confines of your home. So, let’s ditch the store-bought fennel and embark on this exciting indoor gardening adventure together! I promise, with a few simple steps, you’ll be harvesting your own homegrown fennel in no time.
Growing Fennel Indoors: A Beginner’s Guide
Hey there, fellow plant enthusiasts! Have you ever considered growing fennel indoors? It’s totally doable, and trust me, having fresh fennel fronds and bulbs right at your fingertips is a game-changer for your cooking. Plus, the feathery foliage is just gorgeous! I’m going to walk you through everything you need to know to successfully cultivate this aromatic herb inside your home.
Choosing the Right Fennel Variety
Not all fennel is created equal, especially when it comes to indoor growing. You’ll want to opt for bulb fennel (also known as Florence fennel) rather than common fennel, which can get quite large and unruly. Here are a few varieties that I’ve found to be particularly well-suited for container gardening:
* ‘Zefa Fino’: This is a popular choice for its compact size and reliable bulb formation. It’s relatively quick to mature, which is a bonus when you’re growing indoors.
* ‘Romanesco’: Another great option for smaller spaces. It produces slightly flattened bulbs with a mild anise flavor.
* ‘Perfection’: As the name suggests, this variety is known for its uniform bulb shape and excellent flavor.
Gathering Your Supplies
Before you even think about planting, you need to make sure you have all the necessary supplies. Trust me, it’s much easier to gather everything beforehand than to run to the store mid-planting! Here’s what you’ll need:
* Fennel seeds: Choose a variety that’s suitable for container growing, as mentioned above.
* A large container: Fennel needs room to grow, so opt for a pot that’s at least 12 inches in diameter and 12 inches deep. A larger container is always better, as it gives the roots more space to spread out.
* Well-draining potting mix: This is crucial! Fennel doesn’t like soggy soil, so make sure your potting mix is light and airy. A mix of peat moss, perlite, and vermiculite works well.
* Grow lights (optional but recommended): While fennel can tolerate some shade, it thrives in bright light. If you don’t have a sunny windowsill, grow lights will be your best friend.
* Watering can or hose: For, well, watering!
* Fertilizer: A balanced liquid fertilizer will help your fennel grow strong and healthy.
* Small shovel or trowel: For planting and transplanting.
* Spray bottle: For misting the seedlings.
Planting Your Fennel Seeds
Okay, now for the fun part! Planting your fennel seeds is a pretty straightforward process. Just follow these steps:
1. Prepare your container: Fill your container with the well-draining potting mix, leaving about an inch of space at the top. Gently pat down the soil to remove any air pockets.
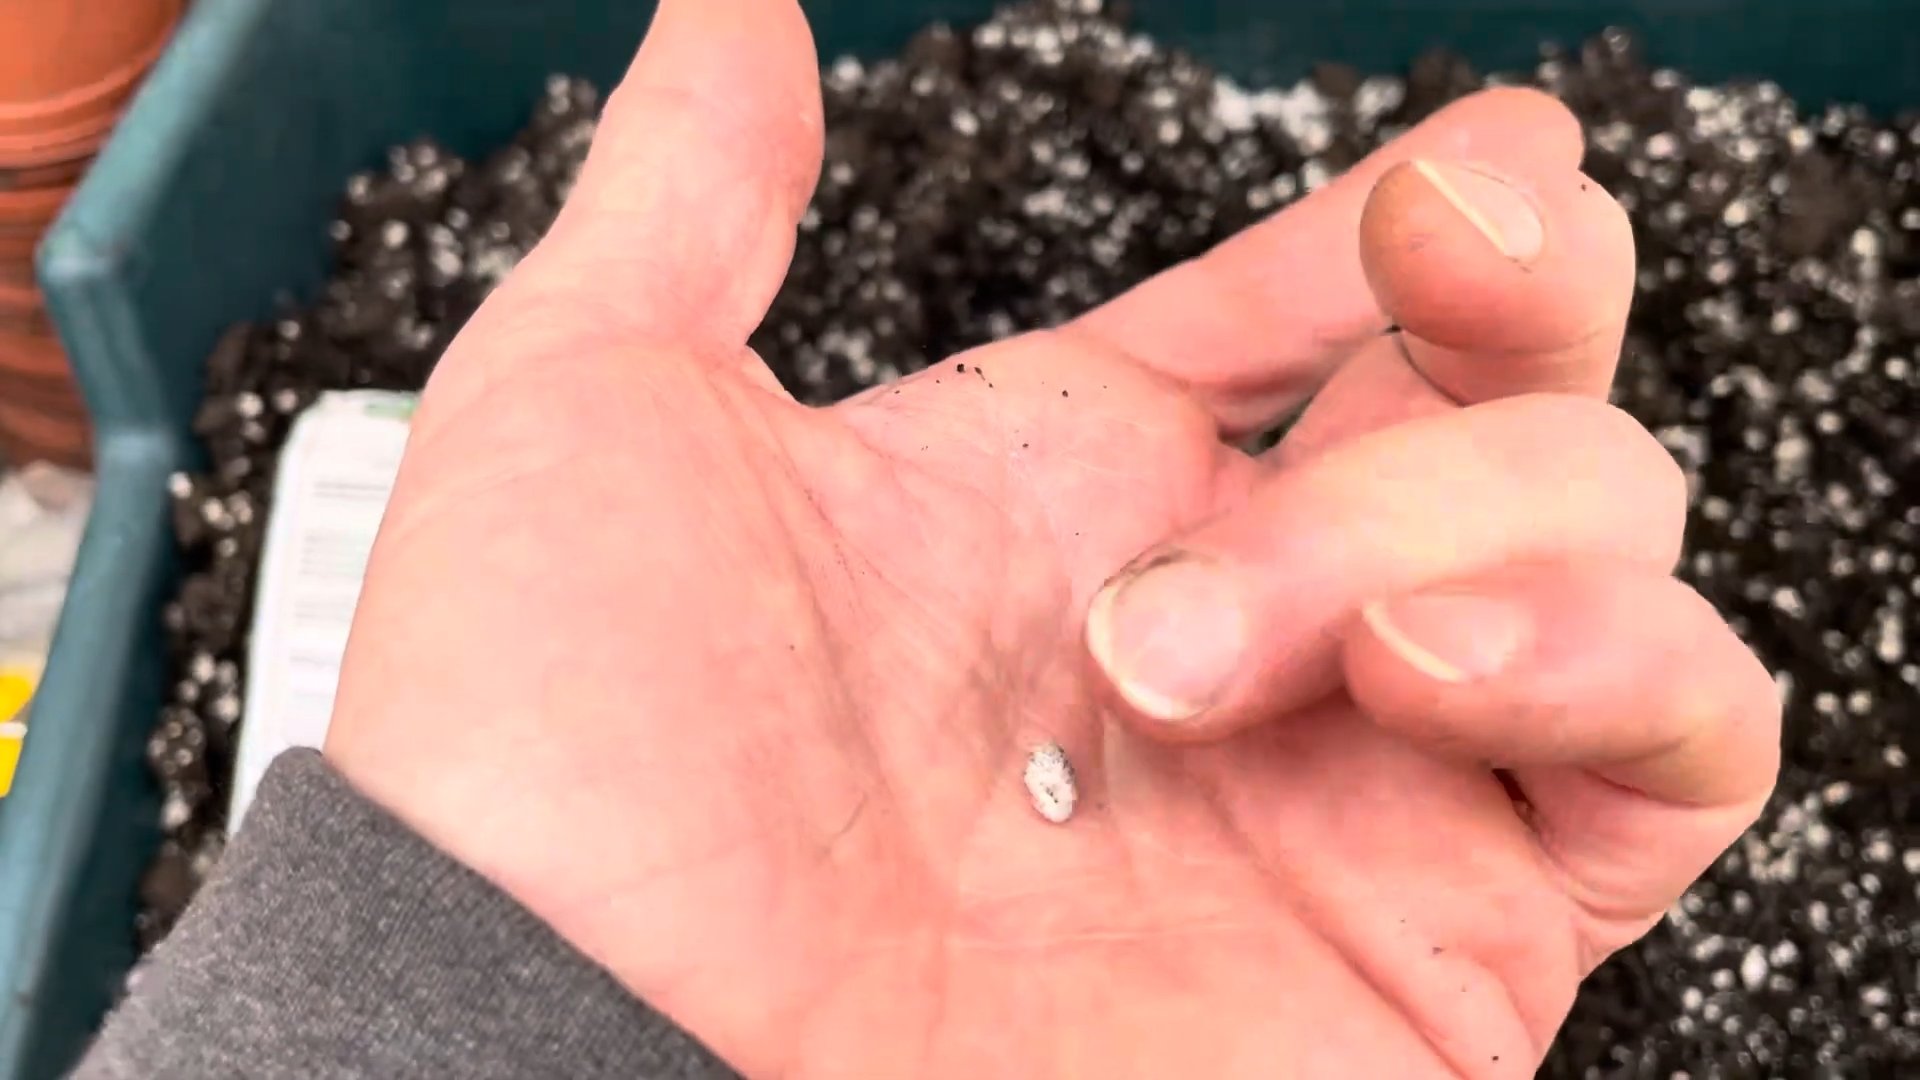
2. Sow the seeds: Sprinkle the fennel seeds evenly over the surface of the soil. You don’t need to bury them too deep; about ¼ inch is perfect.
3. Cover the seeds: Lightly cover the seeds with a thin layer of potting mix.
4. Water gently: Use a watering can or spray bottle to gently moisten the soil. Be careful not to overwater, as this can cause the seeds to rot.
5. Provide warmth: Fennel seeds germinate best in warm temperatures (around 70-75°F). You can place your container on a heat mat or in a warm spot in your home.
6. Cover with plastic wrap (optional): To create a humid environment, you can cover the container with plastic wrap. Just make sure to remove it once the seedlings start to emerge.
Caring for Your Fennel Seedlings
Once your fennel seeds have germinated (usually within 7-14 days), it’s time to start caring for your seedlings. Here’s what you need to do:
1. Provide plenty of light: Fennel seedlings need at least 6-8 hours of bright light per day. If you don’t have a sunny windowsill, use grow lights. Position the lights a few inches above the seedlings and adjust as they grow.
2. Water regularly: Keep the soil consistently moist, but not soggy. Water when the top inch of soil feels dry to the touch.
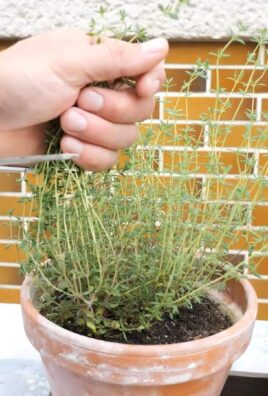
3. Thin the seedlings: Once the seedlings are a few inches tall, thin them out so that they’re spaced about 4-6 inches apart. This will give them enough room to grow and prevent overcrowding. Snip the unwanted seedlings at the base with scissors.
4. Fertilize regularly: Start fertilizing your fennel seedlings about 2-3 weeks after they emerge. Use a balanced liquid fertilizer, diluted to half strength. Fertilize every 2-3 weeks.
5. Monitor for pests and diseases: Keep an eye out for common pests like aphids and spider mites. If you spot any, treat them with insecticidal soap or neem oil. Fennel is also susceptible to fungal diseases like powdery mildew, so make sure to provide good air circulation and avoid overwatering.
Harvesting Your Fennel
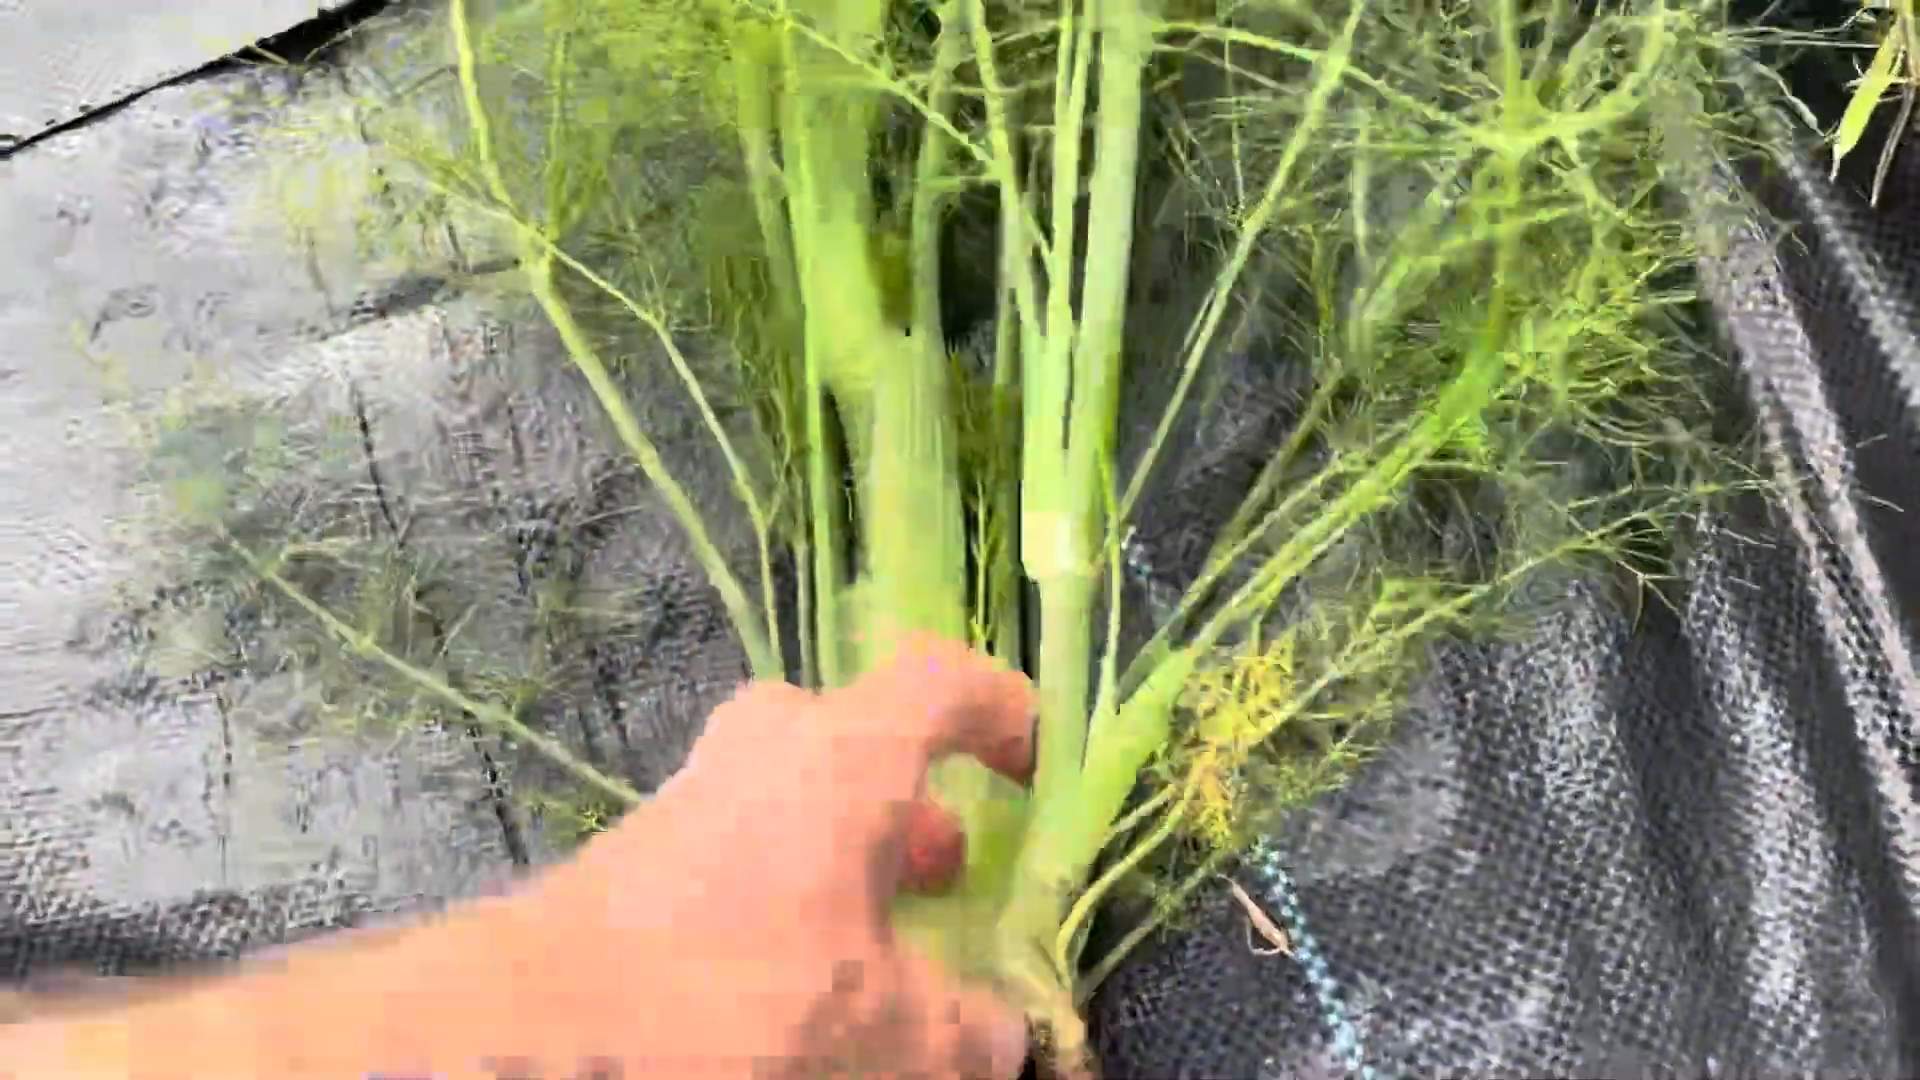
The best part of growing fennel is, of course, harvesting it! You can start harvesting the fronds as soon as they’re large enough to use. Simply snip them off with scissors. The bulb is ready to harvest when it’s about the size of a tennis ball. Here’s how to harvest the bulb:
1. Loosen the soil: Gently loosen the soil around the base of the plant with a trowel.
2. Pull up the bulb: Carefully pull up the bulb, being careful not to damage the roots.
3. Cut off the fronds: Cut off the fronds, leaving about an inch of stem attached to the bulb.
4. Wash the bulb: Wash the bulb thoroughly to remove any dirt.
Troubleshooting Common Problems
Even with the best care, you might encounter some problems when growing fennel indoors. Here are a few common issues and how to fix them:
* Yellowing leaves: This could be a sign of overwatering, underwatering, or nutrient deficiency. Check the soil moisture and adjust your watering accordingly. If the soil is consistently moist, let it dry out a bit before watering again. If the soil is dry, water thoroughly. You may also need to fertilize your fennel.
* Leggy growth: This is usually caused by insufficient light. Move your fennel to a sunnier location or provide supplemental light with grow lights.
* Slow growth: This could be due to a number of factors, including poor soil, insufficient light, or lack of nutrients. Make sure your fennel is planted in well-draining potting mix, receiving plenty of light, and being fertilized regularly.
* Pests and diseases: As mentioned earlier, fennel is susceptible to aphids, spider mites, and powdery mildew. Treat these problems with insecticidal soap, neem oil, or a fungicide.
Extending Your Harvest
To extend your fennel harvest, you can try succession planting. This involves planting new seeds every few weeks. This way, you’ll always have a fresh supply of fennel fronds and bulbs. You can also try overwintering your fennel. To do this, move your container to a cool, bright location (around 50-60°F) and reduce watering. Your fennel may go dormant during the winter, but it should start growing again in the spring.
Enjoying Your Homegrown Fennel
Now that you’ve successfully grown fennel indoors, it’s time to enjoy the fruits (or rather, bulbs and fronds) of your labor! Fennel is incredibly versatile and can be used in a variety of dishes. Here are a few ideas:
* Use the fronds as a garnish: Fennel fronds have a delicate anise flavor that pairs well with fish, salads, and soups.
* Add the bulb to salads: Thinly sliced fennel bulb adds a crunchy texture and refreshing flavor to salads.
* Roast the bulb: Roasted fennel bulb becomes sweet and tender. It’s a delicious side dish or addition to pasta dishes.
* Make fennel tea: Fennel seeds have a soothing effect on the digestive system. Steep a teaspoon of fennel seeds in hot water for 10 minutes to make a relaxing tea.
Propagating Fennel
While fennel is typically grown from seed, you can also propagate it from cuttings. This is a bit more challenging, but it’s a fun way to expand your fennel collection. Here’s how to do it:
1. Take a cutting: Choose a healthy stem that’s about 4-6 inches long. Cut it off just below a node (the point where a leaf or branch grows).
2. Remove the lower leaves: Remove the leaves from the bottom half of the cutting.
3. Dip in rooting hormone: Dip the cut end of the cutting in rooting hormone. This will help it develop roots more quickly.
Conclusion
So, there you have it! Growing fennel indoors isn’t just a whimsical gardening experiment; it’s a practical and rewarding way to enjoy the fresh, anise-like flavor of this versatile herb year-round. We’ve walked through the steps, from selecting the right variety and preparing your containers to providing the optimal light, water, and nutrients for thriving plants.
Why is this DIY trick a must-try? Because it puts you in control. No more relying on grocery store availability or questionable freshness. You’ll have access to vibrant fennel fronds and bulbs whenever you need them, ready to elevate your salads, soups, roasts, and more. Plus, the process itself is incredibly therapeutic. There’s something deeply satisfying about nurturing a plant from seed to harvest, witnessing its growth, and knowing you played a vital role in its success.
But the benefits extend beyond convenience and freshness. Growing your own fennel indoors is also a sustainable choice. You’re reducing your carbon footprint by eliminating the transportation and packaging associated with store-bought produce. You’re also avoiding the potential use of harmful pesticides and herbicides, ensuring that your fennel is as healthy and natural as possible.
Looking for variations? Consider these ideas to personalize your indoor fennel garden:
* Succession Planting: Plant new seeds every few weeks to ensure a continuous supply of fresh fennel.
* Companion Planting: Experiment with growing other herbs alongside your fennel, such as dill or parsley, to create a mini indoor herb garden.
* Bulb vs. Frond Focus: If you’re primarily interested in the bulb, choose a bulb-forming variety and provide ample space for it to develop. If you’re more interested in the fronds, focus on providing plenty of light and regular harvesting to encourage leafy growth.
* Hydroponics: For a more advanced approach, try growing fennel hydroponically. This method can be highly efficient and requires less soil.
Ultimately, the best way to discover the joys of growing fennel indoors is to simply give it a try. Don’t be afraid to experiment, learn from your mistakes, and adapt the techniques to suit your specific environment and preferences. The rewards – fresh, flavorful fennel and the satisfaction of growing your own food – are well worth the effort.
We’re confident that with a little patience and care, you’ll be enjoying homegrown fennel in no time. So, grab your seeds, prepare your pots, and get ready to embark on this exciting gardening adventure. And most importantly, we want to hear about your experience! Share your tips, successes, and challenges in the comments below. Let’s build a community of indoor fennel growers and learn from each other. Happy gardening! This **grow fennel indoors** method is a game changer.
Frequently Asked Questions (FAQ)
What type of fennel is best for growing indoors?
While all types of fennel can technically be grown indoors, some varieties are better suited than others. For bulb fennel, look for compact varieties like ‘Florence’ or ‘Perfection’. These are bred to produce smaller, more manageable bulbs that are ideal for container gardening. For fennel grown primarily for its fronds, any variety will work, but ‘Sweet Fennel’ is a popular choice for its delicate flavor. Consider the size of your growing space when making your selection. Dwarf varieties are always a good choice if space is limited.
How much light does indoor fennel need?
Fennel requires a significant amount of light to thrive indoors. Ideally, it needs at least 6-8 hours of direct sunlight per day. If you don’t have a sunny windowsill, you’ll need to supplement with artificial grow lights. Fluorescent or LED grow lights are excellent options. Position the lights about 6-12 inches above the plants and keep them on for 14-16 hours per day. Insufficient light can lead to leggy growth and reduced flavor.
What kind of soil is best for growing fennel in pots?
Fennel prefers well-draining soil that is rich in organic matter. A good potting mix for fennel would be a combination of equal parts potting soil, compost, and perlite or vermiculite. The potting soil provides a base, the compost adds nutrients, and the perlite or vermiculite improves drainage and aeration. Avoid using garden soil, as it can be too heavy and may contain pests or diseases.
How often should I water my indoor fennel plants?
Water your fennel plants regularly, keeping the soil consistently moist but not waterlogged. Check the soil moisture by sticking your finger about an inch deep. If the soil feels dry, it’s time to water. Water thoroughly until excess water drains out of the bottom of the pot. Avoid overwatering, as this can lead to root rot. Reduce watering during the winter months when the plants are not actively growing.
How do I fertilize my indoor fennel plants?
Fennel is a relatively heavy feeder and benefits from regular fertilization. Use a balanced liquid fertilizer, such as a 10-10-10 formula, diluted to half strength. Fertilize every 2-3 weeks during the growing season (spring and summer). Avoid fertilizing during the winter months. You can also amend the soil with compost or worm castings to provide a slow-release source of nutrients.
When and how should I harvest my indoor fennel?
You can start harvesting fennel fronds as soon as the plants are large enough to handle it. Simply snip off the outer fronds as needed. For bulb fennel, harvest the bulb when it reaches the desired size, typically 2-3 inches in diameter. To harvest the bulb, gently loosen the soil around the base of the plant and pull it up. You can also harvest the seeds after the plant flowers. Allow the seed heads to dry on the plant, then cut them off and thresh them to release the seeds.
Are there any common pests or diseases that affect indoor fennel?
While indoor fennel is generally less susceptible to pests and diseases than outdoor fennel, it can still be affected by aphids, spider mites, and whiteflies. Regularly inspect your plants for signs of infestation and take action promptly. You can control these pests by spraying the plants with insecticidal soap or neem oil. Overwatering can lead to root rot, so be sure to provide good drainage and avoid letting the soil stay soggy.
Can I grow fennel from seed indoors?
Yes, growing fennel from seed indoors is a great way to start your plants. Sow the seeds directly into pots filled with well-draining potting mix. Keep the soil moist and warm (around 70-75°F) until the seeds germinate, which usually takes about 7-14 days. Once the seedlings emerge, provide them with plenty of light and thin them to one plant per pot.
My fennel plant is getting leggy. What should I do?
Leggy growth in fennel is usually a sign of insufficient light. Move your plant to a sunnier location or supplement with artificial grow lights. You can also prune the leggy stems to encourage bushier growth.
Can I eat the entire fennel plant?
Yes, the entire fennel plant is edible, including the bulb, stalks, fronds, and seeds. The bulb is often eaten raw in salads or cooked in various dishes. The stalks can be used like celery in soups and stews. The fronds are used as a garnish or flavoring. The seeds are used as a spice.
Leave a Comment