
Grow Dill Kitchen Garden: Imagine stepping into your kitchen, needing a sprig of fresh dill for that perfect potato salad or creamy cucumber dip, and simply snipping it right from your own windowsill. Sounds dreamy, right? Well, it’s absolutely achievable, and I’m here to show you how! For centuries, dill has been cherished not only for its culinary uses but also for its medicinal properties. Ancient Egyptians used it to soothe digestive issues, and Roman gladiators believed it brought them good luck – talk about a versatile herb!
In today’s fast-paced world, having access to fresh, homegrown herbs is more important than ever. Not only does it elevate your cooking, but it also connects you to nature and provides a sense of accomplishment. Plus, let’s be honest, store-bought herbs can be pricey and often wilt before you even get a chance to use them. That’s where this DIY guide comes in. I’m going to share some simple yet effective tricks and hacks to help you successfully grow dill kitchen garden, even if you have limited space or zero gardening experience. Get ready to transform your kitchen into a fragrant, flavorful oasis!
Growing Dill: Your Kitchen Garden Project for Fresh Flavor
Hello dear garden friends! Today I’m excited to show you how you can easily grow dill in your kitchen. Fresh dill is simply unbeatable, and when you grow it yourself, it tastes even better! Don’t worry, it’s really child’s play and suitable for beginners. Let’s get started!
What You Need: The Ingredients for Your Dill Success
Before we begin, here is a list of everything you’ll need for your dill project:
-
Dill seeds: Preferably organic quality, so you can be sure there are no unwanted substances. You can find them in any garden center or online.
-
Seedling pots or trays: Small pots or trays are ideal for starting seeds. You can also use empty yogurt cups or similar items, as long as they have holes in the bottom for water to drain.
-
Seed starting mix: This soil is particularly low in nutrients and loose, ideal for the delicate seedlings. Regular potting soil is often too rich.
-
Potting soil: Once the dill seedlings are a bit larger, they will need more nutrient-rich soil.
-
Pots or balcony boxes: Choose the size depending on how much dill you want to grow.
-
Watering can or spray bottle: For gently watering the seeds and seedlings.
-
A sunny location: Dill loves the sun! A south or east-facing windowsill is perfect.
-
Optional: A small shovel or spoon for filling the pots.
Step-by-Step Guide: How to Grow Your Own Dill
Now let’s get down to it! Follow these steps, and you’ll soon be able to harvest your own dill.
1. Preparation: Filling Pots and Preparing Seeds
-
Prepare the pots: Fill your seedling pots or trays with seed starting mix. Press the soil down lightly, but not too firmly.
-
Sow the seeds: Distribute the dill seeds evenly on the soil. You can use a few extra seeds, as not all of them will germinate.
-
Cover the seeds: Cover the seeds with a thin layer of seed starting mix (approx. 0.5 cm).
-
Water: Moisten the soil carefully with a spray bottle or a watering can with a shower head attachment. The soil should be damp, but not wet.
2. Germination: Patience is Required
-
Choose a location: Place the pots in a warm and bright spot. A south or east-facing windowsill is ideal.
-
Maintain moisture: Keep the soil evenly moist. It’s best to spray the soil with water daily. Avoid waterlogging, as the seeds can rot.
-
Be patient: It usually takes 1-2 weeks for the seeds to germinate. Be patient and don’t get discouraged if it takes a little longer.
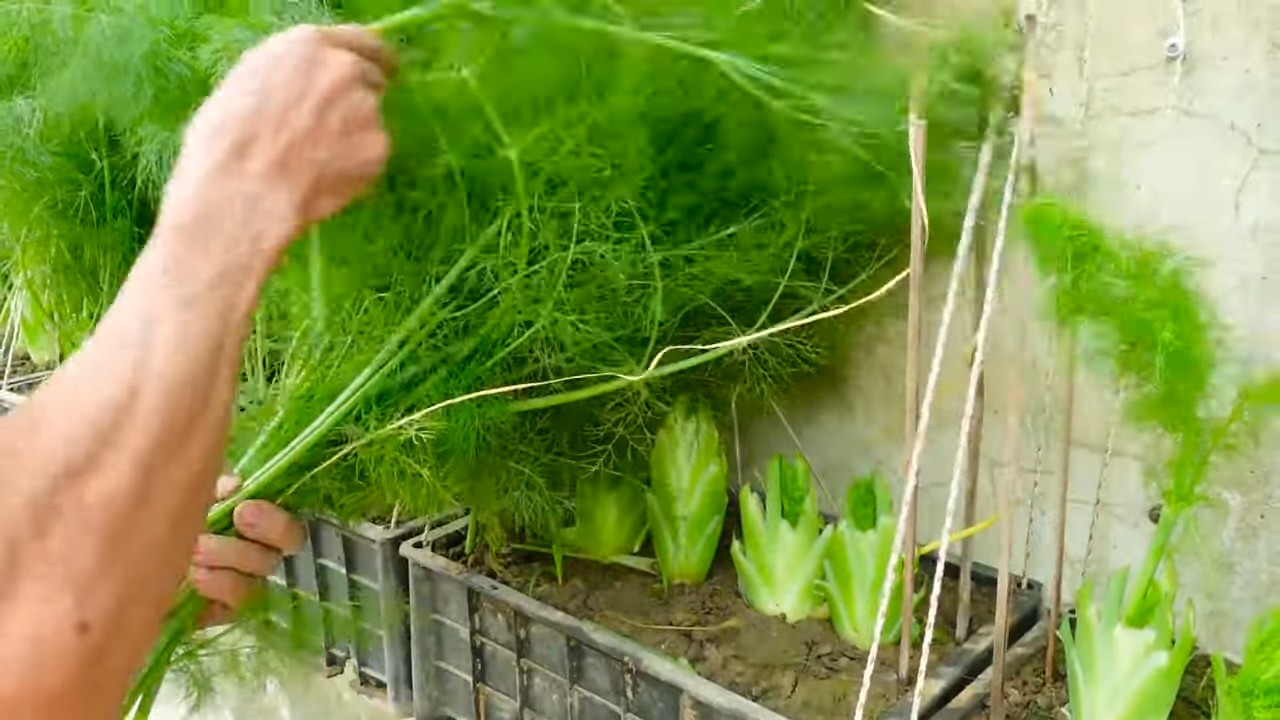
3. Pricking Out: Giving the Seedlings More Space
Once the dill seedlings are a few centimeters tall and have their first true leaves, it’s time to prick them out. This means transplanting them into larger pots so they have more space to grow.
-
Prepare the pots: Fill larger pots or balcony boxes with potting soil.
-
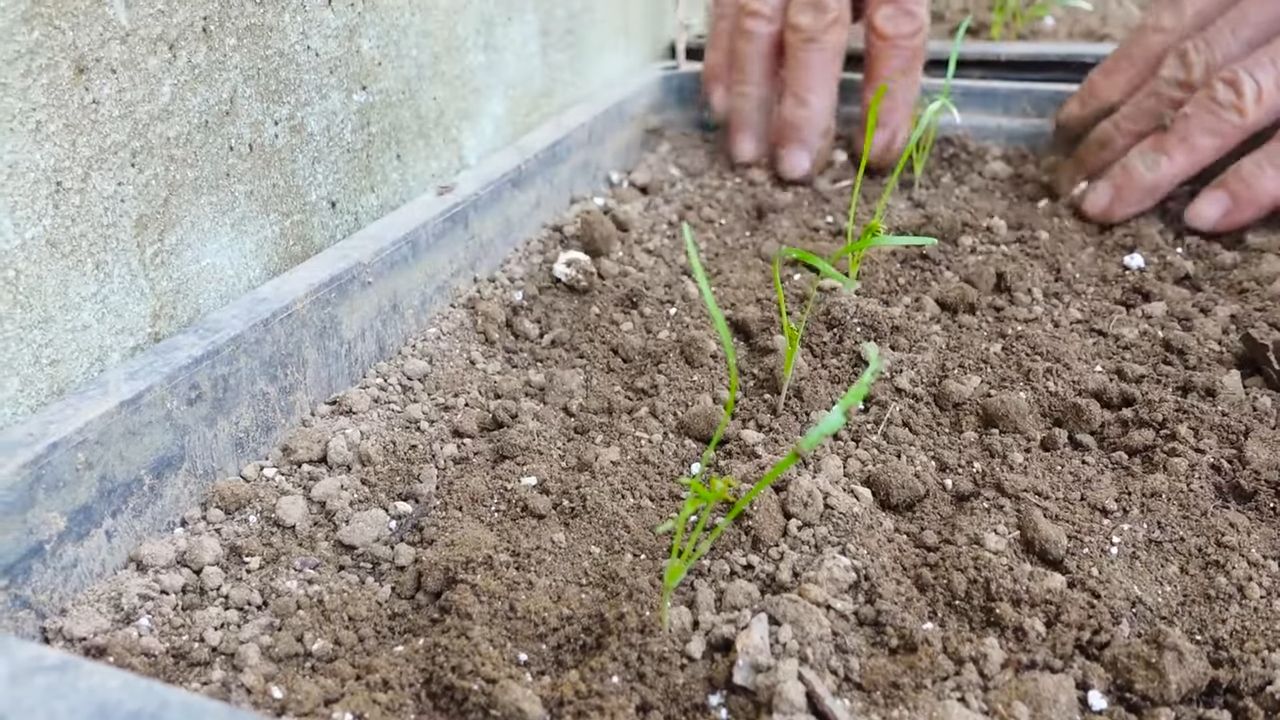
Carefully lift the seedlings: Gently loosen the dill seedlings from the seedling pots. A small spoon or fork works best for this. Be careful not to damage the roots.
-
Planting: Place the dill seedlings in the new pots. Make sure the roots are well covered with soil.
-
Water: Water the seedlings carefully.
4. Care: Helping Your Dill Thrive
-
Location: Place the pots in a sunny location. Dill needs at least 6 hours of sun per day.
-
Watering: Water the dill regularly, especially on hot days. The soil should always be slightly moist, but not wet.
-
Fertilizing: Fertilize the dill every few weeks with an organic liquid fertilizer. This ensures strong growth and aromatic leaves.
-
Remove flowers: When dill flowers, it loses its aroma. Remove the flower heads to encourage leaf growth. However, you can also leave the flowers if you want to harvest the seeds.
Extra Tips for Your Dill Success
-
Direct sowing: You can also sow dill directly outdoors. This is especially possible in spring and summer. Make sure the soil is loose and well-prepared.
-
Slugs: Unfortunately, dill is also popular with slugs. Protect your plants with slug pellets or other natural methods.
-
Harvesting: You can harvest dill as soon as the leaves are large enough. Simply cut the stems with scissors. The dill will then grow back.
-
Preservation: Dill can be easily frozen or dried. This way, you’ll have fresh dill on hand even in winter.
Dill in the Kitchen: Versatile and Delicious
Dill is a versatile herb that can be used in many dishes. Here are a few ideas:
-
With fish: Dill pairs excellently with fish dishes, especially salmon and herring.
-
In salads: Dill adds a fresh note to salads.
-
In sauces: Dill is a popular ingredient in sauces, especially in dill sauces for fish or potatoes.
-
With cucumbers: Dill is essential for pickled cucumbers.
-
In soups: Dill can give soups a special flavor.
Why Grow Dill Yourself? The Advantages are Obvious
-
Freshness: Homegrown dill is unbelievably fresh and aromatic.
-
Organic: You know exactly what’s in your dill and can grow it without pesticides.
-
Sustainability: You save on transportation and packaging waste.
-
Joy: It’s simply fun to grow and harvest your own herbs.
I hope this guide has helped you grow your own dill. Good luck and enjoy your meal! And remember: with a little patience and attention to detail, your dill project is guaranteed to be a success
Conclusion
So, there you have it! Cultivating your own dill, right in your kitchen, is not only achievable but also incredibly rewarding. This simple DIY trick for a kitchen garden offers a constant supply of fresh, fragrant dill, ready to elevate your culinary creations at a moment’s notice. Forget those sad, wilted bunches from the grocery store – imagine the vibrant flavor of freshly snipped dill sprigs enhancing your salads, soups, dips, and seafood dishes.
Why is this a must-try? Because it’s about more than just convenience; it’s about connection. Connecting with the food you eat, understanding its origins, and experiencing the satisfaction of nurturing something from seed to harvest. It’s about reducing your reliance on store-bought herbs, minimizing food waste, and adding a touch of green to your indoor space. Plus, let’s be honest, there’s something undeniably cool about having your own miniature herb garden thriving on your windowsill.
Beyond the basic method, there’s plenty of room for experimentation. Try different varieties of dill to discover your favorite flavor profile. Consider using a self-watering planter to simplify maintenance, especially if you’re prone to forgetting to water your plants. You could even explore companion planting, placing your dill near other herbs or vegetables that benefit from its presence, such as tomatoes or cucumbers. And for those with limited space, vertical gardening solutions can maximize your growing area and create a stunning visual display.
Don’t be intimidated if you’ve never grown anything before. Dill is a relatively forgiving herb, and this method is designed to be beginner-friendly. The key is to provide adequate sunlight, well-draining soil, and consistent moisture. With a little patience and attention, you’ll be harvesting your own fresh dill in no time.
We wholeheartedly encourage you to give this DIY trick a try. Embrace the joy of growing your own food, and experience the difference that fresh, homegrown dill can make in your cooking. We are confident that you will find this a rewarding and delicious experience.
Once you’ve embarked on your dill-growing adventure, we’d love to hear about your experiences! Share your tips, tricks, and photos in the comments below. Let’s create a community of kitchen gardeners, inspiring each other to cultivate fresh, flavorful herbs and vegetables right in our own homes. What are you waiting for? Get planting and discover the magic of growing your own **dill kitchen garden**!
Frequently Asked Questions (FAQ)
What kind of soil should I use for growing dill indoors?
The best soil for growing dill indoors is a well-draining potting mix. Avoid using garden soil, as it can be too heavy and may contain pests or diseases. A good quality potting mix will provide the necessary nutrients and drainage for healthy dill growth. You can also amend your potting mix with perlite or vermiculite to improve drainage further. Look for a potting mix specifically formulated for herbs or vegetables for optimal results.
How much sunlight does dill need when grown indoors?
Dill requires at least 6 hours of direct sunlight per day to thrive. If you don’t have a sunny windowsill, you can supplement with a grow light. Place the grow light about 6-12 inches above the dill plants and keep it on for 12-16 hours per day. Insufficient sunlight can lead to leggy growth and reduced flavor. Rotate your dill plants regularly to ensure even exposure to sunlight.
How often should I water my indoor dill plant?
Water your dill plant when the top inch of soil feels dry to the touch. Avoid overwatering, as this can lead to root rot. Ensure that your pot has drainage holes to allow excess water to escape. During the warmer months, you may need to water more frequently. Check the soil moisture regularly and adjust your watering schedule accordingly.
How do I harvest dill from my indoor plant?
You can start harvesting dill leaves once the plant is about 6-8 inches tall. Snip off the leaves with scissors or your fingers, taking care not to remove more than one-third of the plant at a time. This will encourage continued growth. You can harvest dill leaves throughout the growing season. For the strongest flavor, harvest dill just before it flowers.
Can I grow dill from seed indoors?
Yes, you can easily grow dill from seed indoors. Sow the seeds directly into your potting mix, about ¼ inch deep. Keep the soil moist and warm until the seeds germinate, which usually takes about 7-14 days. Once the seedlings emerge, thin them out to allow for adequate spacing. Provide plenty of sunlight or a grow light for healthy growth.
My dill plant is turning yellow. What could be the problem?
Yellowing leaves on your dill plant can be caused by several factors, including overwatering, underwatering, nutrient deficiencies, or pests. Check the soil moisture to ensure that you are not overwatering or underwatering. If the soil is consistently wet, allow it to dry out before watering again. If the soil is dry, water thoroughly. You can also fertilize your dill plant with a balanced liquid fertilizer to address any nutrient deficiencies. Inspect your plant for pests, such as aphids or spider mites, and treat accordingly.
How do I prevent dill from bolting (going to seed) indoors?
Bolting is when a plant prematurely flowers and goes to seed, often resulting in a decline in flavor. To prevent dill from bolting indoors, ensure that it receives adequate sunlight and water. Avoid exposing your dill plant to extreme temperatures or stress. You can also pinch off any flower buds that appear to encourage continued leaf production.
Can I transplant my indoor dill plant outdoors?
Yes, you can transplant your indoor dill plant outdoors, but it’s important to acclimate it gradually to the outdoor conditions. Start by placing your dill plant outdoors in a sheltered location for a few hours each day, gradually increasing the amount of time it spends outdoors over the course of a week or two. This will help it adjust to the sunlight, temperature, and wind. Choose a sunny location with well-draining soil for transplanting.
What are some common uses for fresh dill?
Fresh dill is a versatile herb that can be used in a variety of dishes. It pairs well with fish, seafood, eggs, potatoes, cucumbers, and yogurt. You can use it to flavor salads, soups, sauces, dips, and pickles. Dill is also a popular ingredient in Scandinavian and Eastern European cuisine. Experiment with different recipes to discover your favorite ways to use fresh dill.
Is dill a perennial or an annual?
Dill is an annual herb, meaning that it completes its life cycle in one growing season. However, it can self-seed, so if you allow some of the flowers to go to seed, you may find new dill plants sprouting up in your garden the following year. Even though it is an annual, growing it indoors allows you to have fresh dill year-round.

Leave a Comment