
Grow Bell Peppers Containers – sounds like a challenge, right? But trust me, it’s totally achievable, even if you’re short on space or just starting your gardening journey! Forget those sprawling garden beds; we’re bringing the vibrant flavors and satisfying crunch of bell peppers right to your patio, balcony, or even sunny windowsill.
For centuries, bell peppers have been a staple in cuisines around the globe, adding a burst of color and essential nutrients to countless dishes. From the fiery stews of Hungary to the fresh salads of the Mediterranean, these versatile veggies have earned their place at the table. But did you know that growing your own bell peppers is not only rewarding but also incredibly easy with the right techniques?
In today’s fast-paced world, finding moments of connection with nature can be a real struggle. That’s where container gardening comes in! It’s a fantastic way to de-stress, get your hands dirty (literally!), and enjoy the satisfaction of harvesting your own food. Plus, growing bell peppers in containers gives you complete control over the growing environment, protecting your precious plants from pests, diseases, and unpredictable weather. I’m going to share some simple yet effective DIY tricks and hacks that will help you grow bell peppers containers like a pro, even if you’ve never gardened before. Get ready to enjoy a bountiful harvest of delicious, homegrown bell peppers!
Growing Bell Peppers in Containers: A Comprehensive DIY Guide
Hey there, fellow gardening enthusiasts! I’m super excited to share my tried-and-true method for growing vibrant, delicious bell peppers right in containers. Whether you have a sprawling backyard or just a sunny balcony, this guide will walk you through every step, ensuring a bountiful harvest. Let’s get our hands dirty!
Choosing the Right Container and Soil
Before we even think about seeds, let’s talk about the foundation of our pepper-growing success: the container and the soil.
* Container Size: Bell peppers need room to spread their roots. I recommend a container that’s at least 12 inches in diameter and 12 inches deep. A 5-gallon bucket works perfectly, or even larger if you plan on growing multiple plants in one container. Remember, bigger is generally better!
* Drainage: This is crucial! Make sure your container has adequate drainage holes. Peppers hate sitting in soggy soil, which can lead to root rot. If your container doesn’t have enough holes, drill a few more.
* Material: Plastic, terracotta, or even fabric pots are all viable options. I personally prefer plastic because they retain moisture better, which is helpful in hotter climates. Terracotta looks beautiful but dries out faster. Fabric pots offer excellent aeration but might require more frequent watering.
* Soil Mix: Forget garden soil! It’s too dense and doesn’t drain well in containers. Instead, opt for a high-quality potting mix. Look for a mix that contains peat moss, perlite, and vermiculite. These ingredients provide good drainage, aeration, and water retention. I often amend my potting mix with compost for added nutrients.
Starting Your Bell Pepper Seeds (or Buying Seedlings)
You have two main options here: starting your own seeds indoors or buying seedlings from a nursery. Both have their pros and cons.
* Starting Seeds Indoors: This gives you more control over the variety and timing. I usually start my seeds about 6-8 weeks before the last expected frost.
* Pros: Wider variety selection, cost-effective, earlier harvest.
* Cons: Requires more time and effort, needs grow lights or a sunny windowsill.
* Buying Seedlings: This is a quicker and easier option, especially if you’re short on time or space.
* Pros: Convenient, less demanding, readily available.
* Cons: Limited variety selection, can be more expensive, potential for transplant shock.
Starting Seeds Indoors: A Step-by-Step Guide
If you’re feeling adventurous, let’s start those seeds!
1. Gather Your Supplies: You’ll need seed starting trays or small pots, seed starting mix, bell pepper seeds, a spray bottle, and a heat mat (optional but recommended).
2. Prepare the Seed Starting Mix: Moisten the seed starting mix with water until it’s damp but not soggy.
3. Sow the Seeds: Fill the trays or pots with the moistened mix. Sow the seeds about ¼ inch deep and gently cover them with more mix. I usually plant 2-3 seeds per cell or pot to increase my chances of germination.
4. Water Gently: Use a spray bottle to mist the surface of the soil. Avoid overwatering, as this can cause the seeds to rot.
5. Provide Warmth: Bell pepper seeds need warmth to germinate. Place the trays or pots on a heat mat or in a warm location. The ideal temperature is around 75-85°F (24-29°C).
6. Maintain Moisture: Keep the soil consistently moist but not soggy. Check the moisture level daily and mist as needed.
7. Provide Light: Once the seedlings emerge (usually within 7-14 days), they’ll need plenty of light. Place them under grow lights or in a sunny windowsill. If using a windowsill, rotate the trays or pots regularly to prevent the seedlings from becoming leggy.
8. Thin the Seedlings: Once the seedlings have their first true leaves (the second set of leaves), thin them to one plant per cell or pot. Choose the strongest seedling and snip off the others at the soil line.
9. Harden Off the Seedlings: Before transplanting the seedlings outdoors, you’ll need to harden them off. This process gradually acclimates them to the outdoor environment. Start by placing the seedlings outdoors in a sheltered location for an hour or two each day, gradually increasing the amount of time they spend outdoors over the course of a week or two.
Choosing and Preparing Seedlings
If you’re opting for seedlings, here’s what to look for:
* Healthy Appearance: Choose seedlings that are healthy and vigorous, with green leaves and sturdy stems. Avoid plants that are yellowed, wilted, or have spots on their leaves.
* Size: Select seedlings that are about 4-6 inches tall.
* Root System: Gently remove a seedling from its container and check the root system. The roots should be white and healthy, not brown and mushy.
* Acclimation: Even if you buy seedlings, it’s still a good idea to harden them off for a few days before transplanting them into their final containers.
Transplanting Your Bell Peppers
Now for the exciting part: getting those peppers into their permanent homes!
1. Choose a Sunny Location: Bell peppers need at least 6-8 hours of sunlight per day. Choose a location that receives plenty of direct sunlight.
2. Prepare the Container: Fill the container with your chosen potting mix, leaving a few inches of space at the top.
3. Remove the Seedling: Gently remove the seedling from its container. If the roots are tightly bound, gently loosen them with your fingers.
4. Plant the Seedling: Dig a hole in the potting mix that’s large enough to accommodate the root ball. Place the seedling in the hole and backfill with potting mix. Make sure the top of the root ball is level with the surrounding soil.
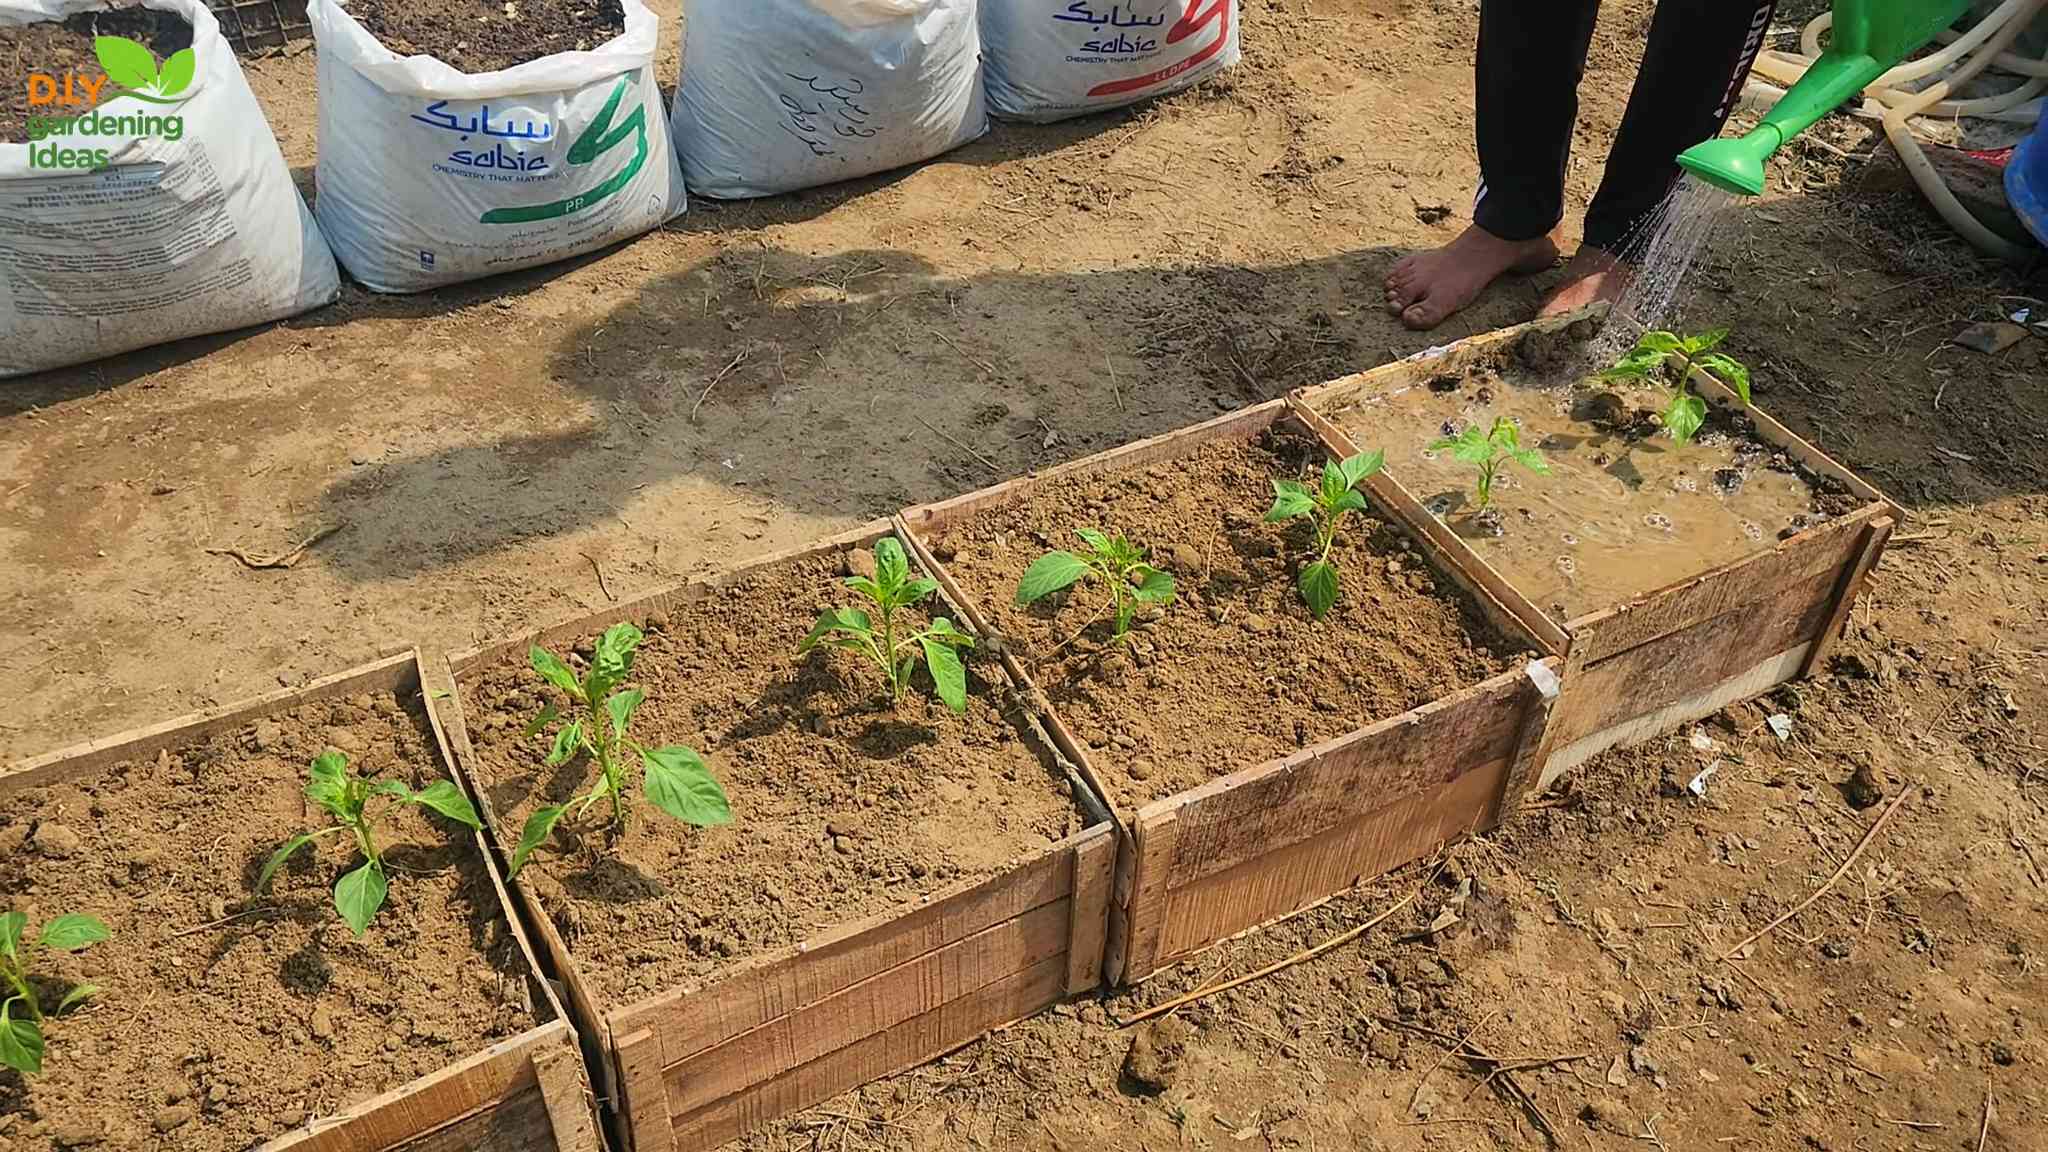
5. Water Thoroughly: Water the seedling thoroughly after planting. This will help settle the soil and encourage root growth.
6. Add Support (Optional): Bell peppers can get quite heavy when they’re loaded with fruit. Consider adding a stake or tomato cage to provide support. I find this especially helpful for larger varieties.
Caring for Your Bell Pepper Plants
Now that your peppers are planted, it’s time to provide them with the care they need to thrive.
* Watering: Bell peppers need consistent moisture, but they don’t like to be waterlogged. Water deeply whenever the top inch of soil feels dry to the touch. Avoid watering the foliage, as this can encourage fungal diseases. I usually water in the morning to allow the foliage to dry out during the day.
* Fertilizing: Bell peppers are heavy feeders, so they need regular fertilization. Start fertilizing about 2-3 weeks after transplanting. Use a balanced fertilizer (e.g., 10-10-10) or a fertilizer specifically formulated for vegetables. Follow the instructions on the fertilizer label. I also like to supplement with compost tea every few weeks.
* Mulching: Mulching helps retain moisture, suppress weeds, and regulate soil temperature. Apply a layer of organic mulch, such as straw or wood chips, around the base of the plants.
* Pruning: Pruning isn’t essential, but it can help improve air circulation and encourage fruit production. Remove any suckers (small shoots that grow from the base of the plant) and any yellowed or diseased leaves.
* Pest and Disease Control: Keep an eye out for pests and diseases. Common pests include aphids, spider mites, and whiteflies. Common diseases include blossom end rot and fungal diseases. Treat any problems promptly with appropriate organic pesticides or fungicides. Blossom end rot is often caused by calcium deficiency, so you can add calcium to the soil or use a calcium-rich foliar spray.
Harvesting Your Bell Peppers
The moment we’ve all been waiting for!
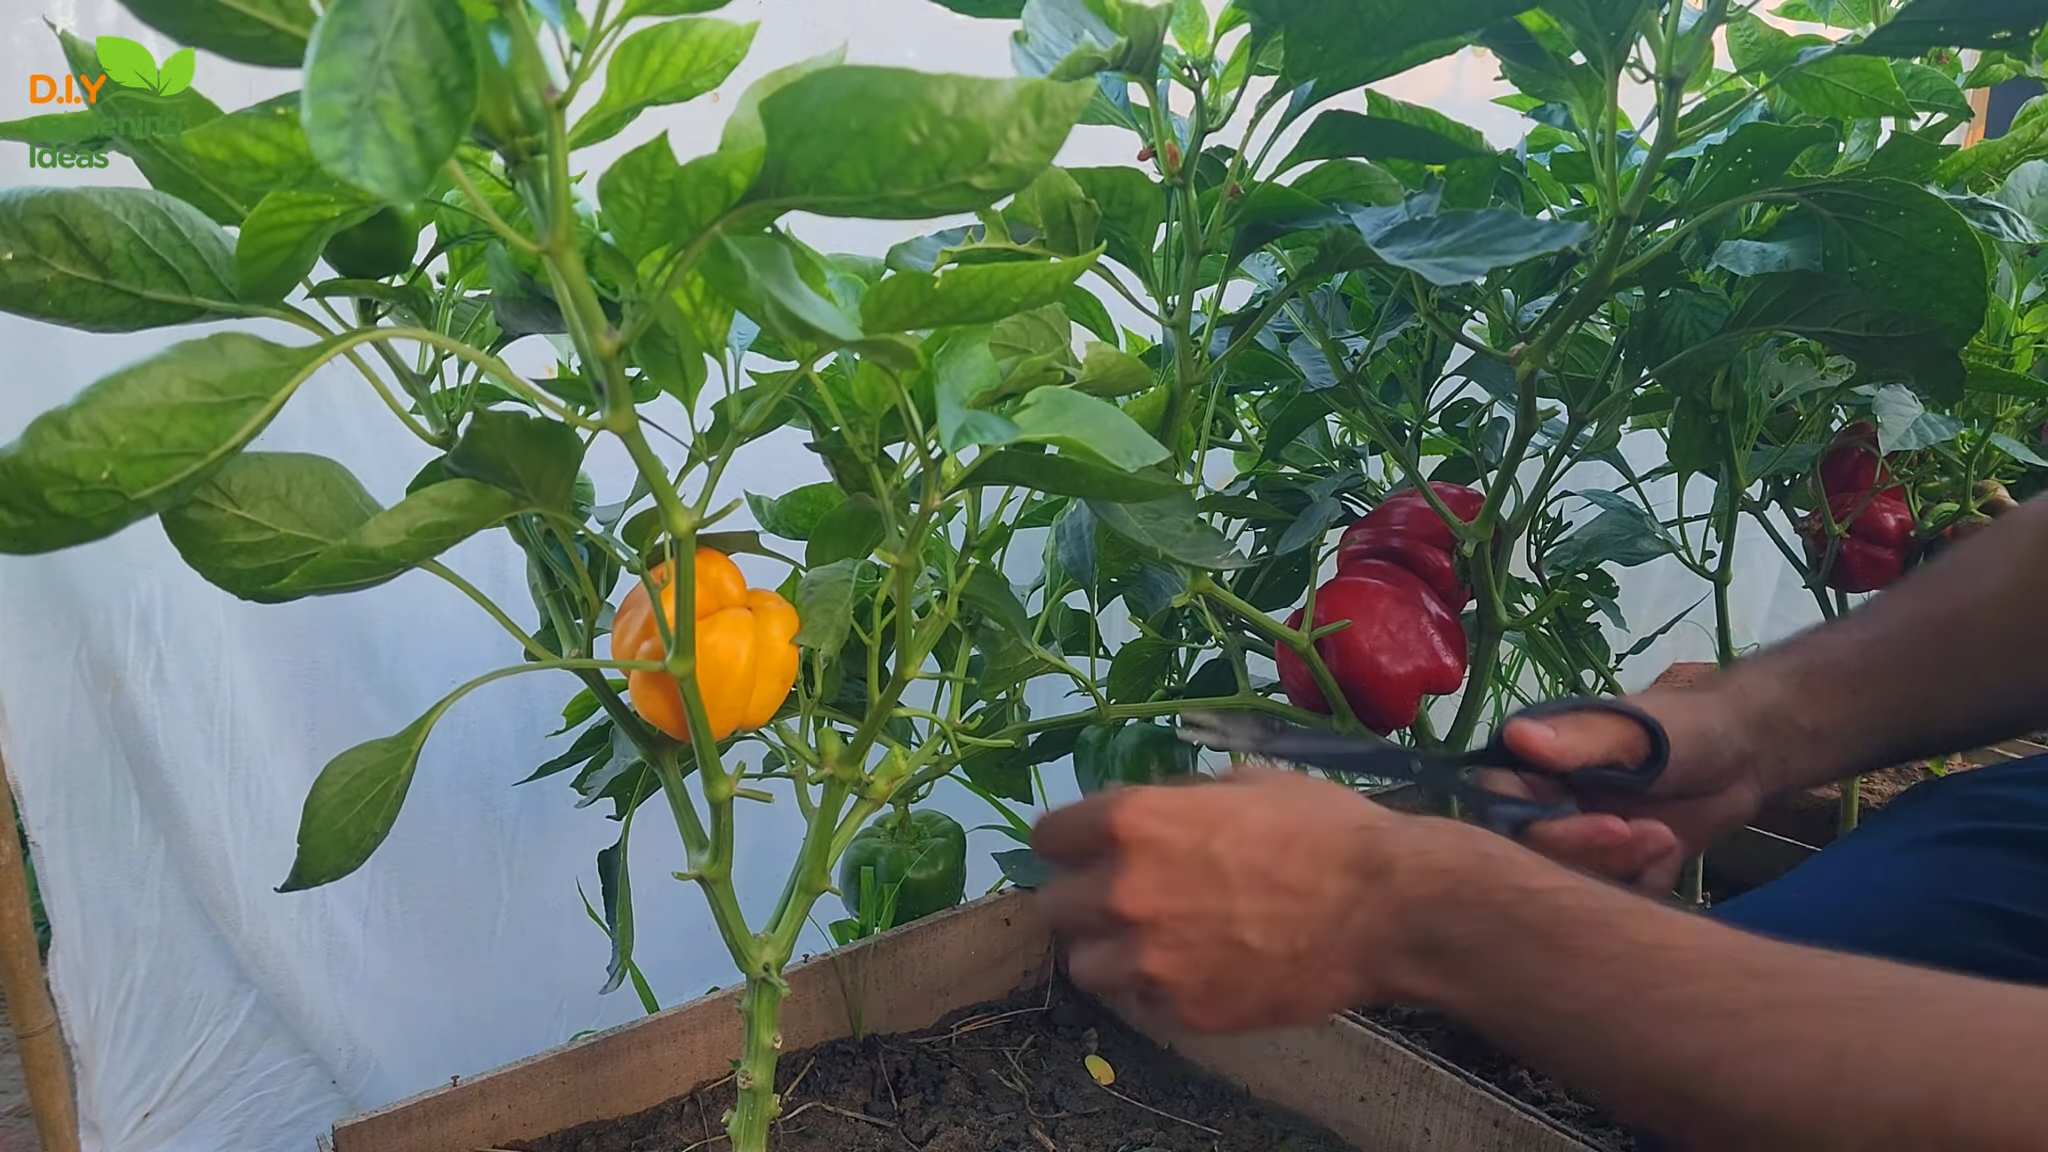
* Timing: Bell peppers are typically ready to harvest about 60-90 days after transplanting, depending on the variety. They can be harvested at any stage of maturity, but they’re sweetest and most flavorful when they’re fully colored.
* Method: Use a sharp knife or pruning shears to cut the peppers from the plant. Be careful not to damage the plant.
* Storage: Bell peppers can be stored in the refrigerator for up to a week.
Troubleshooting Common Problems
Even with the best care, you might encounter some problems along the way. Here are a few common issues and how to address them:
* Blossom End Rot: This is a common problem that causes the bottom of the pepper to rot. It’s usually caused by calcium deficiency. Add calcium to the soil or use a calcium-rich foliar spray. Ensure consistent
Conclusion
So, there you have it! Growing bell peppers in containers is not only achievable, but it’s also incredibly rewarding. We’ve walked through the essential steps, from selecting the right container and soil to providing the necessary sunlight and nutrients. The beauty of this method lies in its accessibility. Whether you have a sprawling backyard or just a small balcony, you can enjoy the satisfaction of harvesting your own fresh, crisp bell peppers.
But why is this DIY trick a must-try? Beyond the obvious benefit of having delicious, homegrown produce at your fingertips, growing bell peppers in containers offers several advantages. It allows for better control over the growing environment, protecting your plants from soilborne diseases and pests. Container gardening also makes it easier to move your plants to optimal sunlight conditions as the seasons change. Plus, let’s be honest, there’s something incredibly satisfying about nurturing a plant from seed (or seedling) to harvest. It’s a tangible connection to nature and a reminder of the simple pleasures in life.
Ready to take your container gardening to the next level? Consider these variations:
* Experiment with different bell pepper varieties: From the classic green bell pepper to the vibrant red, yellow, and orange varieties, there’s a whole spectrum of flavors and colors to explore. Why not try growing a few different types in separate containers to see which ones you prefer?
* Companion planting: Enhance your bell pepper’s growth by planting beneficial companions in the same container or nearby. Basil, marigolds, and carrots are all excellent choices that can deter pests and improve the overall health of your plants.
* Vertical gardening: If space is truly limited, explore vertical gardening options. Use trellises or stacked planters to maximize your growing area and create a stunning visual display.
* Hydroponic bell peppers: For the adventurous gardener, consider a hydroponic setup for growing bell peppers in containers. This soilless method can lead to faster growth and higher yields.
Ultimately, the best way to learn is by doing. Don’t be afraid to experiment, make mistakes, and adapt your approach as you go. Growing bell peppers in containers is a journey, and the rewards are well worth the effort.
We’re confident that you’ll find this DIY trick to be a game-changer for your gardening endeavors. Now it’s your turn! Grab a container, some soil, and a bell pepper seedling, and get started. We can’t wait to hear about your experiences. Share your photos, tips, and challenges in the comments below. Let’s build a community of container gardening enthusiasts and inspire each other to grow the most delicious bell peppers possible! Happy gardening!
Frequently Asked Questions (FAQ)
What is the best size container for growing bell peppers?
The ideal container size for growing bell peppers is at least 5 gallons, but a 7-10 gallon container is even better. This provides ample space for the roots to develop and ensures that the plant has enough room to grow without becoming root-bound. The larger the container, the less frequently you’ll need to water and fertilize. Make sure the container has drainage holes to prevent waterlogging.
What type of soil should I use for growing bell peppers in containers?
Use a high-quality potting mix specifically formulated for containers. Avoid using garden soil, as it can become compacted in containers and doesn’t provide adequate drainage. A good potting mix should be lightweight, well-draining, and rich in organic matter. You can also amend your potting mix with compost or other organic materials to improve its fertility.
How much sunlight do bell peppers need?
Bell peppers need at least 6-8 hours of direct sunlight per day to thrive. Choose a location that receives plenty of sunlight throughout the day. If you live in a particularly hot climate, you may need to provide some afternoon shade to prevent the plants from overheating. If you don’t have enough natural sunlight, you can supplement with grow lights.
How often should I water my bell pepper plants in containers?
Water your bell pepper plants regularly, especially during hot, dry weather. The soil should be kept consistently moist, but not waterlogged. Check the soil moisture by sticking your finger about an inch into the soil. If it feels dry, it’s time to water. Water deeply, until water drains out of the drainage holes. Avoid watering the foliage, as this can promote fungal diseases.
What kind of fertilizer should I use for bell peppers?
Bell peppers are heavy feeders and require regular fertilization. Use a balanced fertilizer with an NPK ratio of 5-10-10 or 10-10-10. Apply fertilizer every 2-3 weeks during the growing season, following the instructions on the fertilizer package. You can also use organic fertilizers, such as compost tea or fish emulsion.
How do I prevent pests and diseases on my bell pepper plants?
Inspect your plants regularly for signs of pests and diseases. Common pests that affect bell peppers include aphids, spider mites, and whiteflies. You can control these pests with insecticidal soap or neem oil. Common diseases include blossom end rot and fungal diseases. Blossom end rot is caused by a calcium deficiency and can be prevented by adding calcium to the soil. Fungal diseases can be prevented by providing good air circulation and avoiding overhead watering.
When should I harvest my bell peppers?
Bell peppers are typically ready to harvest 60-90 days after transplanting, depending on the variety. The peppers should be firm, glossy, and have reached their mature color. You can harvest green bell peppers when they are still green, or you can wait until they turn red, yellow, or orange. Use a sharp knife or pruning shears to cut the peppers from the plant, leaving a small stem attached.
Can I grow bell peppers indoors?
Yes, you can grow bell peppers indoors, but you’ll need to provide them with plenty of light. Place your plants near a sunny window or use grow lights to supplement the natural light. You’ll also need to pollinate the flowers by hand, using a small brush to transfer pollen from one flower to another.
Why are my bell pepper flowers falling off?
Bell pepper flowers can fall off for a variety of reasons, including temperature stress, lack of pollination, and nutrient deficiencies. Make sure your plants are getting enough sunlight and water, and that the temperature is within the optimal range (65-85°F). You can also try hand-pollinating the flowers to ensure that they are properly pollinated.
How do I deal with blossom end rot on my bell peppers?
Blossom end rot is a common problem that affects bell peppers, causing a dark, sunken spot to appear on the bottom of the fruit. It’s caused by a calcium deficiency, which can be due to inconsistent watering, poor soil drainage, or a lack of calcium in the soil. To prevent blossom end rot, ensure that your plants are getting consistent watering and that the soil is well-draining. You can also add calcium to the soil by amending it with bone meal or crushed eggshells. If you see signs of blossom end rot, remove the affected fruit from the plant.
Leave a Comment