
Grow Arugula Indoors? Absolutely! Imagine fresh, peppery arugula gracing your salads and sandwiches, even when the snow is falling outside. No more sad, wilted greens from the grocery store – just vibrant, flavorful arugula harvested straight from your windowsill. For centuries, people have cultivated herbs and vegetables indoors, a practice that connects us to the earth and provides fresh produce regardless of the season. Think of the ancient Romans with their rooftop gardens, or the medieval monks tending to their medicinal herbs within cloistered walls.
But why should you bother learning to grow arugula indoors? Well, for starters, it’s incredibly rewarding! There’s something deeply satisfying about nurturing a plant from seed to harvest. Plus, it’s a fantastic way to add fresh, healthy greens to your diet, save money on groceries, and reduce your environmental impact. Let’s be honest, who doesn’t love the idea of having a mini-farm right in their kitchen? In this article, I’m going to share some simple, yet effective DIY tricks and hacks that will have you harvesting your own delicious arugula in no time. Get ready to unleash your inner gardener and enjoy the taste of homegrown goodness!
Grow Your Own Arugula Indoors: A Spicy Salad Adventure!
Hey there, fellow plant enthusiasts! Are you craving that peppery, zesty bite of fresh arugula but don’t have a garden or the right weather? Don’t worry, I’ve got you covered! Growing arugula indoors is surprisingly easy and rewarding. I’m going to walk you through everything you need to know to have a constant supply of this delicious green right at your fingertips.
What You’ll Need: The Arugula Arsenal
Before we dive in, let’s gather our supplies. This is what I’ve found works best for me:
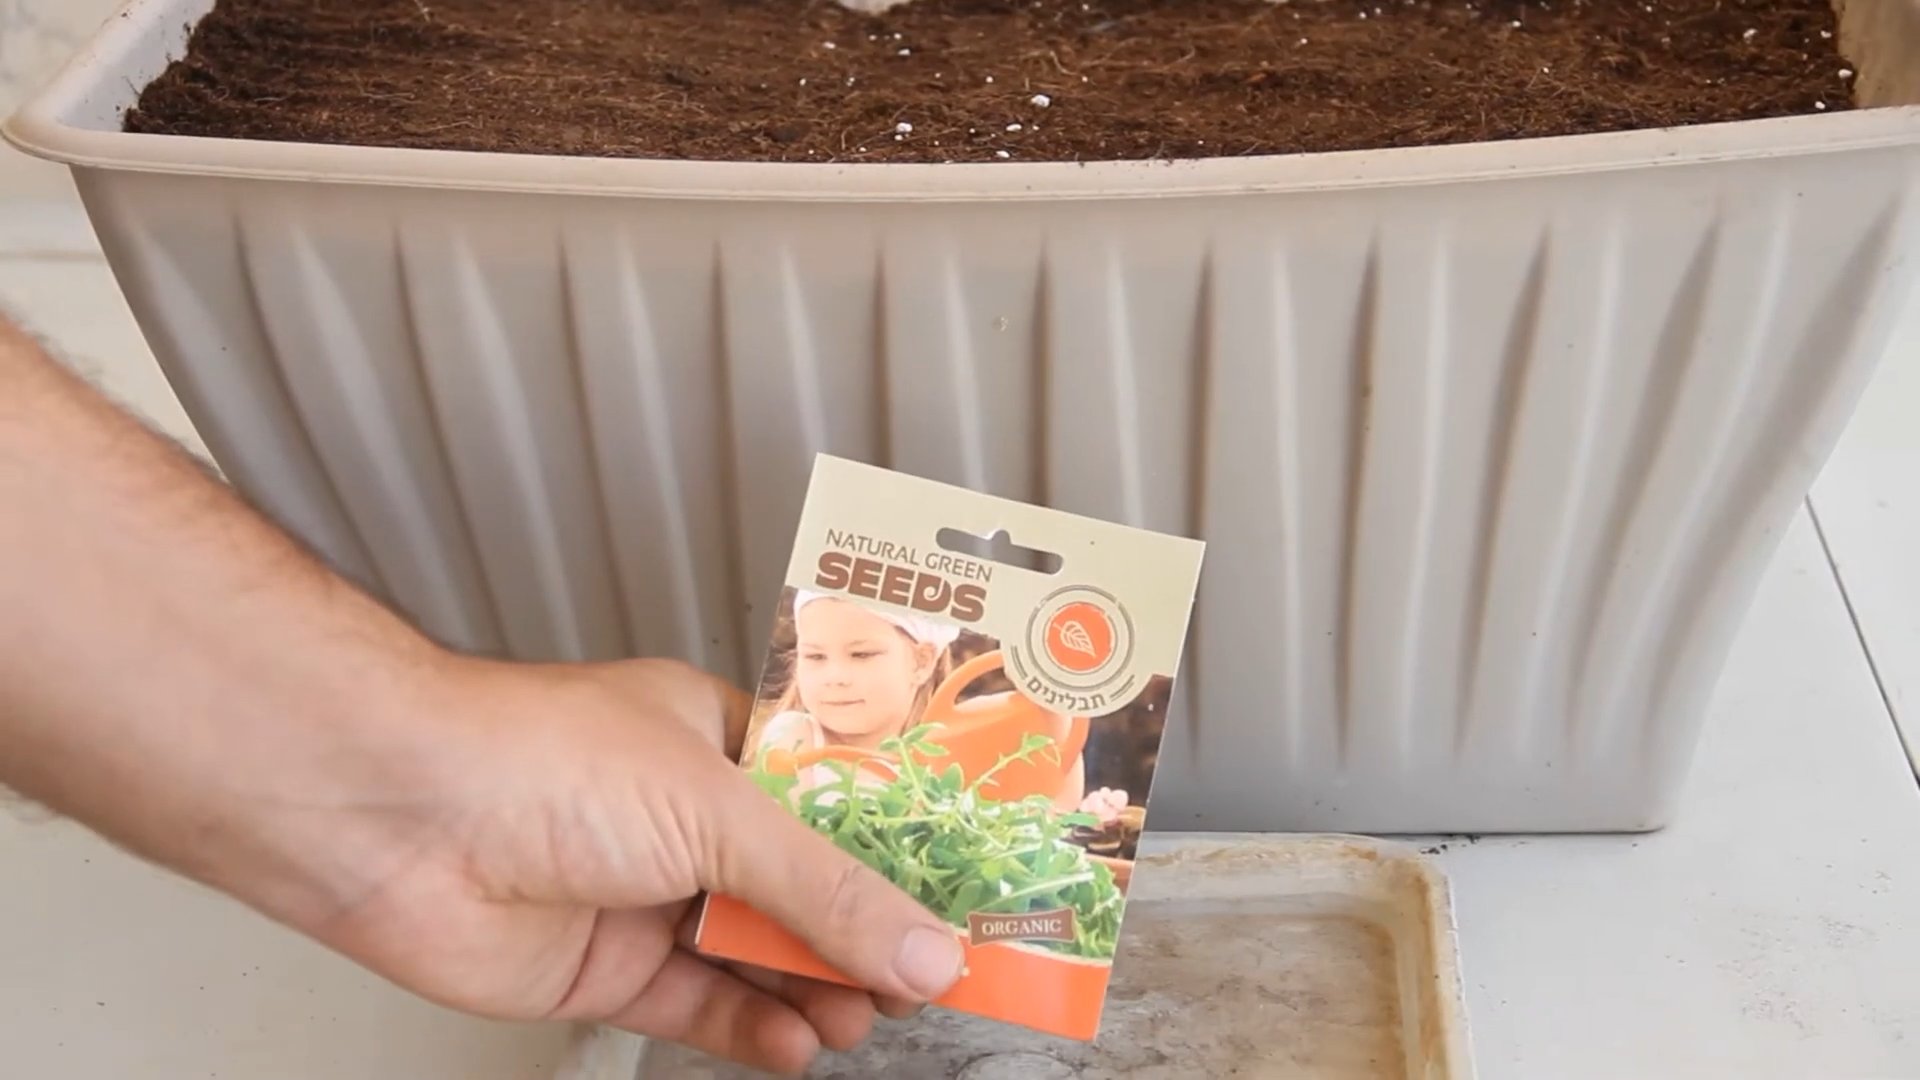
* **Arugula Seeds:** Choose a variety that you like. I personally love ‘Astro’ for its fast growth and robust flavor.
* **Containers:** You can use almost anything with drainage holes! I’ve had success with plastic pots, terracotta pots, even recycled yogurt containers. Just make sure they’re at least 6 inches deep.
* **Potting Mix:** Use a high-quality, well-draining potting mix. Avoid garden soil, as it can compact and hinder drainage. I prefer a mix specifically formulated for seedlings or vegetables.
* **Grow Lights (Optional but Recommended):** While arugula can tolerate some shade, it thrives with bright light. If you don’t have a sunny windowsill, invest in a grow light. A simple LED grow light will do the trick.
* **Watering Can or Spray Bottle:** For gentle watering.
* **Seed Starting Tray (Optional):** If you want to start your seeds in a tray before transplanting.
* **Small Shovel or Spoon:** For handling soil and seedlings.
* **Plant Labels:** To keep track of what you’ve planted. Trust me, it’s easy to forget!
Phase 1: Sowing the Seeds of Success
This is where the magic begins! Getting your seeds started right is crucial for a bountiful arugula harvest.
1. **Prepare Your Containers:** Fill your chosen containers with potting mix, leaving about an inch of space at the top. Gently pat down the soil to remove any air pockets.
2. **Sow the Seeds:** Sprinkle the arugula seeds evenly over the surface of the soil. You don’t need to bury them too deep; about 1/4 inch is perfect. Arugula seeds are tiny, so be careful not to overcrowd them. I usually aim for about 5-6 seeds per square inch.
3. Cover Lightly: Sprinkle a thin layer of potting mix over the seeds.
4. **Water Gently:** Use a watering can or spray bottle to moisten the soil thoroughly. Be careful not to dislodge the seeds. You want the soil to be damp, not soggy.
5. **Create a Humid Environment (Optional):** To help with germination, you can cover the containers with a clear plastic bag or a humidity dome. This will trap moisture and create a greenhouse-like environment. Just remember to remove the cover once the seedlings emerge to prevent fungal growth.
6. **Find the Perfect Spot:** Place your containers in a warm location with plenty of light. A sunny windowsill facing south or west is ideal. If you’re using grow lights, position them a few inches above the soil surface.
7. **Keep the Soil Moist:** Check the soil moisture daily and water as needed to keep it consistently damp. Avoid overwatering, which can lead to root rot.
Phase 2: Nurturing Your Seedlings
Once your arugula seeds have sprouted, it’s time to nurture them into healthy, vibrant plants.
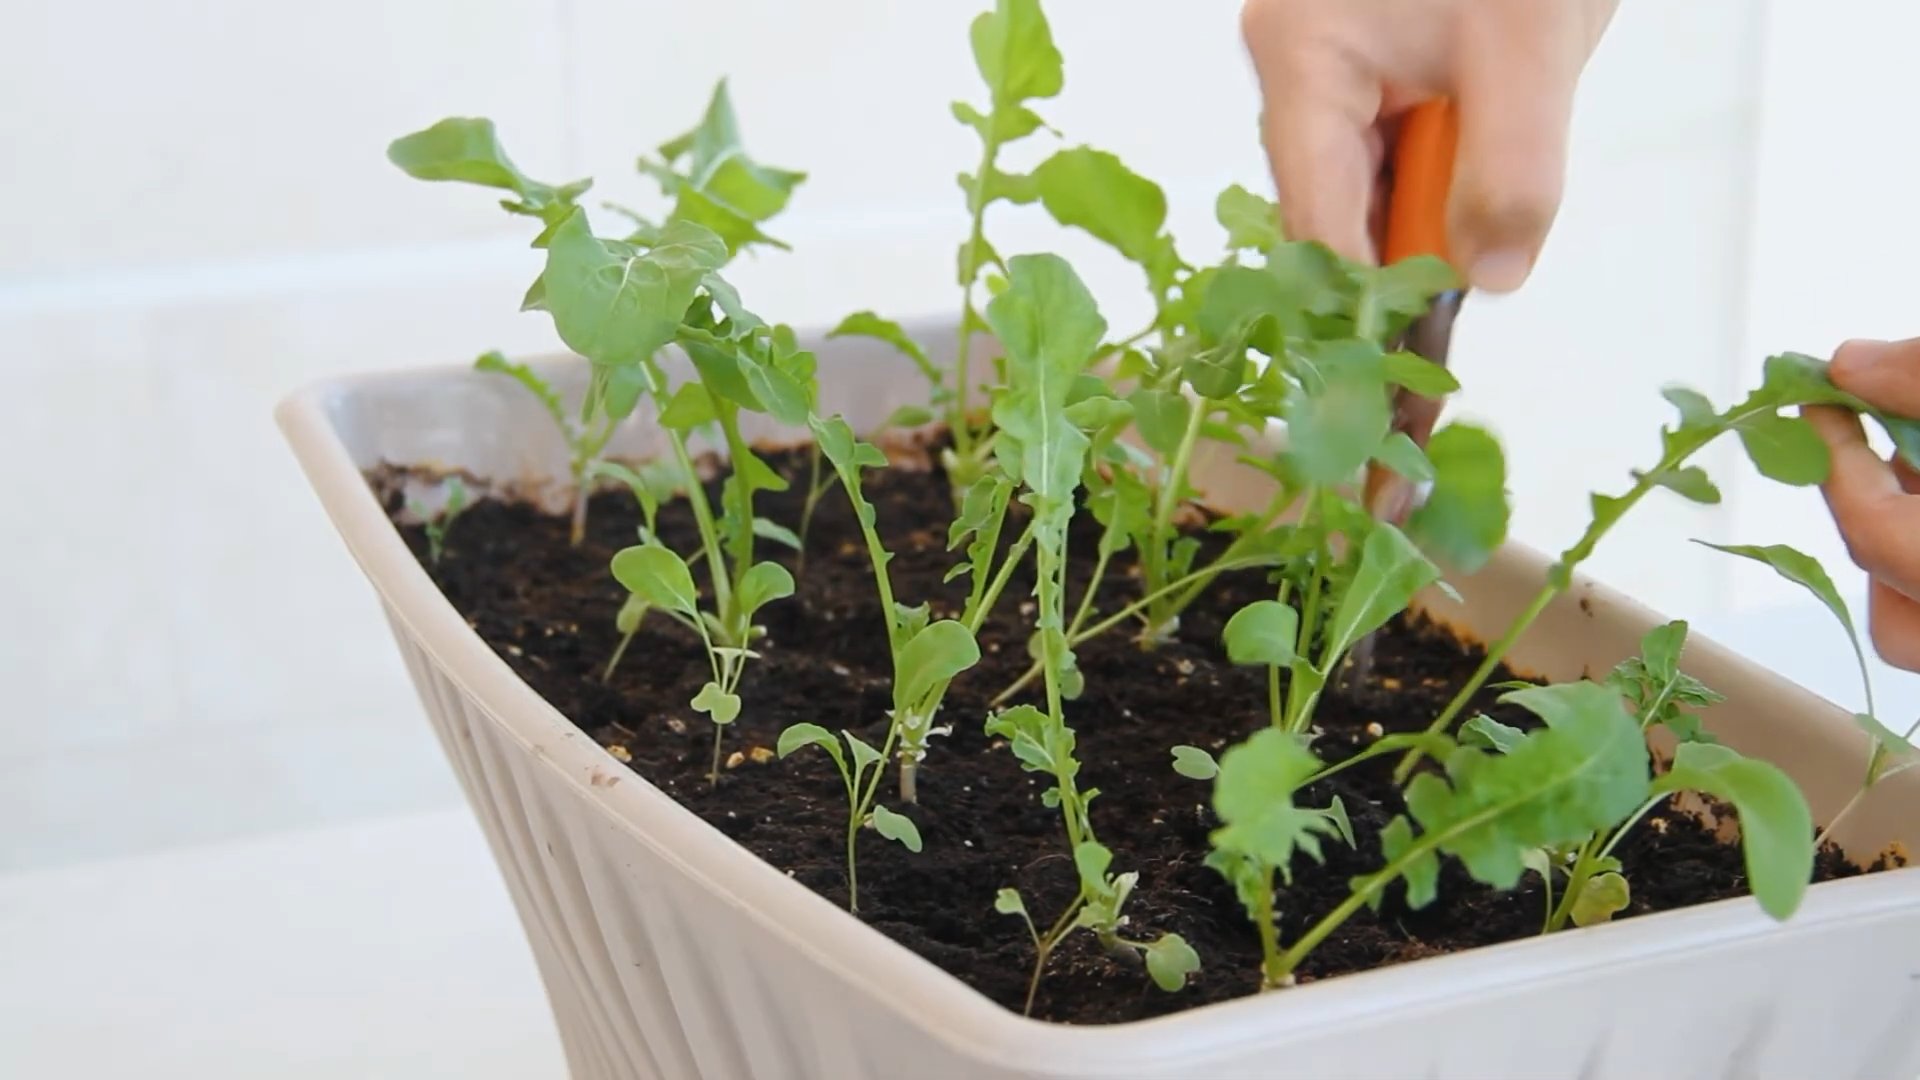
1. **Thin the Seedlings (If Necessary):** If your seedlings are overcrowded, thin them out by gently snipping off the weaker ones at the soil line. This will give the remaining seedlings more space to grow. I usually wait until the seedlings have their first true leaves (the second set of leaves that appear after the initial seed leaves) before thinning.
2. **Provide Adequate Light:** Arugula needs at least 6 hours of sunlight per day. If you’re using grow lights, keep them on for 12-14 hours per day.
3. **Water Regularly:** Continue to water your arugula seedlings regularly, keeping the soil consistently moist but not soggy.
4. **Fertilize (Optional):** Arugula doesn’t need a lot of fertilizer, but you can give it a boost with a diluted liquid fertilizer every few weeks. I like to use a balanced organic fertilizer. Follow the instructions on the fertilizer packaging.
5. **Monitor for Pests and Diseases:** Keep an eye out for any signs of pests or diseases. Aphids and flea beetles are common arugula pests. You can usually control them with insecticidal soap or neem oil. If you notice any signs of fungal disease, such as powdery mildew, improve air circulation and avoid overwatering.
Phase 3: Harvesting Your Spicy Greens
The best part! Harvesting your own arugula is incredibly satisfying.
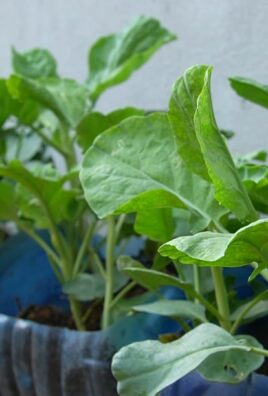
1. **Harvest When Ready:** You can start harvesting arugula leaves when they are about 3-4 inches long. I usually harvest the outer leaves first, leaving the inner leaves to continue growing.
2. **Harvesting Technique:** Use scissors or your fingers to snip off the leaves at the base of the plant. Be gentle to avoid damaging the remaining leaves.
3. **Succession Planting:** To ensure a continuous supply of arugula, sow new seeds every 2-3 weeks. This is called succession planting. I usually have several containers of arugula at different stages of growth.
4. **Enjoy Your Harvest:** Wash your freshly harvested arugula leaves and enjoy them in salads, sandwiches, pizzas, or any other dish that calls for a peppery kick. Arugula is also delicious sautéed or added to soups.
Troubleshooting Tips: Arugula SOS
Even with the best intentions, sometimes things don’t go exactly as planned. Here are a few common problems and how to fix them:
* **Leggy Seedlings:** This usually means your seedlings aren’t getting enough light. Move them to a sunnier location or provide supplemental light with grow lights.
* **Yellowing Leaves:** This could be a sign of overwatering, underwatering, or nutrient deficiency. Check the soil moisture and adjust your watering accordingly. If the soil is consistently moist, you may be overwatering. If the soil is dry to the touch, you may be underwatering. If you suspect a nutrient deficiency, try fertilizing with a diluted liquid fertilizer.
* **Slow Growth:** This could be due to a variety of factors, including insufficient light, poor soil, or cold temperatures. Make sure your arugula is getting enough light, use a high-quality potting mix, and keep the temperature above 60°F (15°C).
* Bitter Taste: Arugula can become bitter if it’s stressed by heat or lack of water. Try to keep the soil consistently moist and provide some shade during the hottest part of the day.
Extra Tips for Arugula Awesomeness
* Choose the Right Variety: Some arugula varieties are more heat-tolerant than others. If you live in a warm climate, choose a heat-tolerant variety.
* Provide Good Air Circulation: Good air circulation will help prevent fungal diseases. Make sure your arugula plants have enough space between them and avoid overcrowding.
* Rotate Your Crops: If you’re growing arugula in the same container year after year, the soil can become depleted of nutrients. Rotate your crops by planting different vegetables in the container each year.
* Experiment with Different Growing Mediums: While potting mix is the most common growing medium for arugula, you can also try growing it in other mediums, such as coco coir or perlite.
* Have Fun! Growing arugula indoors should be a fun and rewarding experience. Don’t be afraid to experiment and try new things.
Growing arugula indoors is a fantastic way to enjoy fresh, flavorful greens year-round. With a little bit of care and attention, you can have a constant supply of this delicious vegetable right in your own home. Happy growing!
Conclusion
So, there you have it! Growing arugula indoors is not only achievable, but it’s also a remarkably rewarding experience. Forget those limp, pre-packaged greens from the grocery store. Imagine the satisfaction of snipping fresh, peppery arugula leaves right from your windowsill, adding a vibrant burst of flavor to your salads, pizzas, and sandwiches. This DIY trick is a must-try for anyone seeking a sustainable, cost-effective, and incredibly convenient way to enjoy fresh produce year-round.
Why is this method so compelling? First, it puts you in complete control. You dictate the growing conditions, ensuring your arugula is free from harmful pesticides and herbicides. Second, it’s incredibly space-efficient. Even if you live in a small apartment, you can cultivate a thriving arugula patch with just a few pots and a sunny window. Third, it’s a fantastic way to reduce your carbon footprint by minimizing your reliance on commercially grown and transported produce.
But the benefits don’t stop there. Growing your own arugula indoors opens up a world of culinary possibilities. Experiment with different varieties of arugula, each offering a unique flavor profile. Try ‘Sylvetta’ for a milder, more delicate taste, or ‘Wasabi’ arugula for a fiery kick. You can even mix arugula with other leafy greens like spinach or lettuce to create a custom salad blend.
Consider these variations to personalize your indoor arugula garden:
* Vertical Gardening: If you’re short on horizontal space, explore vertical gardening options. Wall-mounted planters or tiered shelves can maximize your growing area and add a touch of greenery to your home decor.
* Hydroponics: For a more advanced approach, try growing arugula hydroponically. This soilless method can accelerate growth and produce even more abundant harvests.
* Succession Planting: To ensure a continuous supply of fresh arugula, practice succession planting. Sow new seeds every few weeks to stagger your harvests and avoid periods of scarcity.
* Companion Planting: Plant your arugula alongside other herbs like basil or chives. These companion plants can help deter pests and enhance the flavor of your arugula.
Don’t be intimidated if you’re a beginner gardener. Growing arugula indoors is surprisingly easy, and the rewards are well worth the effort. With a little bit of care and attention, you’ll be enjoying fresh, flavorful arugula in no time.
We wholeheartedly encourage you to give this DIY trick a try. Start small, experiment with different techniques, and most importantly, have fun! Once you’ve experienced the joy of harvesting your own homegrown arugula, you’ll never look at store-bought greens the same way again.
We’d love to hear about your experiences! Share your tips, tricks, and photos of your indoor arugula gardens in the comments below. Let’s create a community of indoor gardening enthusiasts and inspire others to embrace the joys of growing their own food. What are you waiting for? Get planting!
Frequently Asked Questions (FAQ)
What is the best time of year to grow arugula indoors?
The beauty of growing arugula indoors is that you can do it year-round! Unlike outdoor gardening, you’re not limited by seasonal weather conditions. As long as you provide adequate light, temperature, and moisture, you can enjoy fresh arugula any time of the year. However, you might find that arugula grows slightly faster during the spring and summer months due to the increased natural light. During the fall and winter, you may need to supplement with artificial lighting to ensure optimal growth.
How much sunlight does arugula need when grown indoors?
Arugula thrives in bright, indirect sunlight. Aim for at least 6 hours of sunlight per day. A south-facing window is ideal, but east- or west-facing windows can also work. If you don’t have access to enough natural light, consider using grow lights. Fluorescent or LED grow lights are excellent options for supplementing sunlight and ensuring healthy arugula growth. Position the lights a few inches above the plants and keep them on for 12-14 hours per day.
What type of soil is best for growing arugula indoors?
Arugula prefers well-draining soil that is rich in organic matter. A good potting mix specifically formulated for vegetables or herbs is an excellent choice. You can also create your own potting mix by combining equal parts of compost, peat moss, and perlite or vermiculite. Avoid using garden soil, as it can be too heavy and may contain pests or diseases. Ensure your pots have drainage holes to prevent waterlogging, which can lead to root rot.
How often should I water my indoor arugula plants?
Water your arugula plants regularly, keeping the soil consistently moist but not soggy. Check the soil moisture level daily by sticking your finger about an inch into the soil. If the soil feels dry, it’s time to water. Water deeply, allowing the excess water to drain out of the drainage holes. Avoid overwatering, as this can lead to root rot. During the warmer months, you may need to water more frequently than during the cooler months.
How long does it take for arugula to grow indoors?
Arugula is a fast-growing plant, and you can typically start harvesting leaves within 3-4 weeks of planting. The exact time will depend on the variety of arugula, the growing conditions, and your desired leaf size. For baby greens, you can harvest when the leaves are about 2-3 inches long. For larger, more mature leaves, wait until they are about 4-6 inches long.
How do I harvest arugula leaves?
Harvest arugula leaves by snipping them off at the base of the plant with scissors or garden shears. Avoid pulling the entire plant out of the soil, as this will prevent further growth. Harvest the outer leaves first, allowing the inner leaves to continue growing. You can harvest arugula multiple times from the same plant, providing a continuous supply of fresh greens.
What are some common pests and diseases that affect indoor arugula?
While growing arugula indoors reduces the risk of pest and disease problems, it’s still important to be vigilant. Common pests that may affect indoor arugula include aphids, spider mites, and whiteflies. Inspect your plants regularly for signs of infestation, such as small insects, webbing, or yellowing leaves. If you spot any pests, you can try washing them off with a strong stream of water or using insecticidal soap. Diseases are less common indoors, but root rot can occur if the soil is consistently waterlogged. Ensure your pots have drainage holes and avoid overwatering.
Can I grow arugula from seed indoors?
Yes, growing arugula from seed indoors is easy and rewarding. Sow the seeds directly into your prepared potting mix, spacing them about 1 inch apart. Cover the seeds with a thin layer of soil and gently water them. Keep the soil consistently moist until the seeds germinate, which usually takes about 5-7 days. Once the seedlings emerge, thin them out to about 2-3 inches apart to allow them room to grow.
How can I make my arugula taste less bitter?
Arugula’s peppery flavor is part of its appeal, but some varieties can be quite bitter, especially when grown in hot conditions. To reduce bitterness, try providing your arugula plants with consistent moisture and shade during the hottest part of the day. Harvesting the leaves when they are young and tender can also help to minimize bitterness. You can also try growing milder varieties of arugula, such as ‘Sylvetta’.
Can I grow arugula in containers other than pots?
Absolutely! While pots are a popular choice, you can grow arugula in a variety of containers, as long as they have drainage holes. Consider using window boxes, hanging baskets, or even repurposed containers like plastic tubs or buckets. Get creative and find containers that suit your space and style. Just make sure the containers are large enough to accommodate the arugula plants and provide adequate drainage.

Leave a Comment