
DIY Vinegar Cleaner Recipes are your secret weapon for a sparkling clean home without harsh chemicals! Are you tired of spending a fortune on cleaning products filled with ingredients you can’t even pronounce? I know I was! That’s why I dove headfirst into the world of homemade cleaners, and let me tell you, the results are amazing.
Vinegar, a staple in kitchens for centuries, has a surprisingly rich history as a cleaning agent. From ancient civilizations using it to disinfect wounds to our grandmothers relying on it for everyday chores, vinegar’s cleaning power is no secret. But did you know just how versatile it can be?
In this article, I’m going to share my favorite DIY Vinegar Cleaner Recipes that are not only incredibly effective but also budget-friendly and eco-conscious. We’ll cover everything from all-purpose sprays to specialized solutions for tackling tough grime. Say goodbye to toxic fumes and hello to a naturally clean and fresh home! Plus, you’ll save money and reduce your environmental impact – it’s a win-win!
DIY Vinegar Cleaner: Your All-Natural Cleaning Powerhouse
Hey there, fellow DIY enthusiasts! I’m so excited to share my favorite vinegar cleaner recipes with you. Vinegar is a fantastic, eco-friendly, and budget-friendly cleaning agent that can tackle a surprising number of household chores. Forget harsh chemicals – let’s harness the power of vinegar!
Why Vinegar?
Before we dive into the recipes, let’s quickly chat about why vinegar is such a cleaning superstar. It’s naturally acidic, which helps to dissolve grime, soap scum, hard water stains, and even some types of mold. Plus, it’s non-toxic and safe for your family and pets (when used correctly, of course!).
Important Considerations Before You Start
* Always dilute vinegar: Undiluted vinegar can be too harsh for some surfaces.
* Don’t mix with bleach: This is a big no-no! Mixing vinegar and bleach creates toxic chlorine gas.
* Test on an inconspicuous area: Before cleaning an entire surface, test your vinegar solution on a small, hidden spot to ensure it doesn’t cause any damage or discoloration.
* Avoid certain surfaces: Don’t use vinegar on natural stone surfaces like marble or granite, as it can etch them. Also avoid using it on waxed furniture, as it can strip the wax.
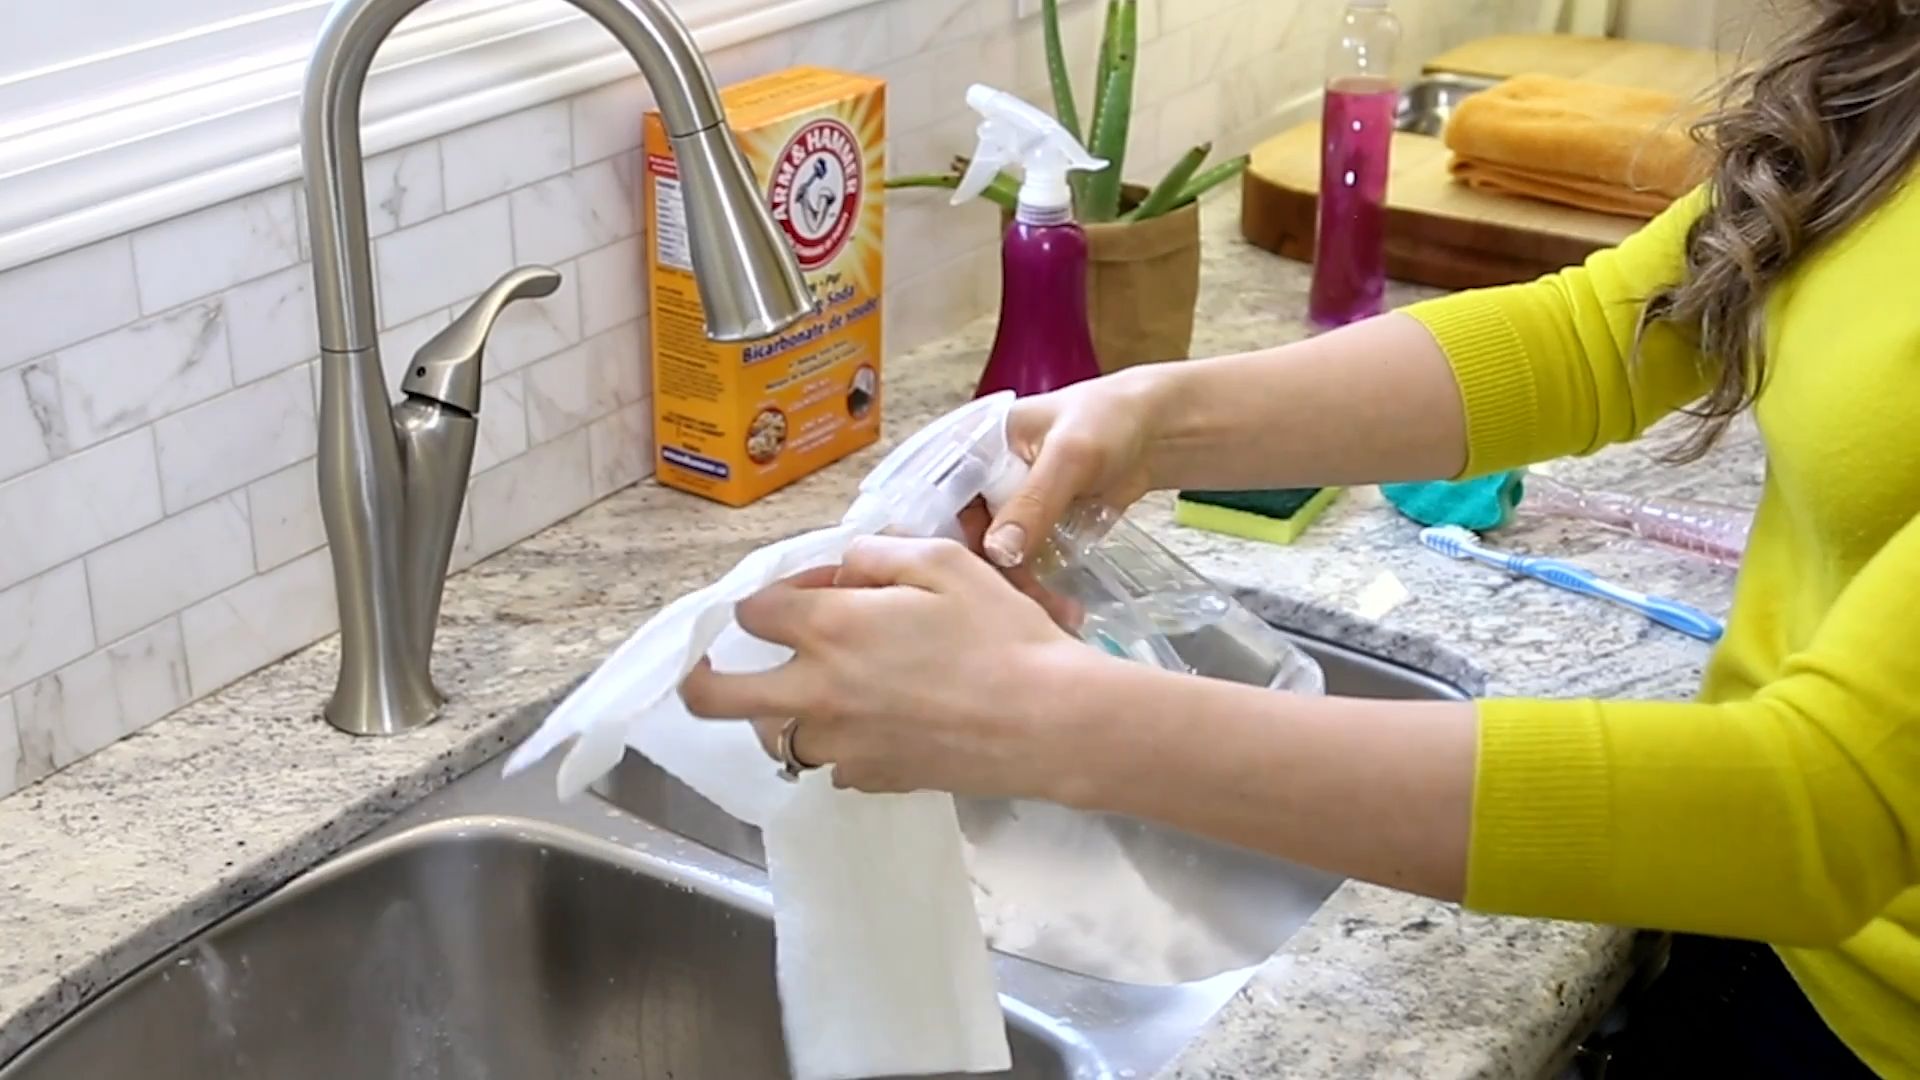
General All-Purpose Vinegar Cleaner
This is my go-to cleaner for everyday messes. It’s simple, effective, and smells fresh (especially with the essential oils!).
Ingredients:
* 1 part white distilled vinegar
* 1 part water
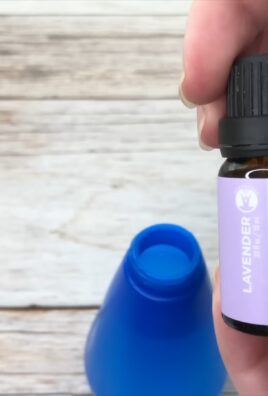
* 10-20 drops of your favorite essential oil (lemon, lavender, tea tree, and eucalyptus are great choices)
* Spray bottle
Instructions:
1. Combine ingredients: In your spray bottle, mix the vinegar and water.
2. Add essential oils: Add your chosen essential oils. The essential oils not only add a pleasant scent but also have their own antibacterial and antifungal properties.
3. Shake well: Give the bottle a good shake to combine everything.
4. Spray and wipe: Spray the solution onto the surface you want to clean and wipe it down with a clean cloth or sponge.
5. Dry if needed: If the surface is particularly wet, dry it with a clean towel.
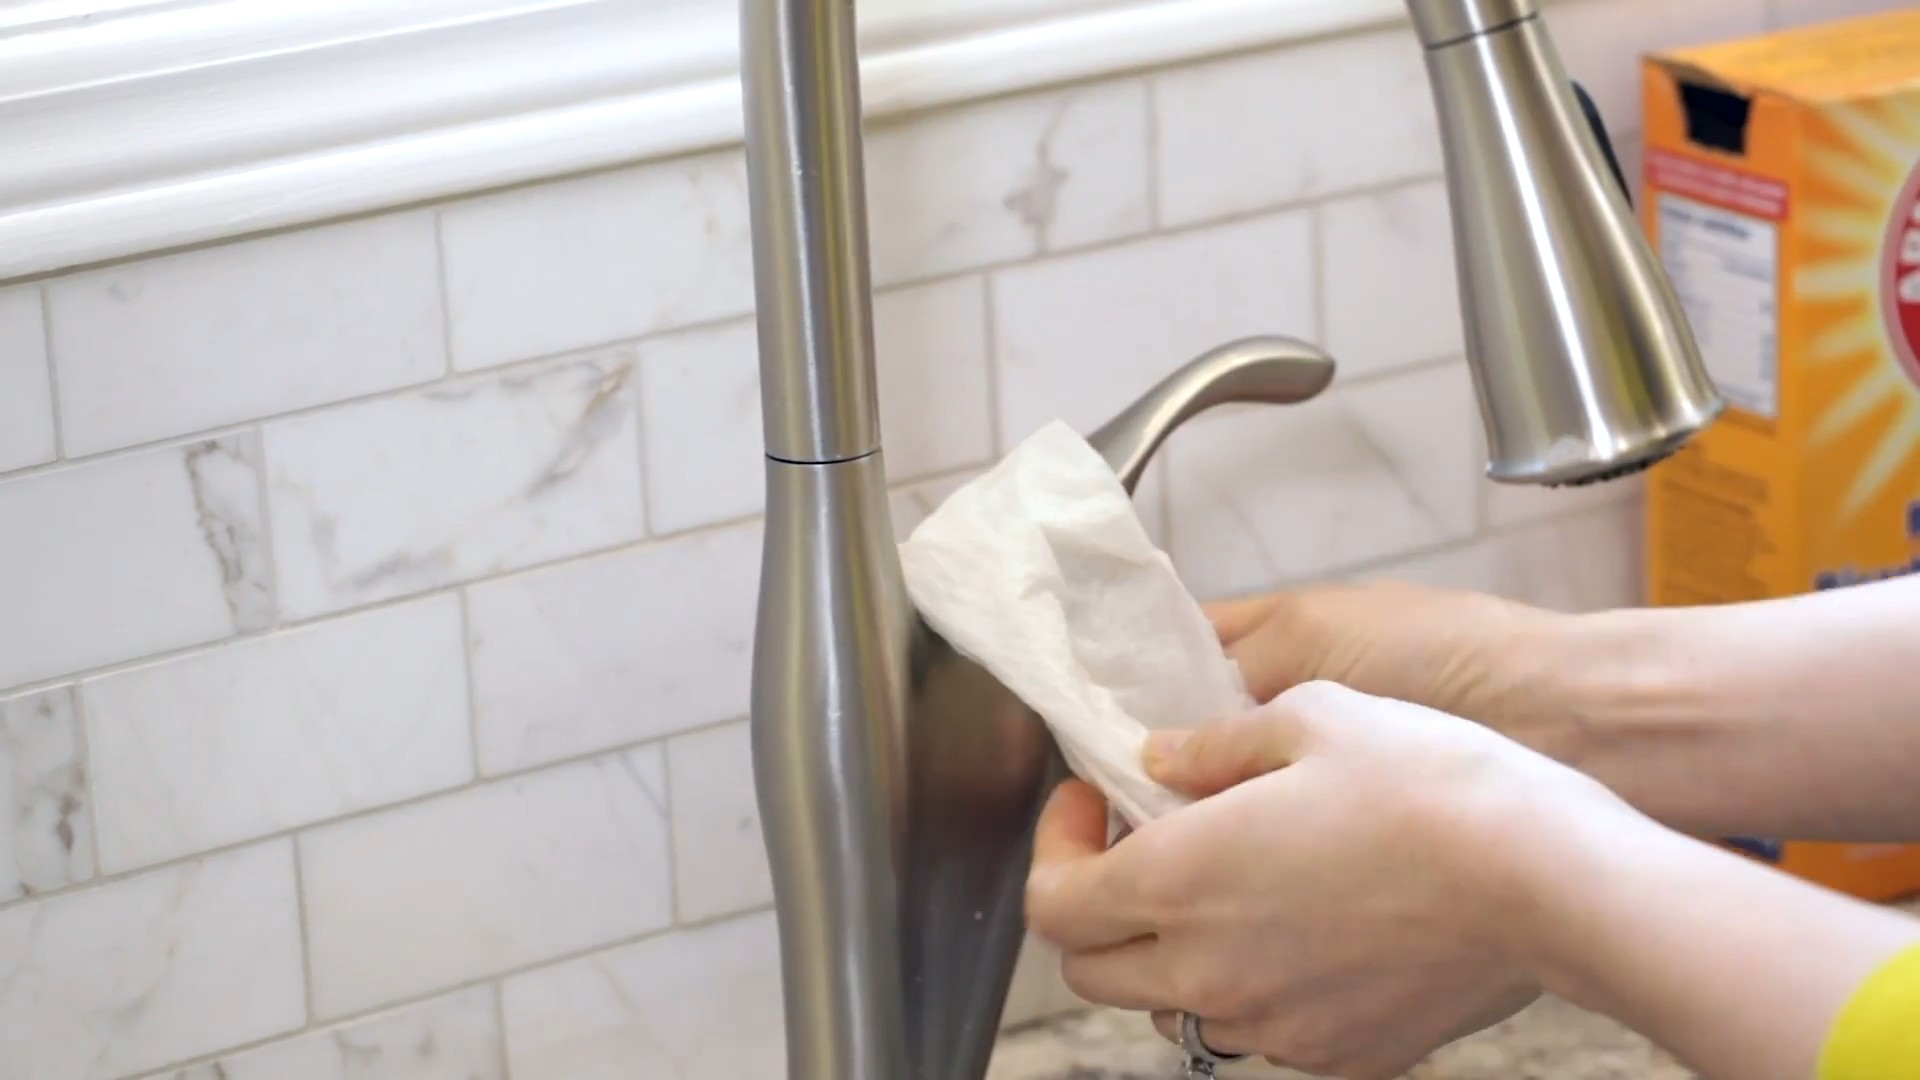
Vinegar Window and Glass Cleaner
Say goodbye to streaks! This vinegar-based window cleaner will leave your windows and mirrors sparkling.
Ingredients:
* 1/4 cup white distilled vinegar
* 2 cups water
* Spray bottle
* Microfiber cloth
Instructions:
1. Mix the solution: In your spray bottle, combine the vinegar and water.
2. Spray the glass: Lightly spray the solution onto your windows or mirrors. Don’t over-saturate them.
3. Wipe with a microfiber cloth: Use a clean, dry microfiber cloth to wipe the glass in a circular motion. Microfiber cloths are key to streak-free cleaning.
4. Buff dry: If you notice any streaks, buff the glass with a dry section of the microfiber cloth.
Vinegar Shower Cleaner
Tired of soap scum and mildew in your shower? This vinegar cleaner is your answer!
Ingredients:
* 1 cup white distilled vinegar
* 1 cup water
* Spray bottle
Instructions:
1. Heat the vinegar (optional): For extra cleaning power, you can heat the vinegar in the microwave for about a minute (be careful not to boil it!). Heating the vinegar helps to loosen stubborn soap scum.
2. Mix the solution: In your spray bottle, combine the vinegar and water. If you heated the vinegar, let it cool slightly before adding it to the spray bottle.
3. Spray the shower: Spray the solution liberally onto the shower walls, floor, and fixtures.
4. Let it sit: Allow the solution to sit for at least 30 minutes, or even longer for tough stains.
5. Scrub and rinse: Use a scrub brush or sponge to scrub away the soap scum and mildew.
6. Rinse thoroughly: Rinse the shower with clean water.
Vinegar Toilet Bowl Cleaner
Keep your toilet bowl clean and fresh with this simple vinegar solution.
Ingredients:
* 1-2 cups white distilled vinegar
Instructions:
1. Pour vinegar into the bowl: Pour the vinegar directly into the toilet bowl.
2. Let it sit: Allow the vinegar to sit for at least an hour, or even overnight for stubborn stains.
3. Scrub and flush: Use a toilet brush to scrub the bowl thoroughly, paying attention to any stains or buildup.
4. Flush the toilet: Flush the toilet to rinse away the vinegar and debris.
Vinegar Drain Cleaner
A clogged drain is a common household problem. This vinegar and baking soda solution can help to clear minor clogs.
Ingredients:
* 1 cup baking soda
* 2 cups white distilled vinegar
* Hot water
Instructions:
1. Pour baking soda down the drain: Pour the baking soda down the clogged drain.
2. Pour vinegar down the drain: Immediately follow with the vinegar.
3. Let it fizz: The baking soda and vinegar will react and create a fizzing action. Let this fizz for about 30 minutes.
4. Flush with hot water: After 30 minutes, pour a pot of boiling water down the drain to flush away the clog.
5. Repeat if necessary: If the drain is still clogged, repeat the process.
Vinegar Laundry Softener
Skip the expensive fabric softeners and use vinegar instead! It’s a natural way to soften your clothes and remove odors.
Ingredients:
* 1/2 cup white distilled vinegar
Instructions:
1. Add vinegar to the rinse cycle: Add the vinegar to your washing machine’s fabric softener dispenser or directly into the rinse cycle.
2. Wash as usual: Wash your clothes as you normally would. Don’t worry, your clothes won’t smell like vinegar after they’re dry!
Vinegar Microwave Cleaner
Cleaning a microwave can be a pain, but this vinegar trick makes it easy.
Ingredients:
* 1/2 cup white distilled vinegar
* 1/2 cup water
* Microwave-safe bowl
Instructions:
1. Combine vinegar and water: In the microwave-safe bowl, combine the vinegar and water.
2. Microwave for several minutes: Microwave the mixture on high for 5-7 minutes, or until the solution is boiling and the microwave is filled with steam.
3. Let it sit: Leave the microwave door closed for another 5-10 minutes to allow the steam to loosen any stuck-on food particles.
4. Wipe clean: Carefully remove the bowl (it will be hot!) and wipe down the inside of the microwave with a clean cloth or sponge. The grime should wipe away easily.
Vinegar Coffee Maker Cleaner
Keep your coffee maker running smoothly and your coffee tasting fresh by cleaning it with vinegar.
Ingredients:
* White distilled vinegar
* Water
Instructions:
1. Fill the water reservoir: Fill the coffee maker’s water reservoir with a solution of half white distilled vinegar and half water.
2. Brew halfway: Start the brewing cycle and let it brew halfway through.
3. Let it sit: Turn off the coffee maker and let the vinegar solution sit in the reservoir for about an hour.
4. Finish brewing: Turn the coffee maker back on and let it finish brewing.
5. Rinse with water: Run two or three cycles of fresh water through the coffee maker to rinse away any remaining vinegar.
Vinegar Cutting Board Sanitizer
Cutting boards can harbor bacteria, so it’s important to sanitize them regularly. Vinegar is a great natural sanitizer.
Ingredients:
* White distilled vinegar
Instructions:
1. Spray the cutting board: Spray the cutting board liberally with white distilled vinegar.
2. Let it sit: Allow the vinegar to sit on the cutting board for at least 5 minutes.
3. Wipe clean: Wipe the cutting board clean with a clean cloth or sponge.
4. Rinse (optional): You can rinse the cutting board with water if desired.
Vinegar Weed Killer
This is a natural alternative to chemical weed killers. It works best on young weeds.
Ingredients:
* White distilled vinegar
* Spray bottle
Instructions:
1. Pour vinegar into spray bottle: Pour the vinegar into a spray bottle.
2. Spray weeds: Spray the vinegar directly onto the weeds, being careful not to spray any surrounding plants that
Conclusion
So, there you have it! Ditching those harsh chemicals and embracing the power of a homemade DIY vinegar cleaner isn’t just a trend; it’s a smart, sustainable, and surprisingly effective way to keep your home sparkling. We’ve explored several variations, from the basic all-purpose spray to specialized solutions for tackling tough grime and stubborn odors. The beauty of these recipes lies in their simplicity and adaptability. You’re not locked into a rigid formula; feel free to experiment with different essential oil combinations to create a scent profile that truly resonates with you and your home.
Think about adding a few drops of tea tree oil to your bathroom cleaner for its extra antibacterial properties, or perhaps a citrus blend to your kitchen spray for a zesty, invigorating aroma. For those particularly stubborn stains on your stovetop, consider creating a paste of baking soda and vinegar, letting it sit for a few minutes before scrubbing. The possibilities are truly endless!
Beyond the cost savings and the peace of mind knowing exactly what you’re spraying around your family and pets, using a DIY vinegar cleaner is a conscious choice to reduce your environmental impact. You’re minimizing plastic waste by reusing spray bottles and opting for natural ingredients over potentially harmful chemicals that can pollute our waterways.
Why is this a must-try? Because it’s effective, affordable, eco-friendly, and customizable. It’s a win-win-win-win! You’ll be amazed at how well vinegar cuts through grease, disinfects surfaces, and leaves your home feeling fresh and clean.
We wholeheartedly encourage you to give these DIY vinegar cleaner recipes a try. Start with the basic all-purpose spray and see how it transforms your cleaning routine. Don’t be afraid to experiment with different variations and find the perfect blend that suits your needs and preferences.
But most importantly, we want to hear about your experience! Did you discover a particularly effective essential oil combination? Did you find a unique way to use your DIY vinegar cleaner? Share your tips, tricks, and triumphs in the comments below. Let’s build a community of eco-conscious cleaners who are passionate about creating a healthier and happier home, one vinegar-powered spray at a time. Your insights could inspire others to make the switch and experience the benefits of this simple yet powerful cleaning solution. Let us know what you think about our DIY vinegar cleaner recipes!
Frequently Asked Questions (FAQs)
Is vinegar safe to use on all surfaces?
While vinegar is a fantastic all-purpose cleaner, it’s important to note that it’s not suitable for all surfaces. Avoid using vinegar on natural stone surfaces like marble, granite, and limestone, as the acidity can etch and damage them. It’s also best to avoid using vinegar on waxed furniture, as it can strip the wax finish. Always test your DIY vinegar cleaner on an inconspicuous area first to ensure it doesn’t cause any discoloration or damage. For delicate surfaces, consider diluting the vinegar solution further or using a different cleaning method altogether. When in doubt, consult the manufacturer’s instructions for your specific surface.
What type of vinegar should I use for cleaning?
The best type of vinegar for cleaning is plain white distilled vinegar. It’s inexpensive, readily available, and has a consistent acidity level, making it ideal for a wide range of cleaning tasks. Avoid using flavored vinegars, such as apple cider vinegar or balsamic vinegar, as they may contain sugars or other additives that can leave a sticky residue or stain surfaces. While apple cider vinegar can be used in some cleaning applications, it’s generally not as effective as white distilled vinegar and may have a stronger odor. Stick to the clear, distilled variety for the best results.
How do I get rid of the vinegar smell?
The strong smell of vinegar is a common concern for many people, but the good news is that it dissipates quickly. To minimize the odor, ensure proper ventilation by opening windows or turning on a fan while cleaning. You can also add essential oils to your DIY vinegar cleaner to mask the vinegar smell and leave a pleasant scent behind. Citrus oils like lemon, orange, and grapefruit are particularly effective at neutralizing the vinegar odor. Lavender, eucalyptus, and tea tree oil are also popular choices. Experiment with different essential oil combinations to find a scent that you enjoy. The vinegar smell will typically disappear within a few minutes, leaving behind only the fragrance of your chosen essential oils.
Can I use DIY vinegar cleaner to disinfect?
While vinegar does have some antibacterial and antiviral properties, it’s not as effective as commercial disinfectants like bleach or hydrogen peroxide. However, vinegar can still be a useful tool for reducing the number of germs on surfaces. For disinfecting purposes, use undiluted white distilled vinegar and allow it to sit on the surface for at least 30 minutes before wiping it away. For a more powerful disinfecting solution, consider combining vinegar with hydrogen peroxide. However, never mix vinegar and bleach, as this can create toxic fumes. If you’re concerned about disinfecting surfaces, especially in areas where there’s a high risk of infection, it’s best to use a commercial disinfectant that’s specifically designed for that purpose.
How long does DIY vinegar cleaner last?
DIY vinegar cleaner has a long shelf life and can typically last for several months without losing its effectiveness. However, it’s best to store your DIY vinegar cleaner in a cool, dark place to prevent the essential oils from degrading. Over time, the essential oils may lose their potency, but the vinegar itself will remain effective. If you notice any changes in the color or odor of your DIY vinegar cleaner, it’s best to discard it and make a fresh batch. To ensure the longevity of your DIY vinegar cleaner, use clean spray bottles and avoid contaminating the solution with dirt or debris.
Can I use vinegar to clean my laundry?
Yes, vinegar can be a great addition to your laundry routine! Adding 1/2 cup of white distilled vinegar to your washing machine’s rinse cycle can help to soften fabrics, remove odors, and brighten colors. Vinegar can also help to remove detergent residue from your clothes, leaving them feeling cleaner and fresher. It’s particularly effective at removing musty smells from towels and workout clothes. You can also use vinegar to clean your washing machine by running an empty cycle with 1 cup of vinegar. This will help to remove buildup and prevent odors. Just be sure not to use vinegar with bleach, as this can create toxic fumes.
My DIY vinegar cleaner is cloudy. Is it still safe to use?
Cloudiness in your DIY vinegar cleaner is usually due to the essential oils not fully dissolving in the vinegar. This is perfectly normal and doesn’t affect the cleaner’s effectiveness. Simply shake the bottle well before each use to redistribute the essential oils. If you’re concerned about the cloudiness, you can try using a higher proof vinegar or adding a small amount of rubbing alcohol to help dissolve the essential oils. However, this is usually not necessary. As long as the vinegar smells normal and there are no signs of mold or contamination, your cloudy DIY vinegar cleaner is safe to use.
Can I use DIY vinegar cleaner on my hardwood floors?
While some people use diluted vinegar solutions on hardwood floors, it’s generally not recommended by flooring manufacturers. The acidity of vinegar can damage the finish on hardwood floors over time, leading to dullness and discoloration. If you choose to use vinegar on your hardwood floors, be sure to dilute it heavily with water (no more than 1/4 cup of vinegar per gallon of water) and test it on an inconspicuous area first. Avoid using vinegar on waxed hardwood floors, as it can strip the wax finish. For best results, use a cleaning product that’s specifically designed for hardwood floors.
What are some other uses for DIY vinegar cleaner?
Beyond the typical cleaning tasks, DIY vinegar cleaner can be used for a variety of other purposes. It can be used to clean coffee makers, unclog drains, remove hard water stains, and even kill weeds. To clean a coffee maker, fill the water reservoir with a solution of equal parts vinegar and water and run a brewing cycle. Then, run a cycle with plain water to rinse. To unclog a drain, pour 1/2 cup of baking soda down the drain, followed by 1 cup of vinegar. Let it fizz for 30 minutes, then flush with hot water. To remove hard water stains, spray the affected area with vinegar and let it sit for a few minutes before wiping it away. To kill weeds, spray them with undiluted vinegar. Just be careful not to spray vinegar on plants that you want to keep, as it will kill them too.
Leave a Comment