
DIY Dust Repellent Baseboard Rub: Tired of constantly battling dust bunnies clinging to your baseboards? I know the feeling! It’s a never-ending chore that seems to steal precious time and energy. But what if I told you there’s a simple, effective, and inexpensive way to keep those pesky dust particles at bay, leaving your baseboards gleaming and your home feeling fresher for longer?
Baseboards, often overlooked, are actually a crucial element in a room’s overall aesthetic. Historically, baseboards served a practical purpose, protecting walls from furniture and foot traffic. Over time, they evolved into decorative features, adding character and charm to homes. However, their location makes them dust magnets, and constantly wiping them down can be a real drag. That’s where this DIY Dust Repellent Baseboard Rub comes in!
This isn’t just another cleaning hack; it’s a game-changer for anyone who wants to reclaim their weekends and enjoy a cleaner, healthier home. We’ll be creating a simple solution using ingredients you likely already have in your pantry. This method not only repels dust but also leaves a subtle shine, making your baseboards look like they’ve been professionally cleaned. Say goodbye to endless dusting and hello to more free time! Let’s dive into this easy and effective DIY Dust Repellent Baseboard Rub recipe that will transform your cleaning routine.
DIY Dust-Repellent Baseboard Rub: Say Goodbye to Grime!
Tired of constantly battling dust bunnies clinging to your baseboards? I know I was! It felt like no matter how often I cleaned, those pesky particles would reappear within days. That’s why I developed this simple, effective, and all-natural DIY dust-repellent baseboard rub. It’s a game-changer, leaving your baseboards sparkling and, more importantly, dust-resistant for weeks!
What You’ll Need: Your Arsenal Against Dust
Before we dive in, let’s gather our supplies. This is a super easy recipe, so you probably already have most of these items on hand.
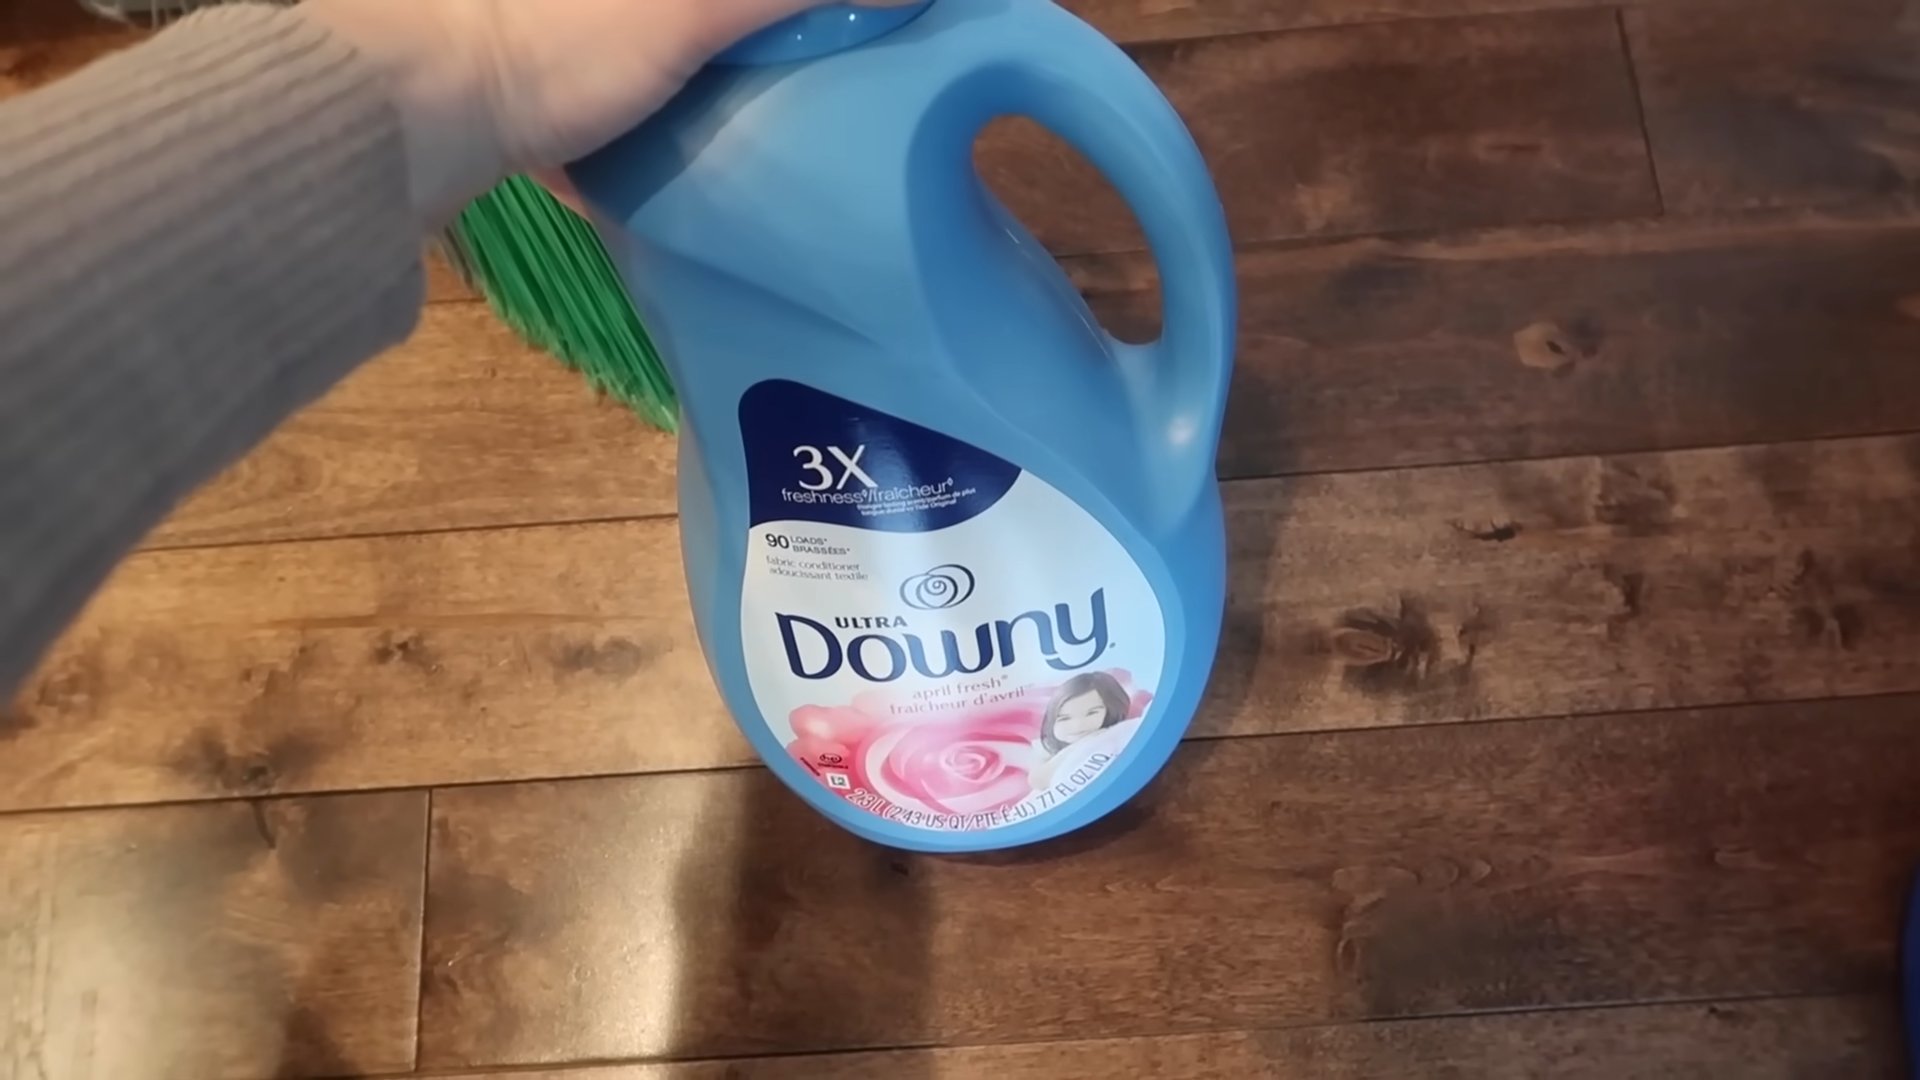
* **White Vinegar:** This is our cleaning powerhouse! Vinegar’s acidity helps break down grime and dirt.
* **Olive Oil:** The secret ingredient! Olive oil creates a smooth, protective barrier that repels dust.
* **Lemon Essential Oil (Optional):** Adds a fresh, clean scent and has some mild antibacterial properties. You can substitute with another essential oil you love, like lavender or tea tree.
* **Spray Bottle:** For easy application of the cleaning solution.
* **Microfiber Cloths:** These are essential for wiping and polishing. They trap dust effectively and won’t leave behind lint.
* **Small Bowl:** For mixing the dust-repellent rub.
* **Soft Brush (Optional):** A small brush, like an old toothbrush, can be helpful for getting into crevices and corners.
* **Gloves (Optional):** If you have sensitive skin, gloves are always a good idea.
Step-by-Step Guide: Creating Your Dust-Repelling Magic
Okay, let’s get down to business! This process is broken down into two phases: cleaning and then applying the dust-repellent rub.
Phase 1: Prepping Your Baseboards – A Clean Slate
Before we can apply our dust-repelling concoction, we need to make sure our baseboards are clean and free of existing dust and grime. This is crucial for the rub to adhere properly and work its magic.
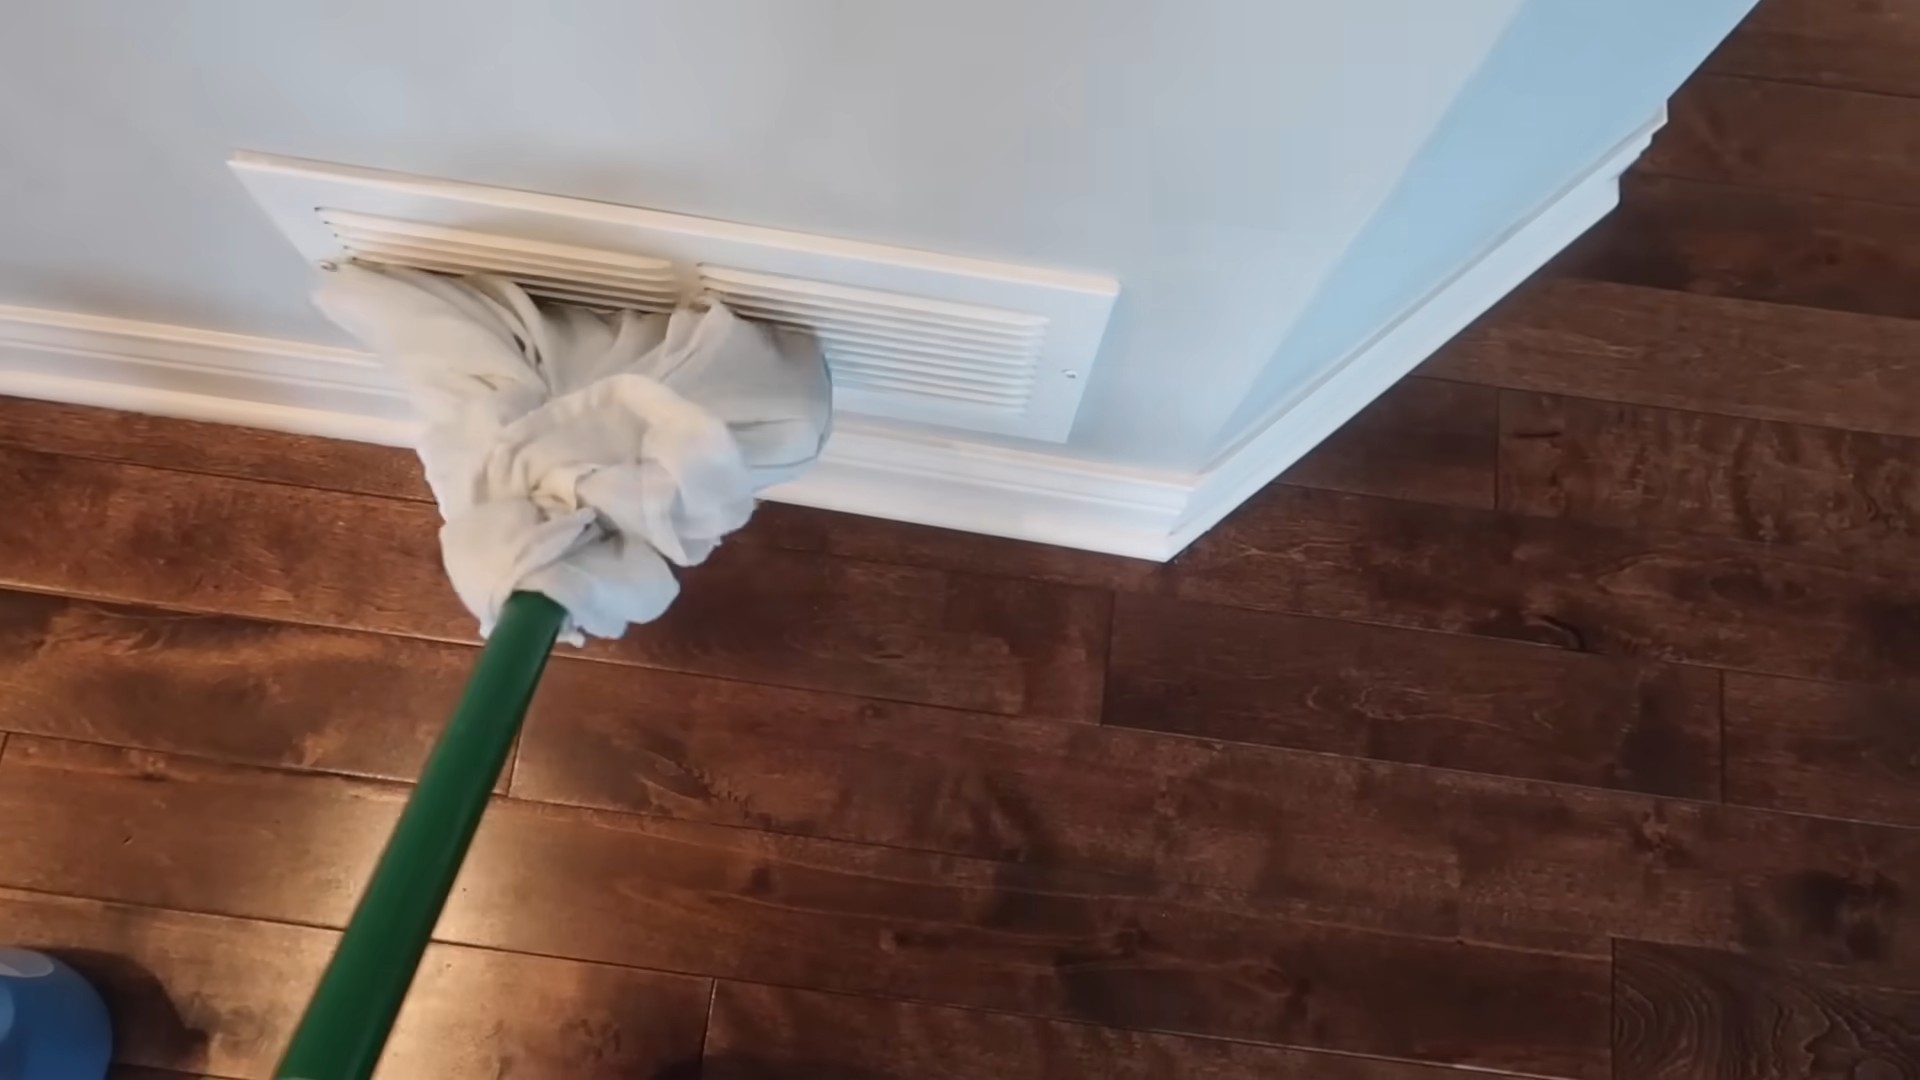
1. **Dusting:** Start by giving your baseboards a thorough dusting. Use a dry microfiber cloth or a soft brush to remove loose dust and debris. Pay special attention to corners and crevices where dust tends to accumulate. I like to use the brush attachment on my vacuum cleaner for this step – it’s super efficient!
2. **Cleaning Solution:** In your spray bottle, mix equal parts white vinegar and water. For example, you could use 1 cup of white vinegar and 1 cup of water. Shake well to combine.
3. **Spray and Wipe:** Lightly spray the cleaning solution onto a section of your baseboards. Don’t saturate them! You just want a light mist.
4. **Wipe Clean:** Immediately wipe the sprayed area with a clean microfiber cloth. Use a bit of elbow grease to remove any stubborn dirt or grime.
5. **Repeat:** Continue spraying and wiping in sections until you’ve cleaned all your baseboards.
6. **Drying Time:** Allow the baseboards to dry completely before moving on to the next phase. This usually takes about 15-30 minutes. You can speed up the process by using a dry microfiber cloth to wipe them down again.
Phase 2: Applying the Dust-Repellent Rub – The Secret Weapon
Now for the fun part! This is where we apply our homemade dust-repellent rub that will keep those pesky dust bunnies at bay.
1. **Mixing the Rub:** In your small bowl, combine the following ingredients:
* 1/4 cup olive oil
* 1/4 cup white vinegar
* 10-15 drops of lemon essential oil (optional)
Mix well until the ingredients are thoroughly combined. The olive oil and vinegar might separate slightly, so give it a good stir before each application.
2. **Application:** Dip a clean microfiber cloth into the dust-repellent rub. You don’t need to soak the cloth; just a light coating is enough.
3. **Wipe and Polish:** Gently wipe the baseboards with the cloth, applying a thin, even layer of the rub. As you wipe, you’ll notice the baseboards becoming slightly shiny.
4. **Buffing (Optional):** For an extra polished look, use a clean, dry microfiber cloth to buff the baseboards after applying the rub. This will remove any excess oil and leave them with a beautiful sheen.
5. **Repeat:** Continue applying the rub in sections until you’ve covered all your baseboards.
6. **Drying Time:** Allow the rub to dry completely. This usually takes about an hour or two. During this time, avoid touching the baseboards to prevent smudging.
Tips and Tricks for Dust-Repelling Success
* Test in an Inconspicuous Area: Before applying the rub to all your baseboards, test it in a small, hidden area to ensure it doesn’t damage or discolor the finish. This is especially important if you have painted or delicate baseboards.
* Frequency: How often you need to apply the dust-repellent rub will depend on your home’s environment and how much dust it accumulates. I usually reapply it every 4-6 weeks.
* Adjust the Recipe: Feel free to adjust the recipe to suit your needs. If you find the olive oil makes your baseboards too shiny, you can reduce the amount slightly.
* Essential Oil Variations: Experiment with different essential oils to find your favorite scent. Lavender, tea tree, and eucalyptus are all great options.
* Cleaning Before Application: Always clean your baseboards thoroughly before applying the dust-repellent rub. This will ensure that the rub adheres properly and works effectively.
* Ventilation: Make sure the room is well-ventilated while you’re cleaning and applying the rub. This will help the vinegar smell dissipate quickly.
* Don’t Over-Saturate: Avoid over-saturating the baseboards with the cleaning solution or the dust-repellent rub. A light coating is all you need.
* Microfiber Cloths are Key: Invest in good-quality microfiber cloths. They’re much more effective at trapping dust and dirt than regular cloths.
* Regular Dusting: Even with the dust-repellent rub, it’s still a good idea to dust your baseboards regularly to prevent dust from building up.
* Pet Hair: If you have pets, you may need to dust your baseboards more frequently, as pet hair can contribute to dust accumulation.
* Allergy Sufferers: If you have allergies, this DIY solution can be a great way to reduce dust and allergens in your home.
* Kid-Friendly: This is a safe and natural cleaning solution, making it ideal for homes with children and pets.
* Cost-Effective: This DIY solution is much more affordable than buying commercial dust-repellent products.
* Environmentally Friendly: By using natural ingredients, you’re reducing your environmental impact.
* Long-Term Benefits: Regular use of this dust-repellent rub can help protect your baseboards and keep them looking their best for years to come.
* Troubleshooting: If you notice any streaking or residue after applying the rub, try buffing the baseboards with a clean, dry microfiber cloth.
* Storage: Store any leftover dust-repellent rub in an airtight container in a cool, dark place.
* Safety First: While the ingredients are natural, avoid getting the cleaning solution or rub in your eyes. If contact occurs, rinse thoroughly with water.
* Painted Baseboards: Be extra cautious when cleaning painted baseboards. Avoid using abrasive cleaners or scrubbing too hard, as this can damage the paint.
* Wood Baseboards: For wood baseboards, consider using a wood-specific cleaner before applying the dust-repellent rub.
* Enjoy the Results! Once you’ve finished applying the dust-repellent rub, sit back and enjoy your clean, dust-free baseboards!
Why This Works: The Science Behind the Shine
So, what makes this DIY dust-repellent rub so effective? It’s all about the combination of ingredients and their properties.
* **White Vinegar:** As mentioned earlier, vinegar is a natural cleaner and disinfectant. Its acidity helps break down dirt, grime, and mildew.
* **Olive Oil:** This is the key to the dust-repelling magic! Olive oil creates a smooth, protective barrier on the baseboards. Dust particles have a harder time clinging to this oily surface, so they’re less likely to accumulate. Plus, the oil adds a nice shine to your baseboards.
* **Lemon Essential Oil:** While primarily added for its pleasant scent, lemon essential oil also has some mild antibacterial and antifungal properties. It can help to further disinfect the baseboards and prevent mold growth.
By combining these three ingredients, you create a powerful cleaning and dust-repelling solution that’s both effective and environmentally friendly.
I hope you find this DIY dust-
Conclusion
So, there you have it! This simple, yet incredibly effective, DIY dust repellent baseboard rub is more than just a cleaning hack; it’s a game-changer for anyone tired of constantly battling dust bunnies. We’ve shown you how to create a solution that not only cleans your baseboards but also actively repels dust, saving you time and effort in the long run. Think of all the things you can do with the extra time you’ll have – read a book, spend time with family, or finally tackle that other home project you’ve been putting off.
The beauty of this DIY dust repellent baseboard rub lies in its simplicity and adaptability. The core recipe, as outlined, is a fantastic starting point, but don’t be afraid to experiment! If you prefer a stronger scent, add a few more drops of your favorite essential oil. For those with particularly stubborn dust problems, consider slightly increasing the ratio of vinegar to water. Remember to always test a small, inconspicuous area first to ensure the solution doesn’t damage your baseboards, especially if they are made of delicate materials.
Beyond the basic recipe, there are countless variations you can explore. For example, if you’re looking for a more natural approach, consider using castile soap instead of dish soap. Castile soap is a gentle, plant-based cleanser that’s effective at removing dirt and grime without harsh chemicals. You could also infuse your vinegar with citrus peels for a natural, refreshing scent. Simply add orange, lemon, or grapefruit peels to a jar of vinegar and let it steep for a few weeks before using it in your DIY dust repellent baseboard rub.
This DIY dust repellent baseboard rub is a must-try for several reasons:
* It’s cost-effective: You likely already have most of the ingredients in your pantry.
* It’s environmentally friendly: You’re reducing your reliance on harsh chemical cleaners.
* It’s customizable: You can tailor the scent and strength to your preferences.
* Most importantly, it works! You’ll notice a significant reduction in dust accumulation on your baseboards.
We are confident that once you try this DIY dust repellent baseboard rub, you’ll wonder how you ever lived without it. It’s a simple, effective, and affordable way to keep your home cleaner and healthier.
We wholeheartedly encourage you to give this DIY trick a try. Don’t just take our word for it; experience the difference for yourself! And once you’ve tried it, we’d love to hear about your experience. Share your results, variations, and any tips you’ve discovered in the comments below. Let’s build a community of dust-busting enthusiasts and help each other create cleaner, healthier homes! Your feedback is invaluable and will help us refine and improve this DIY dust repellent baseboard rub for everyone. So, grab your supplies, get mixing, and say goodbye to dusty baseboards!
Frequently Asked Questions (FAQ)
What type of baseboards is this DIY dust repellent baseboard rub safe for?
This DIY dust repellent baseboard rub is generally safe for most types of baseboards, including painted wood, laminate, and vinyl. However, it’s always a good idea to test the solution on a small, inconspicuous area first, especially if you have delicate or antique baseboards. This will help you ensure that the solution doesn’t damage or discolor the finish. If you have any concerns, consult with a professional cleaner or the manufacturer of your baseboards.
How often should I use this DIY dust repellent baseboard rub?
The frequency of use will depend on how quickly dust accumulates in your home. As a general guideline, we recommend using this DIY dust repellent baseboard rub every 2-4 weeks. However, if you live in a dusty environment or have pets, you may need to use it more frequently. Pay attention to your baseboards and reapply the rub when you start to notice dust accumulating again.
Can I use different essential oils in this DIY dust repellent baseboard rub?
Absolutely! Feel free to experiment with different essential oils to find your favorite scent. Lavender, lemon, tea tree, and eucalyptus are all popular choices for cleaning products. Just be sure to use pure essential oils and avoid synthetic fragrances, as these can be irritating to some people. Also, keep in mind that some essential oils are not safe for pets, so do your research before using them if you have furry friends.
What if I don’t have vinegar? Can I use something else?
Vinegar is a key ingredient in this DIY dust repellent baseboard rub because of its cleaning and disinfecting properties. However, if you don’t have vinegar on hand, you can try using lemon juice as a substitute. Lemon juice is also acidic and has cleaning properties, but it may not be as effective as vinegar at repelling dust. If you use lemon juice, be sure to dilute it with water to prevent it from damaging your baseboards.
Will this DIY dust repellent baseboard rub leave a residue on my baseboards?
When used correctly, this DIY dust repellent baseboard rub should not leave a noticeable residue on your baseboards. However, if you use too much of the solution or don’t wipe it off thoroughly, it may leave a slight film. To prevent this, use a clean, damp cloth to wipe down your baseboards after applying the rub. You can also add a small amount of rubbing alcohol to the solution to help it evaporate more quickly.
Can I use this DIY dust repellent baseboard rub on other surfaces besides baseboards?
While this DIY dust repellent baseboard rub is specifically designed for baseboards, it can also be used on other surfaces that tend to accumulate dust, such as window sills, door frames, and furniture legs. However, it’s important to test the solution on a small, inconspicuous area first to ensure that it doesn’t damage the finish. Avoid using this solution on delicate surfaces, such as polished wood or leather.
Is this DIY dust repellent baseboard rub safe for pets and children?
This DIY dust repellent baseboard rub is generally safe for pets and children, as it uses natural ingredients. However, it’s still important to keep the solution out of reach of children and pets, as it can be irritating if ingested. If you’re using essential oils, be sure to choose ones that are safe for pets and children. As always, supervise children when they are helping with cleaning tasks.
How long will this DIY dust repellent baseboard rub last?
This DIY dust repellent baseboard rub will last for several weeks when stored in an airtight container in a cool, dark place. However, it’s best to use it within a few months for optimal effectiveness. If you notice any changes in the color or smell of the solution, discard it and make a fresh batch.
What is the best way to apply the DIY dust repellent baseboard rub?
The best way to apply the DIY dust repellent baseboard rub is to use a soft cloth or sponge. Dip the cloth or sponge into the solution and wring out any excess liquid. Then, gently wipe down your baseboards, making sure to get into all the nooks and crannies. Use a clean, damp cloth to wipe off any excess solution. You can also use a spray bottle to apply the solution, but be sure to spray it evenly and avoid oversaturating the baseboards.


Leave a Comment