
DIY Dawn Powerwash: Are you tired of battling stubborn grease and grime in your kitchen, bathroom, or even on your outdoor furniture? I know I was! For generations, people have sought effective and affordable cleaning solutions, often turning to homemade remedies passed down through families. From lye soap recipes of the past to vinegar-based concoctions, the quest for a sparkling clean home is a timeless pursuit. But let’s face it, sometimes those old methods just don’t cut it against modern messes.
That’s where this DIY Dawn Powerwash recipe comes in! It’s a game-changer, offering a powerful cleaning punch without breaking the bank. Why spend a fortune on expensive cleaning sprays when you can whip up your own super-effective version using ingredients you probably already have? This DIY trick not only saves you money but also allows you to control the ingredients, avoiding harsh chemicals that can be harmful to your family and the environment.
I’m going to show you how to create your own DIY Dawn Powerwash that will tackle even the toughest cleaning challenges. Get ready to say goodbye to grease, grime, and stubborn stains with this simple, effective, and budget-friendly solution!
DIY Dawn Powerwash: Save Money and Clean Like a Pro!
Okay, let’s be honest, Dawn Powerwash is amazing. It cuts through grease like nobody’s business. But those refills? They can get pricey! So, I decided to take matters into my own hands and create my own DIY version. And guess what? It works just as well, if not better, and saves a ton of money. I’m going to walk you through exactly how I do it.
What You’ll Need
Before we dive in, let’s gather our supplies. This is a pretty simple project, so you probably already have most of this stuff lying around.
* **An Empty Dawn Powerwash Spray Bottle:** Obviously! Don’t throw away your old one. Rinse it out really well.
* **Dawn Dish Soap (Original Blue):** This is the key ingredient. The original blue formula seems to work best for cutting grease.
* **Rubbing Alcohol (Isopropyl Alcohol – 70% or higher):** This helps with drying and sanitizing.
* **Water (Distilled or Filtered):** Using distilled or filtered water will prevent mineral buildup in your sprayer.
* **Optional: Essential Oils (Lemon, Orange, Tea Tree):** These add a nice scent and can boost cleaning power. Lemon and orange are great for grease, and tea tree has antibacterial properties.
* **Measuring Spoons or Cups:** For accurate measurements.
* **Funnel (Optional):** Makes pouring easier and less messy.
The Magic Ratio: Getting the Formula Right
The secret to a successful DIY Dawn Powerwash is getting the ratio of ingredients just right. After a lot of experimenting, I’ve found the perfect balance.
* **Dawn Dish Soap:** 1 tablespoon
* **Rubbing Alcohol:** 1 tablespoon
* **Water:** Fill the rest of the bottle
Step-by-Step Instructions: Mixing Your Own Powerwash
Alright, let’s get to the fun part! Follow these steps carefully, and you’ll have your own homemade Dawn Powerwash in no time.
1. **Prepare the Bottle:** Make sure your empty Dawn Powerwash bottle is completely clean and dry. Rinse it thoroughly with hot water to remove any leftover residue. Let it air dry or use a clean towel to dry it completely. Any leftover soap can mess with the consistency of your new mixture.
2. **Add the Dawn Dish Soap:** Using your measuring spoon, carefully add 1 tablespoon of Dawn dish soap to the empty bottle. Try not to create too many bubbles while pouring. A funnel can be helpful here to avoid spills.
3. **Add the Rubbing Alcohol:** Next, add 1 tablespoon of rubbing alcohol to the bottle. The rubbing alcohol helps the mixture dry quickly and also acts as a disinfectant.
4. **Optional: Add Essential Oils:** If you’re using essential oils, add a few drops (5-10 drops total) to the bottle. I like to use a combination of lemon and tea tree oil for a fresh, clean scent and extra cleaning power. Be careful not to add too much, as essential oils can be quite potent.
5. **Fill with Water:** Now, slowly fill the rest of the bottle with distilled or filtered water. Leave a little bit of space at the top to allow for shaking.
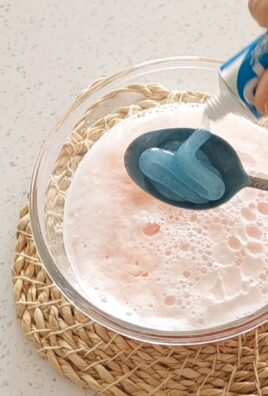
6. **Shake Well:** Secure the spray nozzle back onto the bottle and shake the mixture vigorously for at least 30 seconds to ensure all the ingredients are thoroughly combined. You should see a slightly sudsy mixture, but not overly foamy.
7. **Test and Adjust (If Needed):** Give your DIY Dawn Powerwash a test spray in your sink. If it seems too watery, you can add a tiny bit more Dawn dish soap (like, a teaspoon at a time) and shake again. If it’s too thick or sudsy, add a little more water.
Using Your DIY Dawn Powerwash: Tips and Tricks
Now that you’ve made your own Powerwash, let’s talk about how to use it effectively.
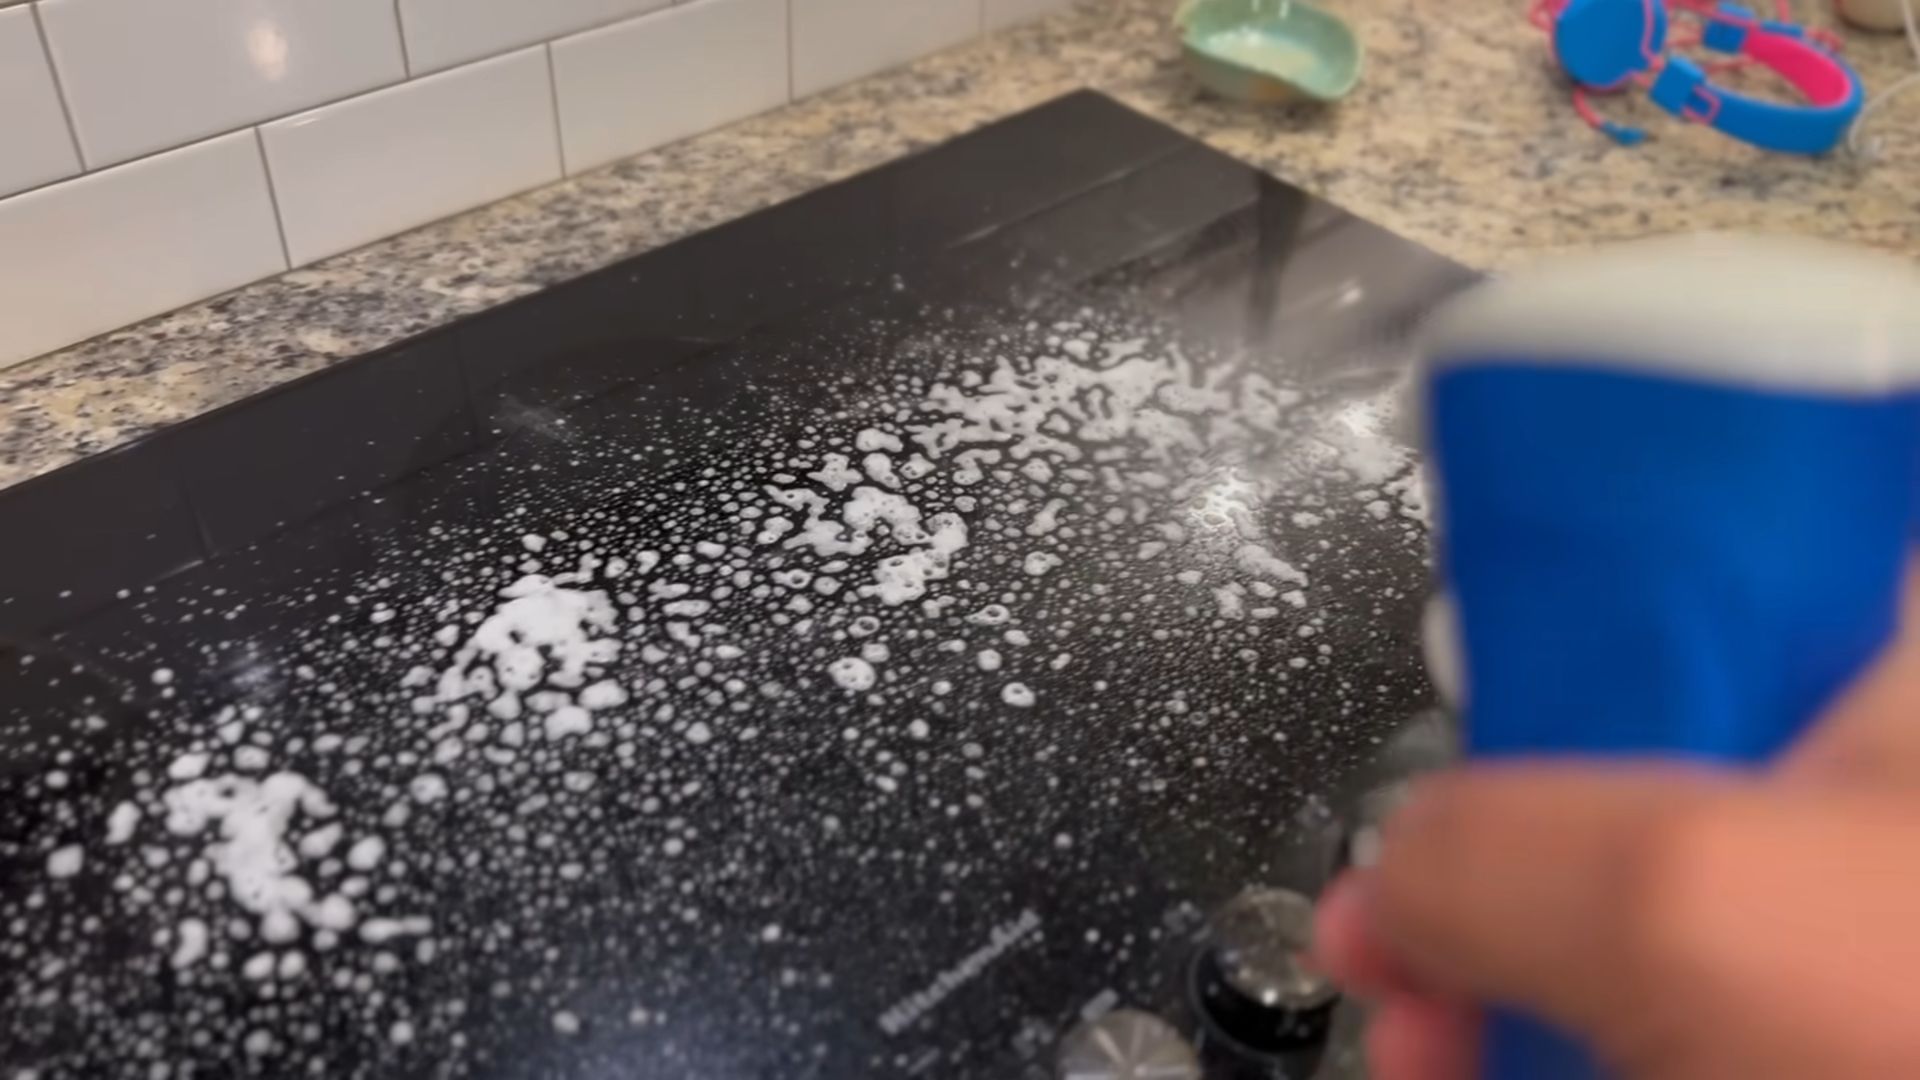
* **Spray and Let Sit:** For tough grease stains, spray the area and let the Powerwash sit for a few minutes before wiping. This gives the soap time to break down the grease.
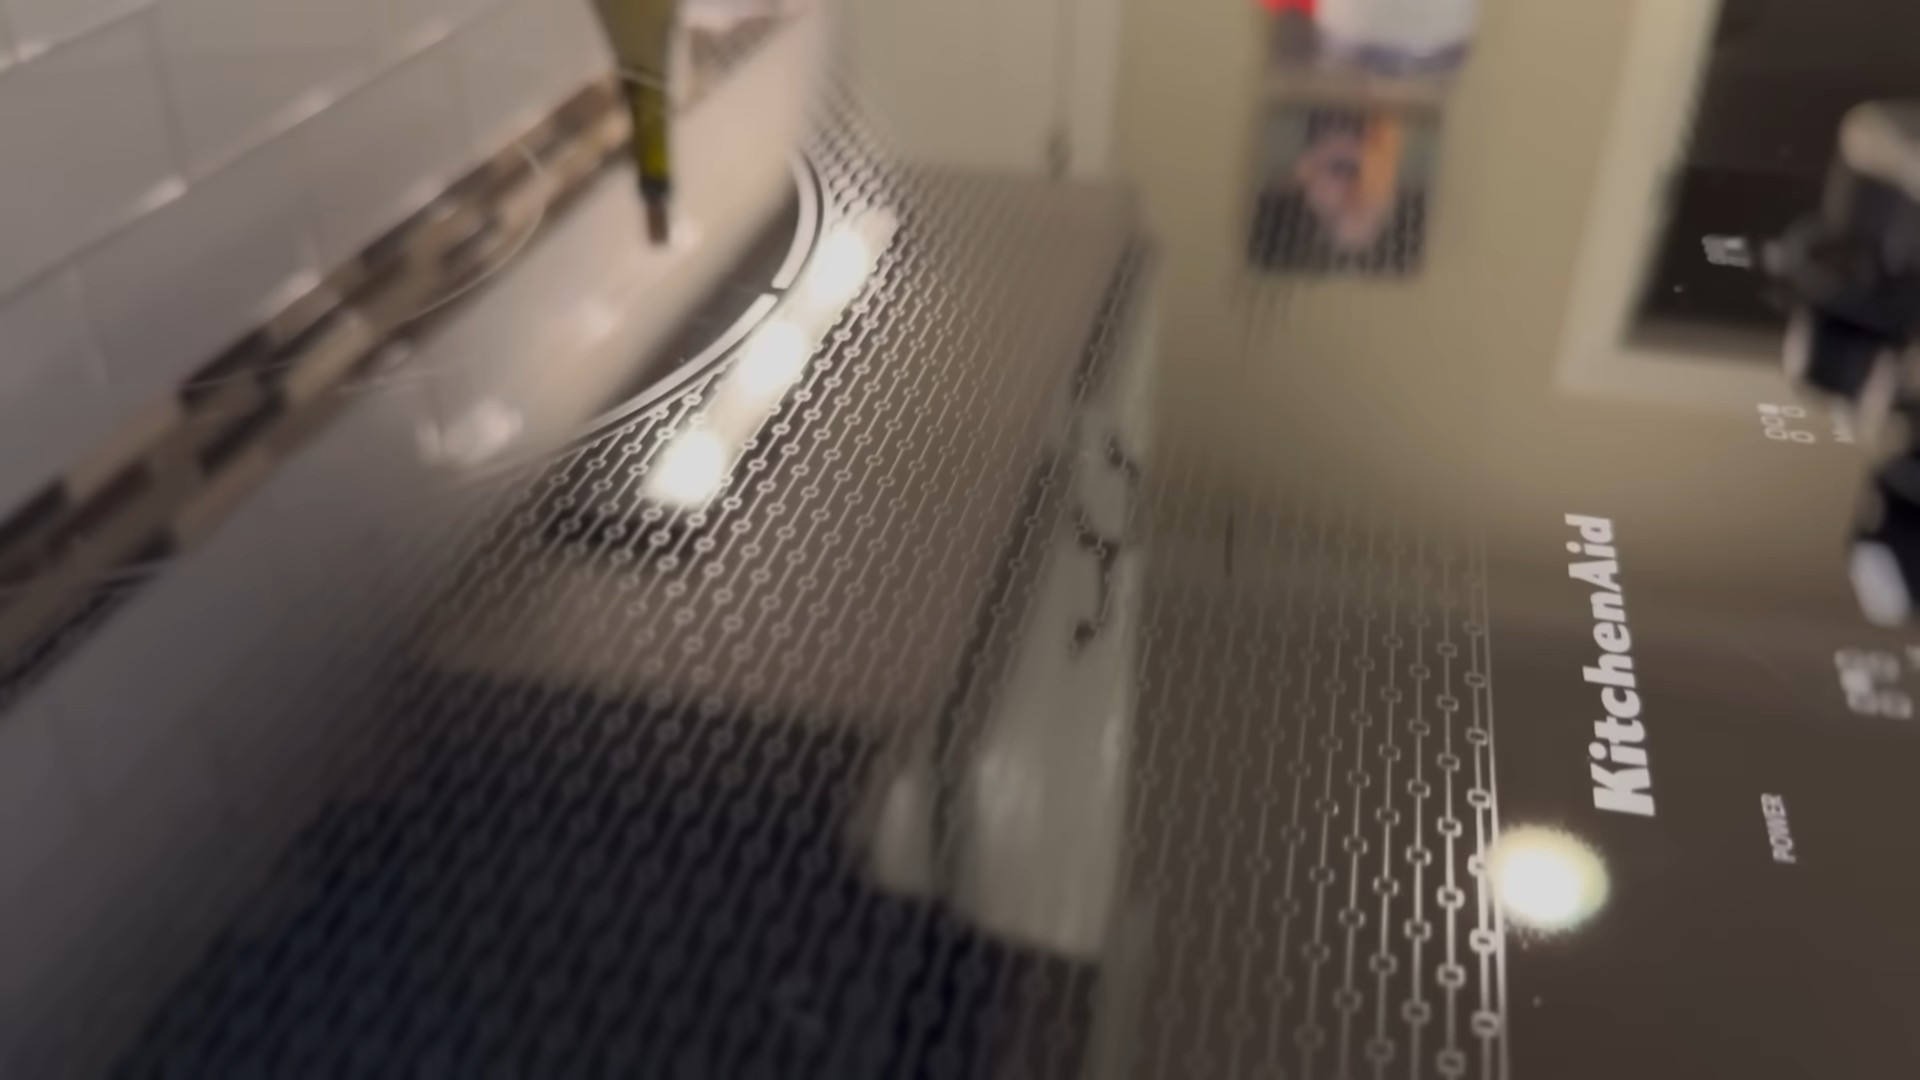
* **Use on a Variety of Surfaces:** I use my DIY Powerwash on everything from stovetops and countertops to sinks and even my oven door (just be careful not to spray it directly on the heating elements).
* **Rinse Thoroughly:** After cleaning, be sure to rinse the surface thoroughly with water to remove any soap residue.
* **Avoid on Delicate Surfaces:** While this mixture is generally safe, avoid using it on delicate surfaces like wood furniture or natural stone, as it could potentially damage them. Always test in an inconspicuous area first.
* **Don’t Mix with Bleach:** Never, ever mix this (or any cleaning product) with bleach. It can create dangerous fumes.
Troubleshooting: Common Issues and Solutions
Sometimes, things don’t go exactly as planned. Here are a few common issues you might encounter and how to fix them.
* **Too Sudsy:** If your mixture is too sudsy, it might be difficult to rinse off. This usually means you added too much Dawn dish soap. Add more water, a little at a time, until the sudsiness is reduced.
* **Not Cleaning Effectively:** If your Powerwash isn’t cutting through grease as well as you’d like, try adding a bit more Dawn dish soap or a few extra drops of lemon essential oil.
* **Sprayer Clogging:** If your sprayer is clogging, it could be due to mineral buildup from hard water. Try using distilled water in your next batch. You can also try cleaning the sprayer nozzle with a pin or needle to remove any clogs.
* **Separation:** Sometimes, the mixture might separate after sitting for a while. This is normal. Just shake the bottle well before each use to re-combine the ingredients.
Why This Works: The Science Behind the Suds
So, what makes this DIY Powerwash so effective? It’s all about the ingredients and how they work together.
* **Dawn Dish Soap:** Dawn is a powerful degreaser. Its molecules have a hydrophilic (water-loving) end and a hydrophobic (water-fearing) end. This allows it to bind to both water and grease, effectively lifting the grease away from the surface.
* **Rubbing Alcohol:** Rubbing alcohol helps the mixture dry quickly, preventing streaks and water spots. It also acts as a solvent, helping to dissolve grease and grime. Plus, it’s a disinfectant, killing germs and bacteria.
* **Water:** Water is the base of the mixture, helping to dilute the soap and alcohol and create a sprayable solution.
* **Essential Oils:** Essential oils like lemon and orange contain compounds that can help to break down grease and add a pleasant scent. Tea tree oil has antibacterial and antifungal properties, making it a great addition for cleaning surfaces that might harbor germs.
Cost Comparison: Saving Money with DIY
Let’s talk about the real reason we’re doing this: saving money! A single refill bottle of Dawn Powerwash can cost several dollars. By making your own, you can significantly reduce your cleaning supply costs.
* **Store-Bought Dawn Powerwash Refill:** Approximately $4-$6 per bottle
* **DIY Dawn Powerwash:** Pennies per bottle! The cost of Dawn dish soap, rubbing alcohol, and water is minimal compared to buying refills.
Over time, the savings can really add up. Plus, you’re reducing plastic waste by reusing your original Dawn Powerwash bottle. It’s a win-win!
Beyond the Kitchen: Other Uses for Your DIY Powerwash
While I primarily use my DIY Dawn Powerwash in the kitchen, it’s also great for other cleaning tasks around the house.
* **Bathroom Cleaning:** Use it to clean sinks, countertops, and even shower doors.
* **Spot Cleaning Carpets:** Spray a small amount on carpet stains and blot with a clean cloth.
* **Cleaning Car Interiors:** Use it to clean dashboards, door panels, and other interior surfaces.
* **Outdoor Furniture:** Clean patio furniture and other outdoor surfaces with your DIY Powerwash.
Just remember to always test in an inconspicuous area first to ensure it doesn’t damage the surface.
Final Thoughts: Embrace the DIY Life!
Making your own Dawn Powerwash is a simple, effective, and budget-friendly way to keep your home clean and sparkling. Once you try it, you’ll never go back to buying expensive refills again. So, grab your supplies, follow these steps, and get ready to experience the power of DIY cleaning! I hope you find this helpful and enjoy your sparkling clean home!
Conclusion
So, there you have it! Ditching the store-bought spray and embracing this DIY Dawn Powerwash solution is more than just a cost-effective alternative; it’s a game-changer for your cleaning routine. We’ve walked you through a simple, straightforward process that empowers you to create a powerful degreaser and all-purpose cleaner right in your own kitchen.
Why is this a must-try? Because it’s effective, economical, and environmentally conscious. You’re saving money by avoiding the inflated prices of pre-packaged cleaners, reducing plastic waste by reusing spray bottles, and controlling exactly what ingredients you’re bringing into your home. Commercial cleaners often contain harsh chemicals that can be irritating or even harmful. With this DIY version, you have the power to choose gentler, more natural options if you prefer.
But the benefits don’t stop there. The versatility of this DIY Dawn Powerwash is truly remarkable. Use it on greasy stovetops, grimy ovens, splattered countertops, sticky floors, and even pre-treat laundry stains. Its degreasing power is unmatched, making quick work of even the most stubborn messes.
Looking for variations? Absolutely!
* Essential Oil Boost: Add a few drops of your favorite essential oils for a pleasant scent and added cleaning power. Lemon, tea tree, and eucalyptus oils are excellent choices for their antibacterial and antiviral properties. Start with 10-15 drops per batch and adjust to your preference.
* Vinegar Power: For extra grime-fighting action, substitute a portion of the water with white vinegar. Vinegar is a natural disinfectant and helps to cut through hard water stains. Start with a 1:1 ratio of vinegar to water and adjust as needed. Be cautious when using vinegar on certain surfaces like marble or granite.
* Borax Boost: For heavily soiled areas, consider adding a teaspoon of borax to the mixture. Borax is a natural mineral that acts as a cleaning booster and helps to remove stubborn stains. Be sure to wear gloves when handling borax and avoid using it on delicate surfaces.
* Dish Soap Alternatives: While Dawn is the gold standard for degreasing, you can experiment with other dish soaps. Look for concentrated formulas that are known for their cleaning power.
We are confident that once you try this DIY Dawn Powerwash, you’ll be hooked. It’s a simple, effective, and satisfying way to keep your home sparkling clean.
So, what are you waiting for? Gather your ingredients, grab your spray bottle, and get ready to experience the cleaning power of homemade. We encourage you to try this DIY trick and share your experience with us! Let us know in the comments below how it worked for you, what variations you tried, and any tips or tricks you discovered along the way. We can’t wait to hear from you!
Frequently Asked Questions (FAQ)
Is this DIY Dawn Powerwash as effective as the store-bought version?
Yes, in many cases, it can be even more effective! The key is using a concentrated dish soap like Dawn and adjusting the ratio of ingredients to suit your specific cleaning needs. The store-bought version often contains added chemicals and fragrances that aren’t necessary for cleaning. With the DIY version, you control the ingredients and can customize it to your liking. Many users report that the homemade version works just as well, if not better, at cutting through grease and grime.
What kind of spray bottle should I use?
Any clean, empty spray bottle will work. However, it’s best to use a sturdy, high-quality bottle that can withstand repeated use. Look for bottles made of durable plastic or glass. Avoid using bottles that have previously contained harsh chemicals, as these may contaminate your DIY cleaner. Be sure to label the bottle clearly with the contents and date. A trigger sprayer is generally preferred for ease of use.
Can I use this DIY cleaner on all surfaces?
While this DIY cleaner is generally safe for most surfaces, it’s always a good idea to test it in an inconspicuous area first, especially on delicate or sensitive materials like marble, granite, or wood. Avoid using it on surfaces that are known to be damaged by water or soap. Always rinse the surface thoroughly after cleaning to remove any residue. If you’re unsure about a particular surface, consult the manufacturer’s instructions or a professional cleaner.
How long does this DIY Dawn Powerwash last?
This DIY cleaner typically lasts for several weeks to a few months when stored properly. To maximize its shelf life, store it in a cool, dark place away from direct sunlight and heat. Over time, the ingredients may separate slightly, so be sure to shake the bottle well before each use. If you notice any signs of spoilage, such as a foul odor or discoloration, discard the cleaner and make a fresh batch.
Can I use this DIY cleaner to wash dishes?
While you *can* use this DIY cleaner to wash dishes in a pinch, it’s not specifically formulated for that purpose. Dish soaps designed for handwashing dishes typically contain ingredients that help to cut through grease and food particles while being gentle on your hands. This DIY cleaner is primarily intended for cleaning surfaces around the home. If you’re looking for a DIY dish soap, there are other recipes available that are specifically designed for that purpose.
Is this DIY cleaner safe for pets and children?
While the ingredients in this DIY cleaner are generally considered safe, it’s still important to exercise caution when using it around pets and children. Keep the cleaner out of reach of children and pets, and avoid spraying it directly on them. If your pet or child accidentally ingests the cleaner, contact a veterinarian or poison control center immediately. As with any cleaning product, it’s always best to err on the side of caution and take steps to prevent accidental exposure.
Can I add other ingredients to this DIY cleaner?
Yes, you can experiment with adding other ingredients to this DIY cleaner to customize it to your liking. Some popular additions include essential oils, vinegar, borax, and baking soda. However, it’s important to research the potential interactions between different ingredients before adding them to your cleaner. Some combinations may be ineffective or even harmful. Always test the cleaner in an inconspicuous area before using it on a larger surface.
What is the best ratio of ingredients for this DIY cleaner?
The best ratio of ingredients for this DIY cleaner will depend on your specific cleaning needs and preferences. A good starting point is to use approximately 1-2 tablespoons of dish soap per 16 ounces of water. You can adjust the ratio as needed to achieve the desired cleaning power. If you’re using other ingredients, such as vinegar or borax, start with a small amount and gradually increase it until you reach the desired consistency and effectiveness.
How do I clean a clogged spray nozzle?
A clogged spray nozzle can be frustrating, but it’s usually easy to fix. First, try rinsing the nozzle with warm water to remove any debris. If that doesn’t work, you can try soaking the nozzle in a solution of vinegar and water for a few minutes. If the clog is particularly stubborn, you can use a small needle or pin to carefully dislodge it. Be sure to rinse the nozzle thoroughly after cleaning to remove any residue.
What are the environmental benefits of making my own cleaner?
Making your own cleaner has several environmental benefits. It reduces plastic waste by allowing you to reuse spray bottles instead of buying new ones. It also reduces the amount of harmful chemicals that are released into the environment during the manufacturing and disposal of commercial cleaners. By using natural ingredients, you can minimize your impact on the planet and create a healthier home environment for yourself and your family.
Leave a Comment