
Clean microwave with vinegar? Yes, you read that right! Are you tired of staring into the swirling abyss of splattered food inside your microwave? Do you cringe every time you reach in to grab your reheated leftovers? I know I used to! But fear not, because I’m about to share a super simple, surprisingly effective, and totally natural DIY trick to banish those microwave messes for good.
Microwaves have become an indispensable part of modern kitchens, offering a quick and convenient way to heat up meals. But let’s be honest, their ease of use often leads to a build-up of stubborn stains and lingering odors. While commercial cleaners can do the job, many of us are looking for more eco-friendly and budget-conscious solutions. That’s where the magic of vinegar comes in! This age-old cleaning agent has been used for centuries, and its versatility extends far beyond the kitchen sink.
Why is this DIY trick so essential? Because a clean microwave isn’t just about aesthetics; it’s about hygiene. Splattered food can harbor bacteria and create unpleasant smells. Plus, a clean microwave operates more efficiently. By learning how to clean microwave with vinegar, you’ll not only save time and money but also create a healthier and more pleasant cooking environment. So, grab your vinegar, and let’s get started on this easy and effective cleaning adventure!

DIY Microwave Cleaning with Vinegar: A Sparkling Clean in Minutes!
Hey everyone! I’m so excited to share my favorite, super easy, and totally natural way to clean your microwave. Let’s be honest, microwaves can get pretty gross, pretty fast. Splatters, spills, and mysterious food remnants seem to multiply overnight. But fear not! This vinegar cleaning hack is a game-changer. It’s quick, effective, and uses ingredients you probably already have in your pantry. Plus, it avoids harsh chemicals, which is always a win in my book.
What You’ll Need:
* A microwave-safe bowl
* White vinegar (the star of the show!)
* Water
* A clean sponge or cloth
* Optional: Lemon slices or essential oils (for extra freshness!)
The Magic Formula:
The key to this hack is the steam. The vinegar and water mixture, when heated, creates steam that loosens all that stubborn grime. Then, it’s just a matter of wiping it all away. It’s seriously like magic!
Step-by-Step Instructions:
1. Prepare the Vinegar Solution: Grab your microwave-safe bowl and pour in equal parts white vinegar and water. I usually go for about 1 cup of each, but you can adjust the amount depending on the size of your bowl. Just make sure the bowl is large enough to prevent boiling over.
2. Add a Fresh Scent (Optional): If you’re not a huge fan of the vinegar smell (it dissipates quickly, I promise!), you can add a few slices of lemon or a couple of drops of your favorite essential oil to the mixture. Lemon is a classic choice for a fresh, clean scent, but lavender, orange, or grapefruit would also work well.
3. Microwave the Solution: Place the bowl in your microwave and heat it on high for 5-10 minutes. The goal is to get the solution boiling and create plenty of steam. The exact time will depend on your microwave’s power, so keep an eye on it. You want it to be actively steaming, but not overflowing.
4. Let it Stand (Important!): Once the timer goes off, do not open the microwave door immediately! This is crucial. Let the bowl sit inside the microwave for another 5-10 minutes. This allows the steam to really work its magic, loosening all the stuck-on food particles. The longer you let it sit, the easier the next step will be.
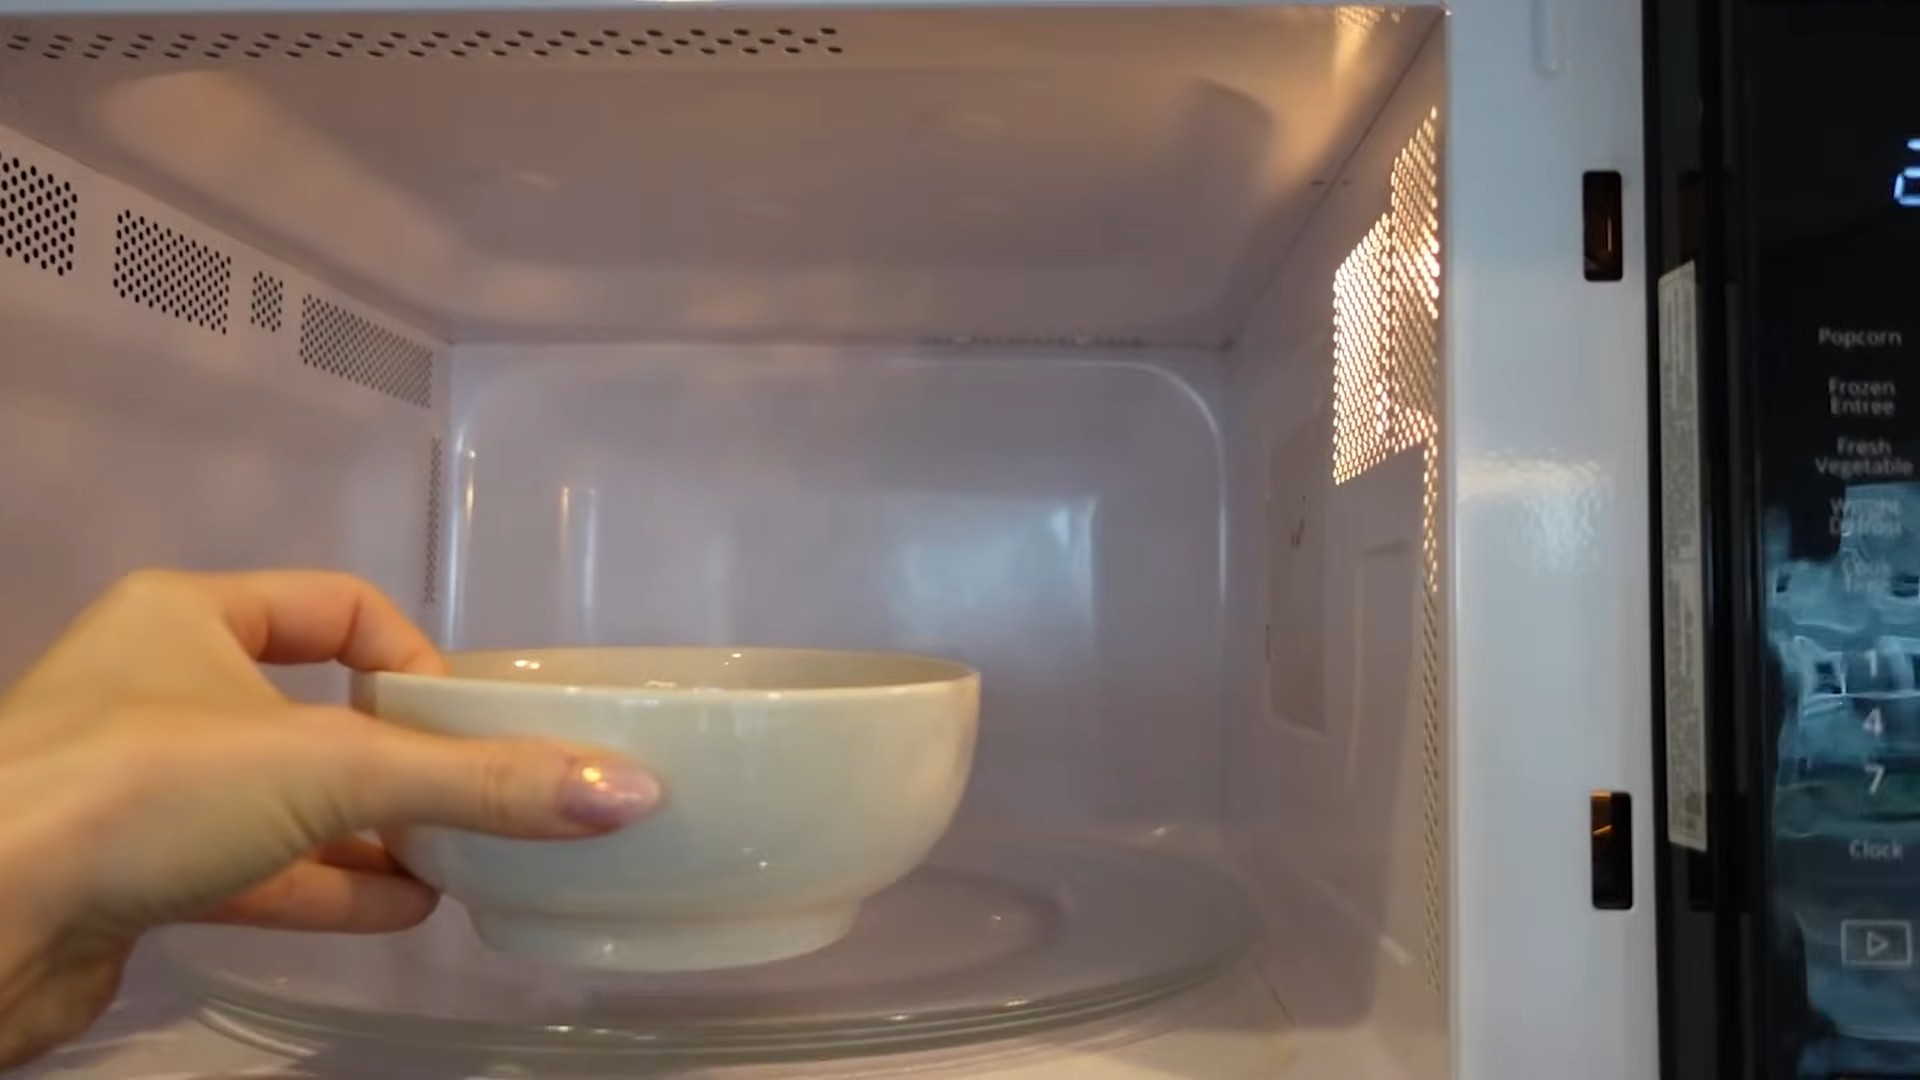
5. Carefully Remove the Bowl: After the standing time, carefully remove the bowl from the microwave. It will be hot, so use oven mitts or a towel to protect your hands. Be extra cautious of the hot steam when you open the door.
6. Wipe Down the Interior: Now comes the satisfying part! Take your clean sponge or cloth and wipe down the interior of the microwave. You’ll be amazed at how easily the grime comes off. The steam has loosened everything, so you shouldn’t need to scrub too hard. Pay special attention to the top, bottom, sides, and door of the microwave.
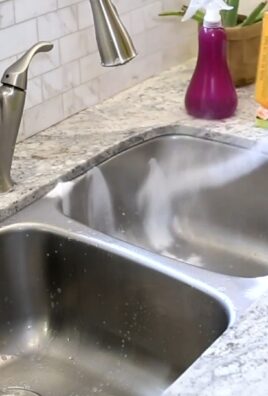
7. Clean the Turntable and Roller Ring: Don’t forget to remove the turntable and roller ring from the microwave. These often accumulate spills and splatters as well. Wash them with warm, soapy water and a sponge. Rinse them thoroughly and dry them before placing them back in the microwave.
8. Wipe Down the Exterior: While you’re at it, give the exterior of your microwave a quick wipe down too. Use a damp cloth to remove any fingerprints, smudges, or spills.
9. Dry and Enjoy: Once you’ve wiped everything down, use a clean, dry cloth to dry the interior and exterior of the microwave. This will prevent water spots and leave your microwave sparkling clean.
Dealing with Stubborn Spots:
Sometimes, you might encounter a few particularly stubborn spots that don’t come off easily with just wiping. Here’s what I do:
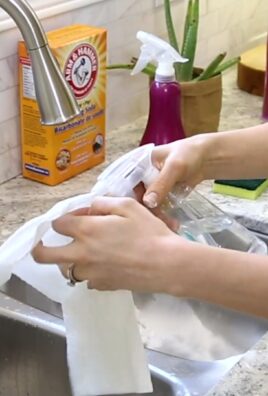
* Vinegar Paste: Make a paste of baking soda and vinegar. Apply the paste to the stubborn spot, let it sit for a few minutes, and then scrub gently with a sponge.
* Direct Vinegar Application: Dampen a corner of your sponge or cloth with straight vinegar and use it to scrub the stubborn spot directly.
* Patience is Key: If the spot is really tough, you might need to repeat the steaming process or try a combination of the above methods. Don’t get discouraged!
Preventing Future Messes:
Okay, so now you have a sparkling clean microwave. Let’s talk about how to keep it that way!
* Cover Your Food: Always cover your food with a microwave-safe lid or plastic wrap when heating it. This will prevent splatters and spills.
* Regular Wipe-Downs: Make it a habit to wipe down the interior of your microwave after each use. This will prevent food from hardening and becoming difficult to remove.
* Use Microwave-Safe Containers: Only use containers that are specifically labeled as microwave-safe. This will prevent them from melting or leaching harmful chemicals into your food.
* Clean Up Spills Immediately: If you do have a spill, clean it up right away. The longer it sits, the harder it will be to remove.
Why This Hack Works So Well:
Vinegar is a natural disinfectant and degreaser. Its acidity helps to break down grease and grime, making it easier to wipe away. The steam created by the vinegar and water mixture helps to loosen the stuck-on food particles, making them even easier to remove. Plus, vinegar is a safe and non-toxic alternative to harsh chemical cleaners.
A Few Extra Tips and Tricks:
* Don’t Overheat the Vinegar Solution: While you want the solution to boil and create steam, be careful not to overheat it. If the solution starts to boil over, stop the microwave immediately.
* Be Careful with Metal: Make sure that the bowl you use is microwave-safe and does not contain any metal. Metal can cause sparks and damage your microwave.
* Ventilate the Kitchen: While the vinegar smell dissipates quickly, it can be a bit strong while you’re cleaning. Open a window or turn on the exhaust fan to ventilate the kitchen.
* Use a Dedicated Cleaning Sponge: Keep a separate sponge or cloth specifically for cleaning your microwave. This will prevent cross-contamination and ensure that your microwave stays clean.
* Experiment with Scents: Don’t be afraid to experiment with different scents to find your favorite. Lemon is a classic choice, but you can also try other citrus fruits, herbs, or essential oils.
Is Vinegar Safe for My Microwave?
Yes! Vinegar is generally safe to use in your microwave. However, it’s always a good idea to check your microwave’s manual for any specific cleaning instructions or warnings. As long as you follow the steps outlined above and use a microwave-safe bowl, you shouldn’t have any problems.
Alternative Cleaning Solutions:
While I swear by the vinegar method, there are other natural cleaning solutions you can use to clean your microwave. Here are a few alternatives:
* Lemon Juice: Use the same method as with vinegar, but substitute lemon juice for vinegar. Lemon juice has a similar cleaning power and a pleasant scent.
* Baking Soda: Make a paste of baking soda and water and use it to scrub the interior of the microwave. Baking soda is a gentle abrasive that can help to remove stubborn stains.
* Dish Soap: Mix a few drops of dish soap with water and use it to wipe down the interior of the microwave. Dish soap is effective at removing grease and grime.
Final Thoughts:
Cleaning your microwave with vinegar is a simple, effective, and natural way to keep it sparkling clean. It’s a quick and easy task that can be done in just a few minutes, and it uses ingredients you probably already have in your pantry. So, ditch the harsh chemicals and give this vinegar cleaning hack a try. You’ll be amazed at the results! Happy cleaning!
Conclusion
So, there you have it! Cleaning your microwave with vinegar is not just a cleaning hack; it’s a game-changer for your kitchen routine. Forget harsh chemicals, lingering odors, and endless scrubbing. This simple, natural method harnesses the power of vinegar to loosen grime, eliminate odors, and leave your microwave sparkling clean with minimal effort.
Why is this DIY trick a must-try? Because it’s effective, economical, and eco-friendly. You likely already have vinegar in your pantry, making it an incredibly accessible cleaning solution. It’s also a safer alternative to many commercial microwave cleaners, especially if you have children or pets. Plus, the steam created during the process helps to soften stubborn food splatters, making them incredibly easy to wipe away.
But the benefits don’t stop there. This method is incredibly versatile. While the basic recipe calls for vinegar and water, you can easily customize it to suit your preferences. For a more refreshing scent, add a few slices of lemon or orange to the vinegar-water mixture. The citrus will infuse the steam with a pleasant aroma, leaving your microwave smelling fresh and clean. Alternatively, you can add a few drops of your favorite essential oil, such as lavender or tea tree oil, for their antibacterial properties and delightful fragrance. Just be sure to use essential oils that are safe for use around food.
Another variation involves using a slightly stronger vinegar solution for particularly stubborn messes. If your microwave is heavily soiled, try increasing the ratio of vinegar to water to 1:1. You can also extend the steaming time by a minute or two to allow the vinegar steam to penetrate the grime more effectively. Remember to always supervise the microwave while it’s running and to use caution when handling the hot bowl or container afterward.
We understand that trying new cleaning methods can sometimes feel daunting, but we wholeheartedly encourage you to give this DIY trick a try. The results speak for themselves. You’ll be amazed at how easily you can achieve a sparkling clean microwave with just a few simple ingredients and minimal effort.
Once you’ve experienced the magic of cleaning your microwave with vinegar, we’d love to hear about your experience! Share your tips, variations, and before-and-after photos in the comments below. Let’s create a community of clean microwave enthusiasts and spread the word about this fantastic cleaning hack. Your feedback will not only help others discover this amazing method but also inspire us to continue sharing helpful and practical cleaning tips. So, go ahead, give it a try, and let us know what you think! You might just find that cleaning your microwave is no longer a chore but a quick and satisfying task.
Frequently Asked Questions (FAQ)
1. What type of vinegar is best for cleaning the microwave?
White distilled vinegar is the best choice for cleaning your microwave. It’s inexpensive, readily available, and has a high acidity level, making it effective at cutting through grease and grime. Avoid using other types of vinegar, such as apple cider vinegar or balsamic vinegar, as they may leave behind a residue or stain.
2. Can I use a plastic container instead of a glass bowl?
While a glass bowl is generally recommended for its heat resistance and safety, you can use a microwave-safe plastic container if you don’t have a glass bowl available. Ensure that the plastic container is specifically labeled as microwave-safe to prevent it from melting or leaching chemicals into the vinegar-water mixture. Always supervise the microwave while it’s running, regardless of the type of container you use.
3. How often should I clean my microwave with vinegar?
The frequency of cleaning depends on how often you use your microwave and how messy it gets. As a general guideline, cleaning your microwave with vinegar once a week is a good practice to maintain cleanliness and prevent the buildup of stubborn grime. However, if you notice spills or splatters more frequently, you may need to clean it more often.
4. What if the vinegar smell lingers after cleaning?
The vinegar smell should dissipate quickly after cleaning. To help eliminate any lingering odor, leave the microwave door open for a few minutes to allow it to air out. You can also place a small bowl of baking soda inside the microwave overnight to absorb any remaining odors. Alternatively, wiping down the interior with a damp cloth infused with a few drops of lemon juice can help neutralize the vinegar smell.
5. Can I use this method to clean the outside of my microwave?
Yes, you can use a diluted vinegar solution to clean the outside of your microwave. Mix equal parts of vinegar and water in a spray bottle and lightly spray the exterior surfaces. Wipe down with a clean cloth to remove any dirt or grime. Be sure to avoid spraying the control panel directly, as moisture can damage the electronics. Instead, spray the cloth and then wipe the control panel.
6. What if the grime is too stubborn and doesn’t come off easily?
For particularly stubborn grime, you can try a few different approaches. First, increase the steaming time by a minute or two to allow the vinegar steam to penetrate the grime more effectively. Second, after steaming, let the microwave sit for a few minutes before wiping it down. This will give the vinegar more time to loosen the grime. Finally, if the grime is still difficult to remove, use a non-abrasive sponge or cloth to gently scrub the affected areas. Avoid using harsh scouring pads or abrasive cleaners, as they can scratch the interior of your microwave.
7. Is it safe to use vinegar to clean a microwave with a stainless steel interior?
Yes, it is generally safe to use vinegar to clean a microwave with a stainless steel interior. However, it’s essential to dilute the vinegar with water to prevent any potential damage to the stainless steel. Also, avoid leaving the vinegar solution on the stainless steel for extended periods, as it can cause discoloration or corrosion. After cleaning, be sure to wipe down the interior thoroughly with a clean, damp cloth to remove any vinegar residue.
8. Can I add baking soda to the vinegar-water mixture for extra cleaning power?
While baking soda is a great cleaning agent, it’s not recommended to add it directly to the vinegar-water mixture for cleaning your microwave. When vinegar and baking soda are combined, they create a chemical reaction that produces carbon dioxide gas. This can cause pressure to build up inside the microwave, potentially leading to a mess or even damage. It’s best to use vinegar and baking soda separately for cleaning. You can use the vinegar steam method first, followed by a baking soda paste to tackle any remaining stubborn stains.
9. What are some other natural cleaning alternatives for microwaves?
Besides vinegar, there are several other natural cleaning alternatives for microwaves. Lemon juice is a great option for its antibacterial properties and refreshing scent. Simply microwave a bowl of lemon juice and water for a few minutes, then wipe down the interior. Baking soda paste can be used to scrub away stubborn stains. You can also use a damp cloth with a few drops of dish soap to clean the interior, followed by a thorough rinse with clean water.
10. How do I prevent my microwave from getting so dirty in the first place?
Prevention is key to keeping your microwave clean. Always cover food with a microwave-safe lid or plastic wrap to prevent splatters. Clean up spills and splatters immediately to prevent them from hardening and becoming difficult to remove. Regularly wipe down the interior of your microwave with a damp cloth to remove any food residue. By following these simple tips, you can significantly reduce the amount of cleaning required and keep your microwave looking its best.
Leave a Comment