
Clean Shower and Tub: Are you tired of battling stubborn soap scum, mildew, and hard water stains every time you step into your bathroom? I know I was! For centuries, keeping bathing spaces clean has been a challenge. From ancient Roman bathhouses meticulously maintained by slaves to modern homes with a plethora of cleaning products, the struggle is real. But what if I told you there’s a way to achieve a sparkling clean shower and tub with minimal effort and using ingredients you probably already have in your pantry?
This DIY guide is your secret weapon against grimy grout and dull surfaces. We’re diving deep into simple, effective, and budget-friendly methods to keep your shower and tub looking their best. Why spend a fortune on harsh chemicals when you can harness the power of natural solutions? Not only will you save money, but you’ll also create a healthier environment for yourself and your family.
I’m going to share my favorite tricks and hacks for a clean shower and tub that will leave you feeling refreshed and your bathroom looking brand new. Get ready to say goodbye to endless scrubbing and hello to a sparkling clean oasis!
DIY Sparkling Clean Shower and Tub: My Secret Weapon!
Okay, let’s be honest, cleaning the shower and tub is nobody’s favorite chore. But, a sparkling clean bathroom makes a huge difference in how you feel, right? I’ve tried countless commercial cleaners, and while some work okay, they’re often full of harsh chemicals and can be pretty expensive. So, I decided to experiment and create my own DIY shower and tub cleaner. And guess what? It works AMAZINGLY well! Plus, it’s budget-friendly and uses ingredients you probably already have in your home.
This method tackles soap scum, hard water stains, mildew, and general grime. I’m going to walk you through my tried-and-true method, step-by-step, so you can achieve a squeaky-clean shower and tub without breaking a sweat (or the bank!).
What You’ll Need: The Arsenal of Clean
Before we dive in, let’s gather our supplies. This is crucial for a smooth and efficient cleaning process. Trust me, you don’t want to be running around searching for baking soda mid-scrub!
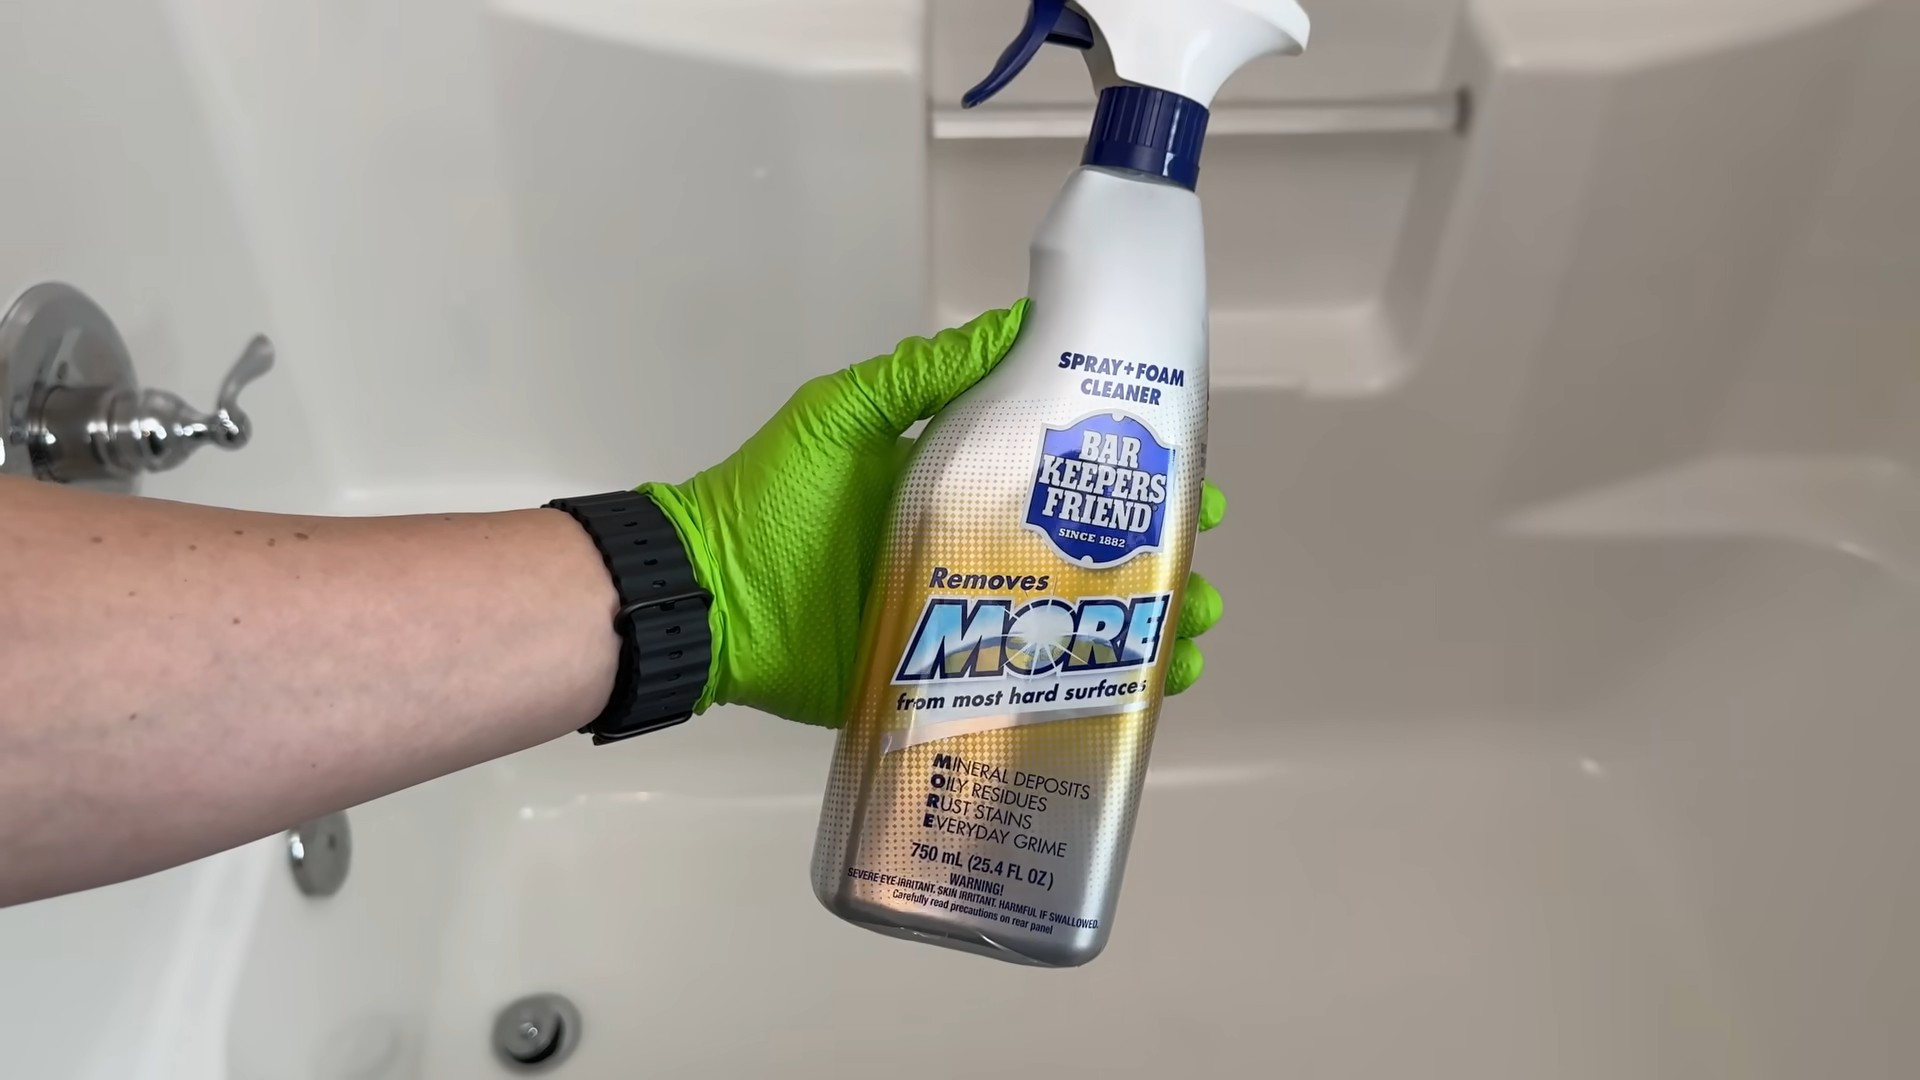
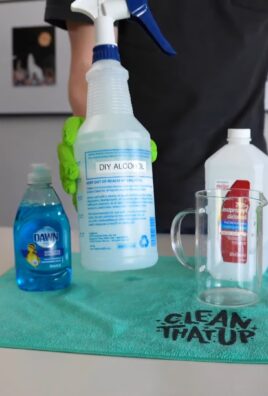
* **Spray Bottle:** A sturdy spray bottle is essential for applying the cleaning solution evenly. I prefer one with an adjustable nozzle so I can switch between a stream and a mist.
* **Baking Soda:** This is our gentle abrasive and deodorizer. It helps loosen grime without scratching surfaces.
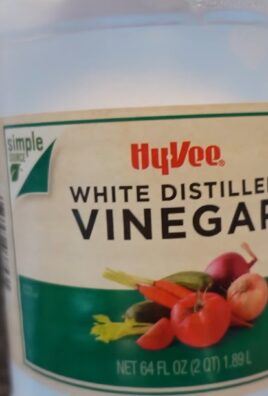
* **White Vinegar:** The acidic nature of vinegar cuts through soap scum and hard water stains like a champ. Make sure you use *white* vinegar, not apple cider vinegar.
* **Dish Soap:** A small amount of dish soap helps to break down grease and grime. I usually use Dawn, but any grease-cutting dish soap will work.
* **Essential Oil (Optional):** This is purely for fragrance. I love adding a few drops of tea tree oil for its antibacterial properties and fresh scent, or lavender for a calming aroma. Lemon or eucalyptus are also great choices!
* **Scrub Brush or Sponge:** Choose a scrub brush or sponge that’s appropriate for your shower and tub surfaces. For tile and grout, a stiff-bristled brush is ideal. For acrylic or fiberglass tubs, a non-abrasive sponge is best to avoid scratches.
* **Microfiber Cloths:** These are perfect for wiping down surfaces and leaving a streak-free shine.
* **Rubber Gloves:** Protect your hands from the cleaning solution and hot water.
* **Old Toothbrush:** This is your secret weapon for cleaning grout lines and tight corners.
* **Spray Bottle with Water:** For rinsing.
Mixing the Magic: Creating the Cleaning Solution
Now for the fun part – creating our powerful cleaning solution! This recipe is super simple and effective.
1. **Prepare the Baking Soda Paste:** In a small bowl, mix baking soda with just enough water to form a thick paste. The consistency should be similar to toothpaste. This paste will be our scrubbing agent for stubborn stains.
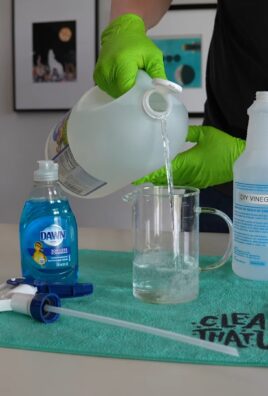
2. **Combine Vinegar and Dish Soap:** In your spray bottle, pour in equal parts white vinegar and dish soap. I usually start with about 1 cup of each.
3. **Add Essential Oil (Optional):** If you’re using essential oil, add a few drops (5-10) to the spray bottle.
4. **Gently Mix:** Close the spray bottle tightly and gently swirl the mixture to combine the ingredients. Avoid shaking vigorously, as this can create excessive suds.
Important Note: Never mix vinegar and bleach! This creates toxic fumes that are harmful to your health.
The Cleaning Process: Step-by-Step to Sparkling
Alright, let’s get down to business! Follow these steps for a shower and tub that will make you proud.
Section 1: Prepping the Area
1. **Remove Items:** Clear out any shampoo bottles, soap bars, loofahs, or other items from the shower and tub. This will give you a clear workspace and prevent you from accidentally spraying them with the cleaning solution.
2. **Rinse Surfaces:** Give the shower and tub a quick rinse with warm water. This will help to loosen any loose dirt and grime and prepare the surfaces for cleaning.
Section 2: Applying the Cleaning Solution
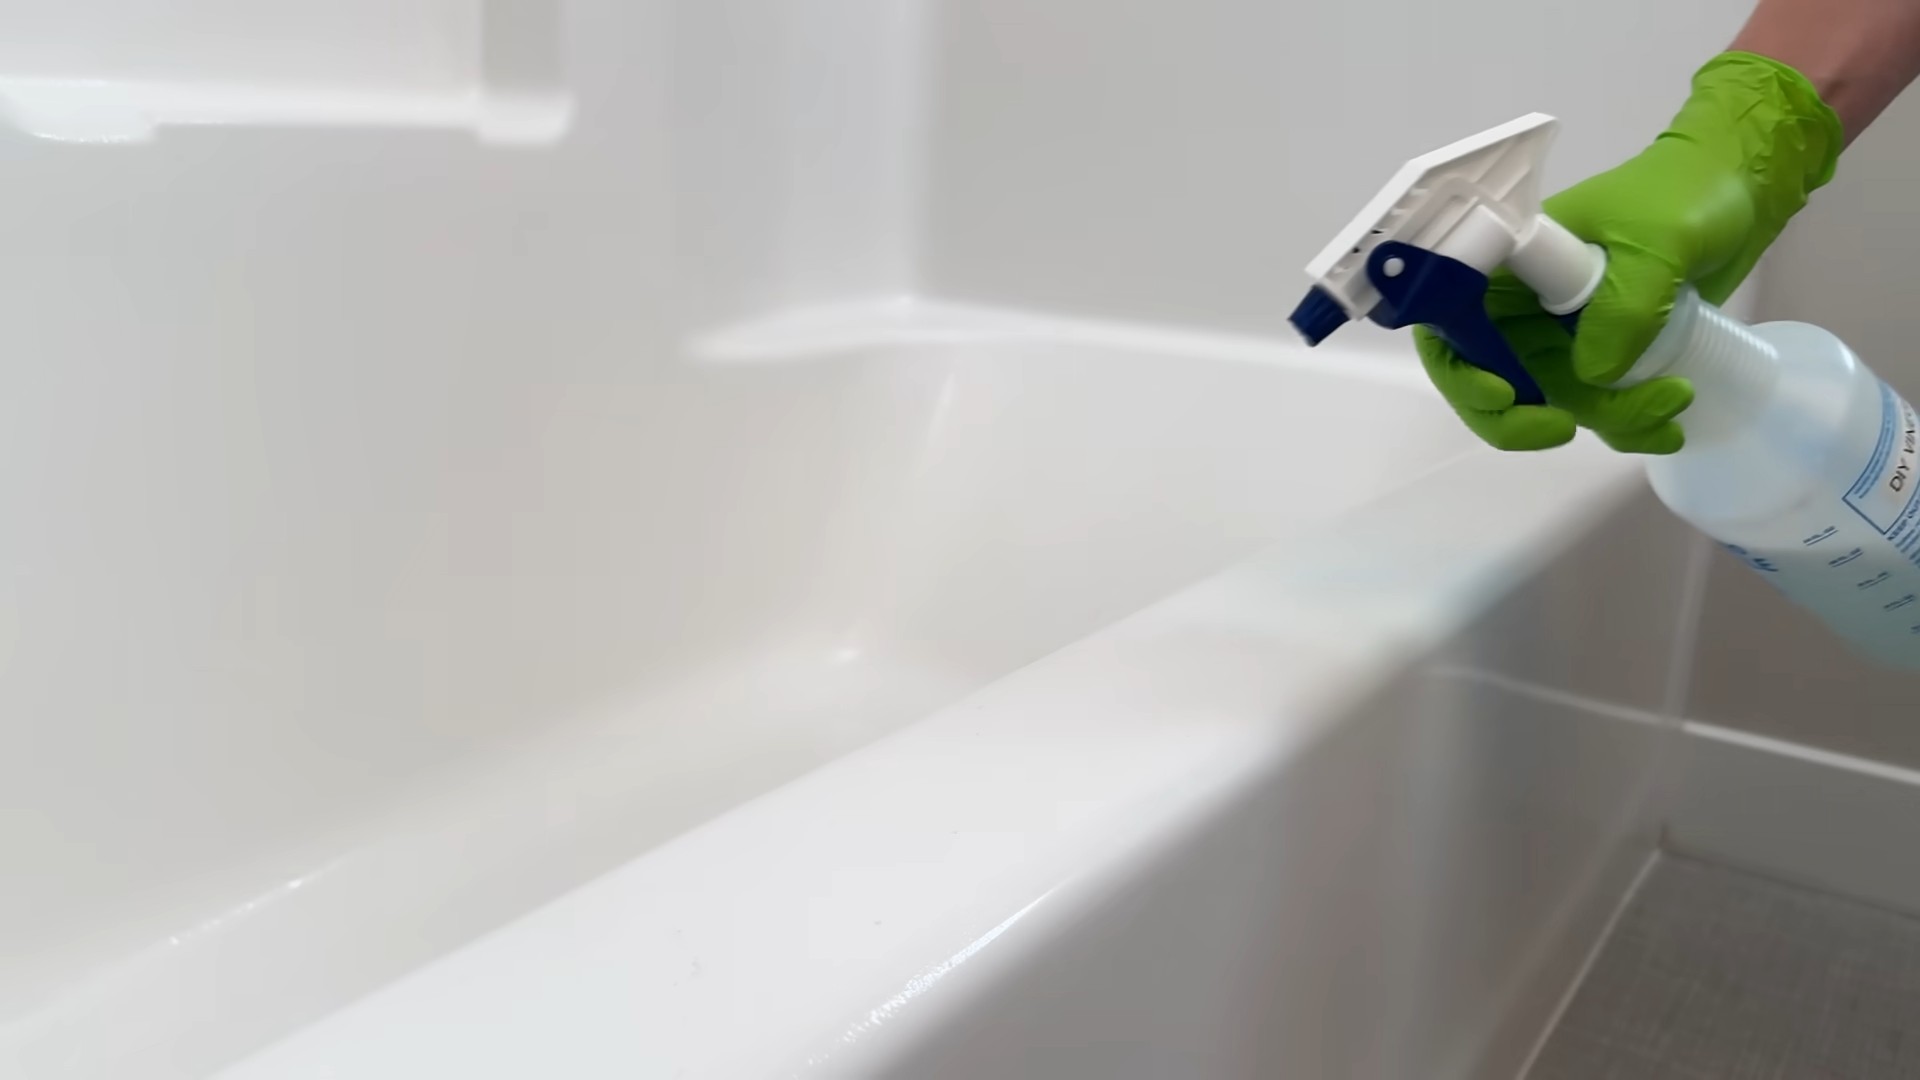
1. **Spray the Surfaces:** Generously spray the entire shower and tub with the vinegar and dish soap mixture. Make sure to cover all surfaces, including the walls, floor, shower door or curtain, and fixtures.
2. **Let it Sit:** Allow the cleaning solution to sit for at least 15-20 minutes. This will give the vinegar time to break down the soap scum and hard water stains. For particularly stubborn stains, you can let it sit for up to an hour.
Section 3: Scrubbing Away the Grime
1. **Tackle Stubborn Stains with Baking Soda Paste:** For areas with heavy soap scum or hard water stains, apply the baking soda paste directly to the affected area.
2. **Scrub, Scrub, Scrub:** Using your scrub brush or sponge, scrub all surfaces of the shower and tub. Pay special attention to areas where soap scum and mildew tend to accumulate, such as the corners, grout lines, and around the drain.
3. **Grout Line Detail:** Use the old toothbrush to scrub the grout lines. This will help to remove any dirt, mildew, or grime that has accumulated in the grout.
4. **Fixtures Focus:** Don’t forget to clean the showerhead, faucet, and other fixtures. Use the scrub brush or sponge to remove any water spots or mineral deposits.
Section 4: Rinsing and Drying
1. **Rinse Thoroughly:** Rinse the entire shower and tub with warm water until all traces of the cleaning solution and baking soda are gone.
2. **Dry with Microfiber Cloths:** Use clean microfiber cloths to dry all surfaces of the shower and tub. This will help to prevent water spots and leave a streak-free shine.
3. **Ventilate:** Open a window or turn on the bathroom fan to help dry the shower and tub completely. This will also help to prevent mildew growth.
Section 5: Extra Touches (Optional)
1. **Shower Door Treatment:** For shower doors, I like to use a squeegee after each shower to prevent water spots and soap scum buildup.
2. **Grout Sealer:** Consider applying a grout sealer to protect your grout lines from future stains and mildew.
3. **Regular Cleaning:** To keep your shower and tub sparkling clean, aim to clean them at least once a week. This will prevent soap scum and mildew from building up and make cleaning much easier in the long run.
Troubleshooting: Tackling Tough Problems
Sometimes, you might encounter particularly stubborn stains or issues that require a little extra attention. Here are a few troubleshooting tips:
* **Severe Hard Water Stains:** If you have severe hard water stains, you may need to use a stronger acid, such as CLR (Calcium, Lime, and Rust remover). Follow the manufacturer’s instructions carefully.
* **Mold and Mildew:** For mold and mildew, you can try using a solution of bleach and water (1 part bleach to 10 parts water). Apply the solution to the affected area, let it sit for a few minutes, and then scrub with a brush. Be sure to ventilate the area well and wear gloves and a mask when working with bleach. Always test in an inconspicuous area first!
* **Persistent Soap Scum:** If soap scum is particularly stubborn, you can try using a paste of baking soda and hydrogen peroxide. Apply the paste to the affected area, let it sit for a few minutes, and then scrub with a brush.
Maintaining Your Sparkling Shower and Tub: Prevention is Key!
The best way to keep your shower and tub clean is to prevent buildup in the first place. Here are a few tips for maintaining your sparkling clean bathroom:
* **Squeegee After Each Shower:** As mentioned earlier, using a squeegee after each shower is a simple and effective way to prevent water spots and soap scum buildup on shower doors and walls.
* **Ventilate the Bathroom:** Always run the bathroom fan or open a window after showering to help dry the surfaces and prevent mildew growth.
* **Use Liquid Soap:** Bar soap tends to leave more soap scum than liquid soap. Consider switching to liquid soap to reduce buildup.
* **Regular Cleaning:** As I mentioned before, aim to clean your shower and tub at least once a week to prevent buildup and make cleaning easier in the long run.
And there you have it! My complete guide to a DIY sparkling clean shower and tub. I hope you find this method as effective and satisfying as I do. Happy cleaning!
Conclusion
So, there you have it! This simple, yet incredibly effective DIY trick for a clean shower and tub is a game-changer for anyone tired of battling soap scum, mildew, and hard water stains with harsh chemicals and endless scrubbing. We’ve walked you through the easy steps, highlighted the cost-effectiveness, and emphasized the eco-friendly nature of this solution. But why is this a must-try?
Firstly, it’s about reclaiming your time. Imagine spending just a few minutes after each shower, quickly spraying and rinsing, instead of dedicating hours each week to a deep clean. This method transforms shower maintenance from a dreaded chore into a simple habit. Secondly, it’s about creating a healthier home environment. By using natural ingredients like vinegar and dish soap, you’re minimizing your exposure to potentially harmful chemicals found in commercial cleaners. This is especially important for households with children, pets, or individuals with sensitivities.
Thirdly, it’s about the satisfaction of knowing you’re making a conscious choice to reduce your environmental impact. Commercial cleaners often come in plastic bottles and contain ingredients that can be harmful to aquatic life. This DIY solution allows you to reuse spray bottles and utilize readily available, biodegradable ingredients.
But the beauty of this DIY trick lies in its adaptability. Feel free to experiment with variations to suit your specific needs and preferences. For instance, if you have particularly stubborn stains, you can add a tablespoon of baking soda to the mixture for extra cleaning power. Or, if you prefer a more fragrant shower, you can infuse the vinegar with citrus peels or add a few drops of your favorite essential oil (tea tree, eucalyptus, and lavender are excellent choices for their antibacterial and antifungal properties). Remember to always test any new additions in an inconspicuous area first to ensure they don’t damage your shower surfaces.
Another variation involves the type of dish soap you use. While any dish soap will work, consider using a plant-based or biodegradable option to further enhance the eco-friendliness of this solution. You can also experiment with different ratios of vinegar and dish soap to find the perfect balance for your water hardness and the severity of your shower grime.
Don’t be afraid to tweak the recipe and make it your own!
We truly believe that this DIY trick will revolutionize your shower cleaning routine. It’s simple, effective, affordable, and environmentally friendly. What more could you ask for?
So, we encourage you to give it a try! Gather your ingredients, mix up a batch of this magical solution, and experience the joy of a sparkling clean shower with minimal effort. And most importantly, share your experience with us! We’d love to hear your tips, variations, and success stories in the comments below. Let’s create a community of clean shower enthusiasts! Your feedback will not only help others discover this amazing trick but also inspire us to continue sharing innovative and sustainable cleaning solutions. Let’s ditch the harsh chemicals and embrace a cleaner, healthier, and more sustainable way to maintain our showers and tubs. You’ll be amazed at the difference it makes!
Frequently Asked Questions (FAQ)
What kind of vinegar should I use?
White distilled vinegar is the best choice for this DIY cleaner. It’s readily available, inexpensive, and has a high acidity level, making it effective at dissolving soap scum and mineral deposits. Avoid using other types of vinegar, such as apple cider vinegar or balsamic vinegar, as they may contain sugars or pigments that could stain your shower surfaces.
Will the vinegar smell linger?
The vinegar smell will be noticeable initially, but it dissipates quickly after rinsing. You can further minimize the odor by adding a few drops of your favorite essential oil to the mixture. Citrus oils, tea tree oil, and eucalyptus oil are popular choices that also offer antibacterial and antifungal benefits. Ensure proper ventilation by opening a window or turning on the exhaust fan while cleaning.
Is this DIY cleaner safe for all shower surfaces?
This cleaner is generally safe for most shower surfaces, including tile, fiberglass, acrylic, and glass. However, it’s not recommended for natural stone surfaces like marble or granite, as the acidity of the vinegar can etch or damage them. Always test the cleaner in an inconspicuous area first to ensure it doesn’t cause any discoloration or damage. For natural stone, use a pH-neutral cleaner specifically designed for those surfaces.
How often should I use this DIY cleaner?
For optimal results, use this cleaner after each shower. A quick spray and rinse will prevent soap scum and mildew from building up, making it much easier to maintain a clean shower. If you’re just starting out and your shower is already quite dirty, you may need to use the cleaner more frequently (e.g., daily for a week) to remove existing buildup. Once your shower is clean, you can reduce the frequency to every other day or a few times a week.
Can I use this cleaner on shower doors with water spots?
Yes, this cleaner is very effective at removing water spots from shower doors. The vinegar helps to dissolve the mineral deposits that cause water spots, leaving your shower doors sparkling clean. For stubborn water spots, you may need to let the cleaner sit for a few minutes before rinsing. You can also use a microfiber cloth to scrub the shower doors gently.
What if I have hard water?
If you have hard water, you may need to increase the amount of vinegar in the mixture to combat the mineral deposits. You can also try adding a tablespoon of borax to the mixture for extra cleaning power. Another option is to install a water softener to reduce the mineral content of your water.
Can I use this cleaner on my bathtub?
Yes, this cleaner is equally effective for cleaning bathtubs. Simply spray the cleaner onto the bathtub surface, let it sit for a few minutes, and then scrub with a sponge or brush. Rinse thoroughly with water.
What if I don’t have dish soap? Can I use something else?
While dish soap is the preferred ingredient for this cleaner, you can substitute it with a small amount of liquid castile soap or even a mild laundry detergent. However, be sure to use a very small amount, as these alternatives can be more concentrated than dish soap.
How long will the DIY cleaner last?
This DIY cleaner doesn’t have a long shelf life, as the ingredients can separate over time. It’s best to mix up a fresh batch each time you need it. However, if you have leftover cleaner, you can store it in a cool, dark place for up to a week. Be sure to shake the bottle well before each use.
What if I have mold or mildew in my shower?
While this cleaner can help prevent mold and mildew growth, it may not be strong enough to remove existing mold or mildew. For mold and mildew removal, you can use a solution of bleach and water (1 part bleach to 10 parts water). Be sure to wear gloves and eye protection when using bleach, and ventilate the area well. Alternatively, you can use a commercial mold and mildew remover. After removing the mold and mildew, you can use this DIY cleaner to help prevent it from returning.
Is this cleaner safe for septic systems?
Yes, this cleaner is generally safe for septic systems. The ingredients are biodegradable and won’t harm the bacteria in your septic tank. However, it’s always a good idea to use cleaning products sparingly if you have a septic system.
Can I use this cleaner on colored grout?
Yes, this cleaner is generally safe for colored grout. However, it’s always a good idea to test it in an inconspicuous area first to ensure it doesn’t cause any discoloration. If you’re concerned about fading, you can use a more diluted solution of vinegar and water.
What if the cleaner doesn’t seem to be working?
If the cleaner doesn’t seem to be working, there are a few things you can try. First, make sure you’re using the correct ratio of vinegar and dish soap. Second, let the cleaner sit on the surface for a longer period of time before rinsing. Third, try scrubbing the surface with a sponge or brush. Finally, if you have particularly stubborn stains, you may need to use a stronger cleaner or a commercial cleaning product.
Leave a Comment