
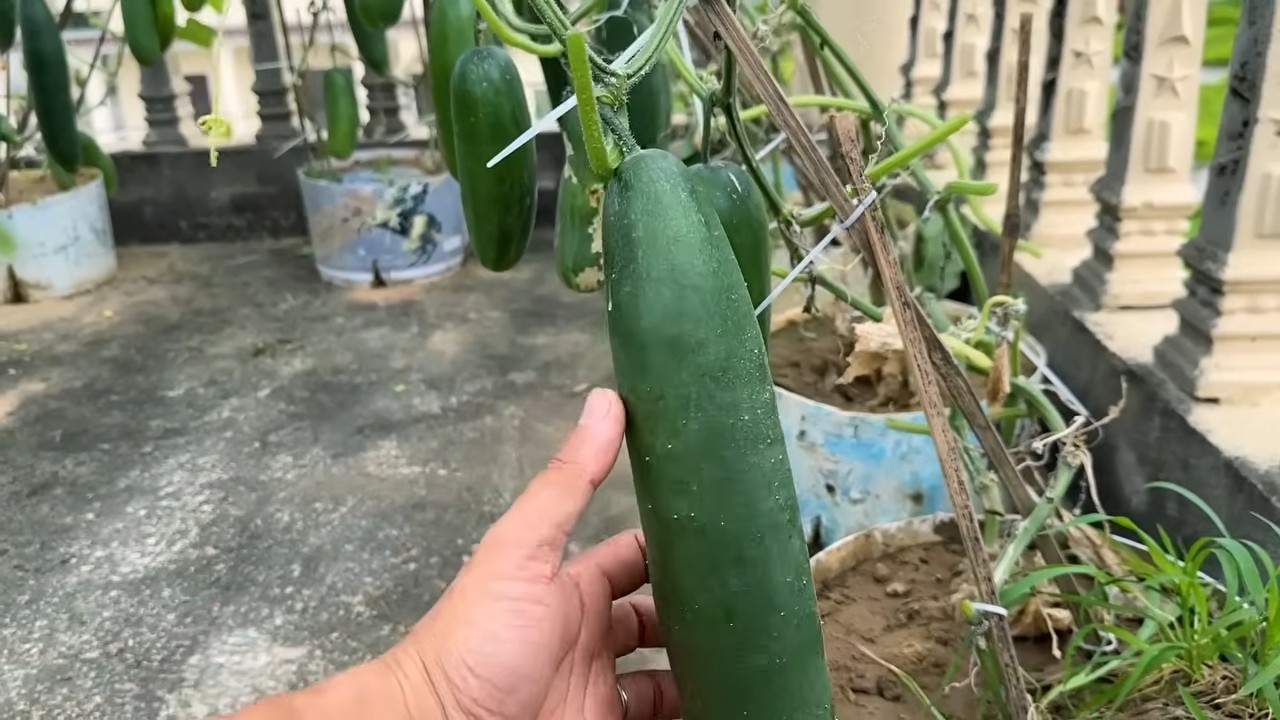
Boost Cucumber Growth and unlock a bountiful harvest right in your own backyard! Have you ever dreamed of crisp, refreshing cucumbers gracing your summer salads, all grown with your own two hands? I know I have! But sometimes, those little green gems can be a bit… stubborn. They need a little nudge, a little help to truly thrive. That’s where these amazing DIY tricks come in.
For centuries, cucumbers have been cultivated across the globe, from ancient civilizations in India to the sun-drenched fields of the Mediterranean. They’re more than just a tasty treat; they’re a symbol of freshness and vitality. But even with centuries of experience, getting the most out of your cucumber plants can be a challenge.
That’s why I’m so excited to share these easy-to-implement, cost-effective DIY hacks that will help you boost cucumber growth and ensure a bumper crop. Whether you’re a seasoned gardener or just starting out, these tips will empower you to create the perfect environment for your cucumbers to flourish. Say goodbye to stunted growth and hello to a garden overflowing with delicious, homegrown goodness! Let’s dive in and discover the secrets to cucumber success!
Boosting Cucumber Growth: My DIY Secrets for a Bumper Harvest
Hey fellow gardeners! I’m so excited to share my tried-and-true methods for getting the most amazing cucumber harvest. I’ve experimented a lot over the years, and I’ve finally nailed down a system that works wonders. Get ready to have more cucumbers than you know what to do with!
Understanding Cucumber Needs
Before we dive into the DIY hacks, let’s quickly cover the basics. Cucumbers are warm-weather veggies that need plenty of sunshine, well-drained soil, and consistent watering. They’re also heavy feeders, meaning they need a good supply of nutrients to thrive. Keeping these needs in mind will help you understand why these hacks are so effective.
DIY Hack 1: Supercharged Soil Mix
The foundation of any successful garden is healthy soil. I’ve created a soil mix that my cucumbers absolutely adore. It’s packed with nutrients and provides excellent drainage.
What you’ll need:
* Compost (aged manure is fantastic!)
* Coco coir or peat moss
* Perlite or vermiculite
* Worm castings
* Bone meal
* Epsom salts
Why these ingredients?
* Compost: Adds organic matter, improves soil structure, and provides slow-release nutrients.
* Coco coir/Peat moss: Helps retain moisture and improves drainage.
* Perlite/Vermiculite: Improves drainage and aeration.
* Worm castings: A natural fertilizer packed with beneficial microbes.
* Bone meal: Provides phosphorus, essential for root development and flowering.
* Epsom salts: Provides magnesium, which helps with chlorophyll production and nutrient uptake.
Step-by-step instructions:
1. Gather your ingredients: Make sure you have all the components ready before you start mixing.
2. Combine the base: In a large container or on a tarp, mix equal parts compost, coco coir (or peat moss), and perlite (or vermiculite). I usually go for a 1:1:1 ratio.
3. Add the boosters: For every cubic foot of the base mix, add about 1 cup of worm castings, ½ cup of bone meal, and ¼ cup of Epsom salts.
4. Mix thoroughly: Use a shovel or your hands (wear gloves!) to mix everything until it’s evenly distributed.
5. Moisten the mix: Lightly dampen the soil mix with water. It should be moist but not soggy.
6. Let it rest: Ideally, let the mix sit for a few days before planting. This allows the ingredients to meld together.
DIY Hack 2: The “Cucumber Cocktail” Fertilizer
Cucumbers are hungry plants, and they need regular feeding to produce a bountiful harvest. I’ve developed a liquid fertilizer that I call the “Cucumber Cocktail.” It’s a blend of natural ingredients that provides a balanced dose of nutrients.
What you’ll need:
* Fish emulsion
* Kelp extract
* Molasses (unsulphured)
* Water
Why these ingredients?
* Fish emulsion: Provides nitrogen, phosphorus, and potassium (NPK), as well as micronutrients.
* Kelp extract: Rich in micronutrients, growth hormones, and enzymes.
* Molasses: Feeds beneficial microbes in the soil and provides trace minerals.
Step-by-step instructions:
1. Prepare the concentrate: In a small container, mix 1 tablespoon of fish emulsion, 1 tablespoon of kelp extract, and 1 teaspoon of molasses.
2. Dilute the concentrate: Add the concentrate to 1 gallon of water. Mix well.
3. Apply the fertilizer: Water your cucumber plants with the “Cucumber Cocktail” every 1-2 weeks. Be sure to apply it to the soil around the base of the plants, avoiding the foliage.
4. Adjust as needed: If you notice any signs of nutrient deficiency (e.g., yellowing leaves), you can increase the frequency of fertilization.
DIY Hack 3: The Epsom Salt Foliar Spray
As I mentioned earlier, magnesium is crucial for cucumber growth. While the soil mix and “Cucumber Cocktail” provide some magnesium, I like to give my plants an extra boost with an Epsom salt foliar spray.
What you’ll need:
* Epsom salts
* Water
* Spray bottle
Why Epsom salts?
* Magnesium: Enhances chlorophyll production, improves nutrient uptake, and helps prevent blossom end rot.
Step-by-step instructions:
1. Dissolve the Epsom salts: In a spray bottle, dissolve 1 tablespoon of Epsom salts in 1 gallon of water.
2. Shake well: Make sure the Epsom salts are completely dissolved before spraying.
3. Spray the foliage: Spray the leaves of your cucumber plants with the Epsom salt solution in the early morning or late evening. Avoid spraying during the hottest part of the day to prevent leaf burn.
4. Repeat as needed: I usually spray my plants every 2-3 weeks.
DIY Hack 4: Vertical Growing Support System
Cucumbers are vines, and they need support to grow properly. Growing them vertically not only saves space but also improves air circulation, reduces disease, and makes harvesting easier. I’ve built a simple and effective vertical growing support system using readily available materials.
What you’ll need:
* Trellis netting or chicken wire
* Wooden stakes or PVC pipes
* Zip ties or garden twine
Why vertical growing?
* Space saving: Maximizes growing space, especially in small gardens.
* Improved air circulation: Reduces the risk of fungal diseases.
* Easier harvesting: Makes it easier to spot and pick ripe cucumbers.
Step-by-step instructions:
1. Choose your support material: I prefer trellis netting because it’s lightweight and easy to work with, but chicken wire also works well.
2. Set up the stakes: Drive the wooden stakes or PVC pipes into the ground near your cucumber plants. Space them about 2-3 feet apart.
3. Attach the netting: Secure the trellis netting or chicken wire to the stakes using zip ties or garden twine. Make sure the netting is taut and securely attached.
4. Train the vines: As your cucumber plants grow, gently guide the vines onto the trellis. You may need to use garden twine to tie the vines to the netting.
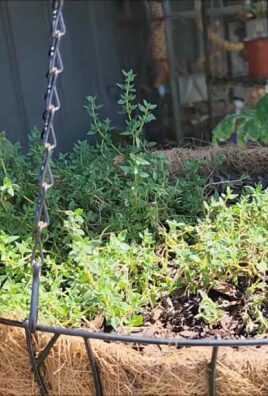
DIY Hack 5: Companion Planting Power
Companion planting is the practice of growing different plants together to benefit each other. Certain plants can help cucumbers by attracting beneficial insects, repelling pests, or improving soil health.
My favorite cucumber companions:
* Marigolds: Repel nematodes and other soil pests.
* Nasturtiums: Attract aphids away from cucumbers.
* Dill: Attracts beneficial insects like ladybugs and lacewings.
* Beans: Fix nitrogen in the soil, benefiting cucumbers.
* Radishes: Deter cucumber beetles.
How to implement companion planting:
1. Choose your companions: Select plants that are known to benefit cucumbers.
2. Plant them strategically: Plant the companion plants near your cucumber plants. For example, you can plant marigolds around the perimeter of your cucumber patch or interplant dill and nasturtiums among the cucumber vines.
3. Observe the results: Keep an eye on your plants and see how they interact with each other. You may need to adjust your planting strategy based on your observations.
DIY Hack 6: The “Beer Trap” for Slugs and Snails
Slugs and snails can wreak havoc on cucumber plants, especially young seedlings. I’ve found that a simple beer trap is an effective way to control these pests.
What you’ll need:
* Shallow container (e.g., a plastic container or a cut-off yogurt cup)
* Beer (any kind will do)
Why beer?
* Attractant: Slugs and snails are attracted to the smell of beer.
* Drowning trap: They crawl into the container to drink the beer and drown.
Step-by-step instructions:
1. Bury the container: Dig a hole in the ground near your cucumber plants and bury the shallow container so that the rim is level with the soil surface.
2. Fill with beer: Pour beer into the container until it’s about half full.
3. Check and refill: Check the trap regularly and remove any dead slugs and snails. Refill the beer as needed.
DIY Hack 7: Consistent Watering is Key
Cucumbers need consistent watering, especially during hot weather. Inconsistent watering
Conclusion
So, there you have it! This simple, yet incredibly effective DIY trick to boost cucumber growth is more than just a gardening hack; it’s a game-changer. We’ve walked you through the process, highlighting the science behind why it works and showcasing the potential for a significantly more abundant and healthier cucumber harvest.
Why is this a must-try? Because it addresses several key factors that often limit cucumber production. It improves soil drainage, prevents root rot, provides consistent moisture, and offers a natural defense against soil-borne pests. All of this translates to stronger, more resilient plants that are better equipped to produce a bountiful crop of delicious cucumbers.
But the beauty of this DIY trick lies not only in its effectiveness but also in its adaptability. Feel free to experiment with variations to suit your specific needs and resources. For example, if you don’t have access to coffee filters, you can use burlap sacks or even old cotton t-shirts as a lining for your planting holes. Just ensure that the material is breathable and allows for proper drainage.
Another variation you might consider is adding a layer of compost or well-rotted manure to the bottom of the planting hole before placing the coffee filter. This will provide an extra boost of nutrients to your cucumber plants, further enhancing their growth and productivity. You can also incorporate slow-release fertilizer granules into the soil mixture for sustained feeding throughout the growing season.
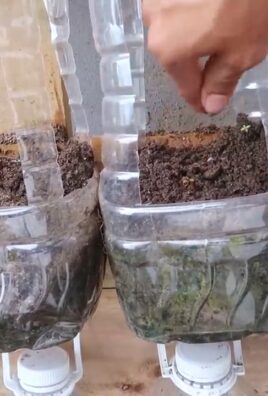
If you’re growing cucumbers in containers, this trick is especially beneficial. Container gardening can sometimes lead to drainage issues, and this method helps to mitigate that risk. Just be sure to choose a container that is large enough to accommodate the mature size of your cucumber plants.
Don’t be afraid to get creative and tailor this DIY trick to your own gardening style and preferences. The most important thing is to provide your cucumber plants with the optimal conditions for growth, and this method is a fantastic way to achieve that.
We are confident that you’ll see a noticeable difference in your cucumber production after implementing this simple technique. Imagine harvesting basket after basket of crisp, juicy cucumbers from your own garden! It’s a rewarding experience that’s well within your reach.
Now, it’s your turn! We wholeheartedly encourage you to try this DIY trick to boost cucumber growth and witness the results for yourself. We’re eager to hear about your experiences, so please share your photos, tips, and success stories in the comments section below. Let’s create a community of cucumber enthusiasts who are passionate about growing the best possible crop! Happy gardening!
Frequently Asked Questions (FAQ)
What type of coffee filters should I use?
You can use any type of coffee filter, whether it’s bleached or unbleached. However, unbleached coffee filters are generally considered to be more environmentally friendly. The size of the coffee filter doesn’t matter as much as ensuring it adequately lines the planting hole. If you’re using smaller filters, you may need to overlap them slightly to cover the entire area.
Can I use this trick for other plants besides cucumbers?
Yes, this DIY trick can be beneficial for other plants that are susceptible to root rot or prefer well-drained soil. Tomatoes, peppers, and squash are all good candidates. The principle remains the same: the coffee filter helps to improve drainage and prevent waterlogging around the roots. However, always research the specific needs of each plant to ensure you’re providing the optimal growing conditions.
How often should I water my cucumbers after using this trick?
The watering frequency will depend on several factors, including the weather, soil type, and the size of your plants. However, a good rule of thumb is to water deeply whenever the top inch of soil feels dry to the touch. Avoid overwatering, as this can still lead to root rot, even with the coffee filter in place. Monitor your plants closely and adjust your watering schedule accordingly.
What kind of soil should I use for planting cucumbers?
Cucumbers prefer well-drained, fertile soil that is rich in organic matter. A good soil mix would include equal parts of garden soil, compost, and peat moss or coconut coir. You can also add a slow-release fertilizer to provide your plants with a steady supply of nutrients throughout the growing season. Avoid using heavy clay soil, as it tends to retain too much water and can lead to root rot.
Will this trick protect my cucumbers from all pests and diseases?
While this DIY trick can help to prevent some soil-borne diseases, it won’t protect your cucumbers from all pests and diseases. You may still need to take other measures to protect your plants, such as using insecticidal soap or neem oil to control pests, and applying a fungicide to prevent fungal diseases. Regular monitoring of your plants is essential for early detection and treatment of any problems.
How long will the coffee filter last in the soil?
Coffee filters are biodegradable and will eventually decompose in the soil. However, they should last for at least one growing season, providing adequate drainage and protection for your cucumber plants. Over time, the coffee filter will break down and add organic matter to the soil, further improving its fertility.
Is it necessary to add fertilizer when using this trick?
While this DIY trick improves soil conditions, adding fertilizer is still recommended to provide your cucumber plants with the nutrients they need for optimal growth and fruit production. You can use a balanced fertilizer that is specifically formulated for vegetables, or you can amend the soil with compost or well-rotted manure. Follow the instructions on the fertilizer package for proper application rates.
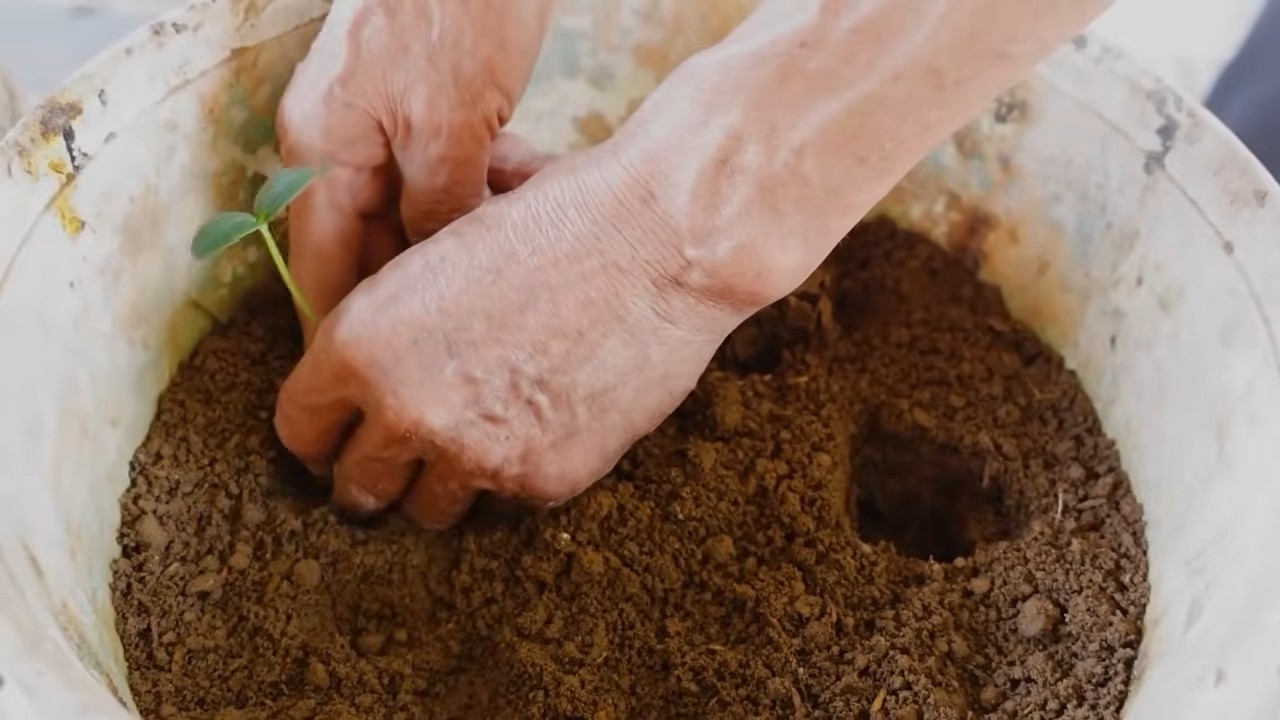
Can I use this trick when transplanting cucumber seedlings?
Yes, this trick is particularly beneficial when transplanting cucumber seedlings. The coffee filter helps to protect the delicate roots from damage during transplanting and provides a well-drained environment for them to establish themselves. Be sure to handle the seedlings carefully and water them thoroughly after transplanting.
What if I don’t have coffee filters? Are there any alternatives?
Yes, if you don’t have coffee filters, you can use other materials as a lining for your planting holes. Burlap sacks, old cotton t-shirts, or even newspaper can be used as alternatives. Just make sure that the material is breathable and allows for proper drainage. Avoid using plastic or other non-biodegradable materials, as they can impede drainage and harm the environment.
How will this trick specifically boost cucumber growth compared to not using it?
This trick directly addresses common issues that hinder cucumber growth. By improving drainage, it prevents root rot, a major cause of plant death. Consistent moisture availability, facilitated by the filter’s water retention, reduces stress on the plant. The barrier also minimizes contact with soil-borne pathogens and pests, leading to healthier roots and a stronger, more productive plant. Ultimately, this results in faster growth, more abundant flowering, and a significantly larger cucumber yield. This simple technique creates a more favorable environment for the cucumber plant to thrive, leading to a noticeable boost cucumber growth.

Leave a Comment