
Growing Celery Indoors might seem like a challenge reserved for seasoned gardeners, but I’m here to tell you it’s totally achievable, even if you’re a beginner! Forget those bland, store-bought stalks – imagine the crisp, fresh flavor of homegrown celery gracing your salads and soups, all thanks to your own green thumb.
Celery, with its origins tracing back to the Mediterranean, has been enjoyed for centuries, not just for its culinary uses but also for its medicinal properties. Historically, it was more valued for its seeds and leaves than its stalks, but today, we can’t imagine a crudité platter without it! But why settle for the ordinary when you can cultivate your own supply, tailored to your taste and free from unwanted chemicals?
In today’s world, where access to fresh, healthy produce can sometimes be a struggle, learning how to grow your own food, even on a small scale, is incredibly empowering. Growing Celery Indoors offers a fantastic solution for those with limited outdoor space, unpredictable weather, or simply a desire to have fresh ingredients readily available. This DIY guide will walk you through simple, effective techniques to successfully cultivate celery within the comfort of your home. Get ready to enjoy the satisfaction of nurturing your own plants and reaping the delicious rewards!
Growing Celery at Home: A Comprehensive DIY Guide
Hello, dear garden friends! Have you ever wondered if you can grow celery indoors? The answer is a resounding YES! And I’m going to show you how. It’s easier than you think and a great way to always have fresh celery on hand. Let’s dive into this exciting DIY project together!
What You Need: The Right Equipment
Before we get started, let’s make sure we have everything we need. Here’s a list of the things you’ll need:
- Celery stalk: A fresh, firm stalk from the supermarket or market is best. Make sure it looks healthy and shows no signs of rot.
- Shallow container: A bowl, a plate, or a shallow container large enough to hold the celery stalk.
- Water: Tap water is perfectly fine.
- Planting pot: A pot with a diameter of at least 15 cm (about 6 inches).
- Potting soil: A good, nutrient-rich potting soil is important for growth.
- Knife: A sharp knife to cut the stalk.
- Spray bottle: To moisten the soil.
- Optional: Liquid fertilizer: For an additional supply of nutrients.
Phase 1: Preparing the Celery Stalk
This step is crucial for success. We want to prepare the stalk so that it can grow roots.
- Cut the celery stalk: Take your sharp knife and cut the celery stalk about 5-7 cm (2-3 inches) from the bottom end. Make sure you make a clean cut. You can, of course, use the upper stalks for soups or salads!
- Place in water: Fill your shallow container with about 2-3 cm (about 1 inch) of water. Place the cut celery stalk into the water with the cut side facing down.
- Choose a location: Place the container in a bright spot, but avoid direct sunlight. A windowsill is ideal.
- Check the water level: Check the water level daily and add more water as needed. The stalk should always be sitting in water.
Phase 2: Observing Root Formation
Now it’s time to be patient! Root formation can take a few days to a week.
- Observe the roots: After a few days, you should see small roots on the bottom of the stalk. That’s a good sign!
- Observe the leaves: The inner leaves of the stalk should also start to develop and turn greener.
- Change the water regularly: Change the water every 2-3 days to prevent the formation of bacteria.
Phase 3: Planting in Soil
Once the roots are about 2-3 cm (about 1 inch) long, it’s time to plant the celery in soil.
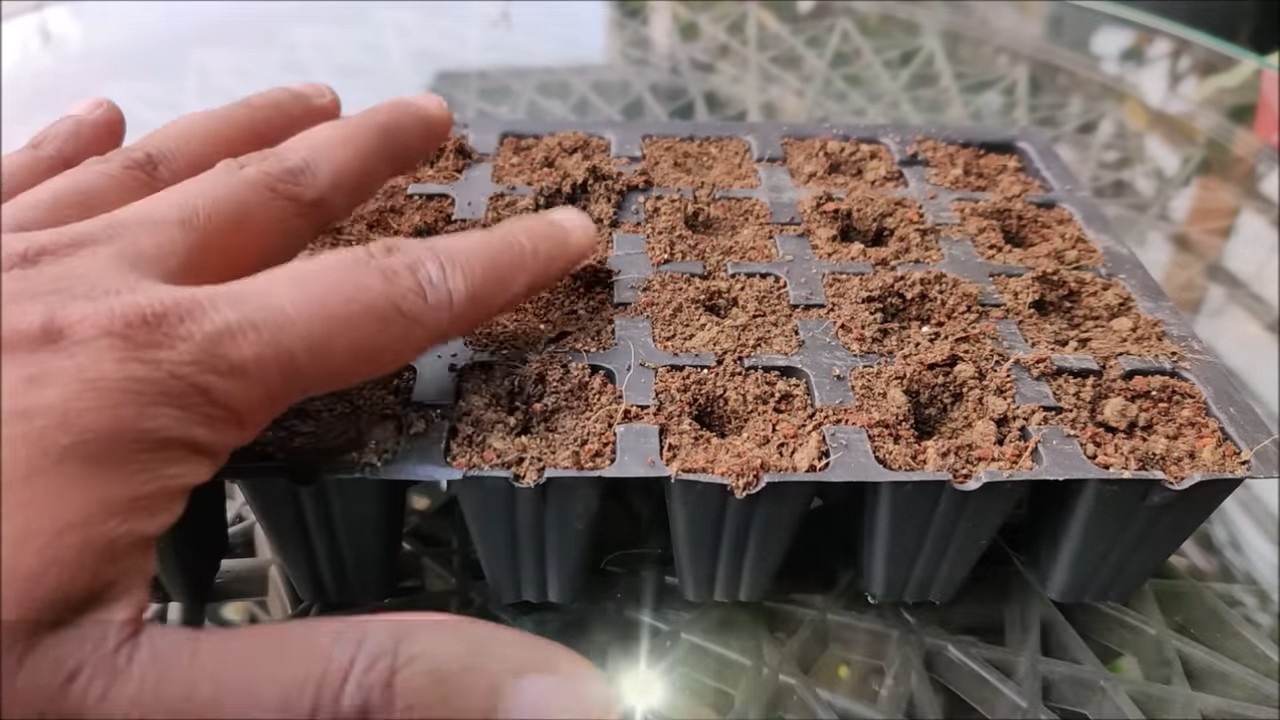
- Prepare the pot: Fill your planting pot with potting soil. Leave about 2-3 cm (about 1 inch) of space to the rim.
- Plant the celery: Dig a small hole in the center of the soil, large enough to accommodate the celery stalk. Carefully place the stalk in the hole and cover the roots with soil. Make sure the top part of the stalk is still visible.
- Water in: Water the soil gently until it is well-moistened. Avoid waterlogging.
- Choose a location: Place the pot in a bright spot, but avoid direct sunlight.
Phase 4: Care and Growth
Now the real care for the celery begins.
- Watering: Water the celery regularly, but avoid waterlogging. The soil should always be slightly moist.
- Fertilizing (optional): If you wish, you can fertilize the celery every 2-3 weeks with a liquid fertilizer. Follow the instructions on the packaging.
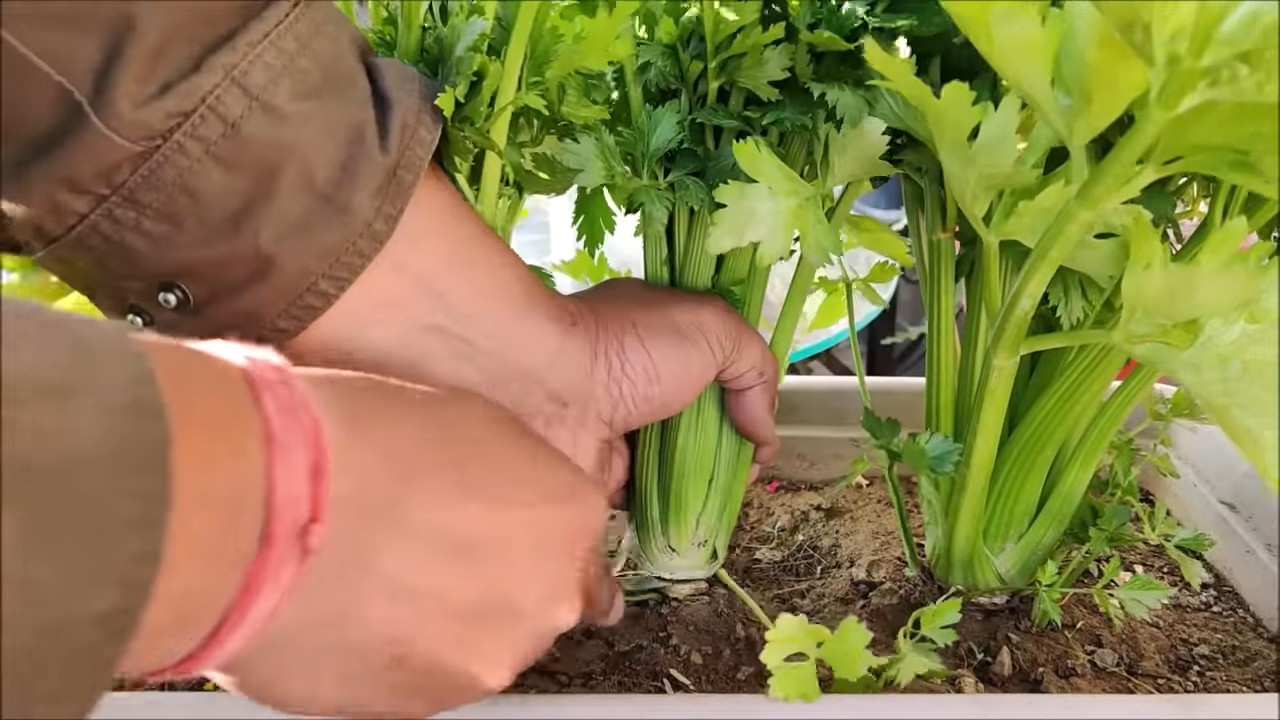
- Harvesting leaves: You can harvest the outer leaves of the celery as soon as they are large enough. Simply cut them off with scissors.
- Repotting (optional): If the celery becomes too large for the pot, you can transplant it into a larger pot.
- Watch for pests: Look out for signs of pests like aphids or spider mites. If necessary, you can use natural pesticides.
Additional Tips and Tricks
Here are a few more tips that can help you successfully grow your celery indoors:
- Increase humidity: Celery likes high humidity. You can increase the humidity by placing the pot on a saucer with water and pebbles or by regularly spraying the celery with water.
- Rotate: Rotate the pot regularly so that the celery grows evenly.
- Be patient: Celery takes time to grow. Be patient and give it the right care.
- Try different varieties: There are different varieties of celery. Try different types to find out which one grows best in your home.
- Lighting: If you don’t have enough natural light, you can use a grow lamp.
Common Problems and Solutions
Problems can also arise when growing celery indoors. Here are some common problems and their solutions:
- Yellow leaves: Yellow leaves can be a sign of overwatering or a nutrient deficiency. Reduce watering or fertilize the celery.
- Mold: Mold can occur if the humidity is too high or ventilation is poor. Ensure better ventilation and reduce humidity.
- Pests: Pests can infest the celery. Use natural pesticides to combat them.
- Slow growth: Slow growth can be a sign of too little light or a nutrient deficiency. Move the celery to a brighter location or fertilize it.
Why Grow Celery Indoors? The Benefits
There are many reasons why it’s worth growing celery indoors:
- Fresh celery always on hand: You always have fresh celery available, whether for soups, salads, or smoothies.
- Sustainability: You reduce your ecological footprint by having to buy less food.
- Health: Celery is rich in vitamins and minerals.
- Relaxation: Gardening is a relaxing and therapeutic activity.
- Learning: You learn about plants and how they grow.
I hope this guide has helped and inspired you to grow your own celery indoors. It’s a rewarding project that will bring you a lot of joy. Good luck and happy gardening
Conclusion
So, there you have it! Growing celery indoors might seem like a challenge, but with a little patience and the right approach, you can enjoy fresh, crisp celery right from your own home. This DIY trick isn’t just about saving money; it’s about connecting with your food, reducing your carbon footprint, and experiencing the satisfaction of nurturing something from start to finish.
Why is this a must-try? Because store-bought celery, while convenient, often lacks the vibrant flavor and freshness of homegrown. Plus, you have complete control over the growing environment, ensuring your celery is free from harmful pesticides and chemicals. Imagine adding freshly harvested celery to your soups, salads, or even enjoying it as a healthy snack with your favorite dip. The possibilities are endless!
Beyond the basic method, there are several exciting variations you can explore. Try experimenting with different celery varieties, such as ‘Utah Tall’ for its classic flavor or ‘Golden Self-Blanching’ for a sweeter, milder taste. You can also adjust the nutrient solution to see how it affects growth and flavor. Consider adding companion plants like basil or parsley to your indoor garden to deter pests and enhance the overall growing environment. For those with limited space, container gardening with dwarf celery varieties is an excellent option.
Don’t be afraid to get creative! The beauty of DIY is the freedom to adapt and personalize the process to suit your specific needs and preferences.
We wholeheartedly encourage you to give this DIY trick a try. It’s a rewarding experience that will not only provide you with fresh celery but also deepen your appreciation for the natural world. Once you’ve harvested your first batch of homegrown celery, we’d love to hear about your experience! Share your tips, tricks, and photos in the comments below. Let’s build a community of indoor celery growers and learn from each other. Your insights could inspire others to embark on their own celery-growing journey.
Growing celery indoors is more than just a gardening project; it’s a step towards a more sustainable and fulfilling lifestyle. So, grab your celery base, prepare your growing medium, and get ready to enjoy the taste of homegrown goodness. Happy growing!
Frequently Asked Questions (FAQ)
1. What kind of celery is best for regrowing indoors?
The best type of celery for regrowing indoors is any fresh, organic celery stalk you purchase from the grocery store. Look for stalks with a healthy-looking base that hasn’t started to dry out or rot. Organic celery is preferable because it’s less likely to have been treated with chemicals that could inhibit regrowth. However, even non-organic celery can work, just be sure to rinse it thoroughly before planting. The variety of celery doesn’t matter as much as the health of the base.
2. How long does it take to regrow celery indoors?
The initial regrowth phase, where you see new leaves sprouting from the base, typically takes about 1-2 weeks. However, to grow a full-sized celery stalk, it can take anywhere from 2-4 months, depending on the growing conditions, such as light, temperature, and nutrient availability. Be patient and consistent with watering and fertilizing, and you’ll eventually be rewarded with a harvestable celery stalk. Remember that indoor-grown celery might not reach the same size as commercially grown celery.
3. What kind of light does celery need to grow indoors?
Celery needs plenty of light to thrive. Ideally, it should receive at least 6-8 hours of direct sunlight per day. If you don’t have a sunny windowsill, you can supplement with grow lights. Fluorescent or LED grow lights are excellent options. Position the lights about 6-12 inches above the celery plant and keep them on for 12-16 hours per day. Insufficient light can lead to leggy growth and a lack of flavor.
4. What type of soil or growing medium is best for indoor celery?
Celery prefers a well-draining, nutrient-rich soil. A good option is a mix of potting soil, compost, and perlite or vermiculite. The compost provides essential nutrients, while the perlite or vermiculite improves drainage and aeration. You can also use a soilless mix specifically designed for vegetables. Avoid using garden soil, as it can be too heavy and may contain pests or diseases.
5. How often should I water my indoor celery plant?
Celery needs consistent moisture to grow well. Water your plant whenever the top inch of soil feels dry to the touch. Avoid overwatering, as this can lead to root rot. Ensure that the pot has drainage holes to allow excess water to escape. During warmer months, you may need to water more frequently. A good rule of thumb is to check the soil moisture daily and water as needed.
6. What kind of fertilizer should I use for indoor celery?
Celery is a heavy feeder, so it benefits from regular fertilization. Use a balanced liquid fertilizer, such as a 10-10-10 or 20-20-20, diluted to half strength. Fertilize every 2-3 weeks during the growing season. You can also use organic fertilizers, such as compost tea or fish emulsion. Avoid over-fertilizing, as this can burn the roots.
7. How do I prevent pests and diseases from affecting my indoor celery?
To prevent pests and diseases, start with healthy celery stalks and use a clean growing medium. Regularly inspect your plants for signs of pests, such as aphids, spider mites, or whiteflies. If you find any pests, you can try washing them off with a strong stream of water or using insecticidal soap. Ensure good air circulation around your plants to prevent fungal diseases. Avoid overwatering, as this can create a favorable environment for disease.
8. Can I harvest celery leaves while it’s growing?
Yes, you can harvest celery leaves while the plant is growing. This is a great way to enjoy the fresh flavor of celery even before the stalk is fully grown. Simply snip off the outer leaves as needed, leaving the inner leaves to continue growing. Harvesting leaves regularly can also encourage the plant to produce more leaves and stalks.
9. My celery is growing tall and thin. What am I doing wrong?
Tall and thin growth, also known as leggy growth, is usually a sign of insufficient light. Celery needs plenty of light to grow strong and sturdy. If your plant is not getting enough sunlight, try moving it to a sunnier location or supplementing with grow lights. Ensure that the lights are positioned close enough to the plant to provide adequate illumination.
10. Is growing celery indoors worth the effort?
Absolutely! While it requires some patience and attention, growing celery indoors is a rewarding experience. You’ll enjoy fresh, flavorful celery that’s free from harmful chemicals. It’s also a great way to connect with nature and learn about the growing process. Plus, it’s a sustainable way to reduce your reliance on store-bought produce. The taste of homegrown celery is simply unmatched!


Leave a Comment