
Growing Plums in your kitchen garden might seem like a far-fetched dream, especially if you’re new to home gardening. But trust me, with a few clever tricks and a little DIY magic, you can be harvesting juicy, delicious plums right from your own backyard! Forget those bland, store-bought plums – imagine the satisfaction of biting into a sun-ripened plum you nurtured yourself.
Plums have a rich history, cultivated for centuries across various cultures. From ancient Rome to the Far East, plums have been prized for their flavor and medicinal properties. In some cultures, they even symbolize good fortune and longevity. So, you’re not just growing fruit; you’re connecting with a long and fascinating tradition!
Why should you bother with this DIY project? Well, for starters, it’s incredibly rewarding! Plus, knowing exactly where your food comes from and how it’s grown is a huge benefit. Many people are turning to home gardening to reduce their reliance on commercially grown produce, which can often be laden with pesticides and travel long distances. By growing plums in your kitchen garden, you’re taking control of your food supply and enjoying fresher, healthier fruit. I’m excited to share some simple yet effective DIY tricks that will help you succeed, even if you have limited space or experience. Let’s get started!
Growing Plums in Your Own Garden: How to Succeed!
I love picking fresh, juicy plums straight from the tree! And the best part? You can do it too! Growing plums in your own garden is not as hard as you might think. With a little planning and patience, you can soon be harvesting your own delicious plums. In this article, I’ll show you how to do it, step by step.
Choosing the Right Plum Variety
Choosing the right plum variety is crucial for your success. Not every variety is suitable for every climate, and some varieties need a pollinator to bear fruit.
- Climate: Find out which varieties thrive in your region. Some varieties are more winter-hardy than others.
- Pollination: Many plum varieties are not self-fertile and require another plum variety nearby for pollination. Find out if your desired variety needs a pollinator and, if so, choose a suitable second variety. There are also self-fertile varieties, which are a good choice if you only have space for one tree.
- Taste: Think about what kind of plums you like best. There are varieties with sweet, sour, or spicy flavors.
- Purpose: Do you want to eat the plums fresh, make them into jam, or use them for baking? Some varieties are better suited for certain purposes than others.
- Tree size: Plum trees can grow quite large. Make sure to choose a variety that is suitable for the size of your garden. There are also grafted varieties on dwarf rootstocks that stay smaller.
Some popular plum varieties are:
- ‘Hauszwetsche’ (German Prune): A robust, self-fertile variety with aromatic fruits.
- ‘Mirabelle de Nancy’: Small, sweet mirabelle plums that are great for jam.
- ‘Reine Claude d’Oullins’ (Greengage): A sweet, juicy variety with yellow flesh.
- ‘Santa Rosa’: An early-ripening, self-fertile variety with red flesh.
The Ideal Location for Your Plum Tree
The location is another important factor for success. Plum trees need a lot of sun and well-draining soil.
- Sun: Plum trees need at least 6 hours of sun per day. Choose a location that is not shaded by other trees or buildings.
- Soil: The soil should be well-draining to prevent waterlogging. Plum trees do not tolerate “wet feet.” A slightly acidic to neutral pH (6.0 – 7.0) is ideal.
- Wind protection: A location protected from the wind is advantageous, as strong winds can damage the blossoms and affect the harvest.
- Space: Plum trees need space to spread out. Make sure there is enough space so that the tree does not interfere with other plants or buildings.
Planting a Plum Tree: Step by Step
Now let’s get down to it! Here is a detailed guide on how to plant your plum tree correctly:
- Choose the right time: The best time to plant a plum tree is in the fall (October/November) or in the spring (March/April). Trees planted in the fall have more time to establish roots before winter arrives.
- Prepare the planting hole: Dig a planting hole that is twice as wide and deep as the tree’s root ball.
- Improve the soil: Mix the excavated soil with compost or well-rotted manure to improve the soil and provide the tree with nutrients.
- Place the tree: Carefully remove the tree from the pot and loosen the roots a bit. Place the tree in the planting hole so that the top of the root ball is level with the soil surface. Make sure that the graft union (the thickened part of the trunk) is about 5-10 cm (2-4 inches) above the ground.
- Fill the planting hole: Fill the planting hole with the prepared soil and press it down lightly.
- Water in: Water the tree thoroughly so that the soil settles around the roots.
- Attach a support stake: Young plum trees need a support stake to protect them from the wind and encourage straight growth. Drive a stake into the ground and loosely tie the tree to it. Make sure the tie is not too tight, so the tree is not constricted.
- Mulch: Apply a layer of mulch (e.g., bark mulch or straw) around the tree to retain moisture in the soil and suppress weed growth. Make sure the mulch is not directly against the trunk to prevent rot.
Caring for a Plum Tree: How to Keep It Healthy and Productive
Proper care is crucial for the health and yield of your plum tree.
- Watering: Water the tree regularly, especially during dry periods. Make sure the soil does not dry out, but avoid waterlogging.
- Fertilizing: Fertilize the tree in the spring with an organic fertilizer or a special fruit tree fertilizer. Follow the instructions on the packaging.
- Pruning: Pruning is important to keep the tree in shape, promote fruit production, and prevent diseases. Prune the tree in the winter or spring before the buds sprout. Remove dead, diseased, or crossing branches.
- Protection from pests and diseases: Plum trees can be infested by various pests and diseases. Check the tree regularly for signs of infestation and take action if necessary. Some common problems are aphids, plum moths, and brown rot. There are various biological and chemical agents for controlling pests and diseases. It’s best to speak with a professional to find the right treatment for your problem.
- Thinning the fruit: If the tree bears too much fruit, it may be a good idea to thin some of it out. This will make the remaining fruits larger and more aromatic. It also prevents the tree from being overloaded and branches from breaking.
Harvesting Plums: The Reward for Your Efforts
The time has finally come! The plums are ripe and can be harvested.
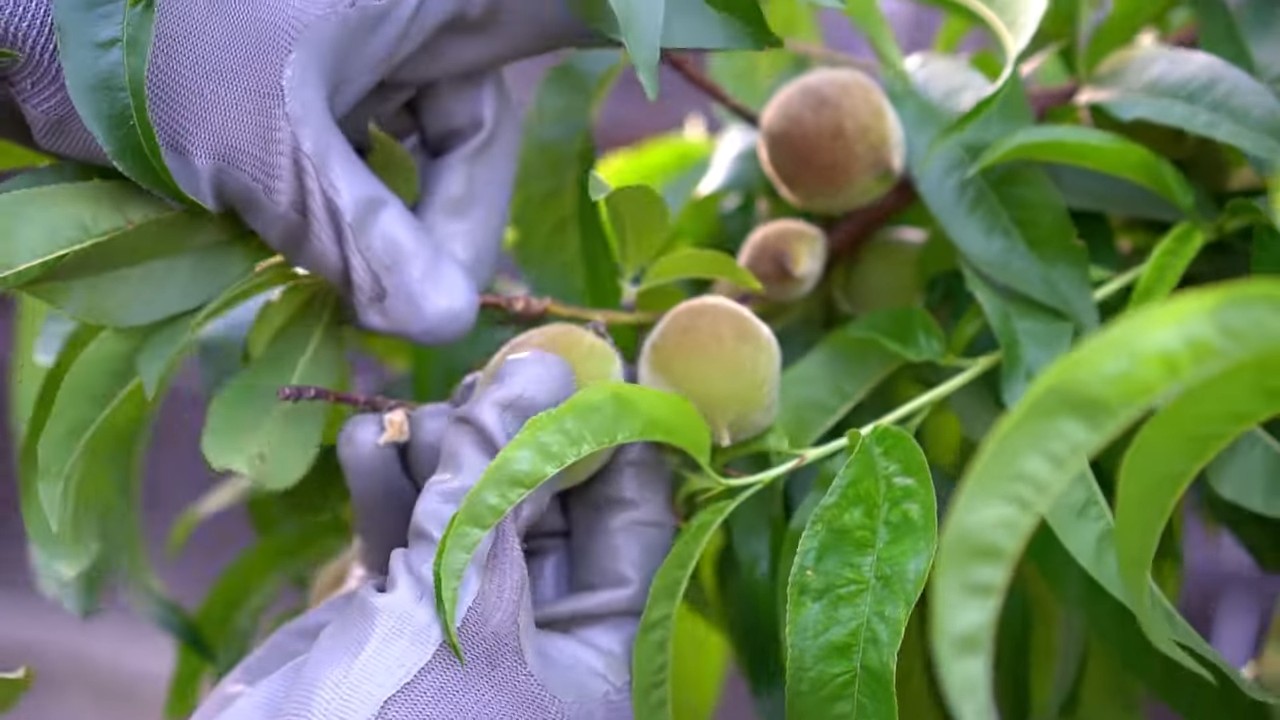
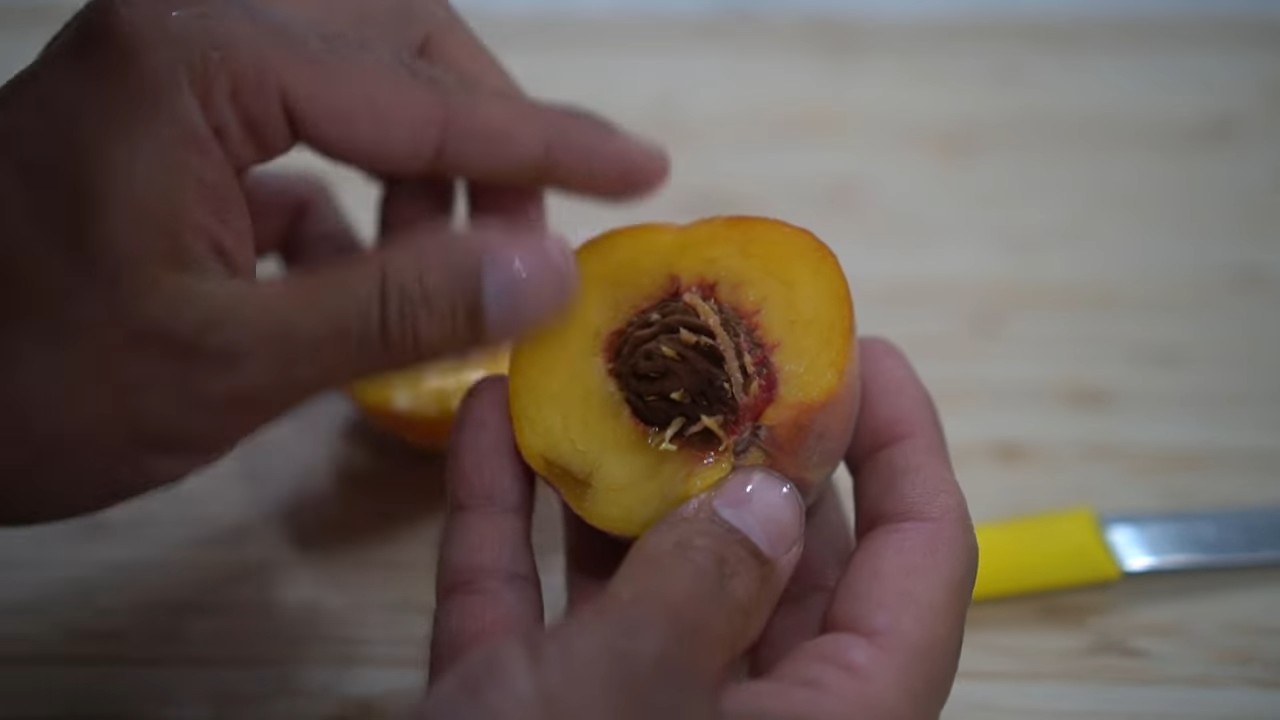
- Recognizing ripeness: Plums are ripe when they fall easily from the tree when you gently twist them. They should also have a nice color and be slightly soft.
- Harvesting: Pick the plums carefully from the tree to avoid damaging them.
- Storage: Plums do not last long. You can store them in the refrigerator for a few days or process them into jam, compote, or cakes.
Additional Tips for Successful Plum Cultivation
Regular inspection: Check your tree regularly for pests, diseases, and other problems. The earlier you identify a problem, the easier it is to fix.
Soil analysis: A soil analysis can help you determine the pH and nutrient content of your soil. This way, you can improve the soil in a targeted manner and provide the tree with optimal care.
Irrigation system: An irrigation system can help you supply the tree with water evenly, especially during dry periods.
Protection from birds: Birds love plums! Protect your harvest with a net or a scarecrow.
Conclusion
So, there you have it! Mastering the art of growing plums in your kitchen garden isn’t just about enjoying the sweet, juicy rewards of your labor; it’s about connecting with nature, understanding the rhythms of the seasons, and experiencing the profound satisfaction of nurturing life from seed to fruit. This DIY approach, while requiring a bit of patience and dedication, offers a level of control and customization that you simply can’t achieve with store-bought plums. You know exactly what goes into your fruit – no harmful pesticides, no artificial ripening agents, just pure, unadulterated plum goodness.
But the benefits extend beyond just the taste and quality of the plums themselves. Think about the environmental impact. By growing your own, you’re reducing your carbon footprint, minimizing packaging waste, and contributing to a more sustainable food system. Plus, the act of gardening itself is incredibly therapeutic. It’s a chance to de-stress, connect with the earth, and find a sense of calm amidst the hustle and bustle of modern life.
Don’t be afraid to experiment with different varieties of plum trees to find the ones that thrive best in your specific climate and soil conditions. Consider trying your hand at grafting to combine the best traits of different plum varieties. You could even explore companion planting to attract beneficial insects and deter pests naturally. Plant herbs like basil or lavender near your plum tree to enhance its growth and flavor.
And remember, growing plums in your kitchen garden is a journey, not a destination. There will be challenges along the way – pests, diseases, unpredictable weather – but don’t let these setbacks discourage you. Each obstacle is an opportunity to learn, adapt, and become a more skilled and knowledgeable gardener.
We wholeheartedly encourage you to give this DIY trick a try. Imagine the pride you’ll feel when you harvest your first batch of homegrown plums, bursting with flavor and sunshine. Share your experiences with us! We’d love to hear about your successes, your challenges, and any tips or tricks you’ve discovered along the way. Post photos of your plum trees, share your favorite plum recipes, and connect with other gardeners in our community. Let’s create a vibrant and supportive network of plum-growing enthusiasts!
Ultimately, the joy of growing plums in your kitchen garden lies in the process itself. It’s about nurturing life, connecting with nature, and savoring the simple pleasures of homegrown food. So, grab your gardening gloves, get your hands dirty, and embark on this rewarding adventure. You won’t regret it!
Frequently Asked Questions (FAQ)
What type of plum tree is best for a beginner gardener?
For beginner gardeners, we recommend starting with self-pollinating plum varieties like ‘Stanley’, ‘Italian’, or ‘Santa Rosa’. These varieties don’t require a second plum tree for pollination, making them easier to manage. They are also relatively disease-resistant and adaptable to a range of climates. Consider the size of your garden when choosing a variety. Dwarf or semi-dwarf varieties are ideal for smaller spaces, as they don’t grow as large as standard-sized trees. Before purchasing, check with your local nursery to ensure the variety is well-suited to your specific climate and soil conditions. They can provide valuable insights into local growing conditions and recommend the best options for your area.
How much sunlight do plum trees need?
Plum trees thrive in full sunlight, requiring at least 6-8 hours of direct sunlight per day. Adequate sunlight is crucial for fruit production, as it provides the energy needed for photosynthesis. Without enough sunlight, your plum tree may produce fewer fruits, and the fruits that do develop may be smaller and less flavorful. When planting your plum tree, choose a location that receives ample sunlight throughout the day. Avoid planting near tall buildings or other trees that could cast shade on your plum tree. If you live in an area with limited sunlight, consider using reflective materials to increase the amount of light reaching your tree.
What kind of soil is best for growing plums?
Plum trees prefer well-draining soil that is rich in organic matter. The soil should be slightly acidic to neutral, with a pH between 6.0 and 7.0. Before planting, amend the soil with compost, well-rotted manure, or other organic materials to improve drainage and fertility. Avoid planting in heavy clay soil, as this can lead to root rot. If you have clay soil, consider amending it with sand and organic matter to improve drainage. You can also plant your plum tree in a raised bed or container to ensure proper drainage. Regularly test your soil pH to ensure it remains within the optimal range for plum trees.
How often should I water my plum tree?
Water your plum tree deeply and regularly, especially during dry periods. Young trees need more frequent watering than established trees. Water deeply at the base of the tree, allowing the water to soak into the soil. Avoid overhead watering, as this can promote fungal diseases. The frequency of watering will depend on your climate, soil type, and the age of your tree. As a general rule, water deeply once or twice a week during the growing season. Reduce watering during the dormant season. Use a moisture meter to check the soil moisture level before watering.
How do I protect my plum tree from pests and diseases?
Protecting your plum tree from pests and diseases is essential for a healthy and productive harvest. Regularly inspect your tree for signs of pests or diseases, such as aphids, spider mites, plum curculio, brown rot, or leaf curl. Use organic pest control methods, such as insecticidal soap, neem oil, or horticultural oil, to control pests. Prune your tree regularly to improve air circulation and reduce the risk of fungal diseases. Remove any diseased or damaged branches promptly. Consider using a dormant spray in late winter to control overwintering pests and diseases. Encourage beneficial insects, such as ladybugs and lacewings, to prey on pests.
When and how should I prune my plum tree?
Prune your plum tree in late winter or early spring, before new growth begins. Pruning helps to maintain the shape of the tree, improve air circulation, and promote fruit production. Remove any dead, damaged, or diseased branches. Thin out crowded branches to allow more sunlight to reach the interior of the tree. Prune to create a strong central leader or an open vase shape. Avoid pruning too heavily, as this can stimulate excessive vegetative growth at the expense of fruit production. Use sharp, clean pruning shears to make clean cuts.
How long does it take for a plum tree to bear fruit?
Plum trees typically begin to bear fruit within 3-6 years of planting, depending on the variety and growing conditions. Dwarf varieties may bear fruit sooner than standard-sized trees. Proper care, including adequate sunlight, water, and fertilization, can help to accelerate fruit production. Grafted trees often bear fruit sooner than trees grown from seed. Be patient and continue to provide your plum tree with the care it needs, and you will eventually be rewarded with a bountiful harvest.
Can I grow a plum tree in a container?
Yes, you can grow a plum tree in a container, especially if you choose a dwarf or semi-dwarf variety. Select a large container with good drainage holes. Use a well-draining potting mix that is rich in organic matter. Water regularly and fertilize as needed. Container-grown plum trees may need more frequent watering and fertilization than trees planted in the ground. Protect the container from extreme temperatures during the winter. Container growing allows you to move the plum tree to optimal sunlight conditions and protect it from harsh weather.
How do I know when my plums are ripe?
Plums are typically ripe when they are slightly soft to the touch and have a deep, rich color. The skin should be slightly wrinkled, and the plum should easily detach from the tree. Taste a plum to ensure it is ripe and sweet. Different plum varieties ripen at different times of the year, so it’s important to know the ripening time for your specific variety. Harvest plums gently to avoid bruising them. Ripe plums can be stored in the refrigerator for several days.
Leave a Comment