
Clean Kitchen Cabinets
I love a sparkling clean kitchen, don’t you? There’s something incredibly satisfying about opening your cabinets and seeing gleaming surfaces, free from grease and grime. But let’s be honest, keeping kitchen cabinets clean can feel like a never-ending battle. That’s why I’m thrilled to share some amazing Clean Kitchen Cabinets tricks and DIY solutions that will make this chore a breeze! This isn’t just about aesthetics; clean cabinets are also crucial for maintaining a hygienic kitchen environment, protecting your family’s health.
The desire for clean and organized kitchens isn’t a modern phenomenon. Throughout history, keeping the kitchen space tidy has been a symbol of prosperity and good health, reflecting cultural values that prioritize cleanliness and order. From ancient Roman kitchens to Victorian-era pantries, the pursuit of a spotless environment has always been paramount. But modern life often leaves us short on time and energy, making deep cleaning a challenge.
That’s where these Clean Kitchen Cabinets DIY hacks come in. Whether you’re dealing with sticky fingerprints, stubborn grease stains, or that persistent film that seems to accumulate no matter how often you wipe, these simple yet effective methods will help you achieve that sparkling clean look you crave. You’ll learn how to tackle even the most challenging cleaning tasks without resorting to harsh chemicals or expensive cleaning services. These Clean Kitchen Cabinets techniques are not only effective but also environmentally friendly, using ingredients you likely already have in your pantry.
So, grab your cleaning supplies, and let’s dive into these easy-to-follow DIY solutions that will transform your kitchen cabinets from drab to fab! Get ready to rediscover the joy of a truly clean and organized kitchen.
Deep Clean Your Kitchen Cabinets: A DIY Guide
I’ve always loved the feeling of a sparkling clean kitchen, and nothing contributes to that more than pristine cabinets. But let’s be honest, cleaning kitchen cabinets can feel like a monumental task. This guide breaks it down into manageable steps, so you can achieve that showroom shine without the overwhelm.
Phase 1: Preparation is Key
- Empty the Cabinets: This is the most crucial first step. Take everything out – plates, bowls, spices, everything! This allows for thorough cleaning and prevents accidental damage.
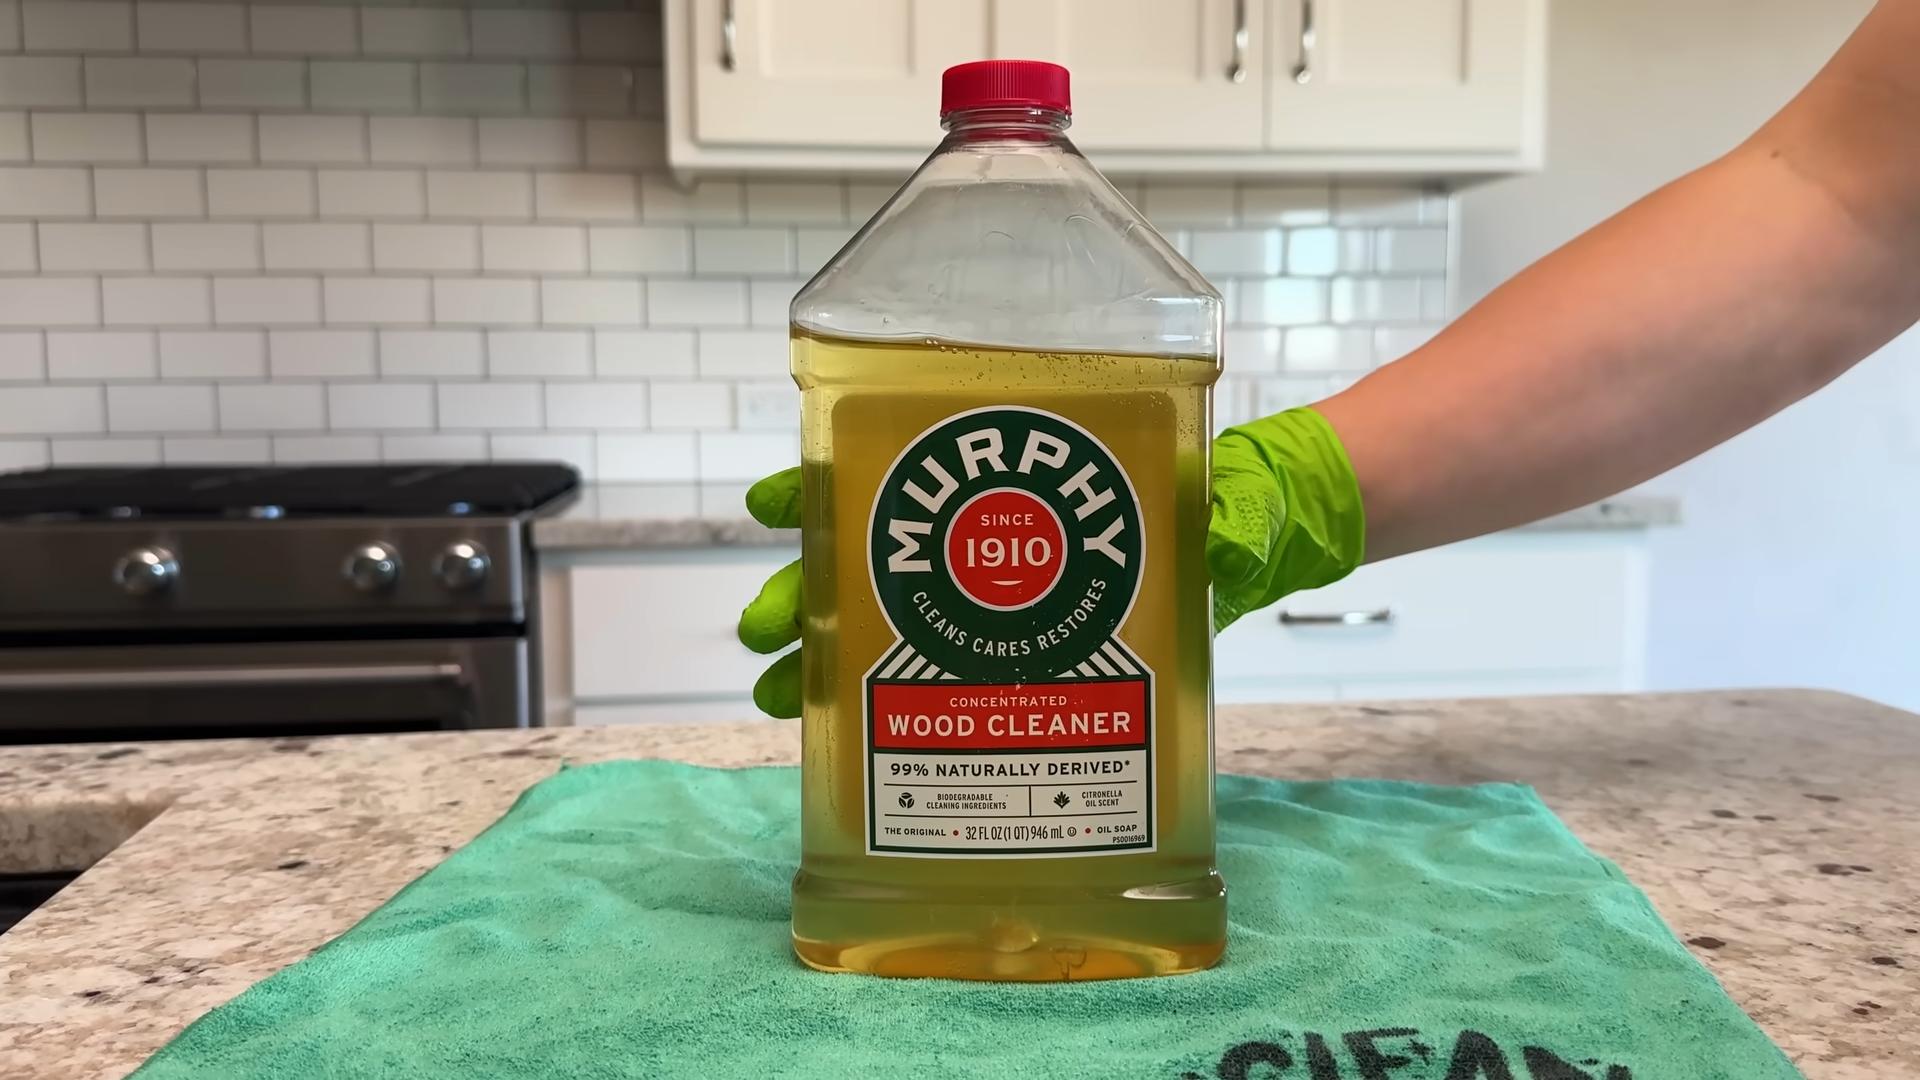
- Gather Your Supplies: You’ll need a few key items:
- Microfiber cloths (several, in different colors if possible to avoid cross-contamination)
- All-purpose cleaner (I prefer a natural cleaner, but you can use whatever you like)
- Glass cleaner (for glass doors or panels)
- Baking soda (a natural abrasive cleaner)
- White vinegar (a natural disinfectant and degreaser)
- Soft-bristled brush (an old toothbrush works great for detail work)
- Bucket of warm water
- Rubber gloves (to protect your hands)
- Ladder or step stool (if needed for upper cabinets)
- Vacuum cleaner with a brush attachment (optional, but helpful for removing dust and crumbs)
- Protect Your Countertops: Lay down some old towels or newspapers to protect your countertops from spills and scratches.
Phase 2: Cleaning the Cabinets
- Dust and Vacuum: Before you start scrubbing, use a vacuum cleaner with a brush attachment to remove loose dust, crumbs, and cobwebs from the cabinet surfaces and shelves. Pay close attention to corners and crevices.
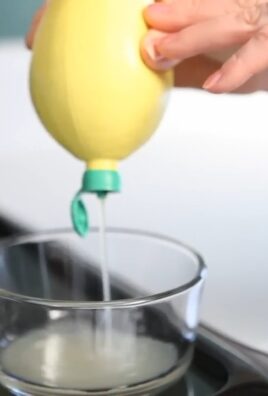
- Mix Your Cleaning Solution: In your bucket of warm water, add a few squirts of your all-purpose cleaner. For a natural alternative, mix equal parts water and white vinegar. If you have stubborn grease, add a tablespoon of baking soda to the mix.
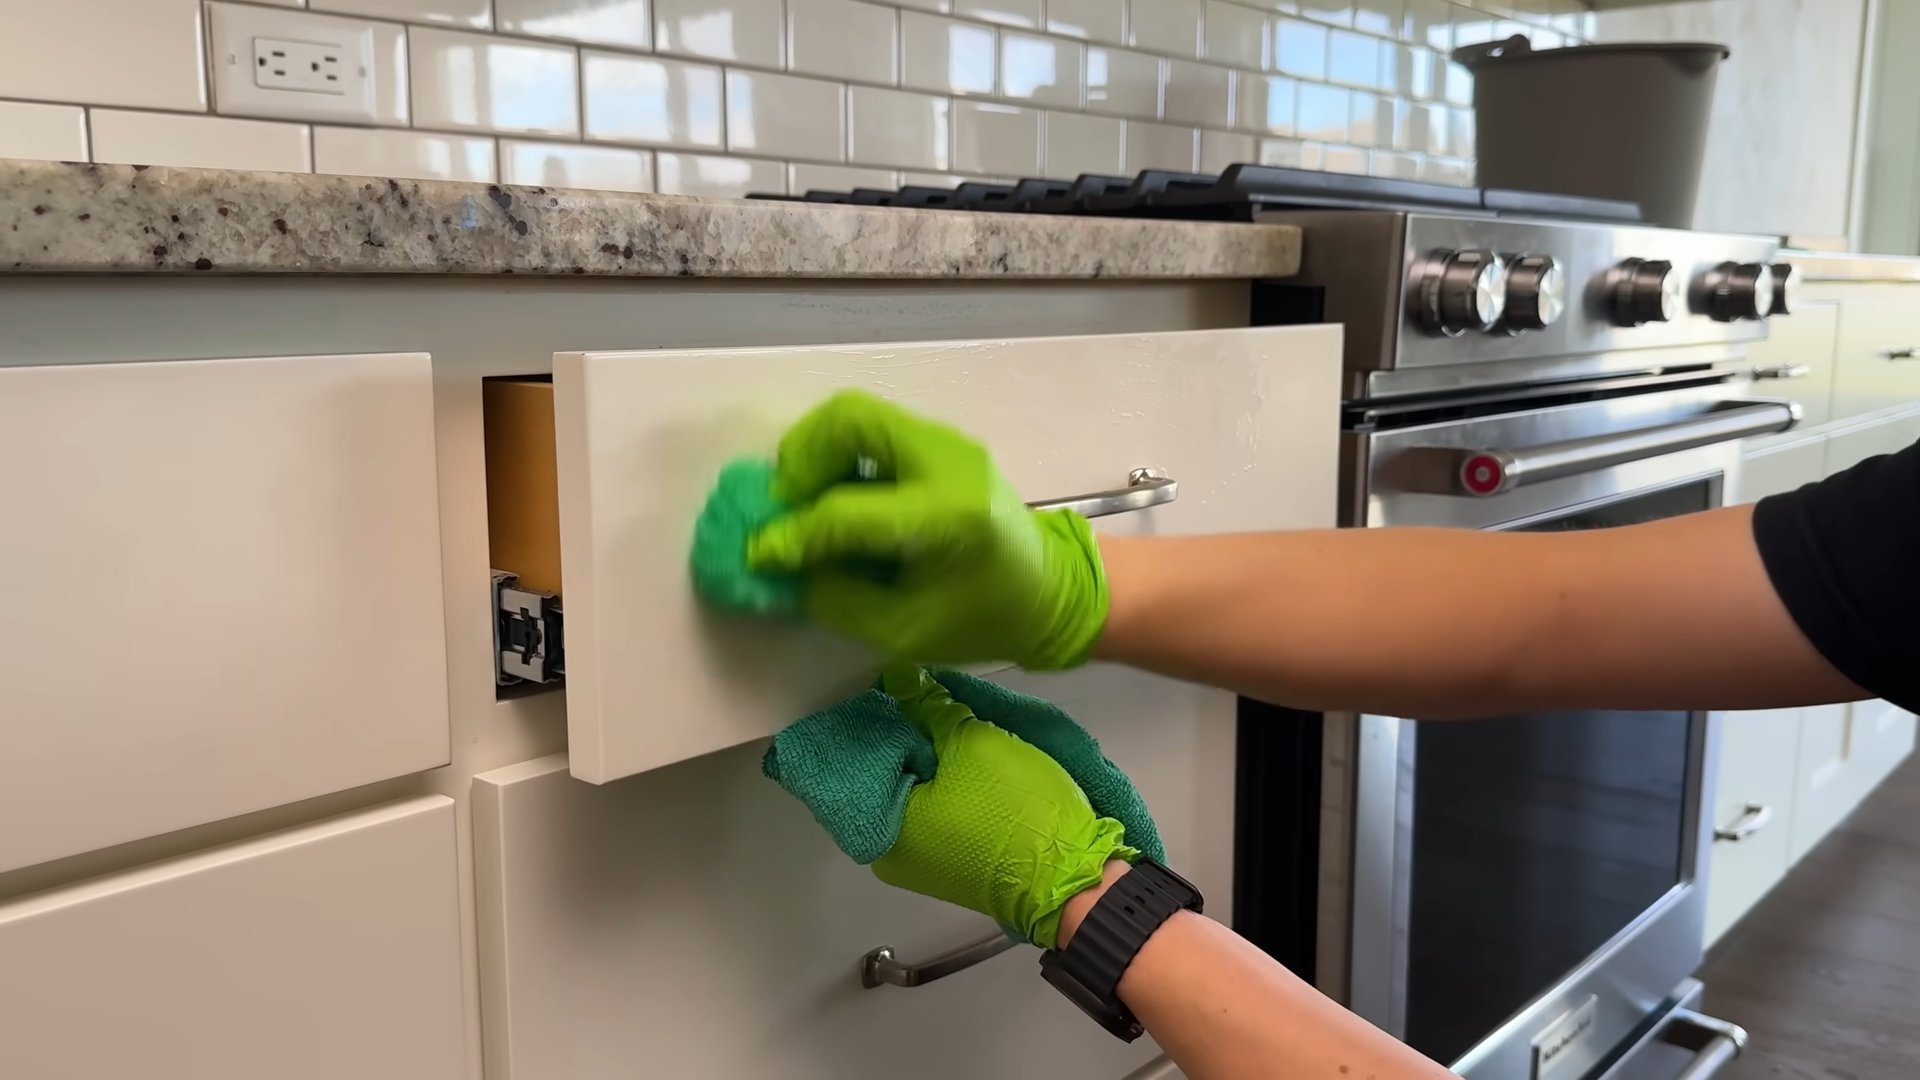
- Wipe Down the Surfaces: Dip a microfiber cloth into your cleaning solution and wring it out well. Wipe down all cabinet surfaces, paying attention to handles, knobs, and hinges. Work in sections, wiping from top to bottom to avoid streaks.
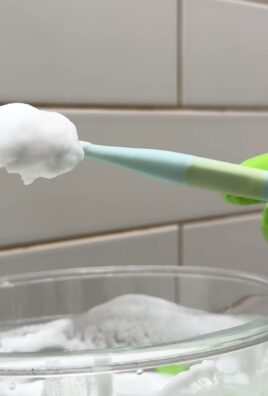
- Tackle Stubborn Stains: For stubborn grease or sticky residue, make a paste of baking soda and water. Apply it to the affected area, let it sit for a few minutes, then gently scrub with a soft-bristled brush. Wipe clean with a damp cloth.
- Clean Glass Doors and Panels: Use a glass cleaner and a clean microfiber cloth to clean any glass doors or panels. Spray the cleaner onto the cloth, not directly onto the glass, to avoid streaks. Wipe in a circular motion for a streak-free shine.
- Clean the Hinges and Knobs: Use a damp cloth and your cleaning solution to clean the hinges and knobs. Pay attention to the crevices where dirt and grime tend to accumulate. For really grimy hinges, you can use an old toothbrush to scrub them clean.
- Rinse and Dry: Once you’ve cleaned all the surfaces, rinse them with a clean, damp cloth to remove any cleaning residue. Then, dry them thoroughly with a clean, dry microfiber cloth to prevent water spots.
Phase 3: Organizing and Putting Everything Back
- Clean the Shelves: Before putting anything back, wipe down the shelves with a damp cloth and dry them thoroughly. This prevents transferring dirt back into the cabinets.
- Line the Shelves (Optional): Consider lining your shelves with shelf liner to protect them from scratches and spills. This also makes cleaning easier in the future.
- Organize and Repack: Now comes the fun part – reorganizing your cabinets! Group similar items together, and place frequently used items within easy reach. Consider using drawer organizers or shelf dividers to maximize space and keep things tidy.
- Consider Cabinet Deodorizers: To keep your cabinets smelling fresh, place small bowls of baking soda or activated charcoal inside. These natural deodorizers will absorb any unpleasant odors.
Phase 4: Maintaining Your Sparkling Cabinets
- Regular Wiping: Wipe down spills and splatters immediately to prevent them from setting. A quick wipe-down every few days will prevent a build-up of grime.
- Deep Clean Periodically: Aim to do a thorough deep clean of your cabinets every 3-6 months, or more frequently if needed. This will help maintain their cleanliness and prevent the build-up of grease and dirt.
- Preventative Measures: Use cutting boards and placemats to protect your countertops and prevent spills from reaching your cabinets. Store food in airtight containers to prevent crumbs and spills.
Remember: Always test your cleaning solution on a small, inconspicuous area first to ensure it doesn’t damage the finish of your cabinets. If you have particularly delicate or antique cabinets, you may want to consult a professional cleaner.
Conclusion
So there you have it! Our guide to achieving sparkling clean kitchen cabinets, a truly transformative DIY trick that will leave your kitchen looking brand new. This method isn’t just about surface-level cleaning; it’s about tackling the grime and grease that accumulates over time, restoring the original beauty of your cabinets and significantly enhancing your kitchen’s overall aesthetic. This simple, effective, and affordable Clean Kitchen Cabinets method is a must-try for anyone looking to refresh their space without breaking the bank or calling in professional cleaners. The satisfaction of achieving such a dramatic improvement with readily available ingredients is incredibly rewarding. You’ll be amazed at the difference a little elbow grease and the right cleaning solutions can make.
Beyond the basic method outlined, there are several ways to personalize your Clean Kitchen Cabinets approach. For particularly stubborn stains or sticky residue, consider pre-treating the affected areas with a paste of baking soda and water, allowing it to sit for a few minutes before scrubbing. If you have wooden cabinets with a delicate finish, you might want to opt for a gentler cleaning solution, perhaps diluting the vinegar or using a specialized wood cleaner. For a streak-free shine, try buffing your cabinets with a soft microfiber cloth after cleaning. Experiment with different essential oils to add a pleasant scent to your cleaning solution – a few drops of lemon or tea tree oil can leave your kitchen smelling fresh and clean. Remember to always test any new cleaning solution on a small, inconspicuous area first to ensure it doesn’t damage the finish of your cabinets. And for those with painted cabinets, always check the manufacturer’s recommendations for cleaning before attempting any DIY methods.
Don’t hesitate to get creative! This Clean Kitchen Cabinets method is a fantastic starting point, but feel free to adapt it to suit your specific needs and preferences. The key is to find a routine that works for you and helps maintain the cleanliness and beauty of your kitchen cabinets. We strongly encourage you to try this DIY trick and share your experience with us! Post before and after photos on social media and tag us – we’d love to see the amazing results you achieve. Let’s inspire each other to create sparkling clean and beautiful kitchens! Your transformed kitchen awaits!
Frequently Asked Questions
What types of kitchen cabinets does this method work on?
This Clean Kitchen Cabinets method is effective on a wide variety of kitchen cabinet materials, including wood, laminate, and painted surfaces. However, it’s crucial to always test any cleaning solution on a small, inconspicuous area first to ensure it doesn’t damage the finish. For delicate finishes or antique cabinets, you may want to use a gentler cleaning solution or consult a professional cleaner. Always refer to the manufacturer’s recommendations for cleaning your specific cabinet type.
How often should I clean my kitchen cabinets using this method?
The frequency of cleaning will depend on your household’s activity level and the amount of grease and grime that accumulates. For most households, a thorough cleaning every 2-3 months is recommended. However, you can perform quick wipe-downs with a damp cloth more frequently to prevent build-up. Regular cleaning will help maintain the cleanliness and prevent the need for more intensive cleaning sessions.
Can I use this method on cabinets with a varnish or lacquer finish?
Yes, you can, but proceed with caution. Always test the cleaning solution on an inconspicuous area first. Avoid harsh scrubbing, and use a soft cloth to prevent scratching. If you’re unsure, it’s always best to consult the manufacturer’s recommendations for cleaning your specific cabinet finish. A gentler approach, perhaps using a diluted vinegar solution, might be preferable for delicate finishes.
What if I have stubborn grease stains or sticky residue?
For stubborn stains, pre-treat the affected areas with a paste of baking soda and water. Let it sit for a few minutes to allow the baking soda to absorb the grease and grime. Then, scrub gently with your cleaning solution and a soft brush or sponge. For particularly persistent stains, you may need to repeat the process or consider using a specialized grease-cutting cleaner. Always test any new cleaner on a small, inconspicuous area first.
Are there any safety precautions I should take?
Always wear gloves to protect your hands from the cleaning solutions. Ensure proper ventilation in your kitchen while cleaning. Keep children and pets away from the cleaning supplies. Never mix different cleaning products, as this can create dangerous fumes. If you experience any irritation or allergic reaction, discontinue use and rinse the affected area thoroughly with water. If you have any concerns, consult a professional cleaner.
What if I don’t have all the ingredients listed in the recipe?
While the recipe provides optimal results, you can adapt it based on what you have available. For example, if you don’t have white vinegar, you can substitute with another mild acid like lemon juice. However, the effectiveness might vary slightly. The key is to use a solution that’s effective at cutting through grease and grime without damaging your cabinets. Experimentation is key to finding the perfect solution for your needs.
Can I use this method on different surfaces in my kitchen besides cabinets?
While this Clean Kitchen Cabinets method is specifically designed for cabinets, the principles can be applied to other kitchen surfaces, such as countertops (depending on the material), backsplashes, and even some appliances. However, always check the manufacturer’s recommendations for cleaning before applying any cleaning solution to a surface other than cabinets. Different materials require different cleaning approaches to avoid damage. Always test any cleaning solution on a small, inconspicuous area first.

Leave a Comment