
Clean Stainless Steel: Sparkling Surfaces, Effortless DIY
I love the sleek, modern look of stainless steel appliances and countertops, but let’s be honest – keeping them spotless can feel like a constant battle! Fingerprints, watermarks, and mysterious smudges seem to appear overnight. That’s why I’m thrilled to share my favorite Clean Stainless Steel tricks and DIY solutions with you today. This isn’t just about aesthetics; a truly clean surface is also a hygienic one, protecting your family’s health.
The use of stainless steel in the home is a relatively modern phenomenon, gaining popularity in the mid-20th century as manufacturing techniques improved. However, the desire for clean, shiny surfaces is timeless! Think of the highly polished silverware of centuries past – the pursuit of a gleaming finish has always been a source of pride and satisfaction.
Whether you’re tackling a stubborn stain on your refrigerator or simply want to maintain the pristine shine of your new sink, these Clean Stainless Steel hacks will save you time, money, and frustration. You’ll discover simple, effective methods using common household ingredients, avoiding harsh chemicals and expensive cleaning products. This article will empower you to achieve professional-looking results with minimal effort.
So, ditch the harsh chemicals and embrace the power of these easy DIY solutions. Let’s get started on achieving that sparkling, showroom-worthy finish you’ve always wanted! You’ll be amazed at how simple it is to keep your stainless steel surfaces looking their absolute best.
Cleaning Stainless Steel: A Sparkling DIY Guide
Stainless steel is a fantastic material – durable, sleek, and relatively easy to maintain. But those pesky fingerprints and watermarks? Not so sleek. This guide will walk you through my favorite methods for getting your stainless steel sparkling clean, from the kitchen sink to your appliances.
Phase 1: Preparation is Key
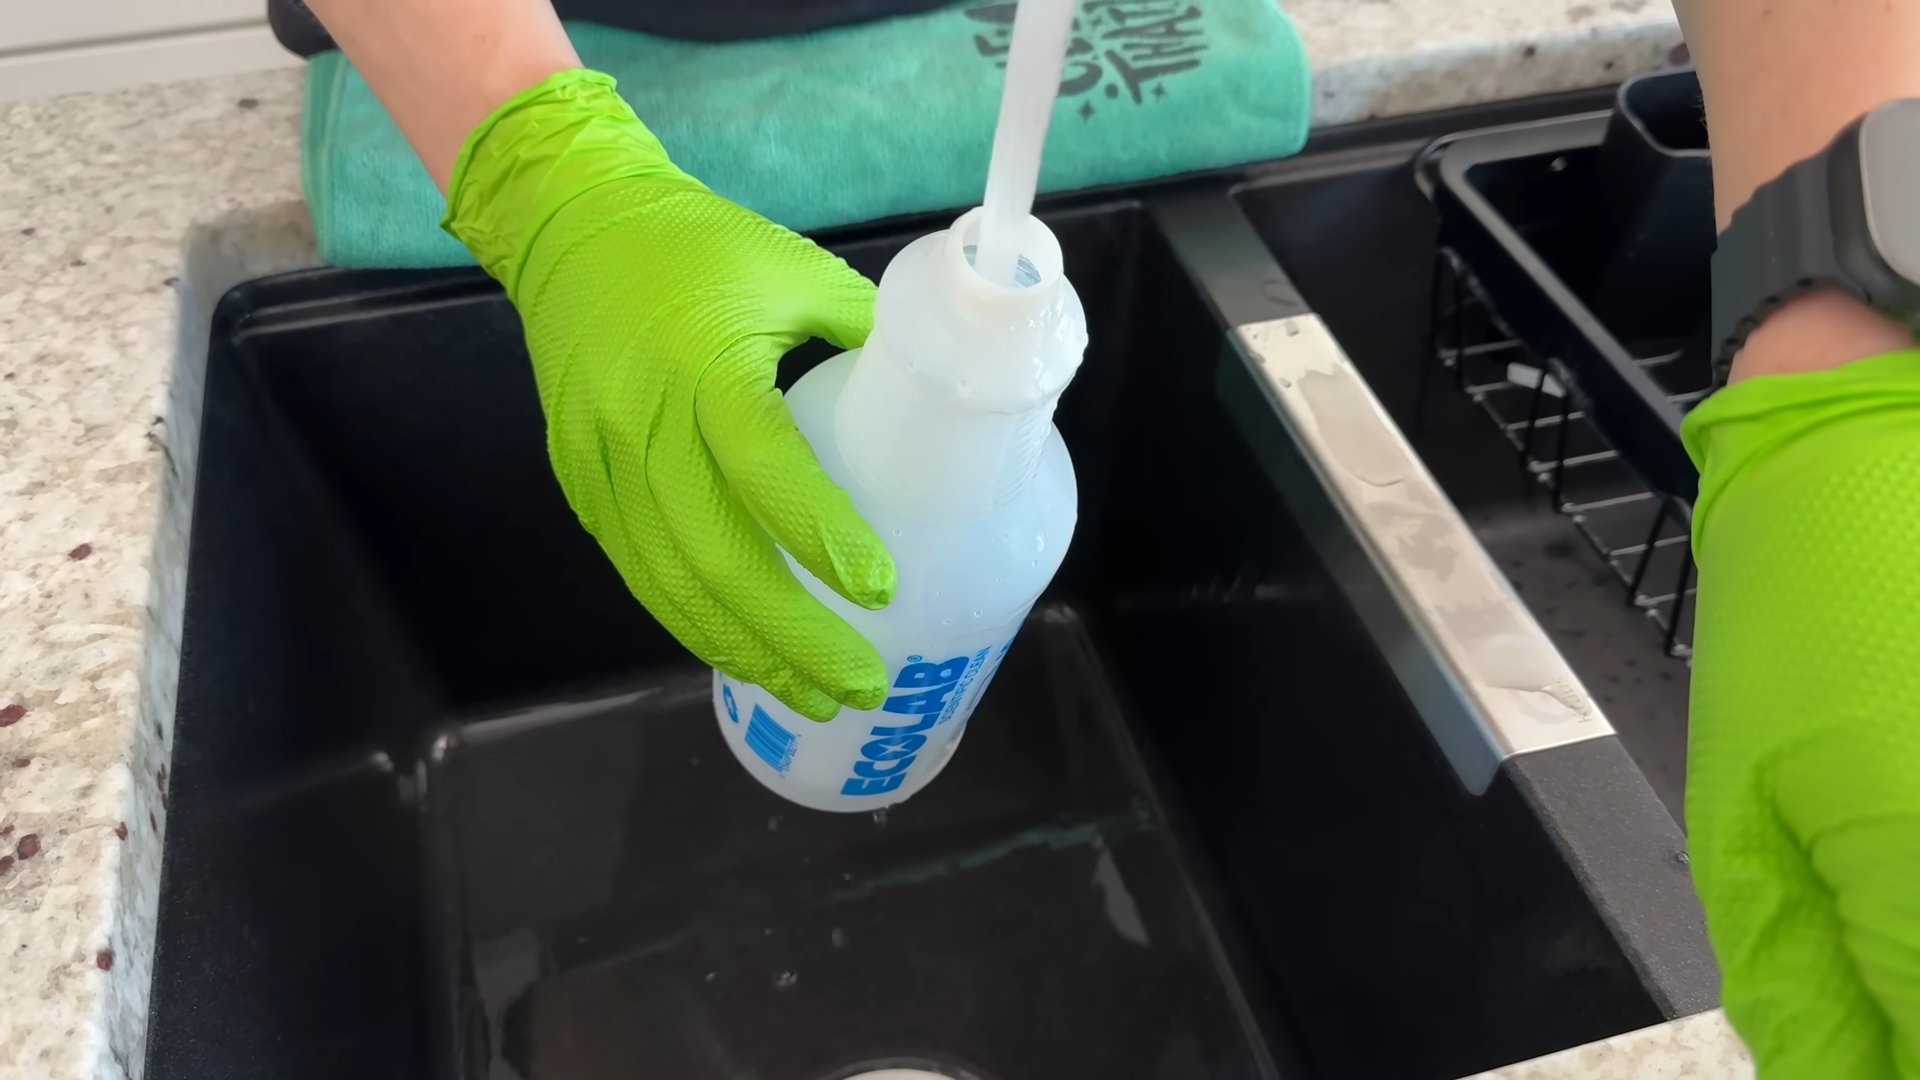
- Gather your supplies: You’ll need microfiber cloths (these are crucial!), a spray bottle, warm water, and your chosen cleaning solution (more on that below!). Optional: rubber gloves (to protect your hands), a non-abrasive sponge or soft brush.
- Clear the area: Remove any items from the surface you’re cleaning. This gives you ample space to work and prevents accidental damage.
- Pre-clean (if necessary): If there’s a lot of loose debris, give the surface a quick wipe-down with a damp cloth to remove crumbs, dust, or larger particles. This prevents scratching during the main cleaning process.
Phase 2: Choosing Your Cleaning Solution
The best cleaning solution depends on the level of grime and your personal preference. Here are a few options I’ve found work wonders:
- Simple Soap and Water: For everyday cleaning, a mixture of warm water and a mild dish soap is often sufficient. I usually use a squirt of dish soap in a spray bottle filled with warm water. This is my go-to for light cleaning.
- Baking Soda Paste: For tougher stains, a paste of baking soda and water can work miracles. Mix equal parts baking soda and water to form a paste. Apply it gently to the stained area, let it sit for a few minutes, then scrub gently with a soft cloth or sponge. Be careful not to scrub too hard, as this can scratch the surface.
- White Vinegar Solution: White vinegar is another natural cleaning powerhouse. Mix equal parts white vinegar and water in a spray bottle. Spray onto the surface, let it sit for a few minutes, then wipe clean with a microfiber cloth. This is great for removing water spots and mineral deposits.
- Commercial Stainless Steel Cleaners: There are many commercial cleaners specifically designed for stainless steel. Always follow the manufacturer’s instructions carefully. I generally prefer natural methods, but these can be helpful for stubborn stains.
Phase 3: The Cleaning Process
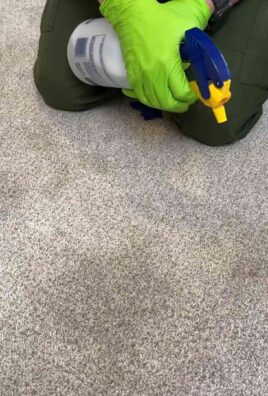
- Apply your chosen cleaning solution: Whether it’s your soap and water mixture, baking soda paste, or vinegar solution, apply it evenly to the stainless steel surface. For spray solutions, use a light mist to avoid over-saturation.
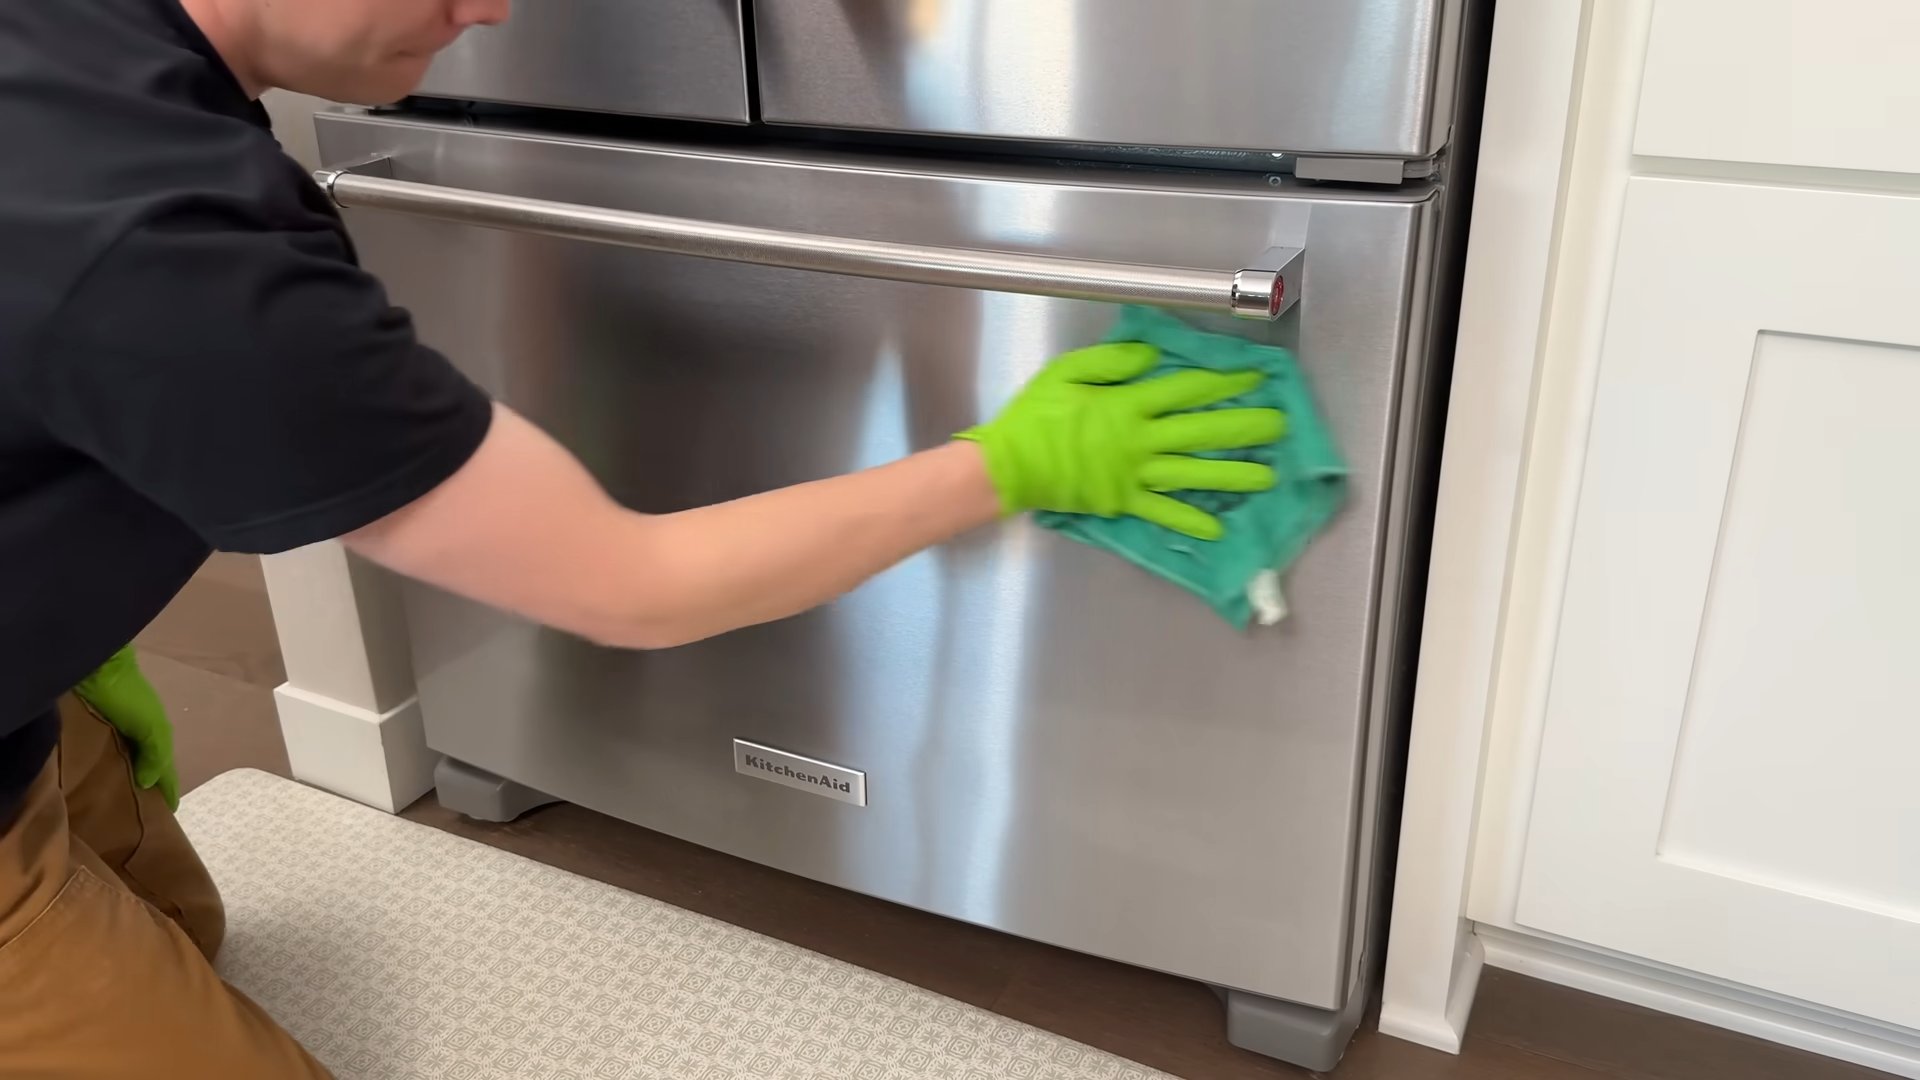
- Gently clean the surface: Using a microfiber cloth, gently wipe the surface in the direction of the grain. Stainless steel has a grain, and cleaning with the grain prevents unsightly streaks. You can usually see the grain by looking closely at the surface – it’s often a subtle pattern of lines.
- Pay attention to details: Don’t forget to clean hard-to-reach areas like corners and crevices. A soft brush can be helpful for these spots.
- Rinse (if necessary): If you used a solution that requires rinsing, rinse the surface thoroughly with clean water and wipe dry immediately with a clean microfiber cloth. This prevents water spots from forming.
- Dry thoroughly: Thorough drying is crucial to prevent water spots and streaks. Use a clean, dry microfiber cloth to wipe the surface completely dry, again wiping in the direction of the grain.
Phase 4: Dealing with Stubborn Stains
Sometimes, even with the best cleaning methods, stubborn stains persist. Here are a few extra tips for those particularly challenging spots:
- Magic Eraser (use cautiously): A melamine foam eraser, often called a “Magic Eraser,” can be effective on stubborn stains. However, use it very sparingly and gently, as it can be abrasive and scratch the stainless steel if used too forcefully. Always test it on an inconspicuous area first.
- Bar Keepers Friend: This is a popular powder cleaner that’s effective on many types of stains. Follow the manufacturer’s instructions carefully. Again, test it in an inconspicuous area first.
- Professional Cleaning: For severely stained or damaged stainless steel, consider contacting a professional cleaning service. They have specialized tools and techniques for tackling tough jobs.
Phase 5: Maintaining Your Sparkling Stainless Steel
Once you’ve achieved that sparkling clean finish, you’ll want to keep it that way! Here are some tips for maintaining your stainless steel:
- Regular cleaning: Wipe down your stainless steel surfaces regularly with a damp microfiber cloth to prevent dirt and grime from building up.
- Avoid harsh chemicals: Avoid using abrasive cleaners, bleach, or ammonia-based cleaners, as these can damage the surface.
- Address spills immediately: Clean up spills as soon as they happen to prevent staining.
- Use a stainless steel polish (occasionally): For an extra shine, you can use a stainless steel polish once in a while. Follow the manufacturer’s instructions carefully.
With a little care and attention, your stainless steel surfaces can remain sparkling and beautiful for years to come!
Conclusion
So there you have it! Our guide to achieving sparkling clean stainless steel surfaces. This DIY method isn’t just about achieving a gleaming finish; it’s about reclaiming the beauty of your appliances and countertops, saving money on expensive commercial cleaners, and embracing a more eco-conscious approach to household cleaning. This simple, effective Clean Stainless Steel technique is a must-try for anyone who wants to effortlessly maintain the pristine look of their stainless steel surfaces. It’s a game-changer, transforming a potentially tedious chore into a quick and satisfying task. You’ll be amazed at how easily you can banish fingerprints, watermarks, and stubborn smudges, leaving your stainless steel looking its absolute best. The satisfaction of achieving professional-level results with readily available ingredients is truly rewarding.
Beyond the basic method, there’s plenty of room for experimentation and customization. For particularly stubborn stains or heavily soiled areas, you might consider increasing the dwell time of the cleaning solution, allowing it to sit for a few extra minutes before wiping. Alternatively, for a deeper clean, you could follow up with a gentle polishing using a microfiber cloth and a tiny amount of mineral oil – this will add an extra layer of shine and protection. If you’re concerned about scratches, always use a soft, non-abrasive cloth and avoid harsh scrubbing. Remember to always test any new cleaning solution on an inconspicuous area first to ensure it doesn’t damage the finish. Experiment with different ratios of baking soda and water to find the perfect consistency for your needs. Some prefer a thicker paste, while others find a thinner solution easier to work with. The beauty of this method lies in its adaptability – tailor it to your specific needs and preferences for optimal results.
We strongly encourage you to try this Clean Stainless Steel method and share your experience with us! We’d love to hear about your results, any variations you’ve experimented with, and any tips you’ve discovered along the way. Post your before-and-after photos on social media using the hashtag #CleanStainlessSteelDIY and tag us – we can’t wait to see the sparkling results! Let’s create a community of clean stainless steel enthusiasts, sharing our knowledge and helping each other achieve a flawlessly clean and shiny home. Don’t hesitate to reach out if you have any questions or encounter any challenges – we’re here to help you on your journey to perfectly polished stainless steel. Remember, a little elbow grease and the right technique can go a long way in transforming your kitchen and home.
Frequently Asked Questions
What types of stainless steel can I use this method on?
This method is generally safe for most types of stainless steel commonly found in kitchens and bathrooms, including appliances, sinks, and countertops. However, always test a small, inconspicuous area first to ensure it doesn’t damage the finish. Some specialized stainless steel finishes might be more sensitive, so proceed with caution.
Can I use this method on other surfaces besides stainless steel?
While this method is specifically designed for stainless steel, it’s generally safe for other similar metal surfaces. However, it’s crucial to test it on a small, hidden area first to avoid any unexpected reactions or damage. Avoid using it on delicate or easily scratched surfaces.
How often should I clean my stainless steel using this method?
The frequency of cleaning depends on how often you use your stainless steel appliances and surfaces. For everyday use, a quick wipe-down with a damp microfiber cloth might suffice. However, a more thorough cleaning using this method should be done at least once a week, or more often if needed.
What if I have stubborn stains or watermarks that won’t come off?
For stubborn stains, try increasing the dwell time of the baking soda paste, allowing it to sit on the surface for a longer period before wiping. You can also gently scrub with a soft, non-abrasive sponge or cloth. If the stain persists, consider using a specialized stainless steel cleaner as a last resort. Always test any new product on a hidden area first.
Are there any safety precautions I should take?
Always wear gloves when handling cleaning solutions to protect your skin. Ensure proper ventilation in the area you’re cleaning. Avoid getting the cleaning solution in your eyes. If contact occurs, rinse thoroughly with water and seek medical attention if necessary. Keep cleaning solutions out of reach of children and pets.
What if I don’t have baking soda?
While baking soda is the preferred ingredient for its gentle abrasiveness and cleaning power, you can substitute it with a mild dish soap and water solution. However, the cleaning power might be slightly less effective. You can also try using a commercial stainless steel cleaner, but be sure to follow the manufacturer’s instructions carefully.
Can I use this method on scratched stainless steel?
This method is unlikely to repair existing scratches, but it can help to clean the surface of the scratches and make them less noticeable. However, it’s important to avoid harsh scrubbing, which could worsen the scratches. Focus on gentle wiping and polishing.
What kind of cloth should I use?
Microfiber cloths are ideal for cleaning stainless steel as they are soft, absorbent, and effective at removing smudges and fingerprints without scratching the surface. Avoid using abrasive cloths or sponges that could damage the finish.
My stainless steel still looks streaky after cleaning. What should I do?
Streaks can often be caused by using too much cleaning solution or not wiping the surface thoroughly in the direction of the grain. Try using less solution and wiping with a clean, dry microfiber cloth in the direction of the grain to remove any remaining streaks. Using a polishing cloth can also help to achieve a streak-free shine.
Can I use this method on stainless steel appliances with a fingerprint-resistant coating?
While this method is generally safe for fingerprint-resistant coatings, it’s always best to test it on a small, inconspicuous area first to ensure it doesn’t damage the coating. Some fingerprint-resistant coatings are more delicate than others, so proceed with caution. Always follow the manufacturer’s cleaning instructions for your specific appliance.
Leave a Comment