
Grow Bitter Gourd: Unleash Your Inner Gardener with These Easy DIY Tricks!
Grow Bitter Gourd – it sounds challenging, right? But what if I told you that cultivating this nutritious and surprisingly versatile vegetable could be easier than you think? This isn’t just about throwing some seeds in the ground and hoping for the best; it’s about unlocking the secrets to a bountiful harvest right in your backyard. I’ve always loved the satisfying feeling of nurturing a plant from seed to fruit, and the unique taste of homegrown bitter gourd is simply unbeatable. In fact, the history of bitter gourd cultivation stretches back centuries, with evidence suggesting its use in traditional medicine and cuisine across Asia and Africa.
For generations, families have passed down their own Grow Bitter Gourd techniques, often relying on simple, DIY methods. But in today’s fast-paced world, finding reliable information can be tricky. That’s why I’ve compiled these easy-to-follow tips and tricks, perfect for both seasoned gardeners and enthusiastic beginners. Whether you’re looking to improve your soil health, maximize your yield, or simply enjoy the rewarding process of growing your own food, this guide is for you.
Why Grow Your Own Bitter Gourd?
Beyond the undeniable satisfaction of harvesting your own produce, growing your own bitter gourd offers numerous benefits. You’ll have complete control over the growing process, ensuring pesticide-free, organically grown vegetables. Plus, the unique flavor of homegrown bitter gourd often surpasses anything you can find in the supermarket. This DIY guide will empower you to take control of your food source and experience the joy of nurturing life from seed to plate. So, let’s get started on your journey to successfully Grow Bitter Gourd!

Growing Bitter Gourd: A Comprehensive DIY Guide
Bitter gourd, also known as bitter melon, is a fascinating and healthy vegetable to grow, even if you’re a beginner gardener. This guide will walk you through the entire process, from seed to harvest. Get ready to enjoy the unique, slightly bitter taste of your homegrown bitter gourd!
Phase 1: Planning and Preparation
- Choose the right time: Bitter gourd thrives in warm weather. Plant seeds after the last frost, when the soil temperature is consistently above 70°F (21°C). In my experience, late spring or early summer is ideal.
- Select a sunny spot: Bitter gourd needs at least 6-8 hours of direct sunlight daily. Find a location in your garden that receives ample sunshine.
- Prepare the soil: Bitter gourd prefers well-drained, fertile soil. Amend heavy clay soil with compost or other organic matter to improve drainage and aeration. I like to add a generous amount – about 2-3 inches – to ensure optimal growth.
- Gather your supplies: You’ll need bitter gourd seeds (you can find these at most garden centers or online), seed starting trays or pots (optional, but recommended for starting seeds indoors), gardening gloves, a watering can, and a hoe or cultivator.
- Decide on your growing method: You can direct sow seeds outdoors or start them indoors in seed trays and transplant them later. I prefer starting indoors for a head start, especially in cooler climates.
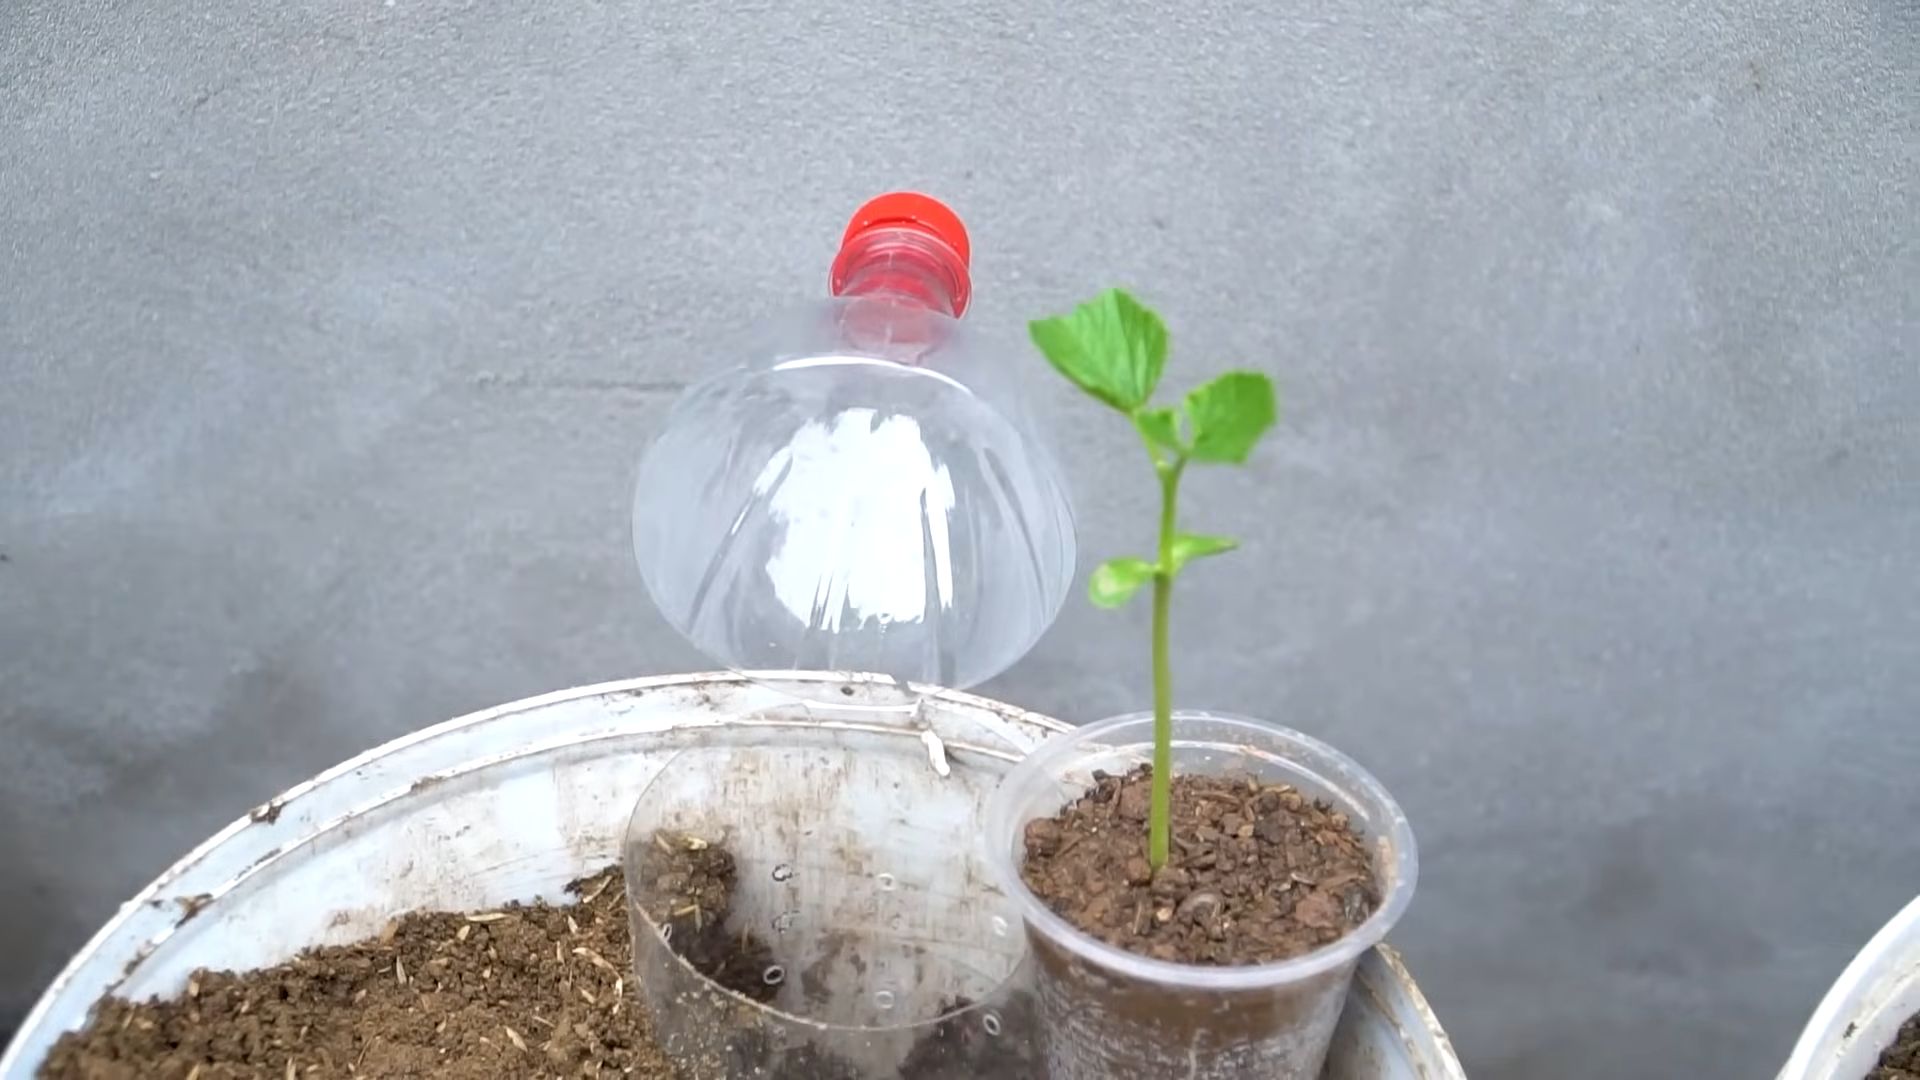
Phase 2: Starting Seeds (Indoor Method)
- Fill seed starting trays: Fill your seed starting trays with a seed-starting mix. Don’t use garden soil, as it can be too dense and may contain diseases.
- Sow the seeds: Plant one or two seeds per cell, about ½ inch deep. Gently cover with soil and water lightly.
- Provide warmth and humidity: Place the trays in a warm location (around 75-80°F or 24-27°C) with good light. You can use a heat mat to boost germination. Covering the trays with plastic wrap helps maintain humidity.
- Maintain moisture: Keep the soil consistently moist, but not soggy. Water gently as needed, avoiding overwatering which can lead to damping off (a fungal disease).
- Thin seedlings: Once the seedlings have developed their first true leaves (not the seed leaves), thin them to one seedling per cell. Carefully remove the weaker seedling.
- Harden off seedlings: Before transplanting outdoors, gradually acclimate the seedlings to outdoor conditions. This process, called hardening off, reduces transplant shock. Start by placing them outdoors for a few hours each day, gradually increasing the time over a week.
Phase 3: Transplanting and Growing
- Prepare the planting holes: Dig holes slightly larger than the root ball of your seedlings. Space the holes about 3-4 feet apart, as bitter gourd vines can grow quite large.
- Transplant the seedlings: Carefully remove the seedlings from their cells, being mindful not to damage the roots. Plant them in the prepared holes, covering the roots with soil.
- Water thoroughly: Water deeply after transplanting to help the seedlings settle in.
- Provide support: Bitter gourd is a vining plant and needs support to climb. You can use trellises, stakes, or even strong netting to guide the vines upwards. I find trellises are the most effective.
- Water regularly: Keep the soil consistently moist, especially during dry periods. Water deeply and less frequently rather than shallowly and often.
- Fertilize as needed: Apply a balanced fertilizer every 2-3 weeks to promote vigorous growth. Follow the instructions on the fertilizer package.
- Weed regularly: Keep the area around the plants free of weeds to prevent competition for nutrients and water.
- Monitor for pests and diseases: Regularly inspect the plants for signs of pests or diseases. Address any issues promptly using appropriate organic pest control methods if necessary. I usually opt for natural solutions first.
Phase 4: Harvesting and Enjoying Your Bitter Gourd
- Harvest at the right time: Bitter gourd is ready for harvest when it’s firm and the skin is smooth and glossy. The size will vary depending on the variety, but generally, they’re ready when they reach about 6-8 inches in length. Don’t let them get too large, as they can become tough and bitter.
- Harvesting technique: Use a sharp knife or pruning shears to cut the fruit from the vine. Be careful not to damage the vine.
- Storage: Store harvested bitter gourd in the refrigerator for up to a week. They can also be frozen for longer storage.
- Enjoy your harvest: Experiment with different recipes to enjoy your homegrown bitter gourd! It’s delicious in stir-fries, curries, and even pickled.
Troubleshooting
Yellowing Leaves:
This could indicate nutrient deficiencies, overwatering, or underwatering. Check your watering schedule and consider adding fertilizer.
Wilting Plants:
This could be due to underwatering, pest infestation, or disease. Check the soil moisture and inspect the plants for pests or diseases.
Poor Fruit Production:
This could be due to insufficient pollination, lack of sunlight, or nutrient deficiencies. Ensure adequate pollination (bees are helpful!), sufficient sunlight, and proper fertilization.
Remember, patience and consistent care are key to successfully growing bitter gourd. Happy gardening!
Conclusion
So there you have it – a comprehensive guide to successfully growing your own bitter gourd! This DIY approach isn’t just about saving money; it’s about connecting with nature, understanding the life cycle of a fascinating plant, and enjoying the unparalleled freshness and flavor of homegrown bitter gourd. The satisfaction of harvesting your own vibrant, healthy bitter gourds is truly unmatched. You’ll be amazed at the difference between store-bought and homegrown produce – the taste is brighter, more intense, and simply bursting with flavor. This method, focusing on simple techniques and readily available resources, makes growing bitter gourd accessible to everyone, regardless of your gardening experience. It’s a rewarding journey from seed to plate, and we strongly encourage you to embark on it.
Beyond the basic method outlined, there are numerous ways to personalize your bitter gourd growing experience. Experiment with different varieties of bitter gourd seeds – some are known for their size, others for their unique bitterness levels. Consider vertical gardening techniques if space is limited; bitter gourd vines are climbers and thrive when supported. You can use trellises, stakes, or even repurposed materials like old ladders to create a vertical growing system. Furthermore, explore companion planting. Some gardeners find success planting bitter gourd alongside basil or marigolds, which can deter pests. Don’t be afraid to get creative and adapt the techniques to your specific environment and preferences. The beauty of DIY gardening is its flexibility.
We encourage you to try this simple yet effective method of growing bitter gourd. Share your experiences with us! Post pictures of your thriving plants and delicious harvests on social media using #GrowBitterGourd. We’d love to see your success stories and learn from your experiences. Whether you’re a seasoned gardener or a complete beginner, growing your own bitter gourd is a rewarding and surprisingly easy undertaking. It’s a journey of discovery, a testament to the power of nature, and a delicious way to enhance your culinary adventures. So, grab some seeds, prepare your soil, and get ready to experience the joy of harvesting your own homegrown bitter gourd. You won’t regret it!
Frequently Asked Questions (FAQs)
What type of soil is best for growing bitter gourd?
Bitter gourd thrives in well-drained, fertile soil with a slightly acidic to neutral pH (6.0-7.0). A mix of garden soil, compost, and perlite or vermiculite provides excellent drainage and aeration. Avoid heavy clay soils that retain too much water, as this can lead to root rot.
How much sunlight does bitter gourd need?
Bitter gourd is a sun-loving plant and requires at least 6-8 hours of direct sunlight per day. Choose a location in your garden that receives ample sunlight, especially during the hottest part of the day. Insufficient sunlight can result in poor growth and reduced fruit production.
How often should I water my bitter gourd plants?
Water your bitter gourd plants regularly, keeping the soil consistently moist but not waterlogged. The frequency of watering will depend on your climate and soil conditions. During hot, dry periods, you may need to water daily, while in cooler, wetter conditions, watering every other day might suffice. Always check the soil moisture before watering; water deeply when the top inch of soil feels dry.
What are some common pests and diseases that affect bitter gourd?
Bitter gourd can be susceptible to various pests and diseases, including aphids, whiteflies, spider mites, and powdery mildew. Regularly inspect your plants for signs of infestation or disease. Use organic pest control methods such as neem oil or insecticidal soap to manage pests. Good air circulation and proper watering can help prevent fungal diseases like powdery mildew.
How long does it take for bitter gourd to mature?
The time it takes for bitter gourd to mature depends on the variety and growing conditions. Generally, you can expect to harvest your first bitter gourds within 50-70 days of planting the seeds. Once the fruits reach the desired size and shape, they are ready for harvesting.
Can I grow bitter gourd in containers?
Yes, you can absolutely grow bitter gourd in containers, provided they are large enough to accommodate the plant’s root system and provide adequate support for the vines. Choose containers at least 12-15 inches in diameter and depth. Ensure the containers have drainage holes to prevent waterlogging.
What should I do if my bitter gourd plants aren’t producing fruit?
Several factors can affect fruit production in bitter gourd plants, including insufficient sunlight, inadequate pollination, nutrient deficiencies, or pest infestations. Ensure your plants are receiving enough sunlight and water. Hand-pollination might be necessary if pollinators are scarce. Regular fertilization with a balanced fertilizer can help address nutrient deficiencies. Control any pests or diseases promptly.
Can I save seeds from my homegrown bitter gourd for next year?
Yes, you can save seeds from your homegrown bitter gourd for planting the following year. Select the healthiest and most productive fruits. Allow the fruits to fully ripen on the vine until they turn yellow or orange. Remove the seeds, clean them, and allow them to dry completely before storing them in a cool, dry place in an airtight container.

Leave a Comment