
Grow Potatoes at Home: Your Guide to a Bountiful Harvest
Grow potatoes at home? It sounds ambitious, maybe even a little daunting, but I promise you, it’s easier than you think! This isn’t just about digging up some spuds; it’s about connecting with your food source in a deeply satisfying way. Imagine the pride of harvesting your own potatoes, freshly dug from your own backyard, bursting with flavor far superior to anything you’ll find in the supermarket. That’s the magic of home gardening, and specifically, the joy of learning how to grow potatoes at home.
The history of the potato is fascinating! Originating in the Andes Mountains of South America, this humble tuber has become a global staple, feeding billions. But for many, the connection to this vital food source has been lost. We buy them pre-packaged, often without a thought to where they came from. This article aims to reconnect you with that process, empowering you to take control of your food production and enjoy the freshest, tastiest potatoes imaginable.
Why Grow Your Own Potatoes?
There are so many reasons to try growing potatoes at home! Beyond the delicious reward, it’s a surprisingly easy and rewarding gardening project, perfect for beginners. You’ll save money on grocery bills, reduce your carbon footprint by avoiding transportation costs, and experience the immense satisfaction of nurturing a plant from seed (or, in this case, seed potato) to harvest. Plus, you get to choose the varieties you grow, experimenting with different colors and flavors to find your perfect potato. This guide will walk you through every step, from selecting the right seed potatoes to harvesting your bountiful crop. So let’s get started on your journey to successfully grow potatoes at home!
Growing Potatoes at Home: A Complete Guide
I’ve always loved the taste of homegrown potatoes, and nothing beats the satisfaction of harvesting your own. It’s easier than you think! This guide will walk you through the entire process, from choosing your seed potatoes to enjoying your delicious harvest.
Choosing and Preparing Your Seed Potatoes
- Select the right variety: Research potato varieties suitable for your climate and growing season. Early-season varieties mature faster, while maincrop potatoes offer a larger yield.
- Source your seed potatoes: Buy certified seed potatoes from a reputable garden center or online supplier. Avoid using potatoes from the supermarket, as these are often treated to prevent sprouting.
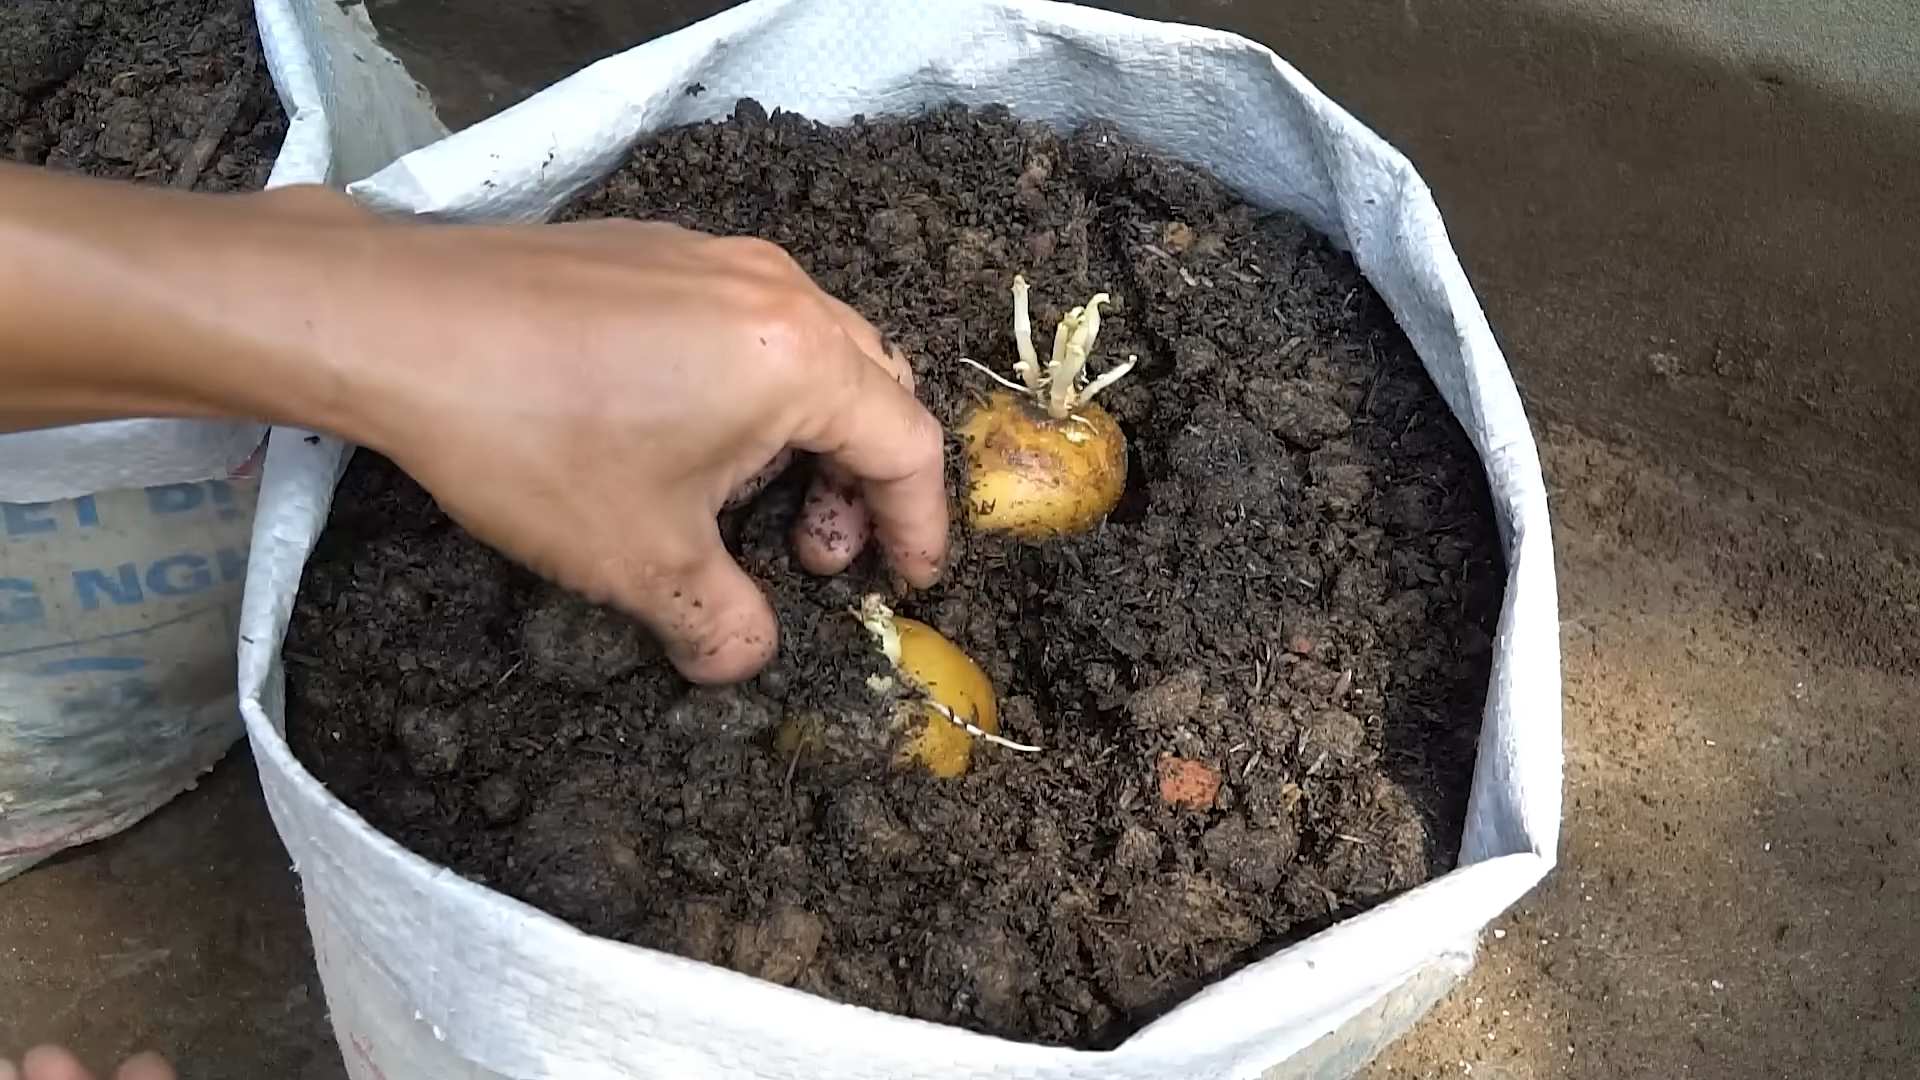
- Prepare the seed potatoes: About 4-6 weeks before your last expected frost, take your seed potatoes out of storage and let them “chit”. This means allowing them to sprout. Place them in a cool, light place, such as a sunny windowsill, in a tray or egg carton. The sprouts should be about 1-2 inches long before planting.
- Cut larger potatoes: If your seed potatoes are large, you can cut them into smaller pieces, ensuring each piece has at least one or two eyes (the buds from which new shoots will grow). Let the cut pieces dry for a day or two to prevent rot.
Preparing Your Planting Area
- Choose a sunny location: Potatoes need at least 6-8 hours of sunlight per day. A south-facing location is ideal in the Northern Hemisphere.
- Prepare the soil: Potatoes thrive in well-drained, loose soil rich in organic matter. Amend heavy clay soils with compost or well-rotted manure to improve drainage. Sandy soils may benefit from the addition of peat moss or other organic matter to retain moisture.
- Test your soil pH: Potatoes prefer a slightly acidic to neutral pH (6.0-7.0). You can purchase a soil testing kit to check your soil’s pH and adjust it accordingly using lime (to raise pH) or sulfur (to lower pH).
- Till the soil: Loosen the soil to a depth of about 12 inches. This allows for good root development and prevents compaction.
Planting Your Seed Potatoes
- Dig planting holes or trenches: Depending on your preference, you can plant your seed potatoes in holes or trenches. For holes, dig holes about 4-6 inches deep and 12-18 inches apart. For trenches, dig trenches about 6 inches deep and 12-18 inches apart.
- Place the seed potatoes: Place the seed potatoes in the holes or trenches, eyes facing upwards. Cover them with about 4 inches of soil.
- Water thoroughly: After planting, water the area thoroughly to settle the soil and encourage root growth.
Caring for Your Potato Plants
- Regular watering: Keep the soil consistently moist, but not waterlogged. Water deeply and less frequently rather than shallowly and often. The frequency of watering will depend on your climate and soil type.
- Weed control: Regularly remove weeds to prevent competition for nutrients and water. Mulching around the plants can help suppress weed growth.
- Hilling: As the potato plants grow, gradually add more soil around the base of the plants, a process called hilling. This encourages the formation of more potatoes and protects them from sunlight. You can hill using a hoe or your hands. Repeat this process several times throughout the growing season, as the plants grow taller.
- Pest and disease control: Regularly inspect your plants for signs of pests or diseases. Common potato pests include aphids, Colorado potato beetles, and flea beetles. Common diseases include blight and scab. Address any issues promptly using appropriate organic or chemical controls, following the instructions carefully.
- Fertilizing: While potatoes don’t require heavy fertilization, a balanced fertilizer can boost yields. Apply a slow-release fertilizer at planting time or use a liquid fertilizer according to package instructions throughout the growing season.
Harvesting Your Potatoes
- Timing is key: The harvesting time depends on the variety of potato you planted. Early-season varieties are usually ready to harvest in 70-80 days, while maincrop varieties may take 100-120 days. Check the seed packet for specific information.
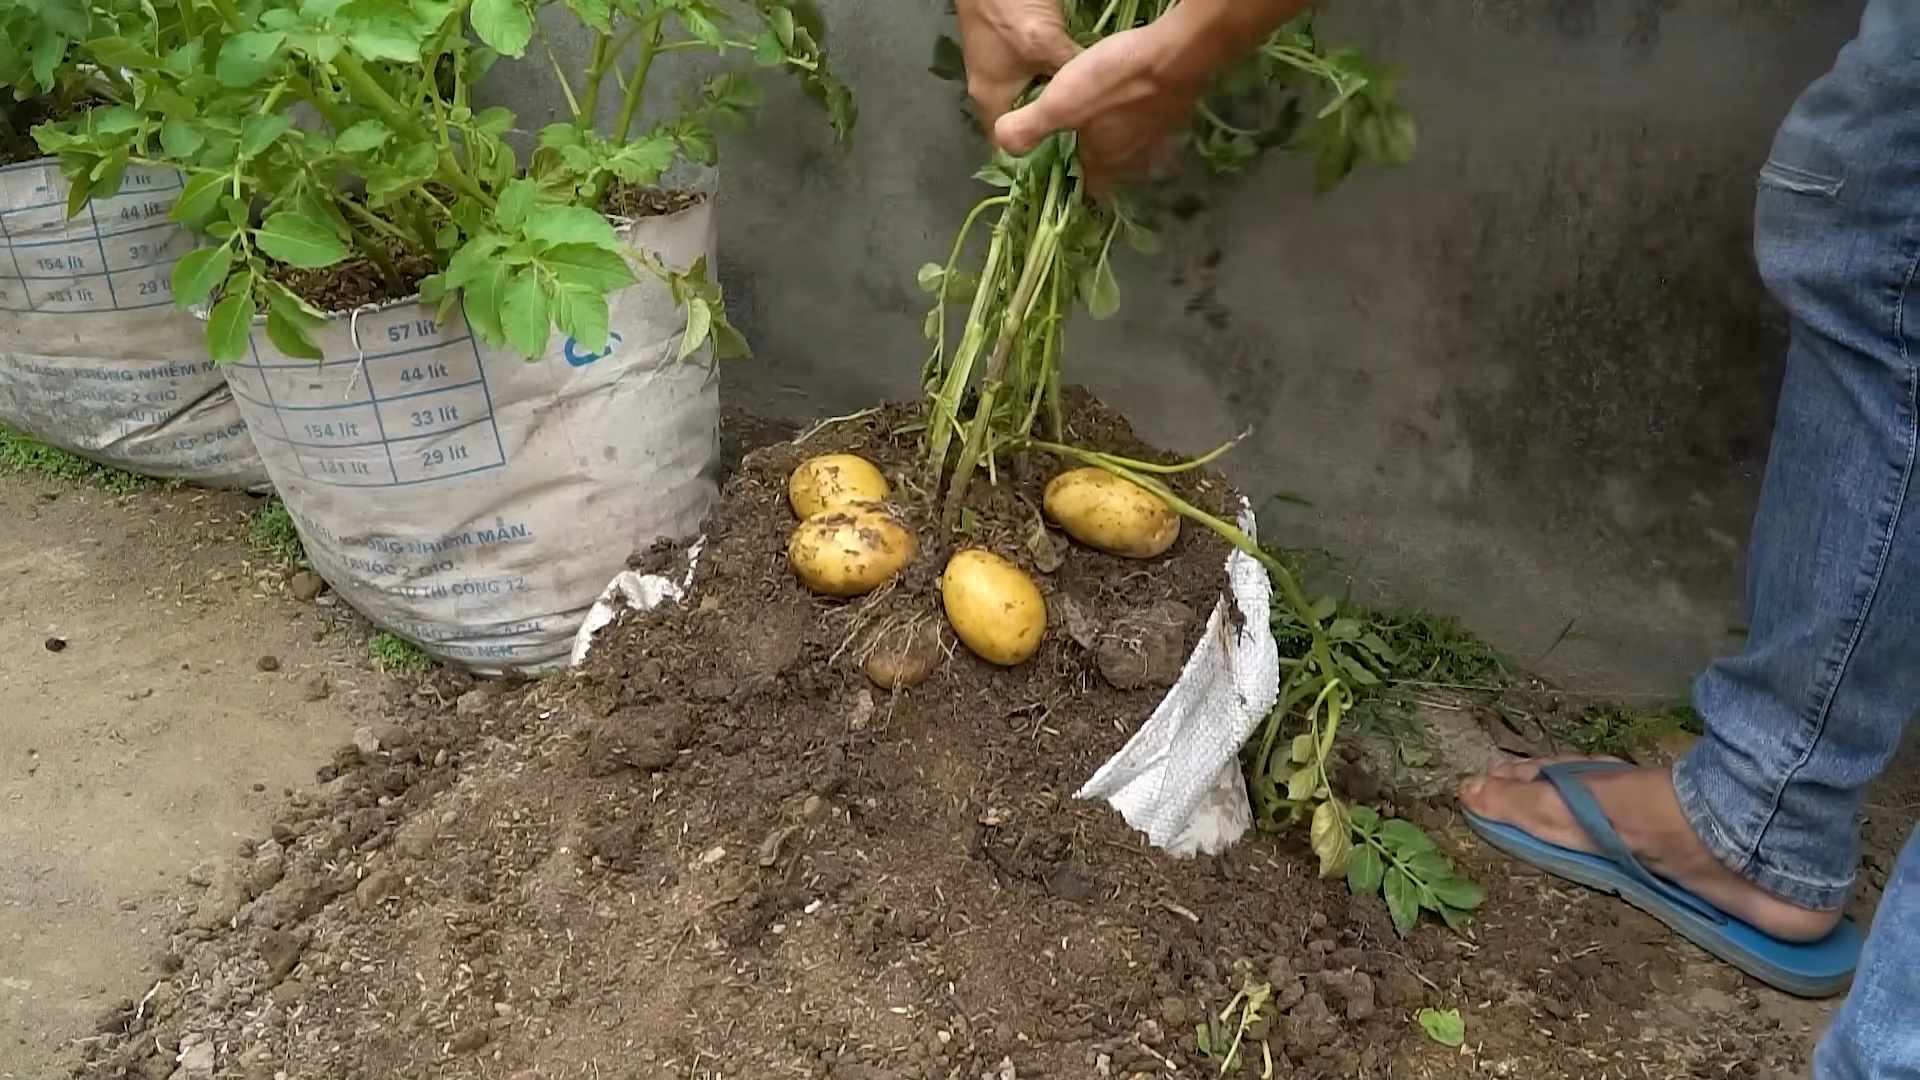
- Signs of readiness: The plants will start to flower and then the foliage will begin to die back. This is a good indication that the potatoes are ready for harvest.
- Harvesting method: Carefully dig around the plants with a garden fork or trowel to avoid damaging the potatoes. Gently lift the potatoes from the soil. Be careful not to bruise them.
- Curing: After harvesting, allow the potatoes to cure in a cool, dark, and well-ventilated area for 1-2 weeks. This allows the skins to toughen and prevents spoilage.
- Storing: Once cured, store your potatoes in a cool, dark, and dry place. A cellar or root cellar is ideal. Avoid storing them in direct sunlight or in temperatures above 50°F (10°C).
Troubleshooting Common Problems
Potato Blight:
This fungal disease can quickly destroy your potato crop. Look for brown or black spots on the leaves and stems. Remove affected plants immediately and dispose of them properly. Consider using a copper-based fungicide as a preventative measure.
Colorado Potato Beetles:
These voracious beetles can decimate your potato plants. Handpick them from the plants or use an insecticidal soap or neem oil to control them. Always follow the instructions on the product label.
Potato Scab:
This disease causes rough, scabby lesions on the potatoes. It’s often caused by alkaline soil. Maintaining a slightly acidic soil pH can help prevent scab.
Remember to always research the specific needs of your chosen potato variety for optimal results. Happy growing!
Conclusion
So there you have it! Growing your own potatoes at home isn’t just a fun project; it’s a rewarding experience that yields delicious, fresh, and undeniably superior spuds. This simple DIY trick transforms a humble potato into a bountiful harvest, proving that even the most novice gardener can achieve impressive results. The satisfaction of digging up your own homegrown potatoes is unparalleled, a feeling that far surpasses anything you can find in a supermarket. This method, focusing on maximizing space and minimizing effort, makes it accessible to everyone, regardless of the size of your garden or your experience level. You’ll be amazed at how easy it is to cultivate these versatile tubers, and the taste difference will speak for itself. The unique flavor of homegrown potatoes, free from the preservatives and long journeys of commercially grown produce, is a testament to the power of simple, sustainable gardening. This DIY approach to growing potatoes is a must-try for anyone looking to connect with their food source, save money, and enjoy the freshest potatoes imaginable.
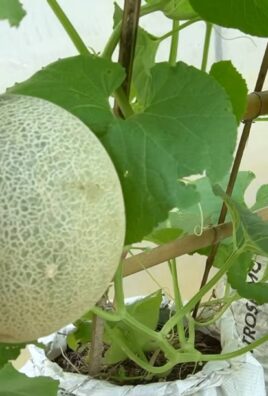
Beyond the basic method outlined, there are numerous ways to personalize your potato-growing adventure. Experiment with different potato varieties – each offers a unique flavor profile and texture. Consider using different containers; large fabric grow bags are excellent for maximizing space and drainage. If you have the space, you can even try growing potatoes in raised beds or directly in the ground. For those with limited space, consider growing potatoes in vertical systems, utilizing trellises or other vertical supports to maximize yield in a small footprint. Don’t be afraid to get creative! The beauty of this DIY approach lies in its adaptability. You can tailor the process to fit your specific needs and resources. Remember to pay attention to your plants; regular watering and monitoring for pests and diseases are crucial for a successful harvest.
We encourage you to try this simple and effective method of growing potatoes at home. Share your experience with us! Post pictures of your flourishing potato plants and your bountiful harvest on social media using #HomegrownPotatoes or #DIYPotatoGrowing. We’d love to see your results and hear about your successes (and even your learning experiences!). Let’s build a community of home potato growers, sharing tips, tricks, and the joy of harvesting our own delicious, homegrown potatoes. Remember, the journey from seed potato to delicious meal is a rewarding one, and we’re here to support you every step of the way. So grab some seed potatoes, get your hands dirty, and experience the magic of growing your own food! You won’t regret it. This is more than just a gardening project; it’s a connection to nature, a celebration of self-sufficiency, and a delicious reward for your efforts. Start your own potato patch today and taste the difference!
Frequently Asked Questions
What type of potatoes are best for growing at home?
Many potato varieties are suitable for home growing. Seed potatoes, specifically certified disease-free varieties, are recommended. Look for varieties known for their adaptability to your climate and soil conditions. Popular choices include Yukon Gold, Red Bliss, and Russet Burbank, but your local garden center can offer recommendations based on your region.
How much space do I need to grow potatoes?
The space required depends on the method you choose and the number of potatoes you want to grow. You can grow potatoes in containers as small as 5 gallons, making it suitable for even the smallest balconies or patios. Larger containers or in-ground planting will naturally yield a larger harvest. Consider the size of your seed potatoes and the expected growth of the plants when planning your space.
When is the best time to plant potatoes?
The ideal planting time depends on your climate. Generally, potatoes are planted after the last frost and when the soil temperature is consistently above 40°F (4°C). Check your local frost dates for the most accurate planting window. Planting too early can lead to frost damage, while planting too late may result in a smaller harvest.
How often should I water my potatoes?
Consistent moisture is crucial for healthy potato growth. Water regularly, keeping the soil consistently moist but not waterlogged. The frequency of watering will depend on your climate, soil type, and container size. Check the soil moisture regularly by sticking your finger a few inches into the soil. If it feels dry, it’s time to water.
What are the common problems when growing potatoes?
Common problems include pests like aphids and Colorado potato beetles, and diseases like blight. Regular inspection of your plants is essential for early detection. Organic pest control methods and disease-resistant varieties can help minimize these issues. Proper spacing and good air circulation can also help prevent diseases.
Can I use leftover potatoes from the grocery store to grow potatoes?
While you can try, it’s not recommended. Grocery store potatoes are often treated with sprout inhibitors to prevent them from sprouting, reducing their chances of successfully growing. Using certified seed potatoes ensures a higher success rate and healthier plants.
How long does it take to harvest potatoes?
The time to harvest depends on the variety and planting time, but generally, potatoes are ready for harvest 70-100 days after planting. You can start harvesting early by gently digging around the plant to find smaller potatoes, leaving the larger ones to continue growing. The harvest is complete when the plant foliage begins to die back.
What should I do with my harvest?
Enjoy your homegrown potatoes! They are delicious boiled, mashed, roasted, fried, or used in any of your favorite potato recipes. You can also store your potatoes in a cool, dark, and dry place for several weeks or months, depending on the variety.
Leave a Comment