
Clean Floors Fast: Your Guide to Sparkling Surfaces
Clean Floors Fast – isn’t that what we all crave after a long day? Forget endless scrubbing and harsh chemicals! This article is your secret weapon to achieving sparkling clean floors, fast, using simple DIY tricks and hacks that will leave your home looking its best without breaking the bank or your back.
For centuries, people have sought efficient ways to maintain clean homes. From the simple brooms of our ancestors to the modern vacuum cleaners, the quest for clean floors has been a constant. But even with modern technology, finding a quick and effective method that doesn’t involve a mountain of cleaning products remains a challenge. That’s why I’m sharing my favorite Clean Floors Fast techniques – tried, tested, and proven to work wonders.
Why You Need These DIY Cleaning Hacks
Let’s face it: life gets busy. Between work, family, and other commitments, spending hours scrubbing floors is often the last thing on our minds. These Clean Floors Fast methods are designed to save you precious time and energy, allowing you to focus on what truly matters. Plus, many of these DIY solutions are eco-friendly and use ingredients you probably already have in your pantry, making them both affordable and sustainable. You’ll be amazed at how much difference a few simple tricks can make!
So, are you ready to discover the secrets to effortlessly clean floors? Let’s dive in and transform your cleaning routine!
Clean Floors Fast: A DIY Guide to Sparkling Surfaces
Let’s face it, cleaning floors can be a drag. But with a few smart strategies and the right tools, you can get those floors gleaming in a fraction of the time. This guide will walk you through my favorite methods for achieving sparkling clean floors, fast!
Phase 1: Preparation is Key
- Clear the clutter: Before you even think about cleaning, remove anything from the floor. This includes toys, shoes, rugs, and anything else that might be in your way. Trust me, this makes a HUGE difference in efficiency.
- Gather your supplies: You’ll need a few essential tools. I recommend having at least two buckets (one for clean water, one for dirty), a mop (I prefer microfiber), a broom or vacuum cleaner, cleaning solution (more on this later!), and some clean cloths or sponges.
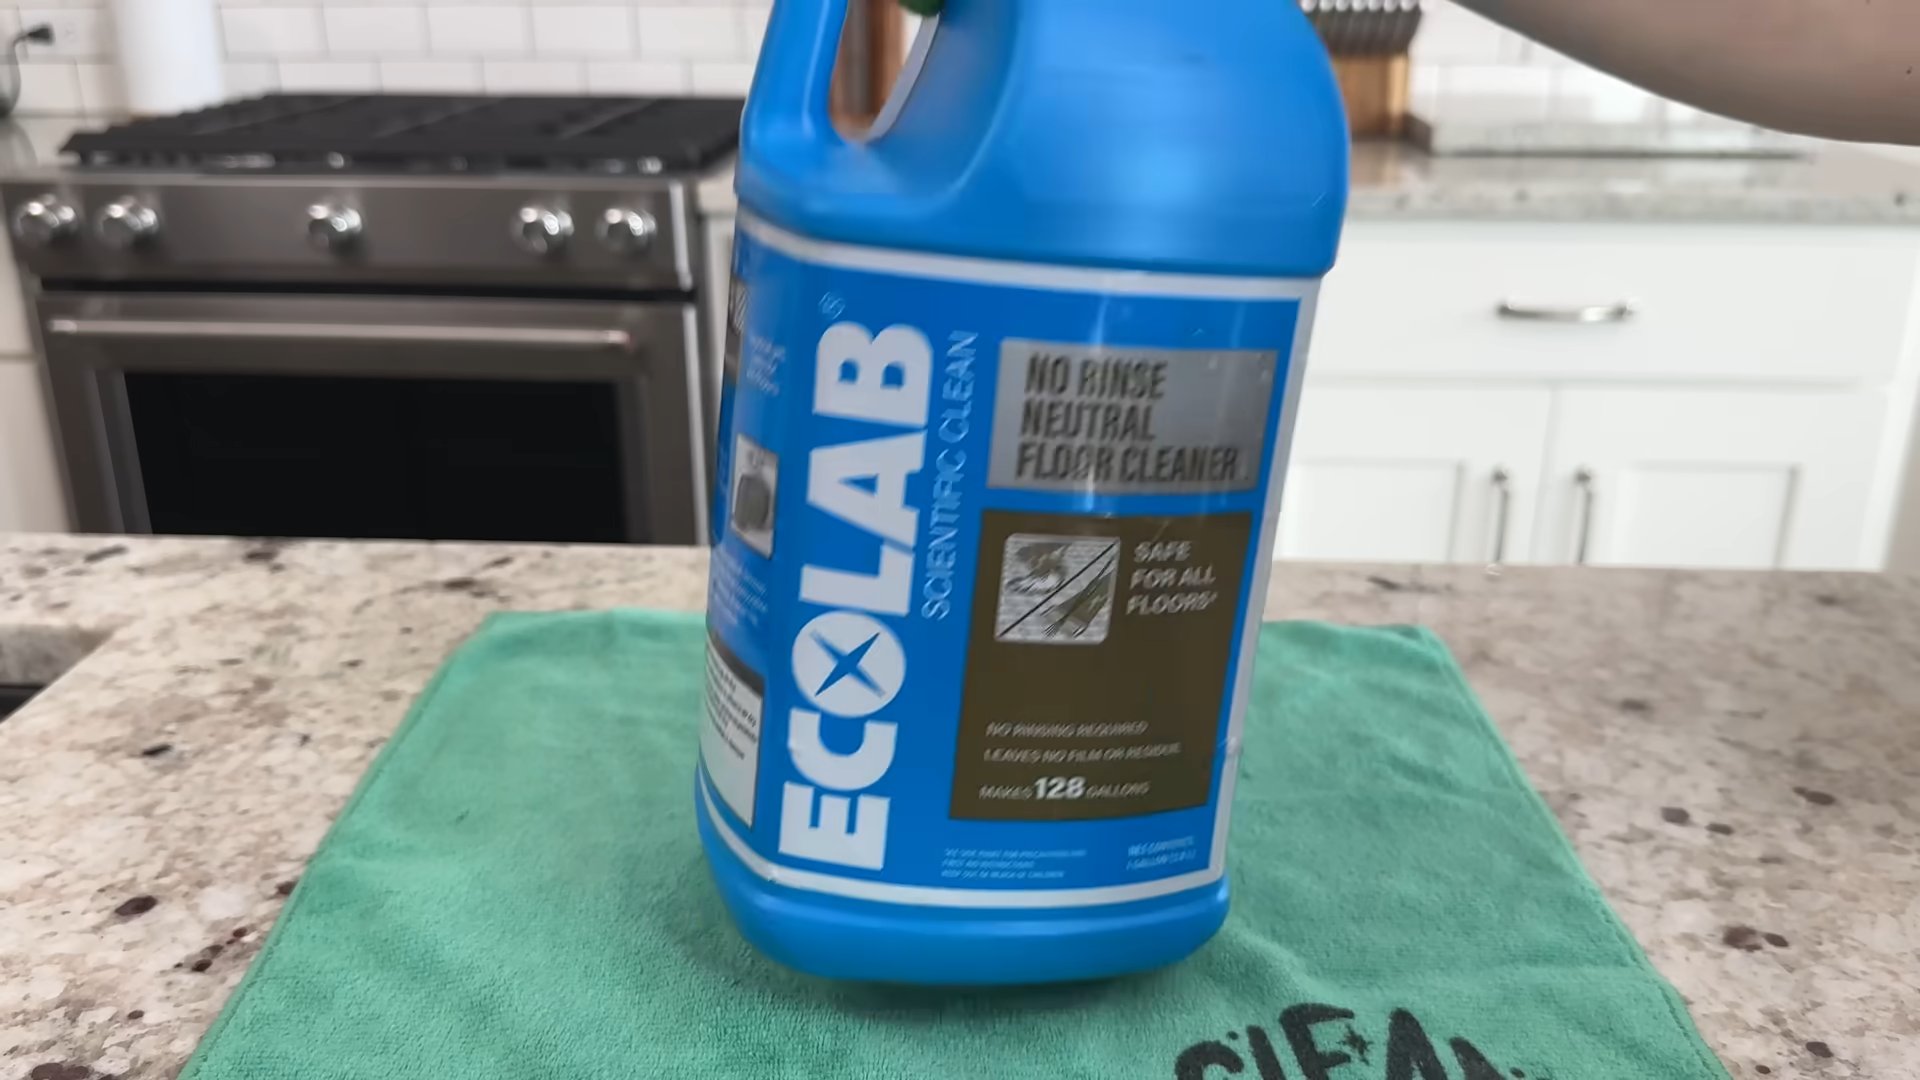
- Choose your cleaning solution: This depends on your floor type. For hardwood floors, I use a simple solution of warm water and a few drops of dish soap. For tile, you can use a similar solution or a dedicated tile cleaner. Always test any cleaning solution in an inconspicuous area first to ensure it doesn’t damage your floor.
- Protect yourself: Wear gloves to protect your hands from harsh chemicals (even mild ones can dry out your skin). If you’re using a strong cleaner, consider wearing a mask as well.
Phase 2: The Deep Clean
- Sweep or vacuum: This is the most important first step. Remove all loose dirt, dust, hair, and debris. A thorough sweep or vacuum will prevent you from spreading dirt around as you mop.
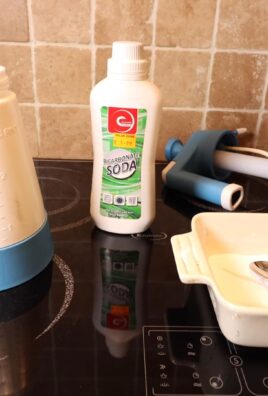
- Pre-treat stubborn stains: If you have any stubborn stains, like spilled juice or pet accidents, pre-treat them before mopping. For most stains, a little bit of your cleaning solution applied directly to the stain and allowed to sit for a few minutes will do the trick. For tougher stains, you may need a specialized cleaner.
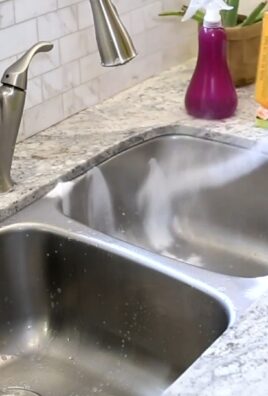
- Fill your buckets: Fill one bucket with warm water and your chosen cleaning solution. The other bucket will be for rinsing your mop.
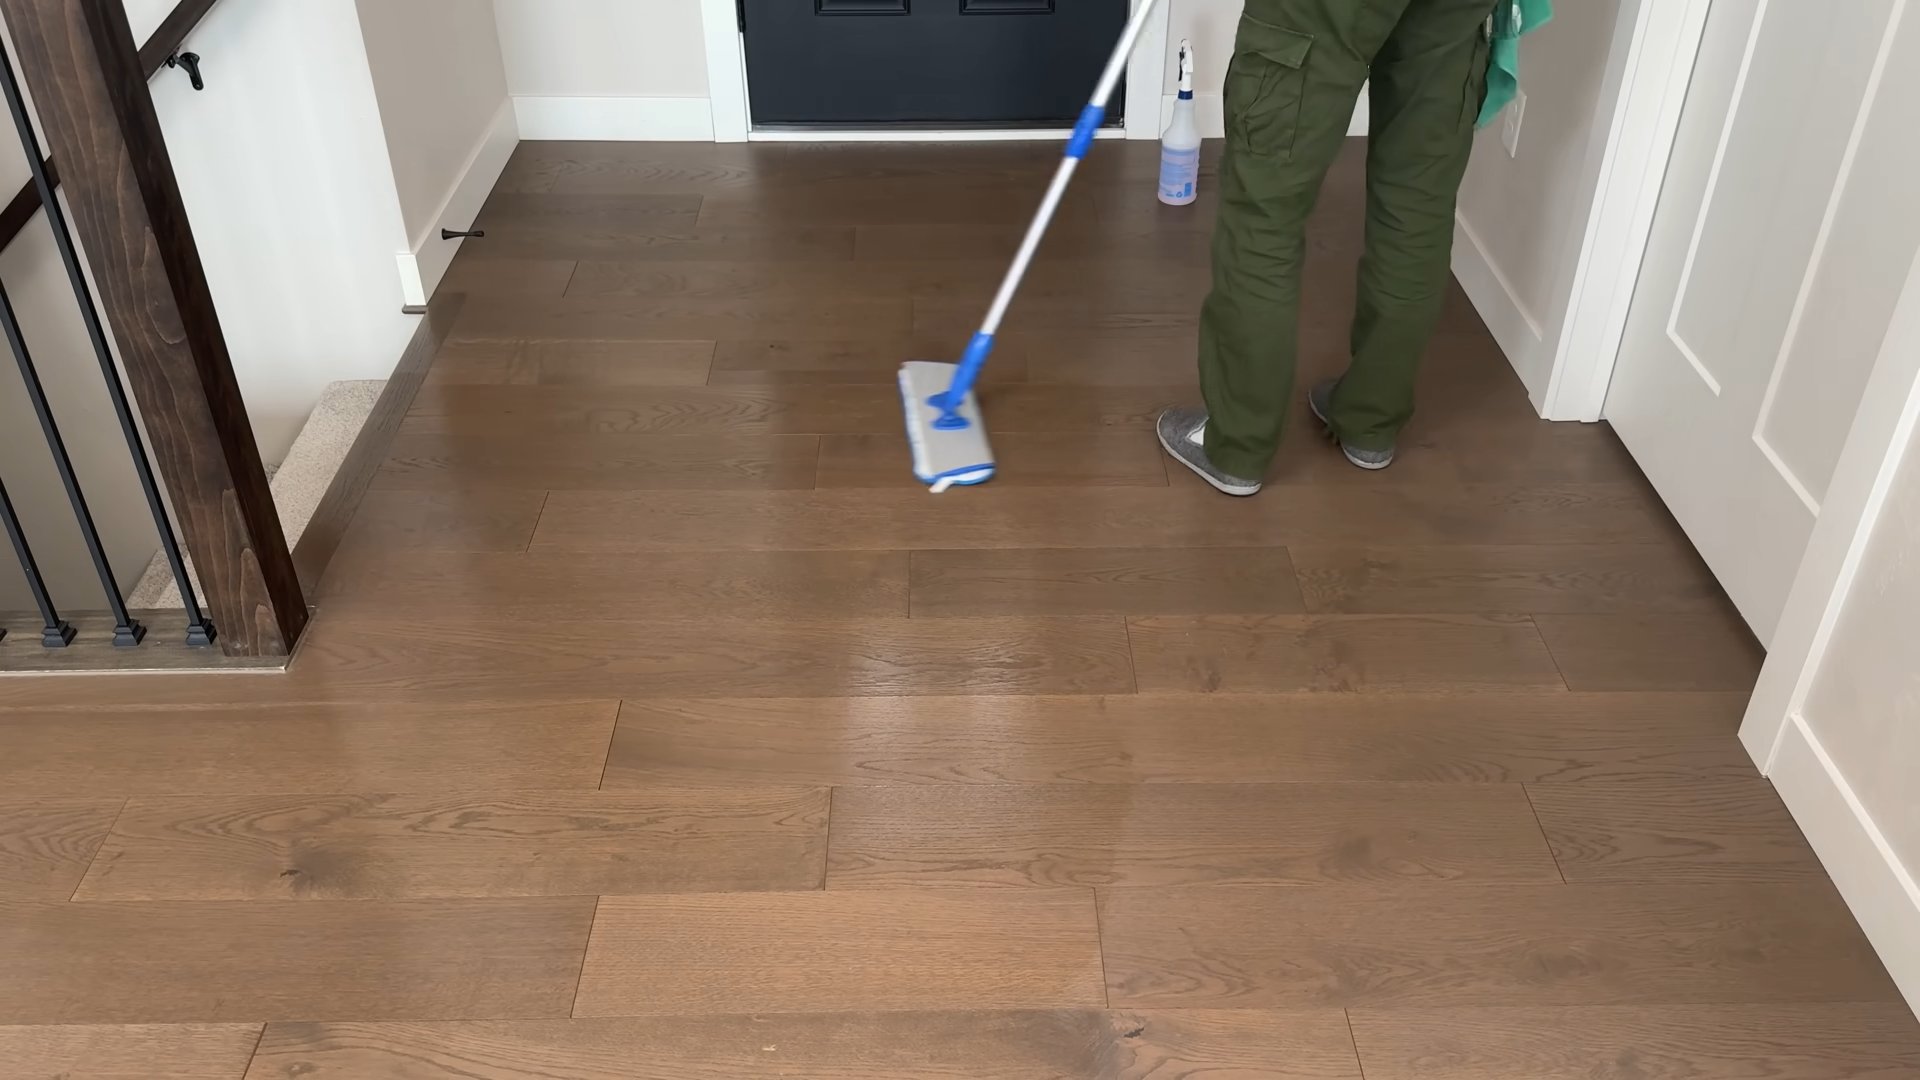
- Mop in sections: Don’t try to mop the entire floor at once. Work in small sections, overlapping each stroke to ensure complete coverage. This prevents streaks and ensures you’re not spreading dirt around.
- Rinse your mop frequently: After each section, rinse your mop thoroughly in the clean water bucket. Wring it out well before dipping it back into the cleaning solution. This prevents you from spreading dirty water around.
- Change your water: As your cleaning water gets dirty, change it. You’ll know it’s time when the water is visibly cloudy or grimy. This ensures you’re always cleaning with fresh, clean water.
Phase 3: The Finishing Touches
- Dry your floors: Once you’ve mopped the entire floor, allow it to air dry completely. For faster drying, you can use a clean, dry cloth or sponge to wipe up excess water. This is especially important for hardwood floors to prevent damage.
- Inspect your work: Take a final look at your floors. Are there any areas that need a little extra attention? If so, go back and address them.
- Put away your supplies: Once you’re finished, put away all your cleaning supplies. This will make it easier to clean next time!
Phase 4: Tips for Different Floor Types
Hardwood Floors
Cleaning Solution: A mixture of warm water and a few drops of mild dish soap is usually sufficient. Avoid using harsh chemicals or abrasive cleaners, as these can damage the finish. Drying: Always dry hardwood floors thoroughly to prevent water damage. Use a clean, dry cloth or sponge to wipe up excess water.
Tile Floors
Cleaning Solution: You can use a similar solution as for hardwood floors, or a dedicated tile cleaner. For grout, you may need a grout brush or a specialized grout cleaner to remove stubborn stains. Drying: Tile floors generally dry quickly, but you can still use a cloth or sponge to speed up the process.
Laminate Floors
Cleaning Solution: Use a damp (not wet) mop or cloth with a mild cleaning solution. Avoid using excessive water, as this can damage the laminate. Drying: Always dry laminate floors thoroughly to prevent water damage. Use a clean, dry cloth or sponge to wipe up excess water.
Phase 5: Maintaining Clean Floors
Regular sweeping or vacuuming: This is the best way to prevent dirt and debris from building up. Aim to sweep or vacuum at least once a week, or more often if needed. Spot cleaning: Address spills and stains immediately to prevent them from setting. Deep cleaning: Deep clean your floors at least once a month, or more often if needed, using the methods outlined above.
Pro Tip: For extra shine on your floors after cleaning, consider using a floor polish specifically designed for your floor type. Always follow the manufacturer’s instructions.
Another Pro Tip: Consider using a steam mop for a deeper clean and sanitizing effect. Steam mops are particularly effective on tile and hardwood floors.
Conclusion
So there you have it! Our guide to achieving sparkling clean floors fast. This DIY cleaning trick isn’t just about saving time; it’s about achieving professional-level results without the hefty price tag of commercial cleaning products. This method offers a superior clean, leaving your floors gleaming and smelling fresh, all while being gentle on your surfaces and environmentally friendly. The simplicity of the process, combined with the remarkable effectiveness, makes it a must-try for anyone looking to streamline their cleaning routine. Forget spending hours scrubbing – reclaim your precious time and enjoy the satisfaction of a flawlessly clean home. This simple, effective, and affordable approach to floor cleaning is a game-changer, transforming a dreaded chore into a quick and satisfying task. You’ll be amazed at the difference!
We encourage you to experiment with different variations of this Clean Floors Fast method. Try adding a few drops of your favorite essential oil to the cleaning solution for a delightful aroma. For particularly stubborn stains, let the solution sit for a few minutes before scrubbing. If you have hardwood floors, ensure you use a microfiber mop specifically designed for wood to prevent scratching. For tile floors, a stiff-bristled brush might be beneficial for grout cleaning. Remember to always test any new cleaning solution on a small, inconspicuous area first to ensure it doesn’t damage your flooring. The beauty of this method lies in its adaptability – tailor it to your specific floor type and cleaning needs.
Don’t just take our word for it! Try this Clean Floors Fast method today and experience the difference for yourself. Share your results with us on social media – we’d love to see your sparkling clean floors! Tag us and let us know your favorite variations or tips. Let’s build a community of clean-floor enthusiasts, sharing our best practices and helping each other achieve a cleaner, more efficient home cleaning routine. Your feedback is invaluable, and we’re excited to hear about your success stories. Join the Clean Floors Fast revolution and experience the joy of a truly spotless home, effortlessly!
Frequently Asked Questions
What types of floors is this method suitable for?
This Clean Floors Fast method is suitable for a variety of floor types, including hardwood, tile, laminate, and vinyl. However, always test a small, inconspicuous area first to ensure the cleaning solution doesn’t damage the surface. For delicate surfaces like some types of hardwood, you may need to adjust the amount of cleaning solution used or the scrubbing intensity. Always refer to the manufacturer’s cleaning recommendations for your specific flooring material.
What cleaning solution do you recommend?
While the recipe provides a basic solution, you can experiment with different ratios of water and cleaning agent. For a more powerful clean, you can slightly increase the amount of cleaning agent, but always avoid using excessive amounts, as this can damage your floors. You can also experiment with adding a few drops of essential oils for a pleasant scent. However, always ensure the essential oils are safe for your flooring type.
How often should I use this method?
The frequency of cleaning depends on your household traffic and personal preferences. For high-traffic areas, you may need to clean more frequently, perhaps once a week or even more often. For low-traffic areas, once every two weeks or even monthly might suffice. Regular cleaning helps prevent dirt and grime buildup, making future cleaning sessions easier and faster.
Can I use this method on all types of stains?
This Clean Floors Fast method is effective for many common stains, but it may not be suitable for all types. For stubborn or set-in stains, you may need to pre-treat the area with a stain remover before applying the cleaning solution. For particularly difficult stains, consider seeking professional cleaning services. Always test any cleaning solution on a small, inconspicuous area first to ensure it doesn’t damage your flooring.
What kind of mop should I use?
A microfiber mop is generally recommended for this method, as it effectively picks up dirt and grime without scratching the floor. For different floor types, you may want to use a mop specifically designed for that surface. For example, a mop with a softer head is better suited for hardwood floors, while a mop with a more rigid head might be better for tile floors. Ensure your mop is clean and well-maintained to avoid spreading dirt and bacteria.
Is this method environmentally friendly?
Yes, this Clean Floors Fast method is relatively environmentally friendly compared to many commercial cleaning products. It uses simple, readily available ingredients, reducing the need for harsh chemicals and excessive packaging. However, always dispose of cleaning solutions properly according to local regulations. Choosing eco-friendly cleaning agents further enhances the environmental benefits of this method.
What if my floors are still dirty after using this method?
If your floors are still dirty after using this method, there could be several reasons. You may need to pre-treat stubborn stains, increase the concentration of the cleaning solution (while still being mindful of your flooring type), or use a more powerful cleaning agent. If the problem persists, consider seeking professional cleaning services to address any underlying issues or deep-seated dirt. Regular cleaning using this method will help prevent future buildup of dirt and grime.
Leave a Comment