
Grow Celery at Home: A Beginner’s Guide to Crunchy, Homegrown Goodness
Have you ever dreamt of biting into a crisp, juicy stalk of celery, knowing you grew it yourself, right there in your backyard? Well, dream no more! This article is your passport to the satisfying world of growing celery at home. It’s easier than you think, and the reward – that unparalleled taste of fresh, homegrown celery – is well worth the effort.
For centuries, celery has held a place in culinary traditions across the globe. From ancient Roman times, where it was prized more for its medicinal properties than its flavor, to its modern-day status as a healthy snack and key ingredient in countless dishes, celery has a rich history. But let’s be honest, store-bought celery often lacks that vibrant crunch and intense flavor we crave. That’s where growing celery at home comes in.
Why bother with the DIY approach? Simply put: control. You control the quality of the soil, the amount of water, and the absence of pesticides, ensuring you get the freshest, most flavorful celery imaginable. Plus, there’s a deep satisfaction in nurturing a plant from seed to harvest, a connection to nature that’s hard to replicate. This guide will walk you through the entire process, from selecting the right seeds to harvesting your own delicious stalks. Get ready to experience the joy of growing celery at home and elevate your culinary creations!
Ready to get your hands dirty? Let’s begin!
Growing Celery from Scraps: A Complete Guide
I love celery, and I hate buying it every week! So, I decided to try growing my own. It’s surprisingly easy, and you’ll be amazed at how much you can save. This guide will walk you through the entire process, from selecting the right celery to harvesting your delicious homegrown stalks.
Phase 1: Preparing Your Celery Base
- Choose the right celery: Select a bunch of celery with firm, crisp stalks and a healthy, light green color. Avoid celery that shows signs of wilting or discoloration.
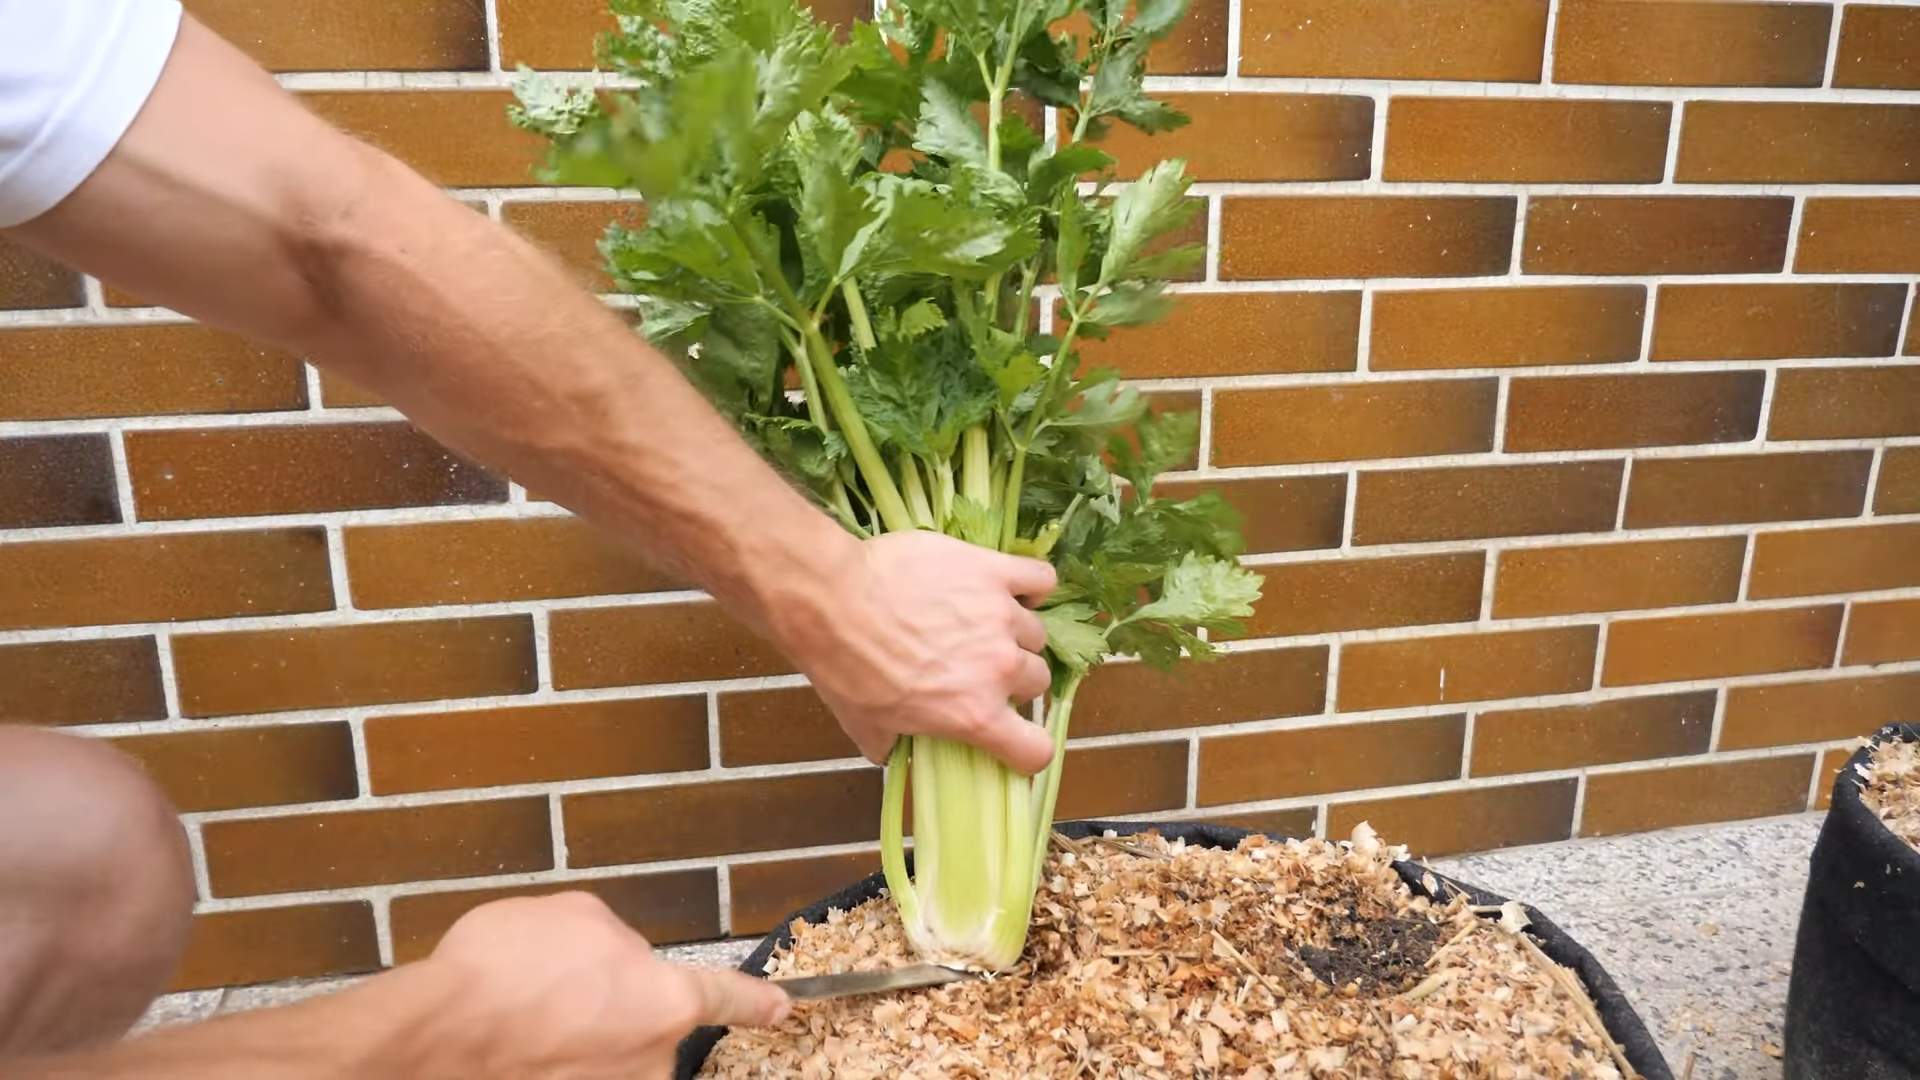
- Cut the base: Carefully cut off the bottom inch or two of the celery stalk, ensuring you include the root base. This base is crucial for regrowth. Make a clean, straight cut.
- Remove outer leaves: Gently remove any wilted or damaged outer leaves. This helps prevent rot and allows the plant to focus its energy on growth.
- Rinse thoroughly: Rinse the celery base under cool running water to remove any dirt or debris. Make sure to get into all the crevices.
Phase 2: Planting Your Celery
- Choose a container: You can use a shallow dish, a small pot, or even a wide glass. Make sure it has drainage holes to prevent waterlogging.
- Add water: Fill your chosen container with about an inch of water. The water level should just barely cover the base of the celery. Don’t submerge the entire base.
- Place the celery base: Place the prepared celery base into the water, ensuring that the cut end is fully submerged. The base should sit securely and not tip over.
- Find a sunny spot: Place the container in a location that receives at least six hours of sunlight per day. A sunny windowsill is ideal.
- Change the water: Change the water daily. This prevents the growth of bacteria and keeps the celery base hydrated. Use fresh, cool water each time.
Phase 3: Observing and Nurturing Growth
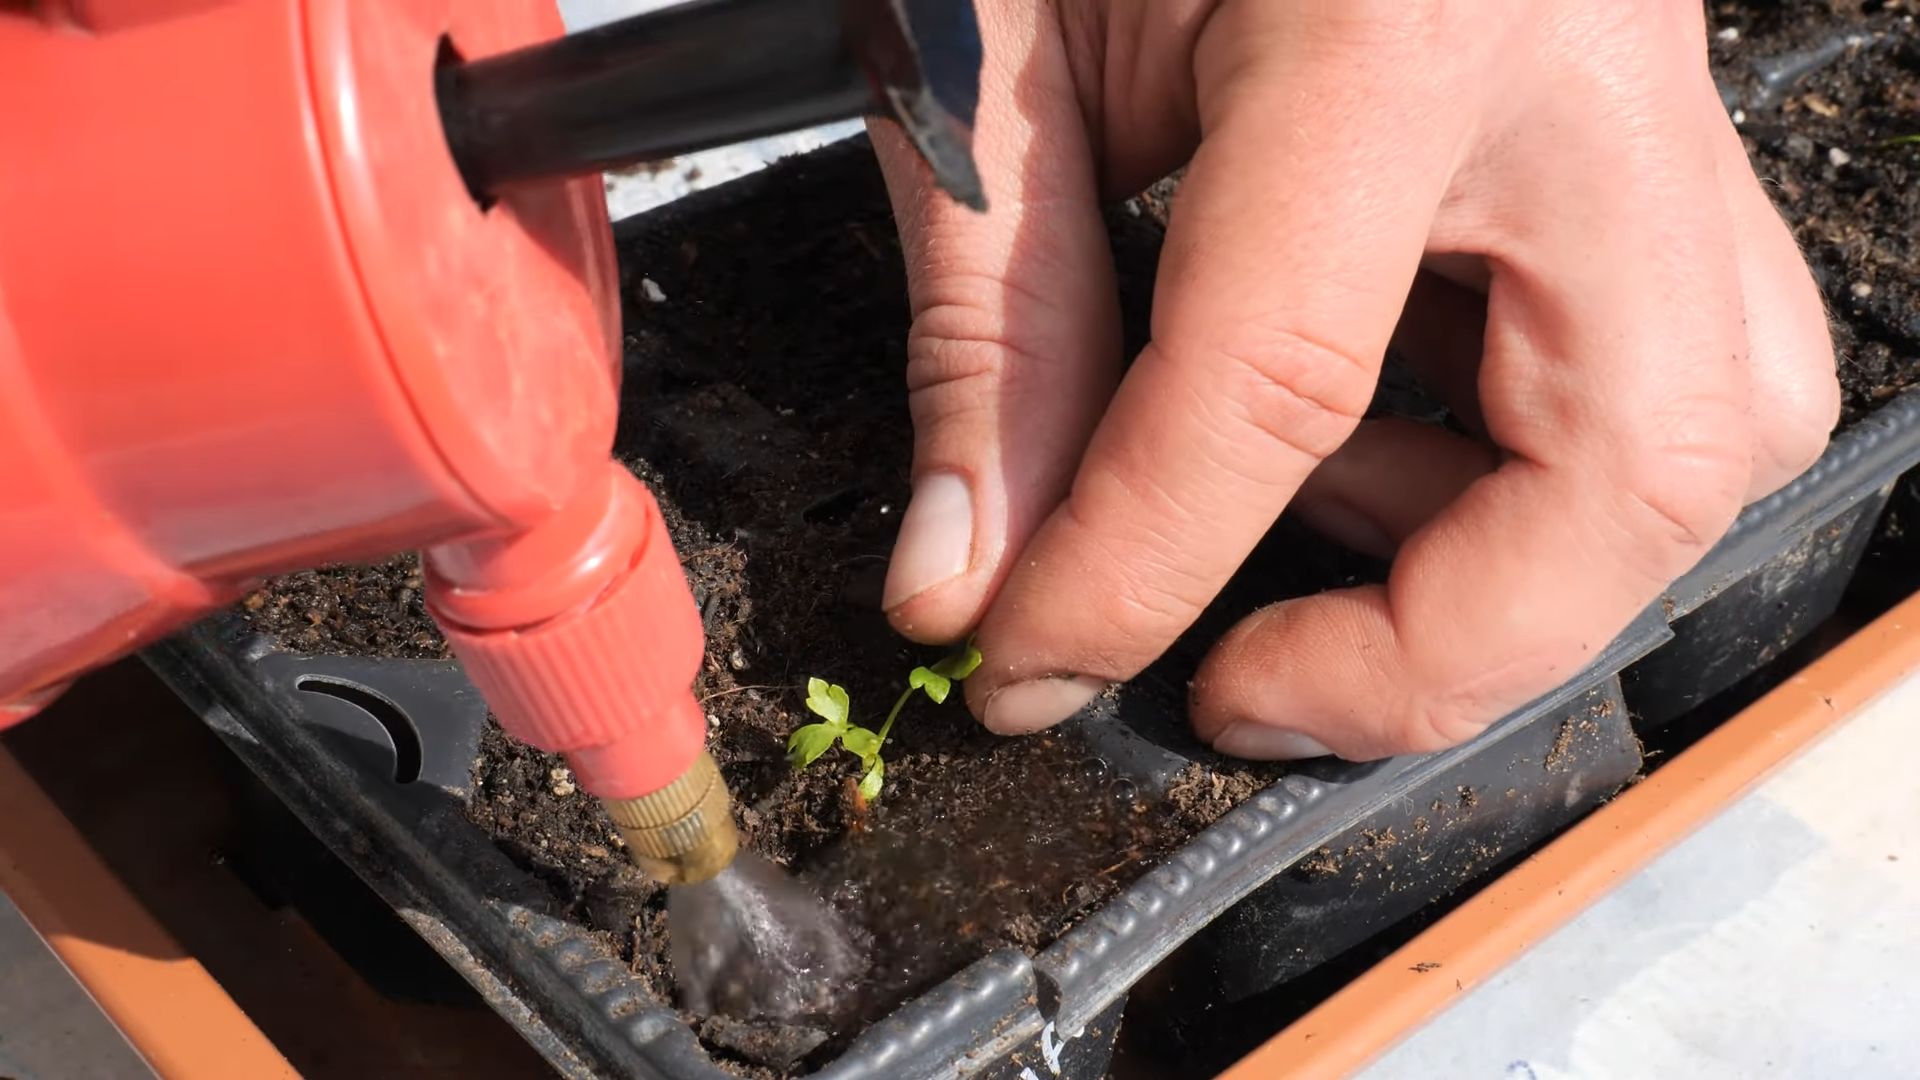
- Monitor growth: Within a few days, you should start to see small sprouts emerging from the center of the celery base. Be patient; it may take a week or two for noticeable growth.
- Add nutrients (optional): After a couple of weeks, you can add a small amount of liquid fertilizer to the water. Dilute the fertilizer according to the package instructions to avoid burning the delicate roots. I prefer organic options.
- Maintain water level: Keep the water level consistent. Add more water as needed to maintain that initial inch of depth. Don’t let the base dry out.
- Observe for root growth: You should see roots developing from the base of the celery. These roots will anchor the plant and absorb nutrients from the water.
- Repotting (optional): Once the roots are well-established and the plant has several leaves, you can consider transplanting it into a larger pot with soil. This will give the celery more room to grow and develop a more robust root system. Use a well-draining potting mix.
Phase 4: Transplanting to Soil (Optional, but Recommended)
- Choose a pot: Select a pot that is at least 6 inches in diameter and has drainage holes. A deeper pot is better for larger celery plants.
- Prepare the soil: Use a well-draining potting mix. You can amend it with compost for extra nutrients.
- Plant the celery: Gently remove the celery from its water container. Carefully loosen any roots that are tightly bound together. Plant the celery in the center of the pot, ensuring the base is just below the soil surface.
- Water thoroughly: Water the soil thoroughly after planting. Ensure the soil is moist but not soggy.
- Provide sunlight: Place the pot in a sunny location, receiving at least six hours of sunlight daily.
- Regular watering: Water the plant regularly, keeping the soil consistently moist but not waterlogged. Allow the top inch of soil to dry slightly between waterings.
Phase 5: Harvesting Your Celery
- Harvesting time: It takes several months for the celery to fully mature. You can start harvesting individual stalks once they reach a desirable size and thickness. Usually, this is around 3-4 months after planting.
- Harvesting method: Carefully cut the outer stalks at the base, leaving the inner stalks to continue growing. This allows for a continuous harvest.
- Storage: Store harvested celery in the refrigerator in a plastic bag to maintain freshness.
- Enjoy your homegrown celery! Use your fresh, homegrown celery in your favorite recipes. You’ll notice a difference in taste and texture compared to store-bought celery.
Remember, patience is key! Growing celery takes time, but the reward of fresh, flavorful celery from your own home is well worth the effort. Happy growing!
Conclusion
So there you have it – a simple, yet incredibly rewarding method for growing your own celery at home! This DIY trick isn’t just about saving money on grocery bills; it’s about experiencing the satisfaction of nurturing a plant from its humble beginnings to a crisp, flavorful stalk ready for your next meal. Growing celery at home allows you to control the quality, freshness, and even the variety of celery you consume, ensuring a superior culinary experience. The entire process is surprisingly straightforward, requiring minimal effort and resources, making it accessible to even the most novice gardeners. Beyond the delicious results, this project offers a fantastic opportunity to connect with nature and witness the magic of growth firsthand. It’s a perfect activity for families, encouraging children to learn about plant life and the wonders of sustainable living. The feeling of harvesting your own homegrown celery is truly unparalleled – a testament to the power of simple, DIY solutions. Don’t just take our word for it; try it yourself and discover the joy of fresh, homegrown celery! Share your experiences and photos with us – we’d love to see your thriving celery plants and hear about your culinary creations featuring this delicious, homegrown ingredient. Experiment with different varieties of celery seeds, or try growing your celery in various containers – from simple jars to elaborate hydroponic systems. The possibilities are endless! Remember, the key to success lies in providing consistent moisture and sunlight. With a little patience and care, you’ll be enjoying the fruits (or rather, stalks!) of your labor in no time.
Frequently Asked Questions
Can I grow celery from the store-bought celery stalks?
Yes, you absolutely can! This method is particularly effective using the base of a store-bought celery stalk, which already contains the potential for new growth. However, ensure the base is firm and healthy, free from any signs of rot or damage. The success rate might be slightly lower compared to using seeds, but it’s a fun and easy way to get started.
How much sunlight does celery need?
Celery thrives in partial shade to full sun. Aim for at least six hours of sunlight per day. If you’re growing celery indoors, place it near a sunny window or supplement with grow lights to ensure it receives adequate light. Avoid direct, intense midday sun, which can scorch the leaves.
What type of soil is best for growing celery?
Celery prefers well-drained, fertile soil that retains moisture. A mix of potting soil and compost works well. Ensure the soil is loose and airy to allow for proper root development. Avoid heavy clay soils, which can hinder growth and lead to root rot.
How often should I water my celery?
Keep the soil consistently moist, but not waterlogged. Water thoroughly when the top inch of soil feels dry. The frequency of watering will depend on factors such as temperature, humidity, and the type of container you’re using. Overwatering can lead to root rot, while underwatering will result in wilting and stunted growth. Regularly check the soil moisture level to determine when watering is necessary.
How long does it take to grow celery?
The time it takes to harvest celery depends on the method you use and the growing conditions. From seed, it can take anywhere from 70 to 100 days to reach maturity. If you’re growing celery from a store-bought stalk, you might see harvestable stalks in a shorter timeframe, typically within a few months. Be patient and consistent with your care, and you’ll be rewarded with delicious homegrown celery.
What are some common problems when growing celery?
Some common issues include pests like aphids and slugs, which can be controlled with organic pest control methods. Fungal diseases can also occur if the soil is too wet. Ensure proper drainage and avoid overwatering to prevent these problems. Yellowing leaves can indicate nutrient deficiencies or improper watering. Observe your plants regularly and address any issues promptly.
Can I grow celery in different climates?
Celery can be grown in a variety of climates, but it prefers cooler temperatures. In warmer climates, it’s best to grow celery during the cooler months or provide some shade during the hottest part of the day. In colder climates, you might need to protect your celery plants from frost. Consider using a greenhouse or cold frame to extend the growing season.
What can I do with my homegrown celery?
The possibilities are endless! Use your homegrown celery in soups, stews, salads, stir-fries, and more. Its crisp texture and refreshing flavor add a delightful touch to countless dishes. Experiment with different recipes and discover your favorite ways to enjoy this versatile vegetable. You can also freeze your celery for later use, preserving its freshness and flavor.
Why is growing my own celery better than buying it from the store?
Growing your own celery offers several advantages. First, you have complete control over the quality and freshness of your celery. You know exactly what’s been used to grow it, ensuring it’s free from harmful pesticides and chemicals. Secondly, homegrown celery is often more flavorful and tender than store-bought celery. Finally, the satisfaction of harvesting your own produce is incredibly rewarding, fostering a deeper connection with nature and your food source. Growing your own celery is a sustainable and fulfilling experience that enhances both your culinary skills and your appreciation for the natural world.


Leave a Comment