
Clean Tile and Grout Shower: Is your shower looking less like a spa and more like a science experiment? Don’t despair! I know the struggle. We’ve all been there, battling stubborn stains and grimy grout that seem impossible to conquer. But before you resign yourself to a lifetime of scrubbing (or worse, a costly renovation!), let me tell you about some amazing DIY tricks that will have your shower sparkling like new.
Showers, in their modern form, are a relatively recent invention, but the concept of cleansing with water has been around for millennia. From ancient Roman bathhouses to communal bathing rituals in various cultures, the desire for cleanliness and hygiene is deeply ingrained in us. However, those ancient methods didn’t have to contend with the joys of modern soap scum and mildew! That’s where these DIY hacks come in.
Why do you need these tricks? Because a clean shower isn’t just about aesthetics; it’s about hygiene and health. Mold and mildew thrive in damp environments, and a grimy shower can be a breeding ground for bacteria. Plus, let’s be honest, who doesn’t feel better starting their day in a sparkling clean space? I’m going to show you how to clean tile and grout shower surfaces effectively and affordably, using ingredients you probably already have in your home. Get ready to say goodbye to stubborn stains and hello to a shower you’ll actually enjoy stepping into!
DIY Sparkling Clean Tile and Grout Shower: A Step-by-Step Guide
Okay, let’s face it, cleaning the shower is nobody’s favorite chore. But a sparkling clean shower makes a huge difference in the overall feel of your bathroom. And let’s be honest, nobody wants to shower in grime! I’m going to walk you through my tried-and-true method for getting your tile and grout looking practically brand new. This isn’t just a surface clean; we’re going deep!
What You’ll Need: The Arsenal of Clean
Before we dive in, let’s gather our supplies. Having everything ready to go will make the process much smoother. Trust me, you don’t want to be running around mid-scrub!
* Spray Bottle: A sturdy spray bottle is essential for applying our cleaning solutions.
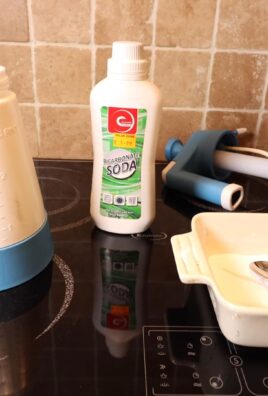
* Baking Soda: This is our gentle abrasive and deodorizer. A true cleaning powerhouse!
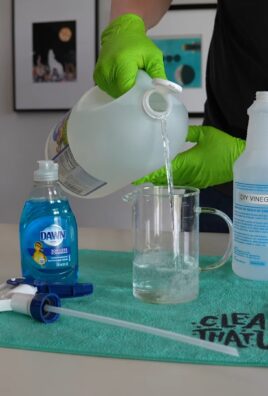
* White Vinegar: The acid in vinegar helps break down soap scum and hard water stains.
* Dish Soap: A degreasing dish soap will help cut through grime and grease. I prefer Dawn, but any good quality dish soap will do.
* Hydrogen Peroxide: This is a natural bleaching agent that’s great for tackling stubborn stains and mold.
* Grout Brush: A small, stiff-bristled brush specifically designed for grout is a must-have. An old toothbrush can work in a pinch, but a grout brush will make your life much easier.
* Sponge: A non-abrasive sponge for wiping down the tile surfaces.
* Rubber Gloves: Protect your hands from the cleaning solutions. Trust me, you’ll thank me later!
* Old Towels or Rags: For wiping up spills and drying surfaces.
* Spray Nozzle for Hose (Optional): If you have a handheld showerhead or a hose attachment, this can be helpful for rinsing.
* Fan or Open Window: Ventilation is key! Make sure the bathroom is well-ventilated.
Section 1: Prepping the Battlefield (Your Shower)
Before we unleash the cleaning power, we need to prep the area. This will make the cleaning process more effective and efficient.
1. Remove Everything: Take out all shampoo bottles, soap bars, razors, and anything else that’s cluttering your shower. This will give you a clear workspace and prevent you from accidentally knocking things over.
2. Rinse the Surfaces: Give the tile and grout a quick rinse with warm water. This will loosen any loose dirt and debris.
3. Ventilate the Area: Open a window or turn on the bathroom fan to ensure good ventilation. This is especially important when working with vinegar and hydrogen peroxide.
Section 2: The Baking Soda Paste Power Play
This is where we start to tackle the grout. Baking soda is a fantastic, gentle abrasive that helps lift dirt and grime without damaging the tile.
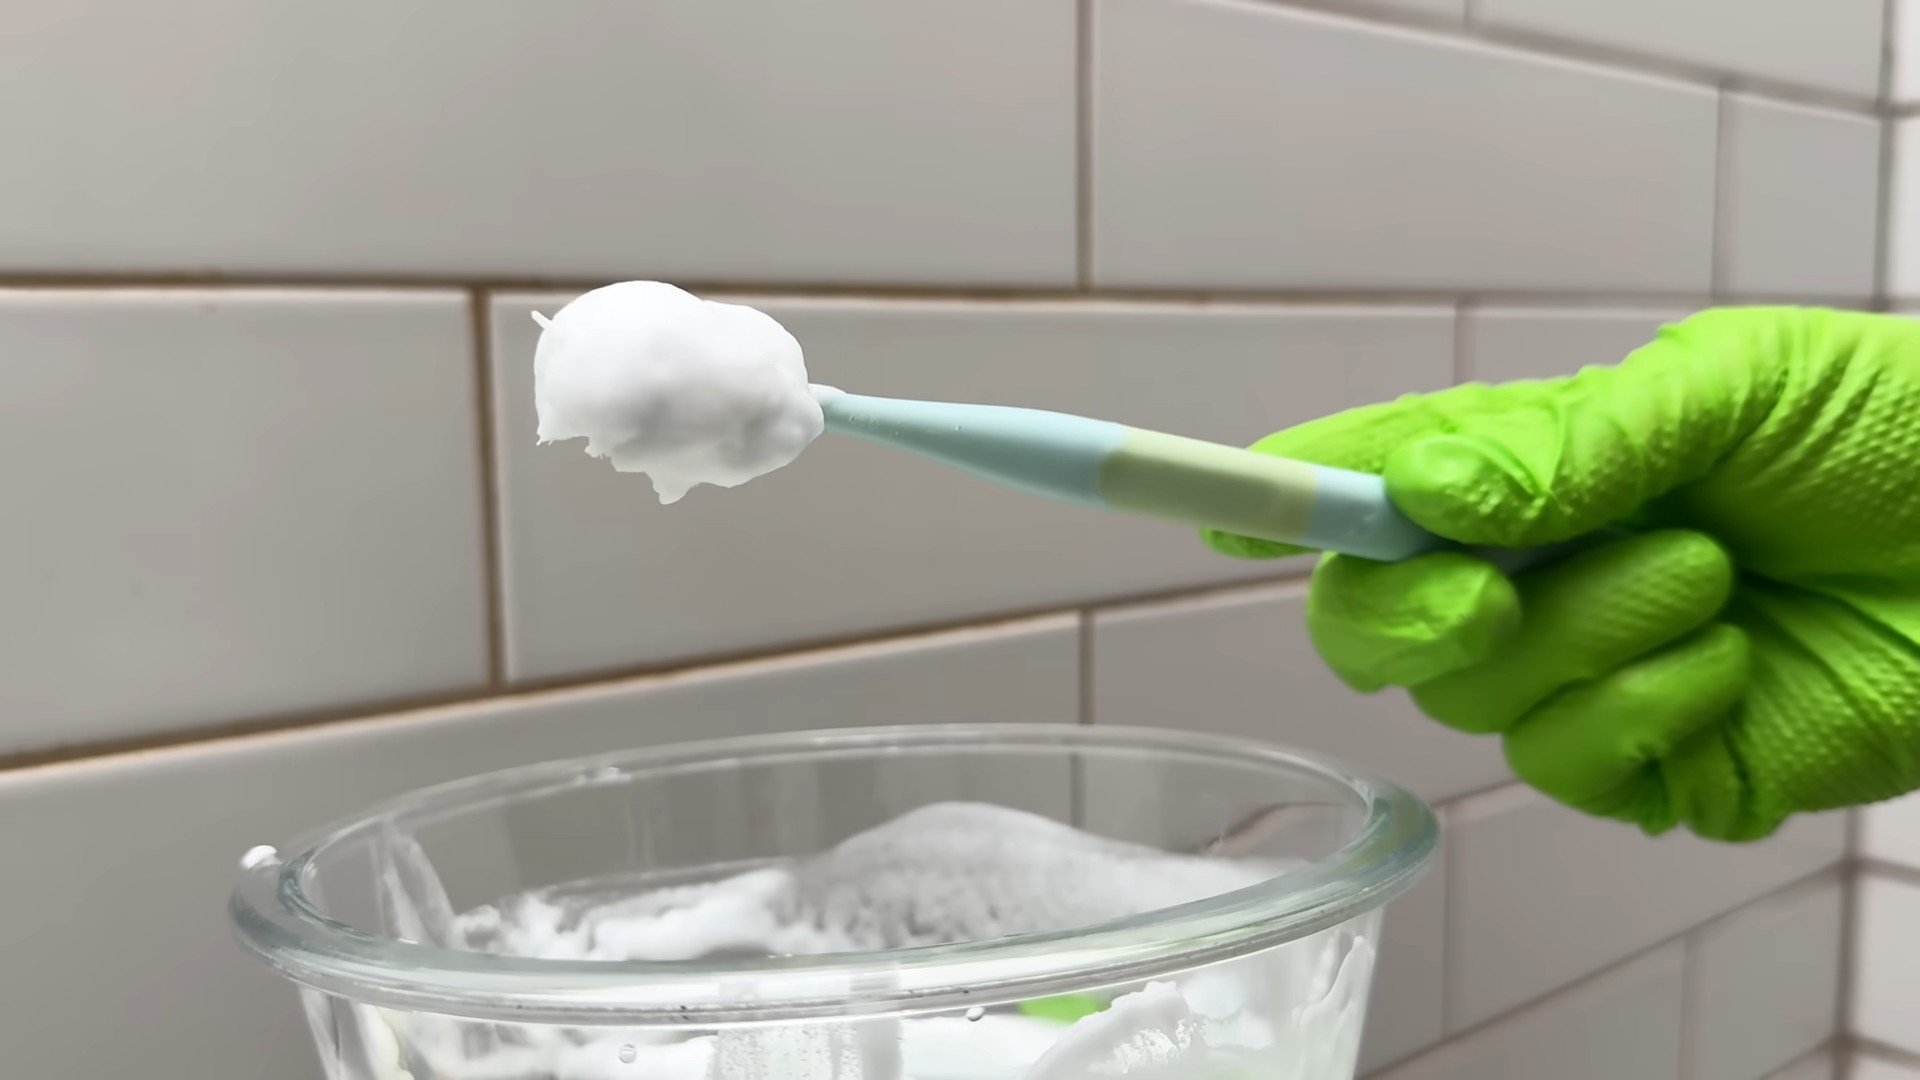
1. Make the Paste: In a small bowl, mix baking soda with just enough water to form a thick paste. The consistency should be similar to toothpaste.
2. Apply the Paste: Using your fingers or a small spatula, apply the baking soda paste liberally to the grout lines. Make sure to cover all the grout thoroughly.
3. Let it Sit: Allow the baking soda paste to sit on the grout for at least 15-20 minutes. This will give it time to penetrate the grime and loosen it up. For really stubborn stains, you can let it sit for up to an hour.
Section 3: Vinegar’s Vengeance on Soap Scum
Now it’s time to bring in the vinegar! Vinegar is a natural acid that’s excellent at dissolving soap scum and hard water stains.
1. Prepare the Vinegar Solution: Pour white vinegar into your spray bottle. You can use it undiluted for maximum cleaning power.
2. Spray the Vinegar: Generously spray the vinegar over the baking soda paste on the grout lines. You’ll notice a fizzing reaction – that’s the vinegar reacting with the baking soda, which helps to further loosen the grime.
3. Let it Fizz: Allow the vinegar to fizz for a few minutes. This will give it time to break down the soap scum and hard water stains.
4. Scrub, Scrub, Scrub!: Using your grout brush, scrub the grout lines vigorously. Pay close attention to areas with heavy staining or mildew. You might need to apply some elbow grease here!
5. Rinse Thoroughly: Rinse the tile and grout with warm water to remove the baking soda and vinegar residue.
Section 4: Hydrogen Peroxide for Stubborn Stains and Mildew
If you’re still seeing stubborn stains or mildew after the baking soda and vinegar treatment, hydrogen peroxide is your next weapon of choice.
1. Apply Hydrogen Peroxide: Pour hydrogen peroxide (3% solution is fine) into a clean spray bottle. Spray the hydrogen peroxide directly onto the stained or mildewed areas.
2. Let it Sit: Allow the hydrogen peroxide to sit on the stains for at least 10-15 minutes. For really tough stains, you can let it sit for up to an hour.
3. Scrub Again (If Needed): If the stains are still visible after soaking, scrub them gently with your grout brush or sponge.
4. Rinse Thoroughly: Rinse the tile and grout with warm water to remove the hydrogen peroxide residue.
Section 5: The Dish Soap Deep Clean
Now that we’ve tackled the grout, let’s give the entire shower a good deep clean with dish soap. This will remove any remaining grime and leave your shower sparkling.
1. Prepare the Dish Soap Solution: In a bucket or bowl, mix a few drops of dish soap with warm water.
2. Apply the Solution: Using a sponge, apply the dish soap solution to all the tile surfaces in your shower.
3. Scrub the Tile: Scrub the tile thoroughly with your sponge, paying attention to areas with soap scum or water stains.
4. Rinse Thoroughly: Rinse the tile with warm water until all the soap residue is gone.
Section 6: Drying and Final Touches
Almost there! Drying the shower properly will help prevent water spots and mildew growth.
1. Dry the Surfaces: Use old towels or rags to dry all the tile surfaces in your shower. Pay attention to the grout lines, as they tend to hold moisture.
2. Address Caulking: Inspect the caulking around your shower for any signs of mold or mildew. If you find any, you can try cleaning it with a bleach solution (1 part bleach to 10 parts water). If the caulking is severely damaged or discolored, you may need to replace it.
3. Preventative Measures: To help prevent future buildup of soap scum and mildew, consider squeegeeing the shower walls after each use. You can also leave the shower door or curtain slightly open to allow for better ventilation.
Section 7: Dealing with Seriously Stubborn Grout
Sometimes, grout is just beyond saving with the methods above. If you’ve tried everything and your grout is still looking dingy, here are a couple of more aggressive options:
1. Grout Cleaner: There are many commercially available grout cleaners that are specifically designed to remove tough stains and mildew. Follow the instructions on the product label carefully, and always wear gloves and eye protection when using these cleaners. Be sure to ventilate the area well.
2. Grout Pen: If your grout is stained but otherwise in good condition, you can use a grout pen to recolor the grout lines. This is a quick and easy way to give your shower a fresh, clean look. Choose a grout pen that matches the original color of your grout.
3. Professional Cleaning: If all else fails, you can hire a professional cleaning service to deep clean your shower. They have specialized equipment and cleaning solutions that can tackle even the most stubborn stains.
And there you have it! A sparkling clean tile and grout shower, all thanks to your own hard work and a few simple ingredients. Remember to maintain your shower regularly to prevent future buildup and keep it looking its best. Happy cleaning!

Conclusion
So, there you have it! This simple, yet incredibly effective DIY trick to clean tile and grout shower spaces is a game-changer. Forget spending hours scrubbing with harsh chemicals and still ending up with dingy grout. This method is not only easier and faster, but it’s also gentler on your surfaces and your lungs. The combination of readily available ingredients creates a powerful cleaning solution that penetrates deep into the pores of your grout, lifting away years of built-up grime, soap scum, and mildew.
Why is this a must-try? Because it delivers professional-level results without the professional price tag or the harsh chemical smells. Imagine stepping into your shower and being greeted by sparkling clean tiles and bright, white grout. It’s a small change that can make a huge difference in the overall feel of your bathroom, transforming it from a place of chore to a place of relaxation.
But the beauty of this DIY method lies in its adaptability. Feel free to experiment with variations to suit your specific needs and preferences. For instance, if you have particularly stubborn stains, you can create a paste of baking soda and hydrogen peroxide and apply it directly to the affected areas, letting it sit for a longer period before scrubbing. For a more fragrant clean, add a few drops of your favorite essential oil, like tea tree or eucalyptus, to the spray bottle. These oils not only smell wonderful but also possess natural antibacterial and antifungal properties, further enhancing the cleaning power of the solution.
Another variation involves using a different type of brush. While a stiff-bristled brush is generally recommended for grout, you might find that an old toothbrush works better for tight corners and hard-to-reach areas. Alternatively, a grout brush with a long handle can save your back from unnecessary strain.
We are confident that once you try this DIY trick, you’ll be amazed by the results. It’s a simple, cost-effective, and environmentally friendly way to achieve a sparkling clean shower. But don’t just take our word for it – give it a try and see for yourself!
We encourage you to try this DIY method to clean tile and grout shower areas and share your experience with us. Let us know what variations you tried, what worked best for you, and any tips you have to offer. Your feedback is invaluable and helps us refine and improve our recommendations. Share your before-and-after photos on social media using #CleanShowerDIY and inspire others to transform their bathrooms. We can’t wait to see your sparkling clean showers!
Frequently Asked Questions (FAQ)
1. Is this DIY cleaning solution safe for all types of tile?
Generally, yes, this solution is safe for most types of tile, including ceramic, porcelain, and glass. However, it’s always a good idea to test the solution on a small, inconspicuous area first, especially if you have natural stone tiles like marble or granite. These materials can be more sensitive to acidic cleaners, and while the baking soda helps to neutralize the vinegar, it’s better to be safe than sorry. If you’re unsure, consult the manufacturer’s recommendations for your specific type of tile. For natural stone, consider using a pH-neutral cleaner specifically designed for those surfaces.
2. How often should I clean my shower tile and grout using this method?
The frequency of cleaning depends on how often you use your shower and how well-ventilated your bathroom is. As a general rule, aim to clean your shower tile and grout every one to two weeks to prevent the buildup of soap scum, mildew, and hard water stains. If you notice any discoloration or mildew growth, clean it immediately. Regular cleaning will not only keep your shower looking its best but also prevent the need for more intensive cleaning sessions in the future.
3. What if I have really stubborn stains that this solution doesn’t remove?
For particularly stubborn stains, you can try a few different approaches. First, create a paste of baking soda and hydrogen peroxide (equal parts) and apply it directly to the stained area. Let it sit for several hours, or even overnight, before scrubbing with a stiff-bristled brush. Another option is to use a commercial grout cleaner specifically designed for tough stains. However, be sure to follow the manufacturer’s instructions carefully and wear gloves and eye protection. In extreme cases, you may need to consider re-grouting the affected areas.
4. Can I use bleach instead of vinegar in this cleaning solution?
While bleach is a powerful disinfectant, it’s not recommended for regular use in cleaning tile and grout. Bleach can be harsh on grout, causing it to weaken and crumble over time. It can also discolor certain types of tile and release harmful fumes when mixed with other cleaning products, especially ammonia. Vinegar is a safer and more environmentally friendly alternative that is effective at removing soap scum and mildew. If you do choose to use bleach, be sure to dilute it properly, wear gloves and eye protection, and ventilate the area well. Never mix bleach with vinegar or ammonia.
5. How can I prevent mildew from growing in my shower?
Preventing mildew growth is key to keeping your shower clean and healthy. Here are a few tips:
* Ventilate your bathroom: Always run the exhaust fan during and after showering to remove excess moisture. If you don’t have an exhaust fan, open a window.
* Dry your shower after each use: Use a squeegee or towel to wipe down the walls and floor of your shower after each use. This will prevent water from sitting on the surfaces and creating a breeding ground for mildew.
* Clean regularly: As mentioned earlier, clean your shower tile and grout every one to two weeks to prevent the buildup of soap scum and mildew.
* Use a mildew-resistant shower curtain or door: Consider replacing your shower curtain or door with a mildew-resistant option.
* Fix leaks promptly: Repair any leaks in your shower or bathroom to prevent water damage and mildew growth.
6. What type of brush is best for cleaning grout?
A stiff-bristled brush is generally the best choice for cleaning grout. You can use a dedicated grout brush, which is designed with a narrow head and angled bristles to reach into the grout lines. An old toothbrush can also be effective for cleaning tight corners and hard-to-reach areas. If you have a large shower, consider using a grout brush with a long handle to save your back from unnecessary strain. Avoid using metal brushes, as they can scratch the tile and damage the grout.
7. Is baking soda really necessary for this DIY cleaning solution?
While you can technically clean with just vinegar and water, the baking soda plays a crucial role in this DIY cleaning solution. Baking soda is a mild abrasive that helps to scrub away dirt and grime. It also helps to neutralize the acidity of the vinegar, making the solution safer for certain types of tile. Additionally, the fizzing action of baking soda and vinegar helps to loosen stubborn stains and penetrate deep into the grout lines.
8. Can I use this cleaning solution on other surfaces in my bathroom?
This cleaning solution is generally safe for use on other surfaces in your bathroom, such as sinks, countertops, and toilets. However, it’s always a good idea to test the solution on a small, inconspicuous area first to ensure that it doesn’t damage the surface. Avoid using this solution on natural stone surfaces like marble or granite, as the vinegar can etch the stone.
9. What are the benefits of using a DIY cleaning solution compared to commercial cleaners?
There are several benefits to using a DIY cleaning solution compared to commercial cleaners:
* Cost-effective: DIY cleaning solutions are typically much cheaper than commercial cleaners, as they use readily available and inexpensive ingredients.
* Environmentally friendly: DIY cleaning solutions are often made with natural and biodegradable ingredients, making them more environmentally friendly than commercial cleaners, which can contain harsh chemicals that pollute the environment.
* Safer for your health: DIY cleaning solutions are generally safer for your health, as they don’t contain harsh chemicals that can irritate your skin, eyes, and lungs.
* Customizable: You can easily customize DIY cleaning solutions to suit your specific needs and preferences. For example, you can add essential oils for fragrance or adjust the concentration of ingredients to tackle stubborn stains.
10. How do I store the leftover cleaning solution?
Store any leftover cleaning solution in a labeled spray bottle in a cool, dark place. Be sure to keep it out of reach of children and pets. The solution should be good for several weeks, but it’s best to use it within a month for optimal effectiveness. If you notice any discoloration or separation, discard the solution and make a fresh batch.
Leave a Comment