
Growing Rosemary Indoors can feel like a daunting task, but trust me, with a few simple tricks, you can enjoy the fragrant, flavorful benefits of this Mediterranean herb right in your own home! Have you ever dreamed of snipping fresh rosemary sprigs to season your roasted chicken or infuse your olive oil, all without stepping foot outside? Well, dream no more! This DIY guide is packed with easy-to-follow tips and hacks that will transform your windowsill into a thriving rosemary haven.
Rosemary, with its needle-like leaves and distinctive aroma, has a rich history. Ancient civilizations revered it for its medicinal properties and symbolic significance, often associating it with remembrance and fidelity. From adorning wedding bouquets to being burned as incense, rosemary has been a cherished herb for centuries. But you don’t need to be an ancient Roman to appreciate its value!
In today’s busy world, access to fresh, high-quality herbs can be a challenge. Store-bought rosemary can be expensive and often lacks the vibrant flavor of homegrown varieties. That’s where this DIY guide comes in. I’m going to show you how growing rosemary indoors is not only possible but also incredibly rewarding. Imagine the satisfaction of nurturing your own rosemary plant, knowing exactly where it came from and how it was grown. Plus, you’ll save money, reduce waste, and add a touch of natural beauty to your living space. Let’s get started!
Growing Rosemary Indoors: A Comprehensive Guide
Hey there, fellow plant enthusiasts! Ever dreamt of having fresh rosemary at your fingertips, ready to spice up your culinary creations? Well, you can! Growing rosemary indoors is totally achievable, and I’m here to guide you through every step. It might seem a little daunting at first, but trust me, with a little patience and the right know-how, you’ll be snipping fragrant sprigs in no time.
Choosing the Right Rosemary Variety
Not all rosemary varieties are created equal, especially when it comes to indoor growing. Some are more compact and better suited for containers than others. Here are a few of my favorites:
* ‘Blue Boy’: This is a classic choice, known for its compact size and beautiful blue flowers. It’s relatively easy to care for and adapts well to indoor conditions.
* ‘Roman Beauty’: Another compact variety, ‘Roman Beauty’ has a slightly trailing habit, making it perfect for hanging baskets or letting it cascade over the edge of a pot.
* ‘Arp’: This variety is known for its exceptional hardiness and cold tolerance, which can be beneficial if your indoor environment fluctuates in temperature.
* ‘Irene’: This is a prostrate variety, meaning it grows low and spreads. It’s great for ground cover or spilling over the sides of containers.
Essential Supplies You’ll Need
Before we dive into the planting process, let’s gather all the necessary supplies. Having everything on hand will make the whole experience smoother and more enjoyable.
* Rosemary Plant or Cuttings: You can either purchase a small rosemary plant from a local nursery or propagate your own from cuttings (more on that later!).
* Pot with Drainage Holes: Drainage is crucial for rosemary, as it hates soggy roots. Choose a pot that’s at least 6 inches in diameter and has plenty of drainage holes. Terracotta pots are a great option because they allow the soil to breathe.
* Well-Draining Potting Mix: Regular potting soil is often too heavy for rosemary. Opt for a well-draining mix specifically formulated for herbs or succulents. You can also amend regular potting soil with perlite or sand to improve drainage.
* Grow Light (Optional but Recommended): Rosemary needs a lot of sunlight, and indoor environments often fall short. A grow light can supplement natural light and ensure your plant thrives.
* Watering Can or Spray Bottle: For gentle and controlled watering.
* Pruning Shears or Scissors: For trimming and harvesting.
* Fertilizer (Optional): A balanced liquid fertilizer can provide your rosemary with essential nutrients, but it’s not always necessary.
* Pebbles or Gravel (Optional): To place at the bottom of the pot for even better drainage.
Planting Your Rosemary
Alright, let’s get our hands dirty! This is where the magic happens.
1. Prepare the Pot: If you’re using a new pot, give it a good rinse to remove any dust or debris. If you’re using a pot that’s been used before, make sure it’s thoroughly cleaned and disinfected. You can add a layer of pebbles or gravel to the bottom of the pot to improve drainage, but this isn’t strictly necessary.
2. Fill the Pot with Potting Mix: Fill the pot about two-thirds full with your well-draining potting mix. Gently tap the pot to settle the soil.
3. Remove the Rosemary Plant from its Container: If you purchased a rosemary plant, gently remove it from its nursery container. Loosen the roots slightly with your fingers to encourage them to spread out.
4. Plant the Rosemary: Place the rosemary plant in the center of the pot, making sure the top of the root ball is level with the soil surface. Fill in the remaining space around the plant with potting mix, gently pressing down to secure it.
5. Water Thoroughly: Water the rosemary plant thoroughly until water drains out of the drainage holes. This will help settle the soil and ensure the roots are properly hydrated.
Providing the Right Environment
Rosemary is a Mediterranean native, so it thrives in warm, sunny, and dry conditions. Replicating these conditions indoors is key to success.
* Sunlight: Rosemary needs at least 6-8 hours of direct sunlight per day. Place your plant near a south-facing window if possible. If you don’t have enough natural light, supplement with a grow light.
* Temperature: Rosemary prefers temperatures between 60-80°F (15-27°C). Avoid placing your plant near drafts or heating vents, as this can cause temperature fluctuations.
* Humidity: Rosemary prefers low humidity. Avoid misting your plant, as this can promote fungal growth. If your indoor environment is particularly humid, consider using a dehumidifier.
* Air Circulation: Good air circulation is essential for preventing fungal diseases. Open a window occasionally or use a small fan to circulate the air around your plant.
Watering and Fertilizing
Watering is a delicate balance when it comes to rosemary. Overwatering is a common mistake that can lead to root rot.
1. Water Sparingly: Allow the soil to dry out completely between waterings. To check the moisture level, stick your finger about an inch into the soil. If it feels dry, it’s time to water.
2. Water Deeply: When you do water, water thoroughly until water drains out of the drainage holes. This ensures that the entire root system is properly hydrated.
3. Avoid Overwatering: Never let your rosemary plant sit in standing water. Empty the saucer beneath the pot after watering.
4. Fertilize Sparingly (Optional): If you choose to fertilize, use a balanced liquid fertilizer diluted to half strength. Fertilize only during the growing season (spring and summer) and avoid fertilizing during the dormant season (fall and winter).
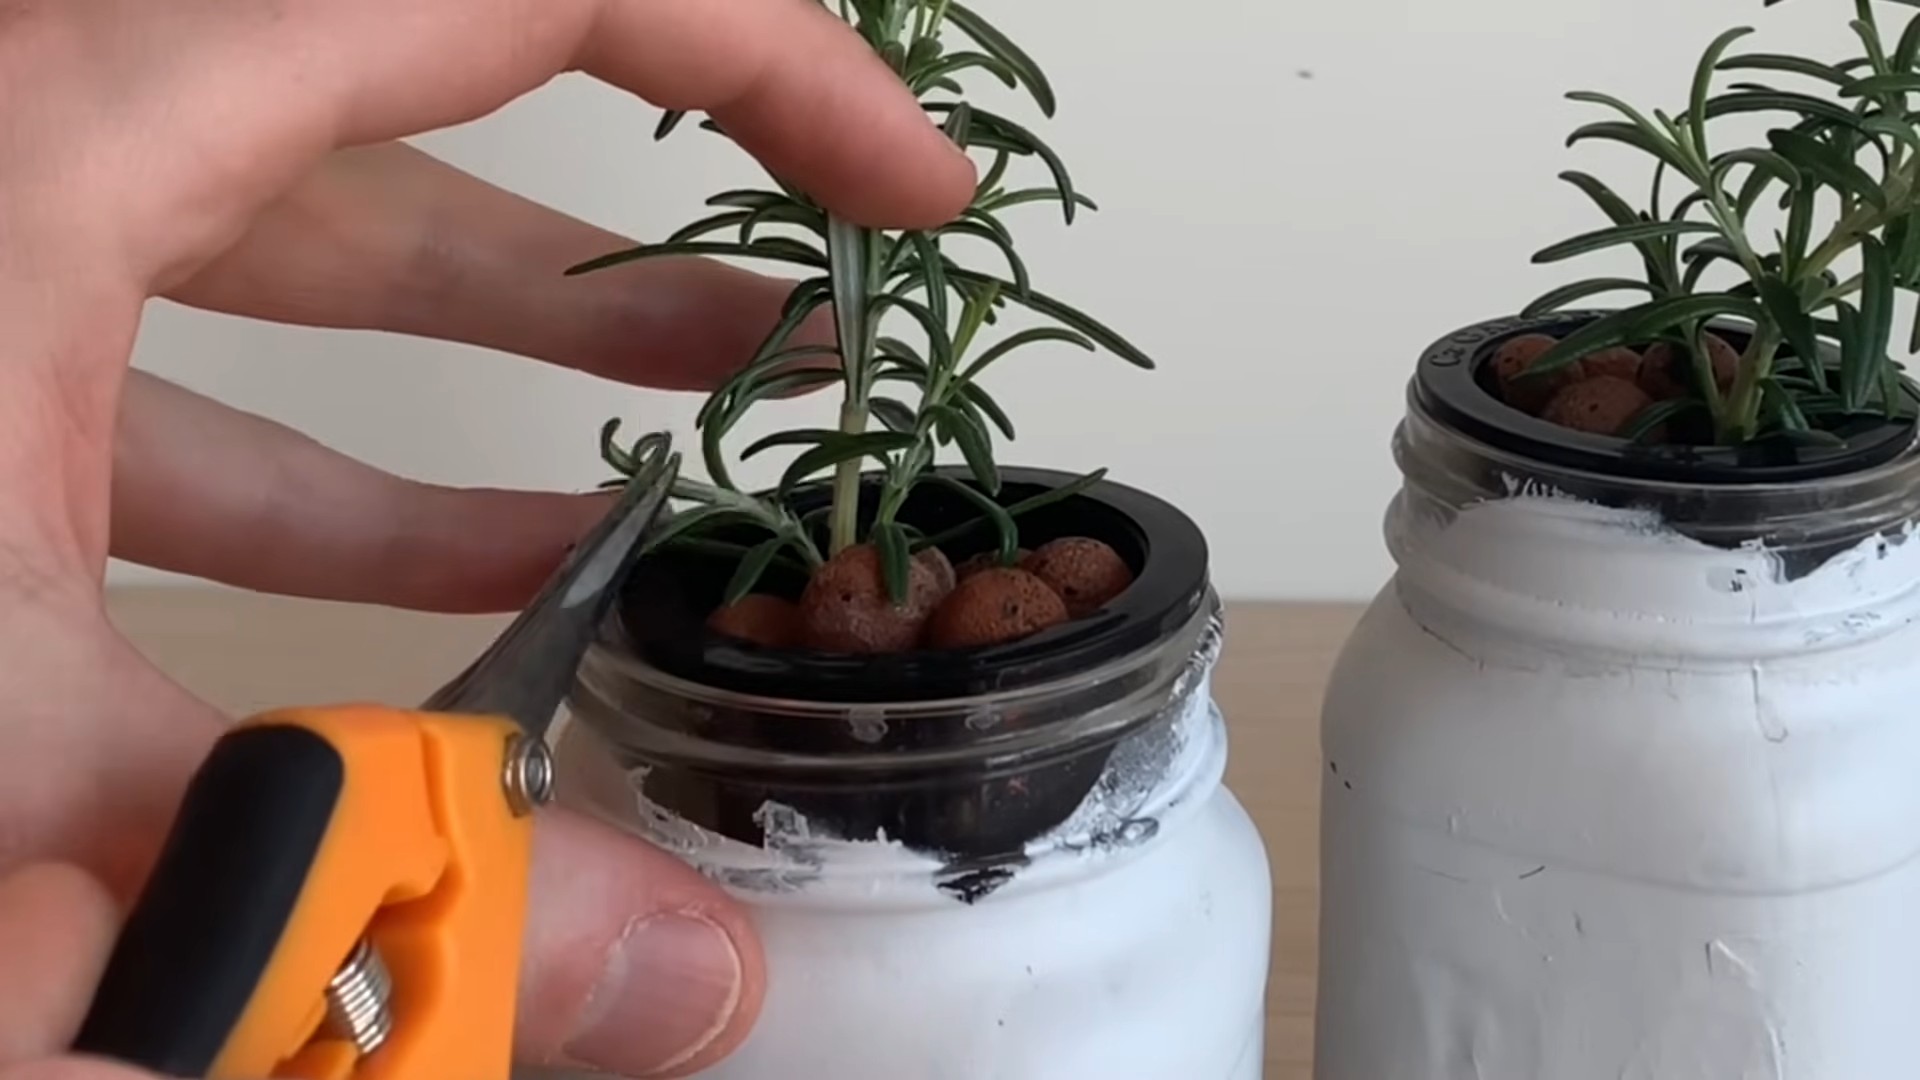
Pruning and Harvesting
Pruning is essential for maintaining the shape and health of your rosemary plant. It also encourages bushier growth and prevents the plant from becoming leggy.
1. Prune Regularly: Prune your rosemary plant regularly to remove dead or damaged stems and to maintain its shape.
2. Pinch Back New Growth: Pinch back the tips of new growth to encourage branching.
3. Harvest Frequently: Harvesting rosemary actually encourages growth! Snip off sprigs as needed for cooking or other uses.
4. Avoid Over-Harvesting: Don’t remove more than one-third of the plant at a time, as this can stress the plant.
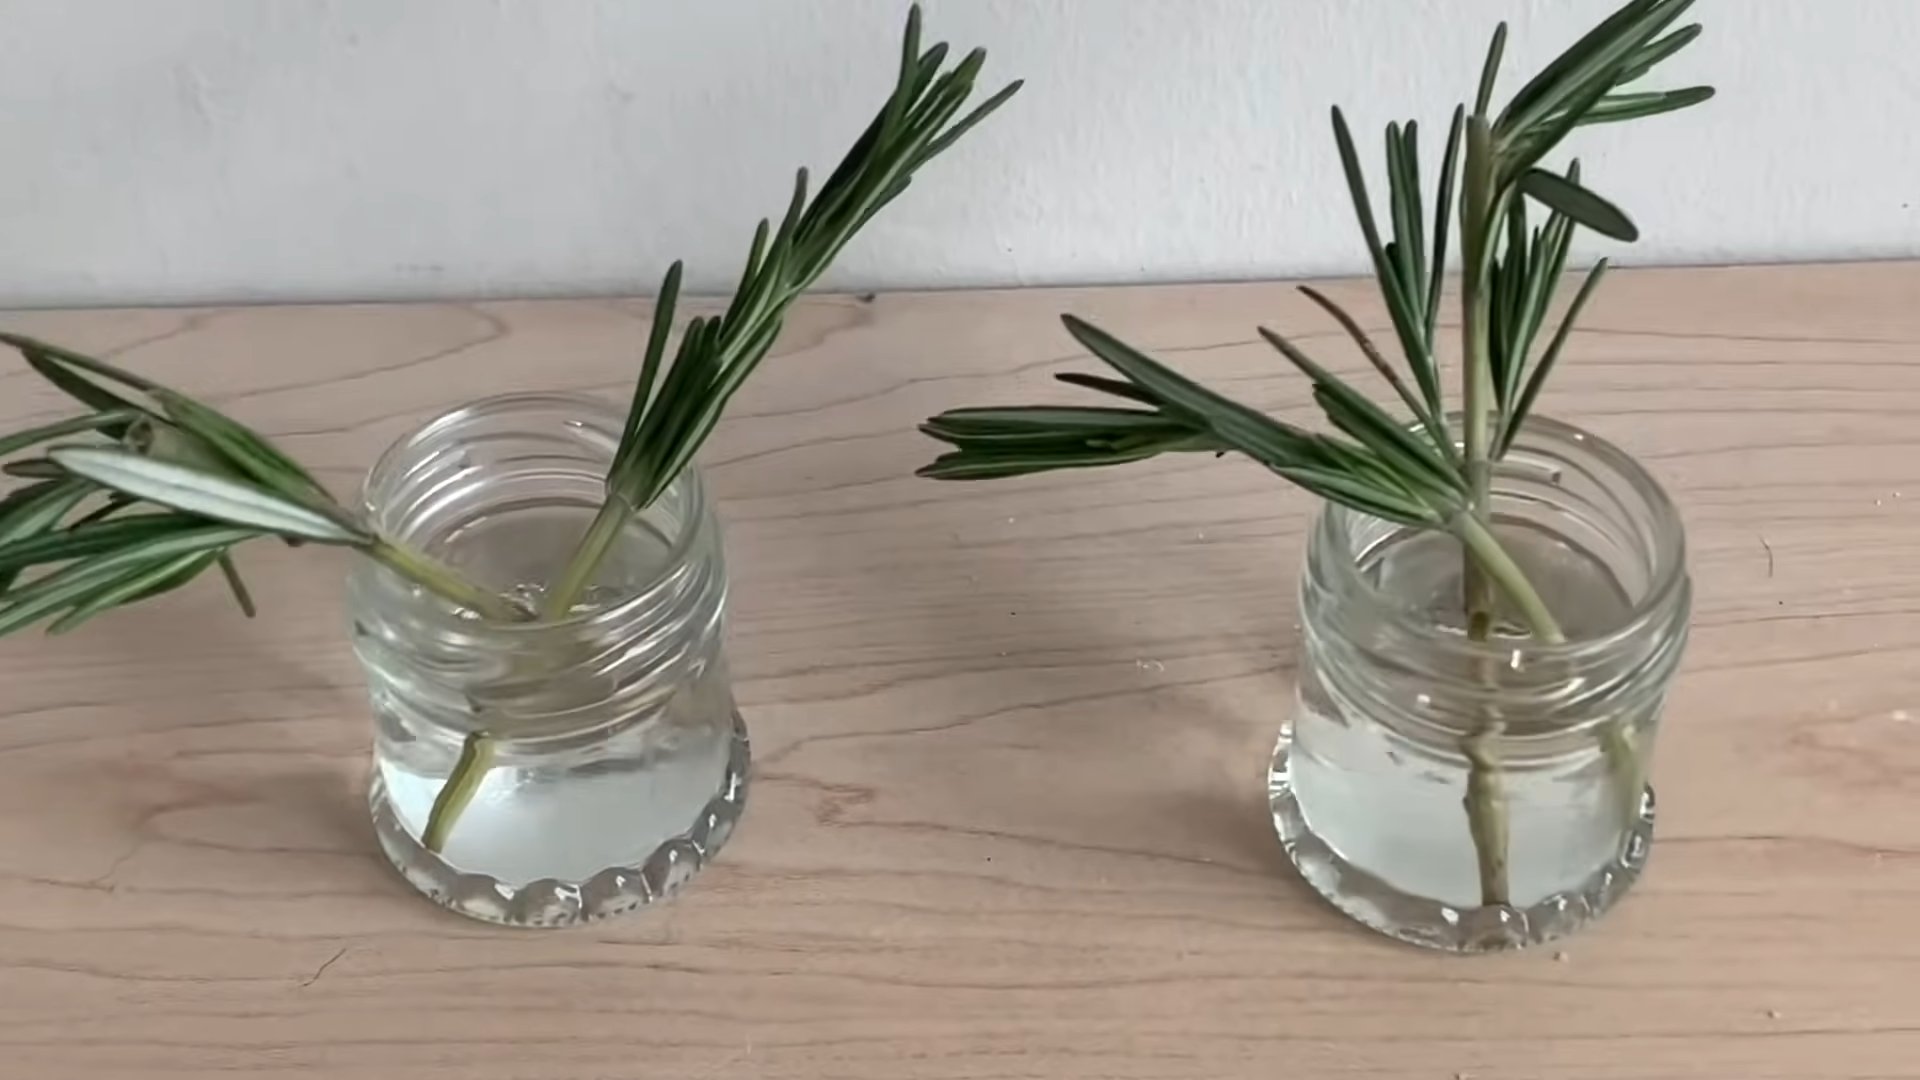
Propagating Rosemary from Cuttings
Want to expand your rosemary collection without spending a fortune? Propagating from cuttings is a fun and easy way to do it!
1. Take Cuttings: In the spring or summer, take 4-6 inch cuttings from healthy, new growth. Remove the leaves from the bottom inch of the cutting.
2. Rooting Hormone (Optional): Dip the cut end of the cutting in rooting hormone to encourage root development.
3. Plant the Cuttings: Plant the cuttings in a small pot filled with well-draining potting mix.
4. Keep Moist: Keep the soil moist but not soggy. You can cover the pot with a plastic bag or humidity dome to create a humid environment.
5. Wait for Roots to Develop: It takes about 4-8 weeks for roots to develop. You can check for roots by gently tugging on the cutting. If it resists, it has rooted.
6. Transplant: Once the cuttings have rooted, transplant them into larger pots.
Dealing with Pests and Diseases
Even with the best care, rosemary can sometimes be susceptible to pests and diseases. Here’s what to watch out for:
* Spider Mites: These tiny pests can cause yellowing and stippling on the leaves. Treat with insecticidal soap or neem oil.
* Aphids: These small, sap-sucking insects can cause distorted growth. Treat with insecticidal soap or neem oil.
* Powdery Mildew: This fungal disease appears as a white, powdery coating on the leaves. Improve air circulation and treat with a fungicide.
* Root Rot: This fungal disease is caused by overwatering and poor drainage. Prevent root rot by watering sparingly and using well-draining potting mix.
Troubleshooting Common Problems
* Yellowing Leaves: This can be caused by overwatering, underwatering, nutrient deficiencies, or pests. Check the soil moisture, fertilize if necessary, and inspect for pests.
* Dropping Leaves: This can be caused by underwatering, low humidity, or temperature fluctuations. Adjust your watering schedule, increase humidity, and provide a stable temperature.
* Leggy Growth: This is caused by insufficient sunlight. Provide more sunlight or supplement with a grow light.
* Slow Growth: This can be caused by nutrient deficiencies, poor soil, or insufficient sunlight
Conclusion
So, there you have it! Mastering the art of growing rosemary indoors is not only achievable, but it’s also incredibly rewarding. Imagine having fresh, fragrant rosemary sprigs at your fingertips, ready to elevate your culinary creations any time of year. No more trips to the grocery store for wilted, overpriced herbs! This simple DIY trick transforms your kitchen into a miniature herb garden, bringing a touch of the Mediterranean right into your home.
But why is this a must-try? Beyond the convenience and cost savings, growing your own rosemary indoors offers a connection to nature, a therapeutic activity, and the satisfaction of nurturing something from a small cutting to a thriving plant. The aroma alone is enough to boost your mood and create a more inviting atmosphere. Plus, you have complete control over the growing process, ensuring your rosemary is free from harmful pesticides and chemicals.
Don’t be afraid to experiment! Once you’ve mastered the basic technique, consider exploring different varieties of rosemary. ‘Blue Boy’ offers a compact growth habit, perfect for smaller spaces, while ‘Tuscan Blue’ boasts an upright form and intensely fragrant needles. You can also try propagating rosemary from seeds, although cuttings tend to be more reliable and faster.
Another variation to consider is the type of container you use. While terracotta pots are excellent for drainage, they can dry out quickly. Plastic pots retain moisture better, but be sure to provide adequate drainage holes. Self-watering pots are also a great option for busy gardeners.
And remember, rosemary isn’t just for cooking! Use it to create fragrant potpourri, infuse oils and vinegars, or even add it to your homemade soaps and lotions. The possibilities are endless!
We wholeheartedly encourage you to give this DIY trick a try. It’s easier than you might think, and the benefits are well worth the effort. Don’t be discouraged if your first attempt isn’t perfect. Gardening is a learning process, and every mistake is an opportunity to improve.
Once you’ve successfully started growing rosemary indoors, we’d love to hear about your experience! Share your tips, tricks, and photos in the comments below. Let’s create a community of indoor herb enthusiasts and inspire others to bring the joy of gardening indoors. What are you waiting for? Grab a rosemary cutting and get started today! Your taste buds (and your home) will thank you.
Frequently Asked Questions (FAQ)
What is the best location for growing rosemary indoors?
Rosemary thrives in bright, sunny locations. Ideally, it needs at least six to eight hours of direct sunlight per day. A south-facing window is usually the best option. If you don’t have a sunny window, you can supplement with a grow light. Position the grow light a few inches above the plant and keep it on for 12-14 hours per day. Rotate the plant regularly to ensure even growth on all sides.
What type of soil is best for indoor rosemary?
Rosemary prefers well-draining soil. A mixture of potting soil, perlite, and sand is ideal. This combination provides good drainage and aeration, preventing root rot. Avoid using heavy, clay-based soils, as they retain too much moisture. You can also purchase a potting mix specifically formulated for herbs. Make sure the pot you use has drainage holes to allow excess water to escape.
How often should I water my indoor rosemary plant?
Water rosemary thoroughly when the top inch of soil feels dry to the touch. Avoid overwatering, as this can lead to root rot. Rosemary prefers to dry out slightly between waterings. During the winter months, when the plant is not actively growing, you may need to water less frequently. Check the soil moisture regularly and adjust your watering schedule accordingly.
How do I fertilize my indoor rosemary plant?
Rosemary is not a heavy feeder, but it benefits from occasional fertilization. Use a balanced liquid fertilizer diluted to half strength. Fertilize every two to four weeks during the growing season (spring and summer). Avoid fertilizing during the winter months. Over-fertilizing can lead to leggy growth and a buildup of salts in the soil.
How do I prune my indoor rosemary plant?
Pruning is essential for maintaining a healthy and productive rosemary plant. Prune regularly to encourage bushier growth and prevent the plant from becoming leggy. Use sharp, clean pruning shears to trim the tips of the stems. You can also remove any dead or yellowing leaves. Pruning is best done in the spring or early summer. Don’t be afraid to harvest sprigs for cooking – this also helps to keep the plant in shape.
Why are the leaves on my rosemary plant turning yellow or brown?
Yellowing or browning leaves can be a sign of several problems, including overwatering, underwatering, nutrient deficiencies, or pests. Check the soil moisture to determine if you are watering correctly. If the soil is consistently wet, you may be overwatering. If the soil is dry, you may need to water more frequently. Also, inspect the plant for pests, such as spider mites or aphids. Treat any infestations promptly with insecticidal soap or neem oil. If you suspect a nutrient deficiency, try fertilizing with a balanced liquid fertilizer.
How do I propagate rosemary from cuttings?
Propagating rosemary from cuttings is a relatively easy process. Take a 4-6 inch cutting from a healthy stem. Remove the lower leaves and dip the cut end in rooting hormone. Plant the cutting in a small pot filled with well-draining potting mix. Water thoroughly and cover the pot with a plastic bag to create a humid environment. Place the pot in a warm, bright location, but avoid direct sunlight. After a few weeks, the cutting should develop roots. You can then transplant it into a larger pot.
What pests and diseases affect indoor rosemary plants?
Rosemary is generally resistant to pests and diseases, but it can be susceptible to spider mites, aphids, and root rot. Spider mites are tiny pests that suck the sap from the leaves, causing them to turn yellow and stippled. Aphids are small, soft-bodied insects that can also damage the leaves. Root rot is a fungal disease that occurs when the soil is consistently wet. To prevent pests and diseases, provide good air circulation, avoid overwatering, and inspect your plants regularly.
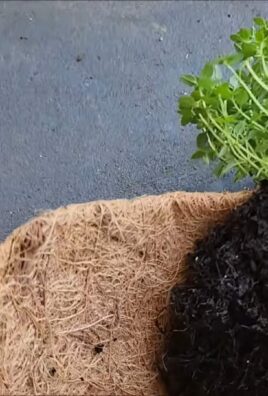
Can I move my indoor rosemary plant outdoors during the summer?
Yes, you can move your indoor rosemary plant outdoors during the summer, but it’s important to acclimate it gradually to the outdoor conditions. Start by placing the plant in a shady spot for a few hours each day, gradually increasing the amount of sunlight it receives. Bring the plant back indoors before the first frost.
How long will my indoor rosemary plant live?
With proper care, an indoor rosemary plant can live for several years. Regular pruning, adequate sunlight, and well-draining soil are essential for its longevity. Repot the plant every year or two to provide fresh soil and more room for the roots to grow.


Leave a Comment