
Clean Bathroom Hacks: Let’s face it, nobody enjoys cleaning the bathroom. It’s a chore we all dread, filled with scrubbing, wiping, and battling stubborn stains. But what if I told you there were ways to make this task not only easier but also faster and more efficient? Imagine spending less time cleaning and more time enjoying your sparkling, fresh bathroom!
For centuries, maintaining a clean and hygienic bathroom space has been a cornerstone of personal well-being. From ancient Roman bathhouses to modern-day spas, cleanliness has always been associated with health and comfort. But let’s be real, our busy lives often leave us with little time for elaborate cleaning rituals. That’s where these clever clean bathroom hacks come in.
This DIY guide is your secret weapon against bathroom grime. We’ll explore simple, yet effective tricks using everyday items you probably already have at home. Think vinegar, baking soda, and even lemons! These aren’t just quick fixes; they’re sustainable solutions that will help you maintain a consistently clean and inviting bathroom. So, ditch the harsh chemicals and embrace these natural, budget-friendly methods. Get ready to transform your bathroom cleaning routine and reclaim your precious time!
DIY Bathroom Cleaning Hacks: Sparkling Clean on a Budget!
Okay, let’s face it, cleaning the bathroom is nobody’s favorite chore. But a sparkling clean bathroom? That’s something we can all appreciate! I’ve compiled some of my favorite DIY bathroom cleaning hacks that are not only effective but also super budget-friendly. Get ready to ditch those harsh chemicals and embrace a cleaner, fresher bathroom using ingredients you probably already have at home!
Hack 1: The Shower Head Deep Clean
Hard water stains and mineral buildup can really gunk up your shower head, reducing water pressure and making your shower less enjoyable. This hack will dissolve all that grime and leave your shower head looking brand new.
What you’ll need:
* A plastic bag (gallon-sized works best)
* White vinegar
* Rubber band or twist tie
Step-by-step instructions:
1. Fill the bag with vinegar: Pour enough white vinegar into the plastic bag to fully submerge your shower head.
2. Secure the bag: Carefully position the bag over the shower head, ensuring the shower head is completely immersed in the vinegar. Use a rubber band or twist tie to tightly secure the bag to the shower arm. Make sure it’s snug so the vinegar doesn’t leak.
3. Soak overnight: Let the shower head soak in the vinegar overnight (or for at least a few hours). This gives the vinegar ample time to dissolve the mineral deposits.
4. Remove and rinse: The next day, remove the bag and discard the vinegar. Turn on the shower and let the water run for a few minutes to flush out any remaining vinegar and loosened debris.
5. Wipe clean: Use a clean cloth or sponge to wipe down the shower head. If there are any stubborn spots, you can use an old toothbrush to gently scrub them away.
Pro Tip: For extra stubborn buildup, you can add a tablespoon of baking soda to the vinegar before soaking. The fizzing action will help loosen the grime even further.
Hack 2: Sparkling Clean Shower Doors (Goodbye Soap Scum!)
Soap scum is the bane of every bathroom cleaner’s existence! But don’t worry, I’ve got a simple and effective solution that will leave your shower doors gleaming.
What you’ll need:
* White vinegar
* Spray bottle
* Microfiber cloth
* Baking soda (optional, for extra scrubbing power)
Step-by-step instructions:
1. Heat the vinegar (optional): For tougher soap scum, heating the vinegar slightly in the microwave (about 30 seconds) can make it even more effective. Be careful not to overheat it!
2. Pour vinegar into spray bottle: Pour the vinegar into a spray bottle.
3. Spray the shower doors: Generously spray the shower doors with the vinegar, making sure to cover all areas affected by soap scum.
4. Let it sit: Allow the vinegar to sit on the shower doors for at least 15-30 minutes. This gives it time to break down the soap scum.
5. Scrub (if needed): If the soap scum is particularly stubborn, sprinkle some baking soda onto a damp microfiber cloth and gently scrub the shower doors. The baking soda acts as a mild abrasive to help remove the grime.
6. Rinse thoroughly: Rinse the shower doors thoroughly with warm water to remove all traces of vinegar and baking soda.
7. Dry with a microfiber cloth: Use a clean, dry microfiber cloth to dry the shower doors. This will prevent water spots and leave them sparkling clean.
Pro Tip: To prevent future soap scum buildup, keep a squeegee in your shower and use it after each shower to remove excess water from the doors.
Hack 3: Toilet Bowl Cleaning Powerhouse
Forget those expensive toilet bowl cleaners! This DIY solution is just as effective and much more affordable.
What you’ll need:
* Baking soda
* White vinegar
* Toilet brush
Step-by-step instructions:
1. Sprinkle baking soda: Sprinkle about one cup of baking soda into the toilet bowl, making sure to coat the sides as well as the bottom.
2. Add vinegar: Slowly pour about two cups of white vinegar into the toilet bowl. The mixture will fizz, which is perfectly normal and helps to loosen the stains and grime.
3. Let it fizz: Allow the mixture to fizz and sit for at least 30 minutes, or even longer for heavily stained toilets.
4. Scrub and flush: Use a toilet brush to scrub the entire bowl, paying particular attention to any stains or rings. Flush the toilet to rinse away the cleaning solution and debris.
Pro Tip: For extra cleaning power, you can add a few drops of essential oil (like tea tree or eucalyptus) to the baking soda before adding the vinegar. This will not only add a pleasant scent but also provide extra antibacterial properties.
Hack 4: Grout Cleaning Magic
Dirty grout can make even the cleanest bathroom look dingy. This simple paste will brighten your grout and make your tiles look like new.
What you’ll need:
* Baking soda
* Water
* Old toothbrush or grout brush
Step-by-step instructions:
1. Make a paste: Mix baking soda and water in a small bowl to form a thick paste. The consistency should be similar to toothpaste.
2. Apply the paste: Apply the baking soda paste to the grout lines, making sure to cover them completely.
3. Let it sit: Allow the paste to sit on the grout for at least 15-30 minutes. This gives the baking soda time to penetrate and loosen the dirt and grime.
4. Scrub the grout: Use an old toothbrush or grout brush to scrub the grout lines. Apply firm pressure and scrub in a back-and-forth motion.
5. Rinse thoroughly: Rinse the grout lines thoroughly with water to remove all traces of baking soda paste. You can use a damp sponge or cloth to wipe away any residue.
6. Dry with a towel: Dry the grout lines with a clean towel to prevent water spots.
Pro Tip: For really tough grout stains, you can add a few drops of hydrogen peroxide to the baking soda paste. The hydrogen peroxide will help to bleach the grout and remove stubborn stains. Be sure to test this in an inconspicuous area first to ensure it doesn’t discolor your grout.
Hack 5: Freshen Up Your Bathroom with Essential Oils
A clean bathroom should smell clean too! Ditch those artificial air fresheners and create a natural, refreshing scent with essential oils.
What you’ll need:
* Essential oil(s) of your choice (lavender, eucalyptus, tea tree, lemon, and peppermint are all great options)
* Cotton balls
* Small dish or jar
Step-by-step instructions:
1. Saturate cotton balls: Place a few cotton balls in a small dish or jar. Add several drops of your favorite essential oil(s) to the cotton balls, saturating them completely.
2. Place in bathroom: Place the dish or jar in a discreet location in your bathroom, such as on a shelf or behind the toilet.
3. Refresh as needed: Refresh the cotton balls with more essential oil every few days, or as needed, to maintain a pleasant scent.
Alternative Method: DIY Reed Diffuser
1. Gather materials: You’ll need a small glass bottle or jar, diffuser reeds (available at most craft stores), and a carrier oil (such as fractionated coconut oil or sweet almond oil).
2. Mix oils: Fill the bottle about halfway with the carrier oil. Add 15-20 drops of your favorite essential oil(s).
3. Insert reeds: Insert the diffuser reeds into the bottle, making sure they are submerged in the oil mixture.
4. Flip reeds: After a few hours, flip the reeds so that the saturated ends are facing up. This will help to release the scent into the air.
5. Refresh as needed: Flip the reeds every few days to refresh the scent. You may also need to add more carrier oil and essential oil as the mixture evaporates.
Pro Tip: Experiment with different essential oil blends to create your own signature bathroom scent. For a relaxing and calming atmosphere, try lavender and chamomile. For an energizing and refreshing scent, try lemon and peppermint.
Hack 6: Mirror, Mirror on the Wall, Who’s the Cleanest of Them All?
Okay, let’s face it, cleaning the bathroom is nobody’s favorite chore. But a sparkling clean bathroom? That’s something we can all appreciate! I’ve compiled some of my favorite DIY bathroom cleaning hacks that are not only effective but also super budget-friendly. Get ready to ditch those harsh chemicals and embrace a cleaner, fresher bathroom using ingredients you probably already have at home!
Hack 1: The Shower Head Deep Clean
Hard water stains and mineral buildup can really gunk up your shower head, reducing water pressure and making your shower less enjoyable. This hack will dissolve all that grime and leave your shower head looking brand new.
What you’ll need:
* A plastic bag (gallon-sized works best)
* White vinegar
* Rubber band or twist tie
Step-by-step instructions:
1. Fill the bag with vinegar: Pour enough white vinegar into the plastic bag to fully submerge your shower head.
2. Secure the bag: Carefully position the bag over the shower head, ensuring the shower head is completely immersed in the vinegar. Use a rubber band or twist tie to tightly secure the bag to the shower arm. Make sure it’s snug so the vinegar doesn’t leak.
3. Soak overnight: Let the shower head soak in the vinegar overnight (or for at least a few hours). This gives the vinegar ample time to dissolve the mineral deposits.
4. Remove and rinse: The next day, remove the bag and discard the vinegar. Turn on the shower and let the water run for a few minutes to flush out any remaining vinegar and loosened debris.
5. Wipe clean: Use a clean cloth or sponge to wipe down the shower head. If there are any stubborn spots, you can use an old toothbrush to gently scrub them away.
Pro Tip: For extra stubborn buildup, you can add a tablespoon of baking soda to the vinegar before soaking. The fizzing action will help loosen the grime even further.
Hack 2: Sparkling Clean Shower Doors (Goodbye Soap Scum!)
Soap scum is the bane of every bathroom cleaner’s existence! But don’t worry, I’ve got a simple and effective solution that will leave your shower doors gleaming.
What you’ll need:
* White vinegar
* Spray bottle
* Microfiber cloth
* Baking soda (optional, for extra scrubbing power)
Step-by-step instructions:
1. Heat the vinegar (optional): For tougher soap scum, heating the vinegar slightly in the microwave (about 30 seconds) can make it even more effective. Be careful not to overheat it!
2. Pour vinegar into spray bottle: Pour the vinegar into a spray bottle.
3. Spray the shower doors: Generously spray the shower doors with the vinegar, making sure to cover all areas affected by soap scum.
4. Let it sit: Allow the vinegar to sit on the shower doors for at least 15-30 minutes. This gives it time to break down the soap scum.
5. Scrub (if needed): If the soap scum is particularly stubborn, sprinkle some baking soda onto a damp microfiber cloth and gently scrub the shower doors. The baking soda acts as a mild abrasive to help remove the grime.
6. Rinse thoroughly: Rinse the shower doors thoroughly with warm water to remove all traces of vinegar and baking soda.
7. Dry with a microfiber cloth: Use a clean, dry microfiber cloth to dry the shower doors. This will prevent water spots and leave them sparkling clean.
Pro Tip: To prevent future soap scum buildup, keep a squeegee in your shower and use it after each shower to remove excess water from the doors.
Hack 3: Toilet Bowl Cleaning Powerhouse
Forget those expensive toilet bowl cleaners! This DIY solution is just as effective and much more affordable.
What you’ll need:
* Baking soda
* White vinegar
* Toilet brush
Step-by-step instructions:
1. Sprinkle baking soda: Sprinkle about one cup of baking soda into the toilet bowl, making sure to coat the sides as well as the bottom.
2. Add vinegar: Slowly pour about two cups of white vinegar into the toilet bowl. The mixture will fizz, which is perfectly normal and helps to loosen the stains and grime.
3. Let it fizz: Allow the mixture to fizz and sit for at least 30 minutes, or even longer for heavily stained toilets.
4. Scrub and flush: Use a toilet brush to scrub the entire bowl, paying particular attention to any stains or rings. Flush the toilet to rinse away the cleaning solution and debris.
Pro Tip: For extra cleaning power, you can add a few drops of essential oil (like tea tree or eucalyptus) to the baking soda before adding the vinegar. This will not only add a pleasant scent but also provide extra antibacterial properties.
Hack 4: Grout Cleaning Magic
Dirty grout can make even the cleanest bathroom look dingy. This simple paste will brighten your grout and make your tiles look like new.
What you’ll need:
* Baking soda
* Water
* Old toothbrush or grout brush
Step-by-step instructions:
1. Make a paste: Mix baking soda and water in a small bowl to form a thick paste. The consistency should be similar to toothpaste.
2. Apply the paste: Apply the baking soda paste to the grout lines, making sure to cover them completely.
3. Let it sit: Allow the paste to sit on the grout for at least 15-30 minutes. This gives the baking soda time to penetrate and loosen the dirt and grime.
4. Scrub the grout: Use an old toothbrush or grout brush to scrub the grout lines. Apply firm pressure and scrub in a back-and-forth motion.
5. Rinse thoroughly: Rinse the grout lines thoroughly with water to remove all traces of baking soda paste. You can use a damp sponge or cloth to wipe away any residue.
6. Dry with a towel: Dry the grout lines with a clean towel to prevent water spots.
Pro Tip: For really tough grout stains, you can add a few drops of hydrogen peroxide to the baking soda paste. The hydrogen peroxide will help to bleach the grout and remove stubborn stains. Be sure to test this in an inconspicuous area first to ensure it doesn’t discolor your grout.
Hack 5: Freshen Up Your Bathroom with Essential Oils
A clean bathroom should smell clean too! Ditch those artificial air fresheners and create a natural, refreshing scent with essential oils.
What you’ll need:
* Essential oil(s) of your choice (lavender, eucalyptus, tea tree, lemon, and peppermint are all great options)
* Cotton balls
* Small dish or jar
Step-by-step instructions:
1. Saturate cotton balls: Place a few cotton balls in a small dish or jar. Add several drops of your favorite essential oil(s) to the cotton balls, saturating them completely.
2. Place in bathroom: Place the dish or jar in a discreet location in your bathroom, such as on a shelf or behind the toilet.
3. Refresh as needed: Refresh the cotton balls with more essential oil every few days, or as needed, to maintain a pleasant scent.
Alternative Method: DIY Reed Diffuser
1. Gather materials: You’ll need a small glass bottle or jar, diffuser reeds (available at most craft stores), and a carrier oil (such as fractionated coconut oil or sweet almond oil).
2. Mix oils: Fill the bottle about halfway with the carrier oil. Add 15-20 drops of your favorite essential oil(s).
3. Insert reeds: Insert the diffuser reeds into the bottle, making sure they are submerged in the oil mixture.
4. Flip reeds: After a few hours, flip the reeds so that the saturated ends are facing up. This will help to release the scent into the air.
5. Refresh as needed: Flip the reeds every few days to refresh the scent. You may also need to add more carrier oil and essential oil as the mixture evaporates.
Pro Tip: Experiment with different essential oil blends to create your own signature bathroom scent. For a relaxing and calming atmosphere, try lavender and chamomile. For an energizing and refreshing scent, try lemon and peppermint.
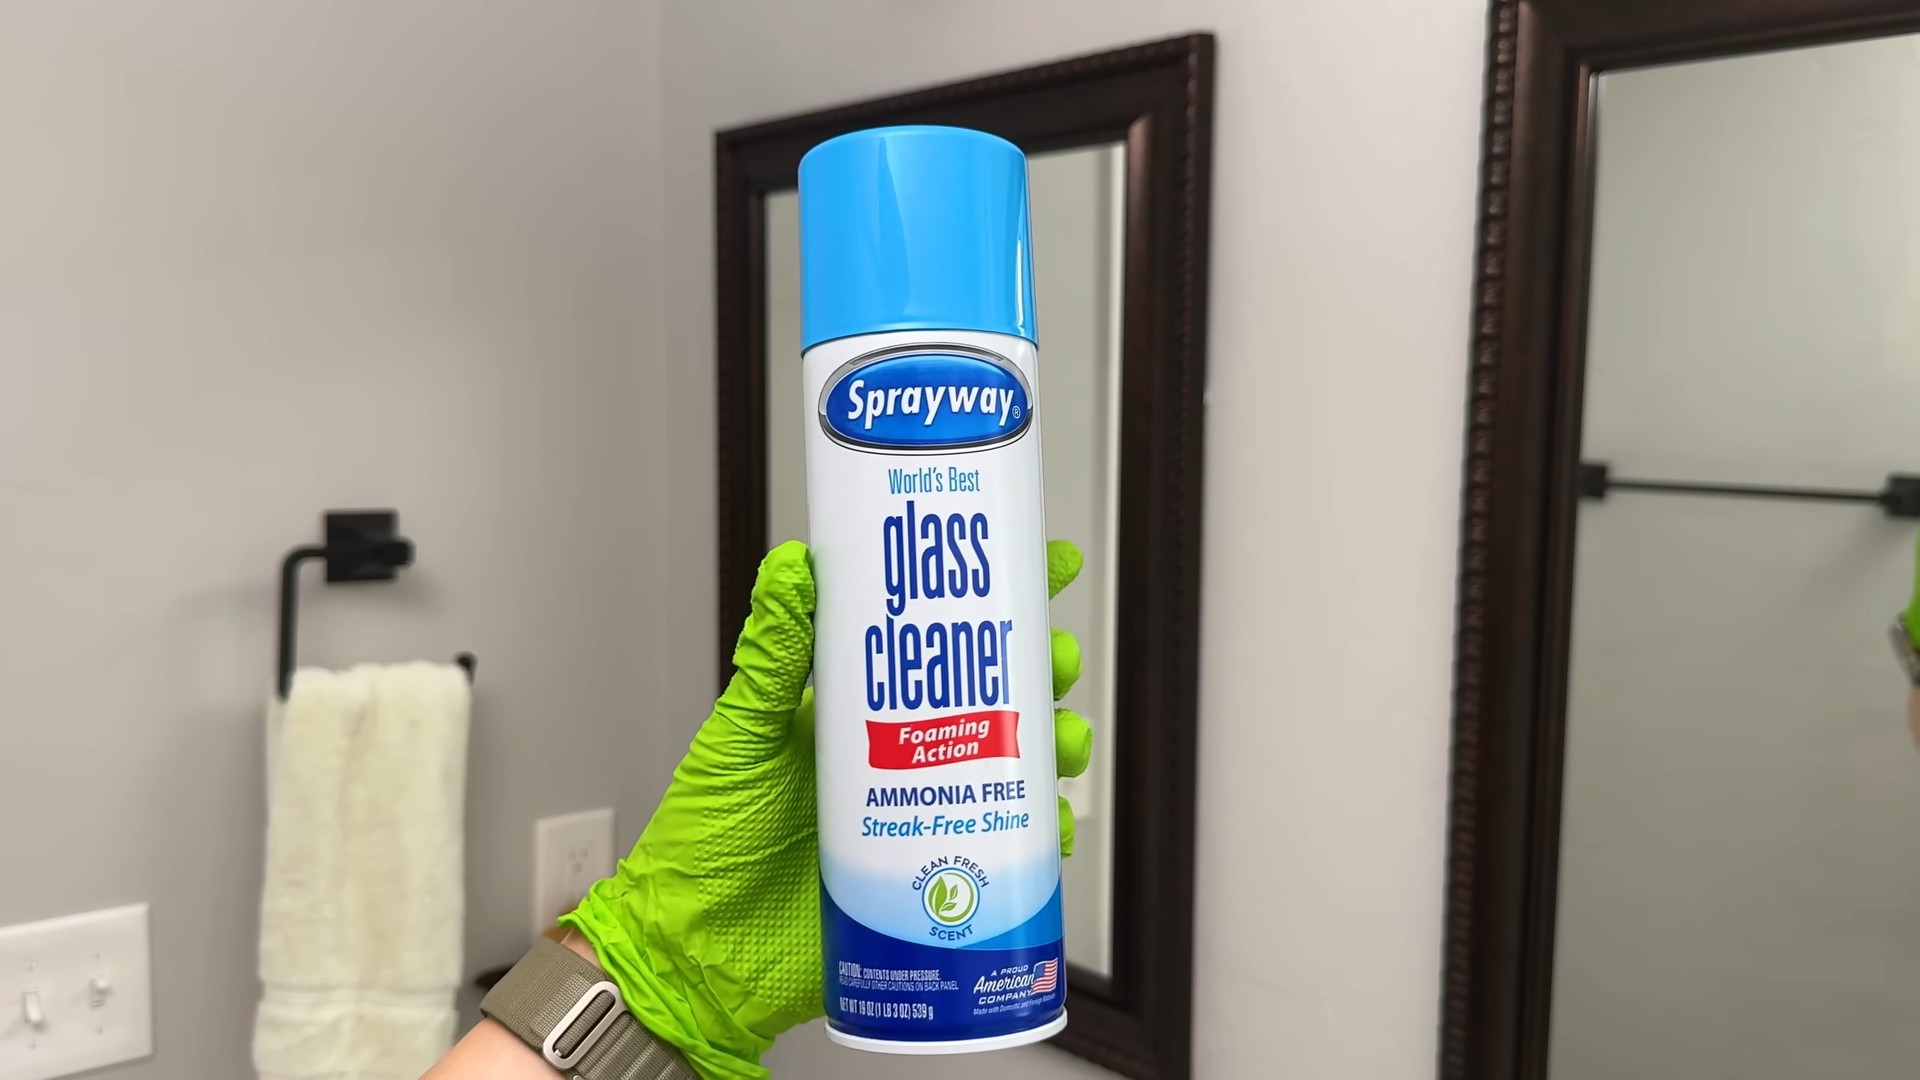
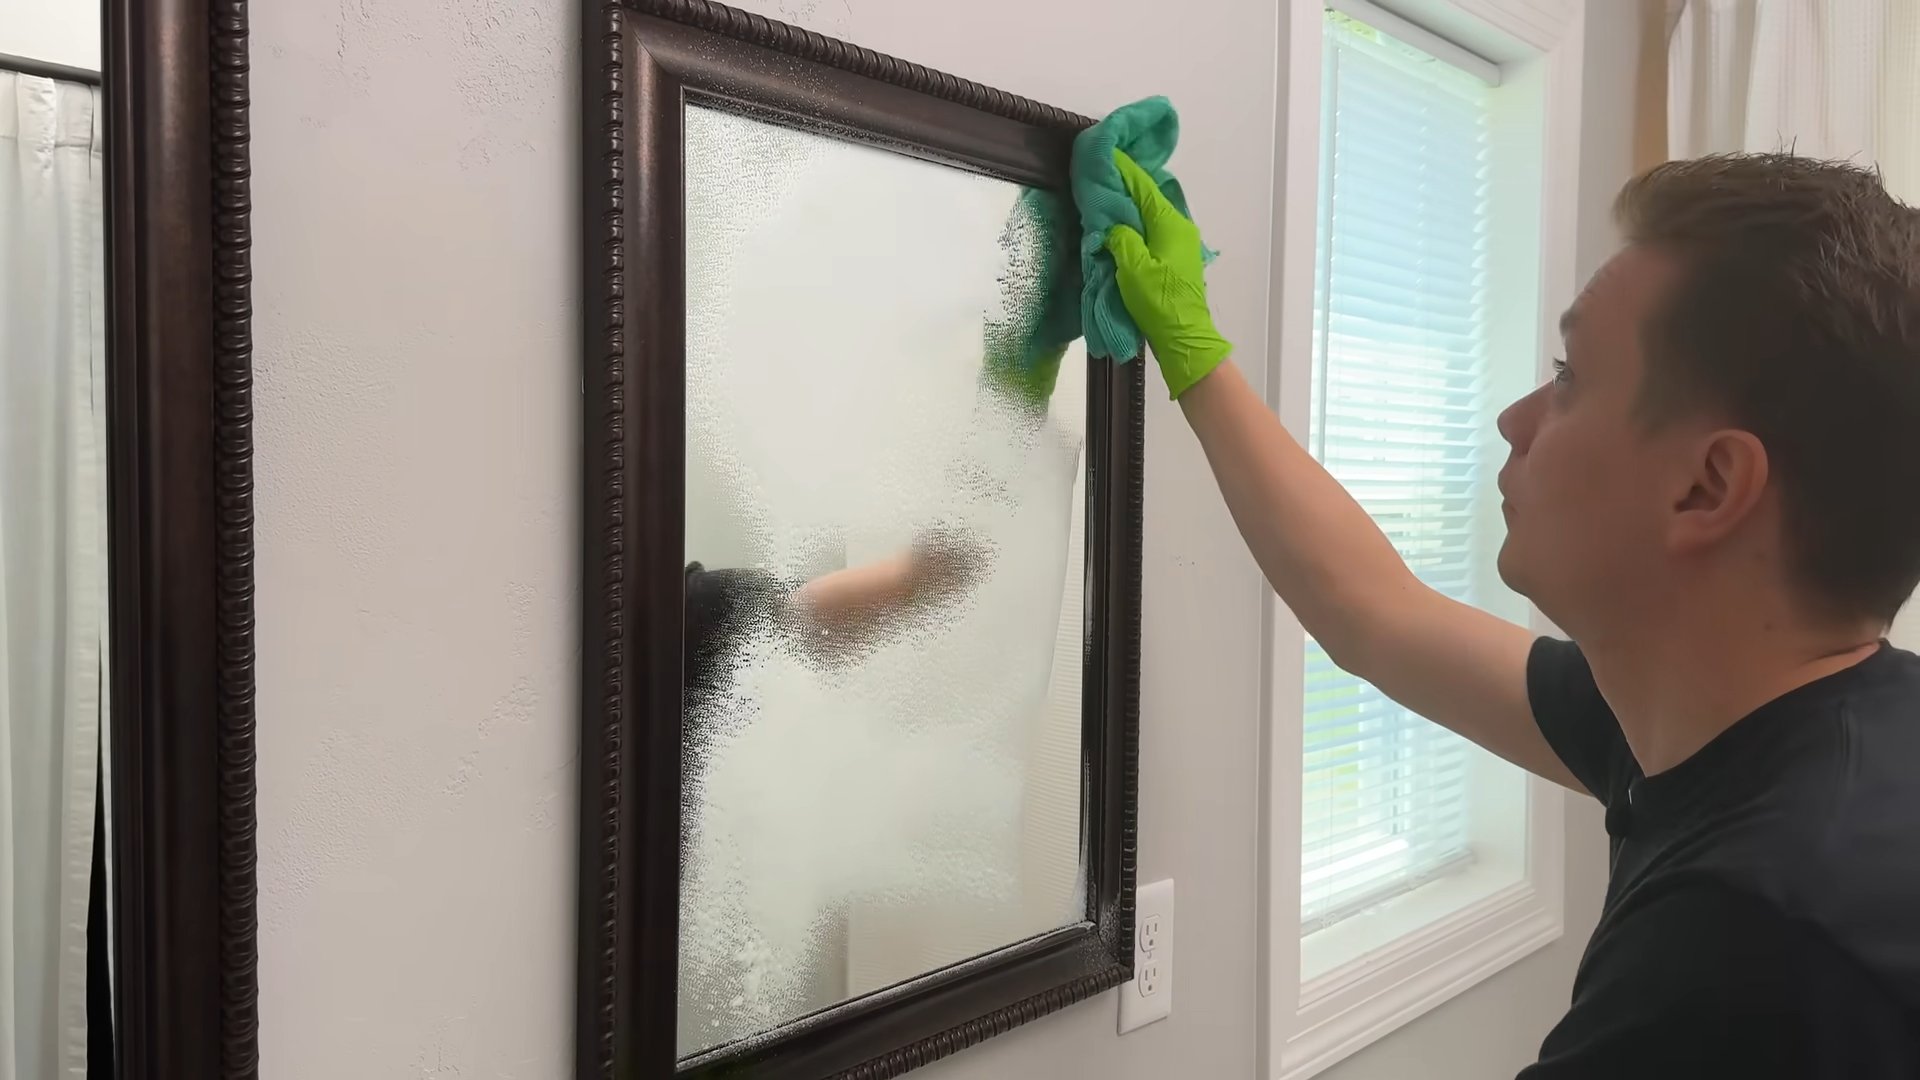
Hack 6: Mirror, Mirror on the Wall, Who’s the Cleanest of Them All?
Streaky mirrors are a pet peeve of mine! This simple solution will leave your mirrors sparkling and streak-free.
What you’ll need:
* White vinegar
* Water
* Spray bottle
* Microfiber cloth
Step-by-step instructions:
1. Mix vinegar and water: In a spray bottle,
Conclusion
So, there you have it! These simple yet incredibly effective clean bathroom hacks are your secret weapon against grime, mildew, and the general chaos that can sometimes take over this essential space. We’ve shown you how to tackle everything from stubborn soap scum to sparkling showerheads, all without resorting to harsh chemicals or spending a fortune on fancy cleaning products.
Why is this a must-try? Because a clean bathroom isn’t just about aesthetics; it’s about creating a healthier and more pleasant environment for you and your family. Imagine stepping into a bathroom that smells fresh, looks spotless, and feels truly inviting. These hacks make that a reality, saving you time, money, and a whole lot of elbow grease.
But don’t just take our word for it. The real magic happens when you put these clean bathroom hacks into practice.
Ready to take your bathroom cleaning to the next level?
Here are a few suggestions and variations to personalize your cleaning routine:
* **Essential Oil Power:** Add a few drops of your favorite essential oil (like tea tree, eucalyptus, or lavender) to your cleaning solutions for an extra boost of freshness and antibacterial power. Tea tree oil is particularly effective against mold and mildew.
* **Vinegar Infusion:** For a stronger cleaning solution, infuse your vinegar with citrus peels (lemon, orange, or grapefruit) for a few weeks. This will not only add a pleasant scent but also enhance the cleaning power of the vinegar.
* **Baking Soda Paste Variations:** Experiment with different ratios of baking soda and water to create a paste that suits your specific cleaning needs. For tougher stains, add a bit of hydrogen peroxide to the paste.
* **Showerhead Soak Time:** If your showerhead is heavily clogged, consider soaking it in vinegar overnight for maximum cleaning power.
* **DIY Cleaning Caddy:** Create a portable cleaning caddy with all your essential supplies, so you can easily tackle bathroom cleaning whenever you have a few spare minutes.
We’re confident that these clean bathroom hacks will transform your cleaning routine and leave you with a bathroom you’ll be proud of. Now it’s your turn! Give these tips a try and see the difference for yourself.
We’d love to hear about your experience! Share your before-and-after photos, your favorite variations, and any other cleaning tips you’ve discovered in the comments below. Let’s create a community of clean bathroom enthusiasts!
Frequently Asked Questions (FAQs)
Q: Are these clean bathroom hacks safe for all bathroom surfaces?
A: Generally, yes, these hacks are safe for most common bathroom surfaces like tile, porcelain, glass, and stainless steel. However, it’s always a good idea to test any cleaning solution in an inconspicuous area first, especially on delicate surfaces like natural stone (marble, granite) or painted surfaces. Vinegar, in particular, can etch some natural stones, so use it with caution or opt for a pH-neutral cleaner specifically designed for those surfaces. For acrylic or fiberglass tubs and showers, avoid abrasive cleaners like scouring powders, as they can scratch the surface.
Q: How often should I use these clean bathroom hacks?
A: The frequency of cleaning depends on how often your bathroom is used and how quickly it gets dirty. A quick wipe-down of surfaces after each shower can prevent the buildup of soap scum and mildew. A more thorough cleaning using these hacks once a week or every other week should be sufficient for most bathrooms. For high-traffic bathrooms or those prone to mold and mildew, you may need to clean more frequently.
Q: Can I use these hacks to clean mold and mildew?
A: Yes, many of these hacks are effective at cleaning mold and mildew. Vinegar and baking soda are natural antifungal agents that can help kill mold spores and prevent their growth. For stubborn mold, you can create a paste of baking soda and water and apply it to the affected area. Let it sit for a few minutes, then scrub with a brush and rinse thoroughly. For more severe mold infestations, you may need to use a commercial mold remover or consult a professional. Always ensure proper ventilation when cleaning mold, and wear gloves and a mask to protect yourself from spores.
Q: What if I don’t have vinegar or baking soda? Are there any alternatives?
A: While vinegar and baking soda are highly effective and readily available, there are alternatives you can use. Lemon juice is a natural acid that can be used as a substitute for vinegar in some cleaning applications. It’s particularly effective at removing hard water stains and soap scum. For baking soda, you can try using borax, which is another natural cleaning agent with similar properties. However, borax is slightly more alkaline than baking soda, so use it with caution on delicate surfaces. You can also use commercial cleaning products specifically designed for bathrooms, but be sure to choose products that are non-toxic and environmentally friendly.
Q: How can I prevent my bathroom from getting dirty in the first place?
A: Prevention is key to keeping your bathroom clean and reducing the need for frequent deep cleanings. Here are a few tips:
* **Wipe down surfaces after each shower:** This will prevent the buildup of soap scum and mildew.
* **Ventilate your bathroom:** Open a window or turn on the exhaust fan after showering to remove moisture and prevent mold growth.
* **Use a squeegee:** Use a squeegee to remove water from shower walls and doors after each use.
* **Store toiletries properly:** Keep toiletries organized and stored in cabinets or drawers to prevent clutter and dust accumulation.
* **Use a shower curtain liner:** A shower curtain liner will protect your shower curtain from getting wet and moldy.
* **Clean regularly:** Even with preventative measures, regular cleaning is still necessary to maintain a clean and healthy bathroom.
Q: Are these clean bathroom hacks safe for septic systems?
A: Yes, these clean bathroom hacks are generally safe for septic systems. Vinegar and baking soda are natural substances that won’t harm the bacteria in your septic tank. However, it’s important to avoid using excessive amounts of any cleaning solution, as this could disrupt the balance of your septic system. When using commercial cleaning products, choose those that are specifically labeled as septic-safe. Avoid using harsh chemicals like bleach or drain cleaners, as these can kill the beneficial bacteria in your septic tank.
Q: How do I clean a toilet with these hacks?
A: Cleaning a toilet with these hacks is simple and effective. You can pour a cup of vinegar into the toilet bowl and let it sit for 30 minutes to an hour. Then, sprinkle baking soda around the bowl and scrub with a toilet brush. The combination of vinegar and baking soda will create a fizzing action that helps to loosen stains and grime. Flush the toilet to rinse. For stubborn stains, you can create a paste of baking soda and water and apply it to the stain. Let it sit for a few minutes, then scrub and flush.
Q: What is the best way to clean a showerhead with these hacks?
A: The best way to clean a showerhead with these hacks is to soak it in vinegar. You can either remove the showerhead and soak it in a bowl of vinegar, or you can fill a plastic bag with vinegar and secure it around the showerhead with a rubber band. Make sure the showerhead is fully submerged in the vinegar. Let it soak for at least 30 minutes, or preferably overnight. Then, remove the showerhead or bag and rinse thoroughly with water. Use a toothbrush or toothpick to remove any remaining debris from the nozzles.
Q: Can I use these hacks to clean grout?
A: Yes, these hacks are effective for cleaning grout. You can create a paste of baking soda and water and apply it to the grout lines. Let it sit for a few minutes, then scrub with a grout brush or old toothbrush. Rinse thoroughly with water. For tougher stains, you can add a bit of hydrogen peroxide to the paste. You can also use a vinegar and water solution to clean grout. Spray the solution onto the grout lines, let it sit for a few minutes, then scrub and rinse.


Leave a Comment