
Growing Peas at Home can feel like a delightful journey back to simpler times, connecting us with the earth and providing a taste of homegrown goodness. For centuries, peas have been a staple in diets across the globe, from ancient civilizations to medieval gardens. They’re not just nutritious; they’re also a symbol of spring and renewal, bringing a touch of vibrant green to our plates after the long winter months.
Have you ever dreamed of plucking sweet, plump peas straight from your own garden? Imagine the satisfaction of serving a dish made with ingredients you nurtured yourself! But let’s be honest, sometimes the idea of gardening can feel a little daunting. That’s where this DIY guide comes in! I’m here to share some simple, effective tricks and hacks that will make growing peas at home a breeze, even if you’re a complete beginner.
Many people struggle with common pea-growing problems like poor germination, pest infestations, or lack of space. This article will equip you with the knowledge and techniques to overcome these challenges and enjoy a bountiful harvest. We’ll explore everything from choosing the right pea variety to building a simple trellis system, ensuring your pea plants thrive and reward you with delicious, homegrown peas. So, grab your gardening gloves, and let’s get started!
Growing Peas at Home: A Beginner’s Guide
Okay, so you want to grow peas at home? Awesome! Peas are super rewarding to grow, and nothing beats the taste of fresh, homegrown peas straight from the pod. I’m going to walk you through everything you need to know, from choosing the right variety to harvesting your delicious crop. Let’s get started!
Choosing Your Pea Variety
First things first, you need to decide what kind of peas you want to grow. There are three main types:
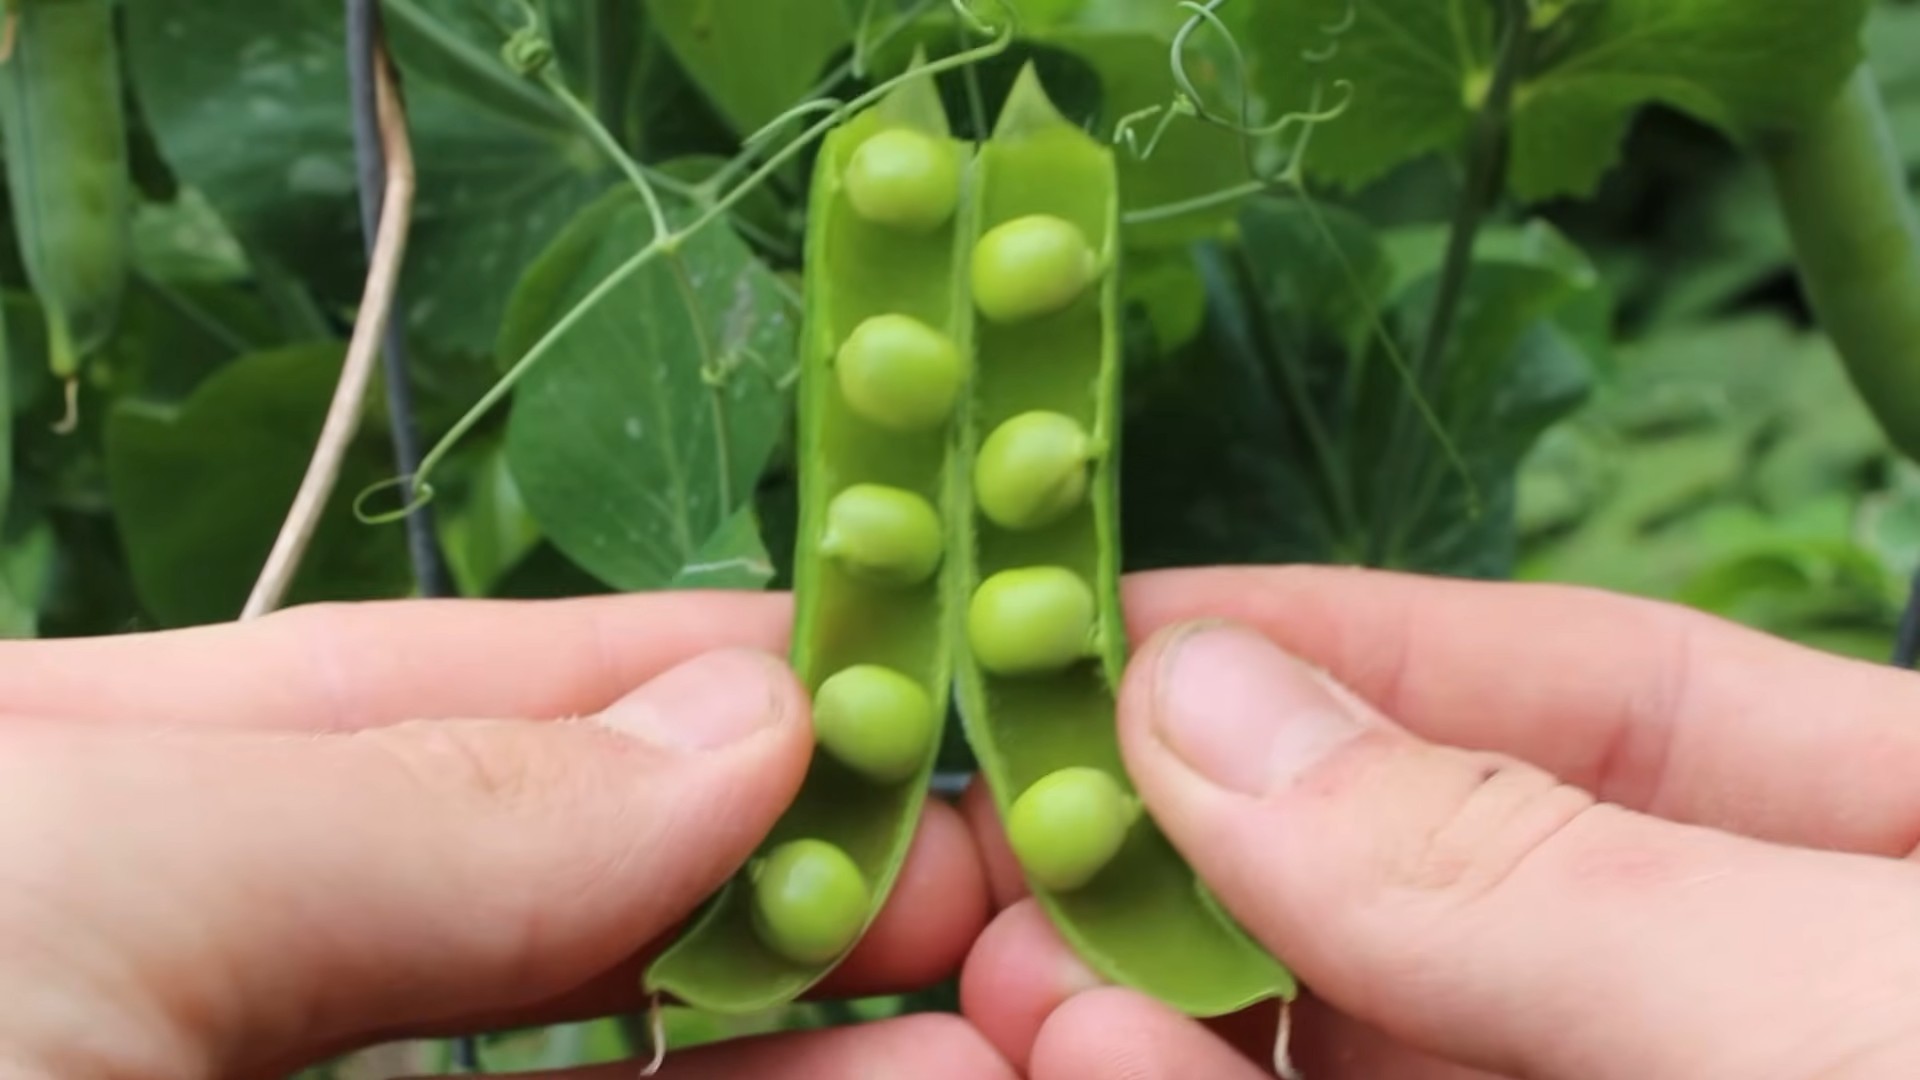
* Shelling Peas (English Peas): These are the classic peas you think of. You pop them out of the pod and eat the peas inside.
* Snap Peas: These have edible pods that are plump and juicy. You can eat the whole pod!
* Snow Peas: These have flat, edible pods. They’re often used in stir-fries.
Each type has different varieties within it. Some are bush types, which are compact and don’t need much support, while others are vining types that need a trellis or other structure to climb.
Here are a few popular varieties I recommend:
* ‘Little Marvel’ (Shelling): A classic, early-maturing bush pea.
* ‘Sugar Snap’ (Snap): A very popular and productive snap pea.
* ‘Oregon Sugar Pod II’ (Snow): A reliable and high-yielding snow pea.
Consider your space and your preferences when choosing your variety. If you have limited space, a bush variety might be best. If you want a lot of peas, a vining variety that you can train up a trellis will give you a bigger harvest.
Preparing Your Garden Bed
Peas need well-drained soil and plenty of sunlight (at least 6 hours a day). Here’s how to prepare your garden bed:
1. Choose a Sunny Spot: As I mentioned, peas love sunshine. Pick a spot in your garden that gets at least 6 hours of direct sunlight each day.
2. Test Your Soil: It’s always a good idea to test your soil to see what nutrients it’s lacking. You can buy a soil testing kit at most garden centers. Peas prefer a slightly acidic to neutral soil pH (around 6.0 to 7.0).
3. Amend the Soil: If your soil is heavy clay or sandy, you’ll need to amend it. Add plenty of compost or well-rotted manure to improve drainage and fertility. I usually add a few inches of compost and work it into the top 6-8 inches of soil.
4. Loosen the Soil: Use a garden fork or tiller to loosen the soil. This will make it easier for the pea roots to grow.
5. Add Fertilizer (Optional): Peas don’t need a lot of fertilizer, but a little boost can help. I like to add a slow-release fertilizer that’s formulated for vegetables. Follow the instructions on the fertilizer package. Avoid fertilizers that are high in nitrogen, as this can promote leafy growth at the expense of pea production.
6. Level the Bed: Rake the soil to create a smooth, level surface.
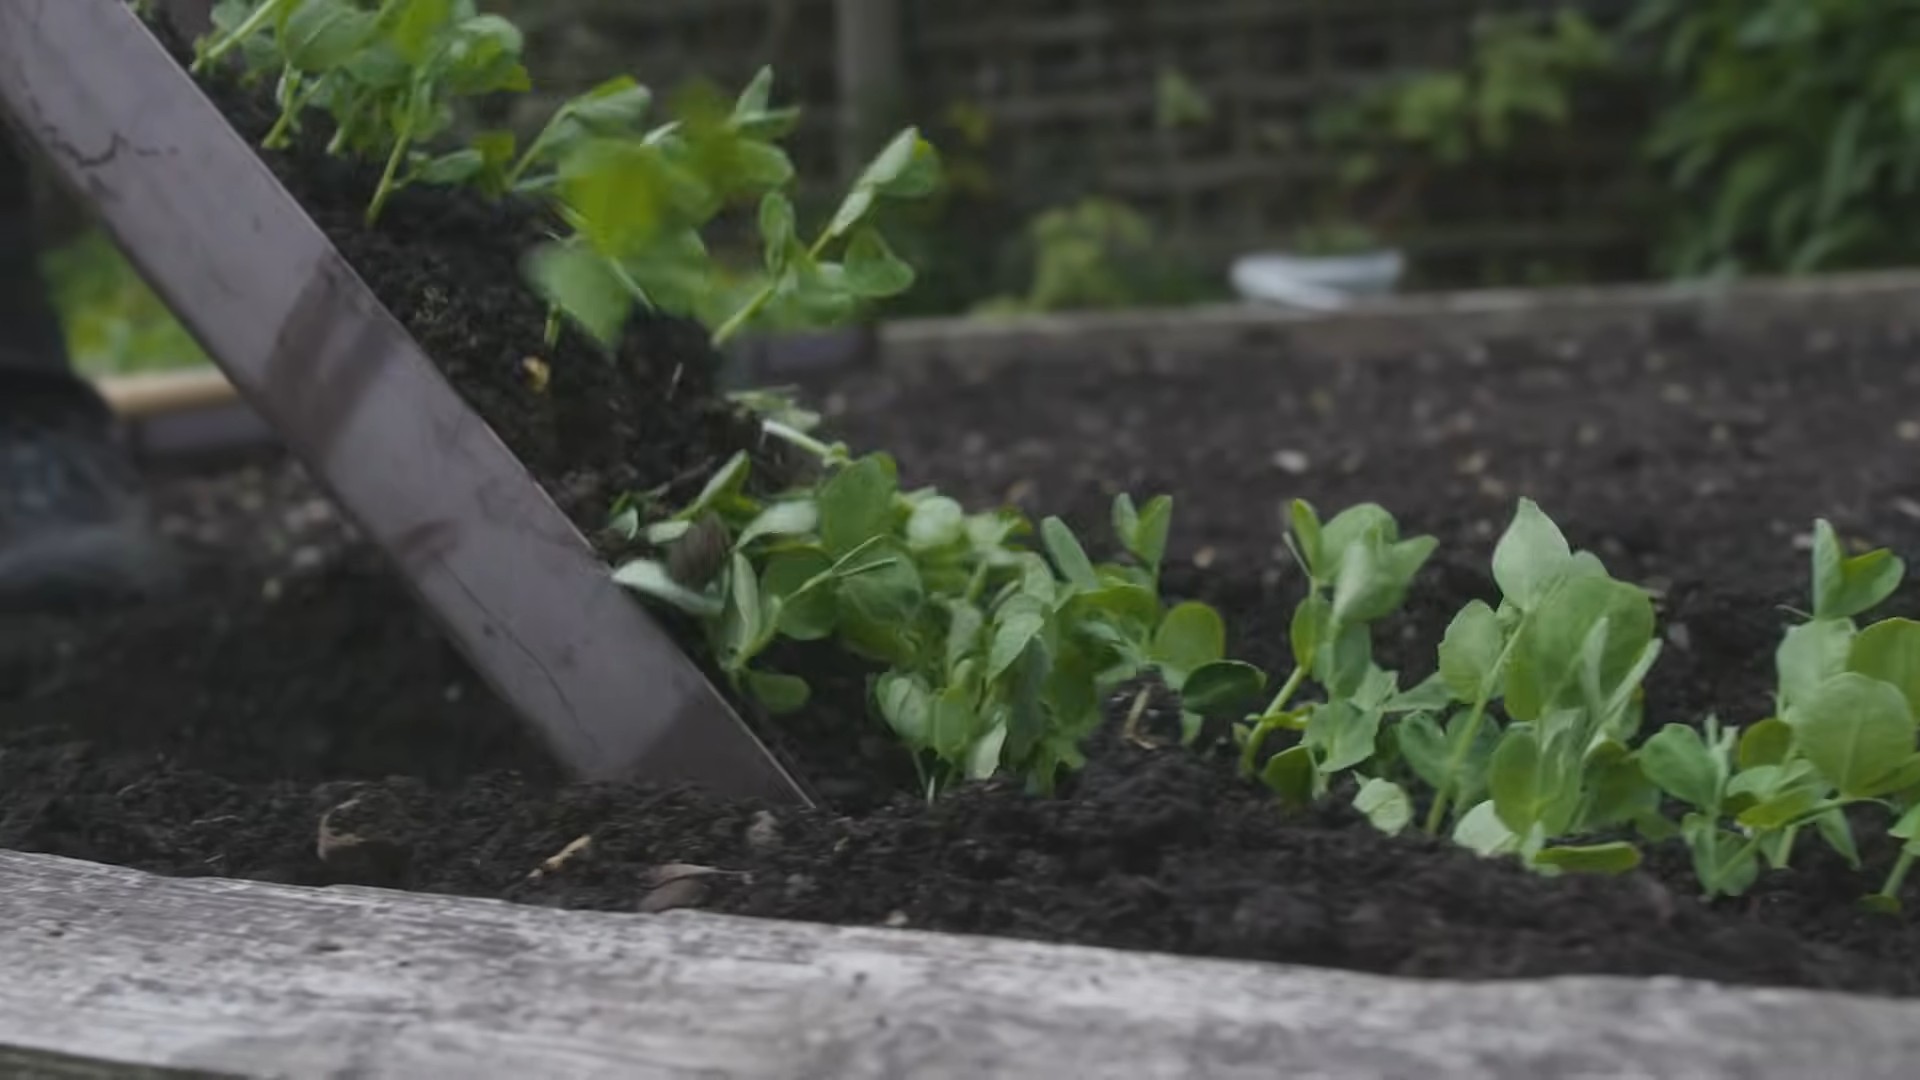
Planting Your Pea Seeds
Peas are a cool-season crop, which means they grow best in cool weather. You can plant them in early spring as soon as the soil can be worked, or in late summer for a fall harvest.
1. Check the Last Frost Date: Find out the average last frost date for your area. You can usually plant peas 4-6 weeks before the last frost.
2. Soak the Seeds (Optional): Soaking the seeds in water for a few hours before planting can help them germinate faster. I usually soak mine overnight.
3. Planting Depth: Plant the seeds about 1 inch deep and 2 inches apart.
4. Row Spacing: If you’re planting multiple rows, space them about 18-24 inches apart.
5. Water Well: After planting, water the seeds thoroughly. Keep the soil moist but not soggy until the seeds germinate.
6. Consider Inoculation: Pea seeds benefit from inoculation with a nitrogen-fixing bacteria called Rhizobium. You can purchase inoculant powder at most garden centers. Sprinkle the inoculant on the seeds before planting. This will help the peas fix nitrogen from the air, which is essential for healthy growth.
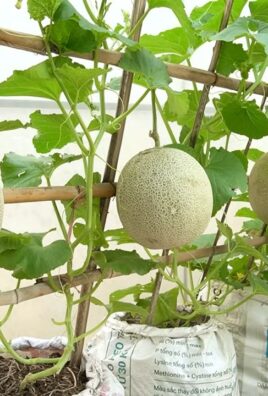
Providing Support (Trellising)
Vining pea varieties need support to climb. Even some bush varieties can benefit from a little support to keep them off the ground.
1. Choose Your Support: There are several options for supporting peas:
* Trellis: A trellis is a sturdy structure that peas can climb. You can buy a pre-made trellis or build your own.
* Netting: Garden netting is a lightweight option that’s easy to install.
* Pea Sticks: These are simply branches that you stick into the ground for the peas to climb.
* String: You can run string between stakes to create a simple trellis.
2. Install the Support: Install the support system when you plant the seeds or shortly after they germinate. Make sure it’s sturdy enough to support the weight of the pea plants.
3. Guide the Peas: As the peas grow, gently guide them onto the support. They’ll eventually start to climb on their own.
Caring for Your Pea Plants
Once your pea plants are established, here’s how to care for them:
1. Watering: Peas need consistent moisture, especially when they’re flowering and producing pods. Water deeply whenever the soil feels dry to the touch. Avoid overhead watering, as this can promote fungal diseases.
2. Weeding: Keep the area around your pea plants free of weeds. Weeds compete with the peas for water and nutrients.
3. Fertilizing: If your pea plants are growing slowly or the leaves are yellowing, you can give them a boost with a liquid fertilizer. Choose a fertilizer that’s low in nitrogen.
4. Pest Control: Peas are susceptible to a few pests, such as aphids and pea weevils. Check your plants regularly for pests and take action if you see any. You can usually control aphids with a strong spray of water or insecticidal soap. Pea weevils can be controlled with neem oil.
5. Disease Prevention: Peas can also be affected by fungal diseases, such as powdery mildew. To prevent diseases, make sure your plants have good air circulation and avoid overhead watering. If you see signs of disease, remove the affected leaves and spray the plants with a fungicide.
Harvesting Your Peas
Harvesting is the most rewarding part of growing peas! The timing of the harvest depends on the type of pea you’re growing.
1. Shelling Peas: Harvest shelling peas when the pods are plump and the peas inside are well-developed. The pods should be firm but not hard.
2. Snap Peas: Harvest snap peas when the pods are plump and juicy. The pods should be bright green and snap easily when bent.
3. Snow Peas: Harvest snow peas when the pods are flat and tender. The peas inside should be small and undeveloped.
4. Harvest Regularly: Harvest your peas regularly to encourage continued production. The more you pick, the more they’ll produce!
5. Pick Gently: Pick the peas gently to avoid damaging the plants.
6. Enjoy Fresh: Freshly picked peas are the best! Eat them raw, steam them, or add them to your favorite recipes.
Troubleshooting Common Problems
Even with the best care, you might encounter some problems when growing peas. Here are a few common issues and how to deal with them:
* Poor Germination: If your pea seeds aren’t germinating, it could be due to cold soil, poor soil drainage, or old seeds. Make sure the soil is warm enough (at least 40°F) and well-drained. Use fresh seeds whenever possible.
* Yellowing Leaves: Yellowing leaves can be a sign of nutrient deficiency, overwatering, or disease. Check the soil drainage and fertilize if necessary.
* Powdery Mildew: Powdery mildew is a fungal disease that causes a white, powdery coating on the leaves. To prevent powdery mildew, make sure your plants have good air circulation and avoid overhead watering. If you see signs of powdery mildew, remove the affected leaves and spray the plants with a fungicide.
* Aphids: Aphids are small, sap-sucking insects that can weaken pea plants. Control aphids with a strong spray of water or insecticidal soap.
* Pea Weevils: Pea weevils are small beetles that lay their eggs in pea pods. The larvae feed on the peas inside the pods. Control pea weevils with neem oil.
Extending Your Pea Season
Want to enjoy fresh peas for longer? Here are a few tips for extending your
Conclusion
So, there you have it! Growing peas at home, especially using our simple DIY trick for creating a supportive trellis, is not just a gardening project; it’s an investment in fresh, flavorful food and a rewarding connection with nature. We’ve shown you how to bypass expensive store-bought options and craft a functional, aesthetically pleasing support system for your climbing peas using readily available materials.
Why is this a must-try? Because it’s economical, sustainable, and incredibly satisfying. Imagine stepping into your garden and harvesting plump, sweet peas that you nurtured from seed to table. The taste difference between homegrown and store-bought is undeniable. Plus, you control the entire process, ensuring your peas are free from harmful pesticides and grown with love.
But the benefits extend beyond just the taste. Growing peas is a fantastic way to improve your soil. As legumes, peas fix nitrogen in the soil, enriching it for future plantings. They also attract beneficial insects to your garden, contributing to a healthier ecosystem. And let’s not forget the sheer joy of watching your plants thrive, climbing their way to the sun with the help of your DIY trellis.
Don’t be afraid to experiment with variations! Try using different materials for your trellis. Bamboo poles, sturdy branches, or even repurposed metal fencing can all work beautifully. Consider planting different varieties of peas, from snap peas to snow peas to shelling peas, to enjoy a diverse harvest. You can also succession plant your peas, sowing new seeds every few weeks, to extend your harvest season. Think about companion planting too! Peas love growing alongside carrots, radishes, and cucumbers.
We’ve given you the tools and the knowledge; now it’s time to put them into action. We are confident that with a little effort, you’ll be enjoying a bountiful harvest of delicious, homegrown peas. The DIY trellis method we’ve outlined is a game-changer, making the process accessible and affordable for gardeners of all levels.
So, grab your seeds, gather your materials, and get ready to experience the joy of growing your own peas. We can’t wait to hear about your experiences! Share your photos, tips, and triumphs with us in the comments below. Let’s build a community of pea-loving gardeners and inspire others to embrace the rewarding world of homegrown food. Remember, the sweetest peas are the ones you grow yourself! This simple DIY trick will transform your pea-growing experience.
Frequently Asked Questions (FAQs)
What is the best time to plant peas?
Peas are a cool-season crop, meaning they thrive in cooler temperatures. The best time to plant peas is in early spring, as soon as the soil can be worked. In many regions, this is typically late February or early March. You can also plant peas in the fall for a late-season harvest, but be sure to plant them early enough so they have time to mature before the first frost. Check your local climate and frost dates for the most accurate timing.
What kind of soil do peas need?
Peas prefer well-drained soil that is rich in organic matter. Before planting, amend your soil with compost or well-rotted manure to improve its fertility and drainage. Peas also prefer a slightly acidic to neutral soil pH, ideally between 6.0 and 7.0. You can test your soil pH with a home testing kit or by sending a sample to your local agricultural extension office.
How much sunlight do peas need?
Peas need at least 6-8 hours of sunlight per day to thrive. Choose a planting location that receives full sun for the majority of the day. If you live in a particularly hot climate, some afternoon shade can be beneficial to prevent the plants from overheating.
How often should I water my peas?
Peas need consistent moisture to grow well. Water them deeply and regularly, especially during dry periods. Aim to keep the soil consistently moist but not waterlogged. Mulching around the plants can help to retain moisture and suppress weeds.
What are some common pests and diseases that affect peas?
Some common pests that can affect peas include aphids, pea weevils, and slugs. Aphids can be controlled with insecticidal soap or by introducing beneficial insects like ladybugs. Pea weevils can be managed by handpicking them off the plants or by using row covers. Slugs can be controlled with slug bait or by creating barriers around the plants. Common diseases that can affect peas include powdery mildew and root rot. Powdery mildew can be prevented by ensuring good air circulation around the plants and by avoiding overhead watering. Root rot can be prevented by planting peas in well-drained soil and by avoiding overwatering.
How do I know when my peas are ready to harvest?
The timing of harvest depends on the type of pea you are growing. Snap peas are ready to harvest when the pods are plump and the peas inside are still small and tender. Snow peas are ready to harvest when the pods are flat and the peas inside are barely developed. Shelling peas are ready to harvest when the pods are full and the peas inside are large and plump. The best way to determine if your peas are ready to harvest is to taste them! They should be sweet and tender.
Can I grow peas in containers?
Yes, you can grow peas in containers, but you will need to choose a large container that is at least 12 inches deep and wide. Use a well-draining potting mix and provide a trellis or other support for the plants to climb. Container-grown peas may need more frequent watering and fertilizing than peas grown in the ground.
What are some good companion plants for peas?
Peas are good companions for many other vegetables and herbs. Some good companion plants for peas include carrots, radishes, cucumbers, lettuce, spinach, and mint. Avoid planting peas near onions or garlic, as these can inhibit their growth.
How do I save pea seeds for next year?
To save pea seeds, allow some of the pods to dry completely on the vine. Once the pods are dry and brittle, shell the peas and store them in an airtight container in a cool, dry place. Be sure to label the container with the variety of pea and the date of harvest.
My pea plants are flowering, but not producing pods. What could be the problem?
There are several reasons why your pea plants might be flowering but not producing pods. One possibility is that the weather is too hot. Peas prefer cooler temperatures, and high temperatures can inhibit pod formation. Another possibility is that the plants are not getting enough water or nutrients. Be sure to water your peas regularly and fertilize them with a balanced fertilizer. Finally, it’s possible that the flowers are not being pollinated. Peas are self-pollinating, but sometimes insects can help with pollination. You can try gently shaking the plants to help release pollen.

Leave a Comment