
Growing Oregano at Home is easier than you might think, and I’m here to show you how! Have you ever been frustrated by bland, store-bought herbs that lack the vibrant flavor you crave in your cooking? Or perhaps you’re tired of throwing away wilted bunches of oregano that you only used a tiny bit of? Well, fret no more! This DIY guide will unlock the secrets to cultivating your own thriving oregano patch, right in your own backyard (or even on your windowsill!).
Oregano boasts a rich history, dating back to ancient Greece and Rome, where it was revered for its medicinal properties and culinary uses. The name itself, derived from the Greek words “oros” (mountain) and “ganos” (joy), hints at its wild, fragrant origins. For centuries, oregano has been a staple in Mediterranean cuisine, adding its distinctive zest to countless dishes.
But why should you bother with growing oregano at home? Simple: fresh oregano is bursting with flavor that far surpasses the dried stuff. Plus, it’s incredibly rewarding to harvest your own herbs and know exactly where they came from. With a few simple tricks and hacks, you can enjoy a constant supply of this versatile herb, ready to elevate your culinary creations. Let’s dive in and discover the joy of growing oregano at home!
Growing Oregano at Home: A DIY Guide for Flavorful Success
Hey there, fellow herb enthusiasts! I’m so excited to share my tried-and-true method for growing oregano right in your own home. Forget those sad, wilted bunches from the grocery store – fresh, fragrant oregano is just a few steps away, and trust me, it makes all the difference in your cooking. This guide will walk you through everything you need to know, from choosing the right variety to harvesting your bountiful crop. Let’s get started!
Choosing Your Oregano Variety
Before we dive into the nitty-gritty, let’s talk oregano varieties. Did you know there’s more than one kind? Here are a few popular choices:
* Greek Oregano (Origanum vulgare hirtum): This is the classic, robust oregano you probably think of. It has a strong, pungent flavor and is perfect for Mediterranean dishes.
* Italian Oregano (Origanum x majoricum): A bit milder and sweeter than Greek oregano, Italian oregano is a great all-purpose option.
* Mexican Oregano (Lippia graveolens): Technically not a true oregano, but it has a similar flavor profile with citrusy undertones. It’s fantastic in Mexican cuisine.
* Golden Oregano (Origanum vulgare ‘Aureum’): This variety is grown more for its ornamental value, with beautiful golden leaves. The flavor is milder than other oreganos.
I personally love growing Greek oregano for its intense flavor, but feel free to experiment and find your favorite!
Getting Started: Seeds vs. Cuttings
You have two main options for starting your oregano journey: seeds or cuttings.
* Seeds: Starting from seed is a budget-friendly option, but it takes a bit longer to get a harvest.
* Cuttings: Taking cuttings from an existing plant is faster and easier, especially if you know someone who already grows oregano.
I’ll cover both methods in detail below.
Growing Oregano from Seeds
This method requires a little more patience, but it’s incredibly rewarding to watch your oregano sprout from tiny seeds.
Materials You’ll Need:
* Oregano seeds
* Seed starting tray or small pots
* Seed starting mix
* Spray bottle
* Plastic wrap (optional)
* Grow light (optional, but recommended)
Step-by-Step Instructions:
1. Prepare Your Seed Starting Tray: Fill your seed starting tray or small pots with seed starting mix. Gently pat it down to create a level surface.
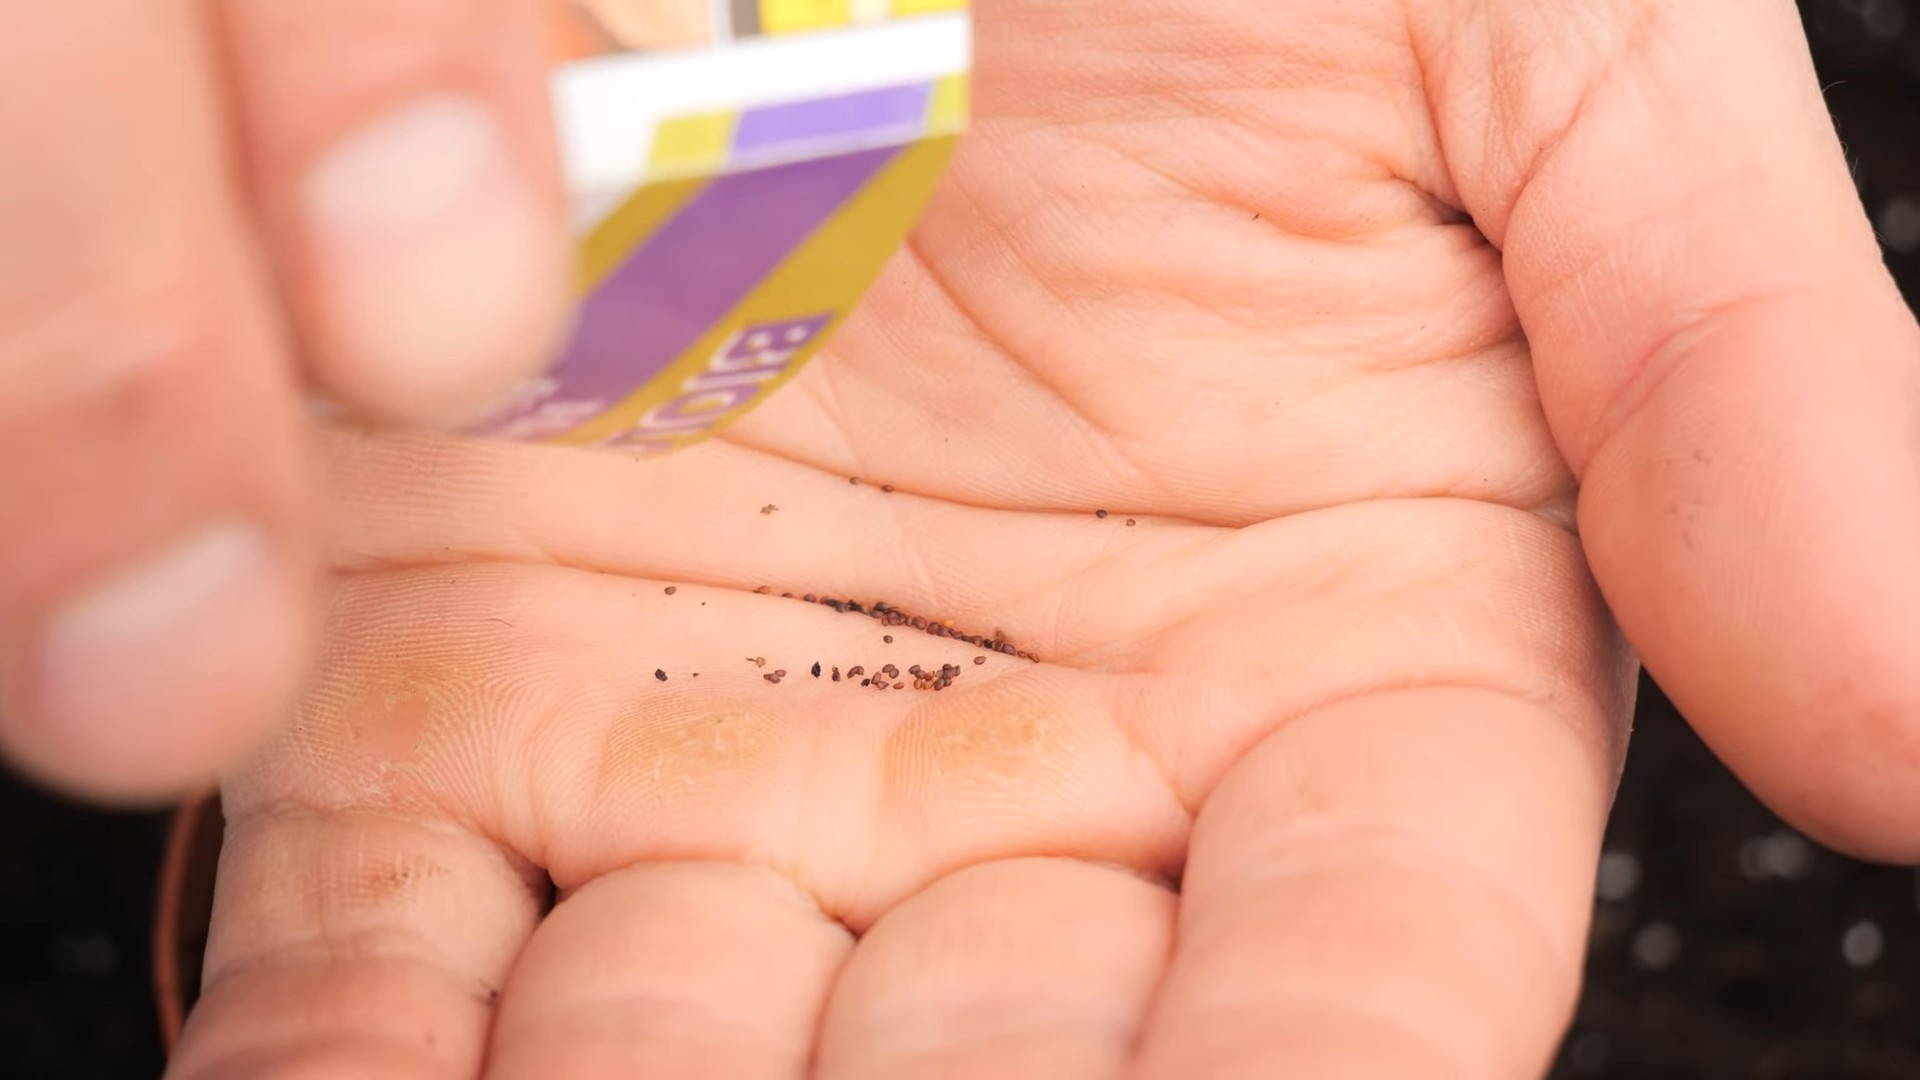
2. Sow the Seeds: Oregano seeds are tiny, so sprinkle them sparingly over the surface of the soil. You don’t want to overcrowd them.
3. Cover Lightly: Gently press the seeds into the soil, but don’t bury them too deeply. They need light to germinate. A very light dusting of soil is sufficient.
4. Water Gently: Use a spray bottle to mist the soil thoroughly. You want to moisten the soil without disturbing the seeds.
5. Create a Humid Environment: Cover the tray with plastic wrap to create a humid environment. This will help the seeds germinate. You can also use a humidity dome if you have one.
6. Provide Light and Warmth: Place the tray in a warm location with bright, indirect light. A grow light is ideal, but a sunny windowsill can also work.
7. Monitor and Water: Check the soil daily and mist it with water as needed to keep it moist. Remove the plastic wrap once the seeds start to germinate.
8. Thin Seedlings: Once the seedlings have a few sets of true leaves, thin them out, leaving only the strongest seedlings in each cell or pot.
9. Transplant: Once the seedlings are large enough to handle (usually after a few weeks), transplant them into larger pots or directly into your garden.
Growing Oregano from Cuttings
This is my preferred method because it’s faster and easier. You’ll get a head start on your oregano harvest!
Materials You’ll Need:
* Healthy oregano plant
* Sharp, clean scissors or pruning shears
* Rooting hormone (optional, but recommended)
* Small pots
* Potting mix
* Water
Step-by-Step Instructions:
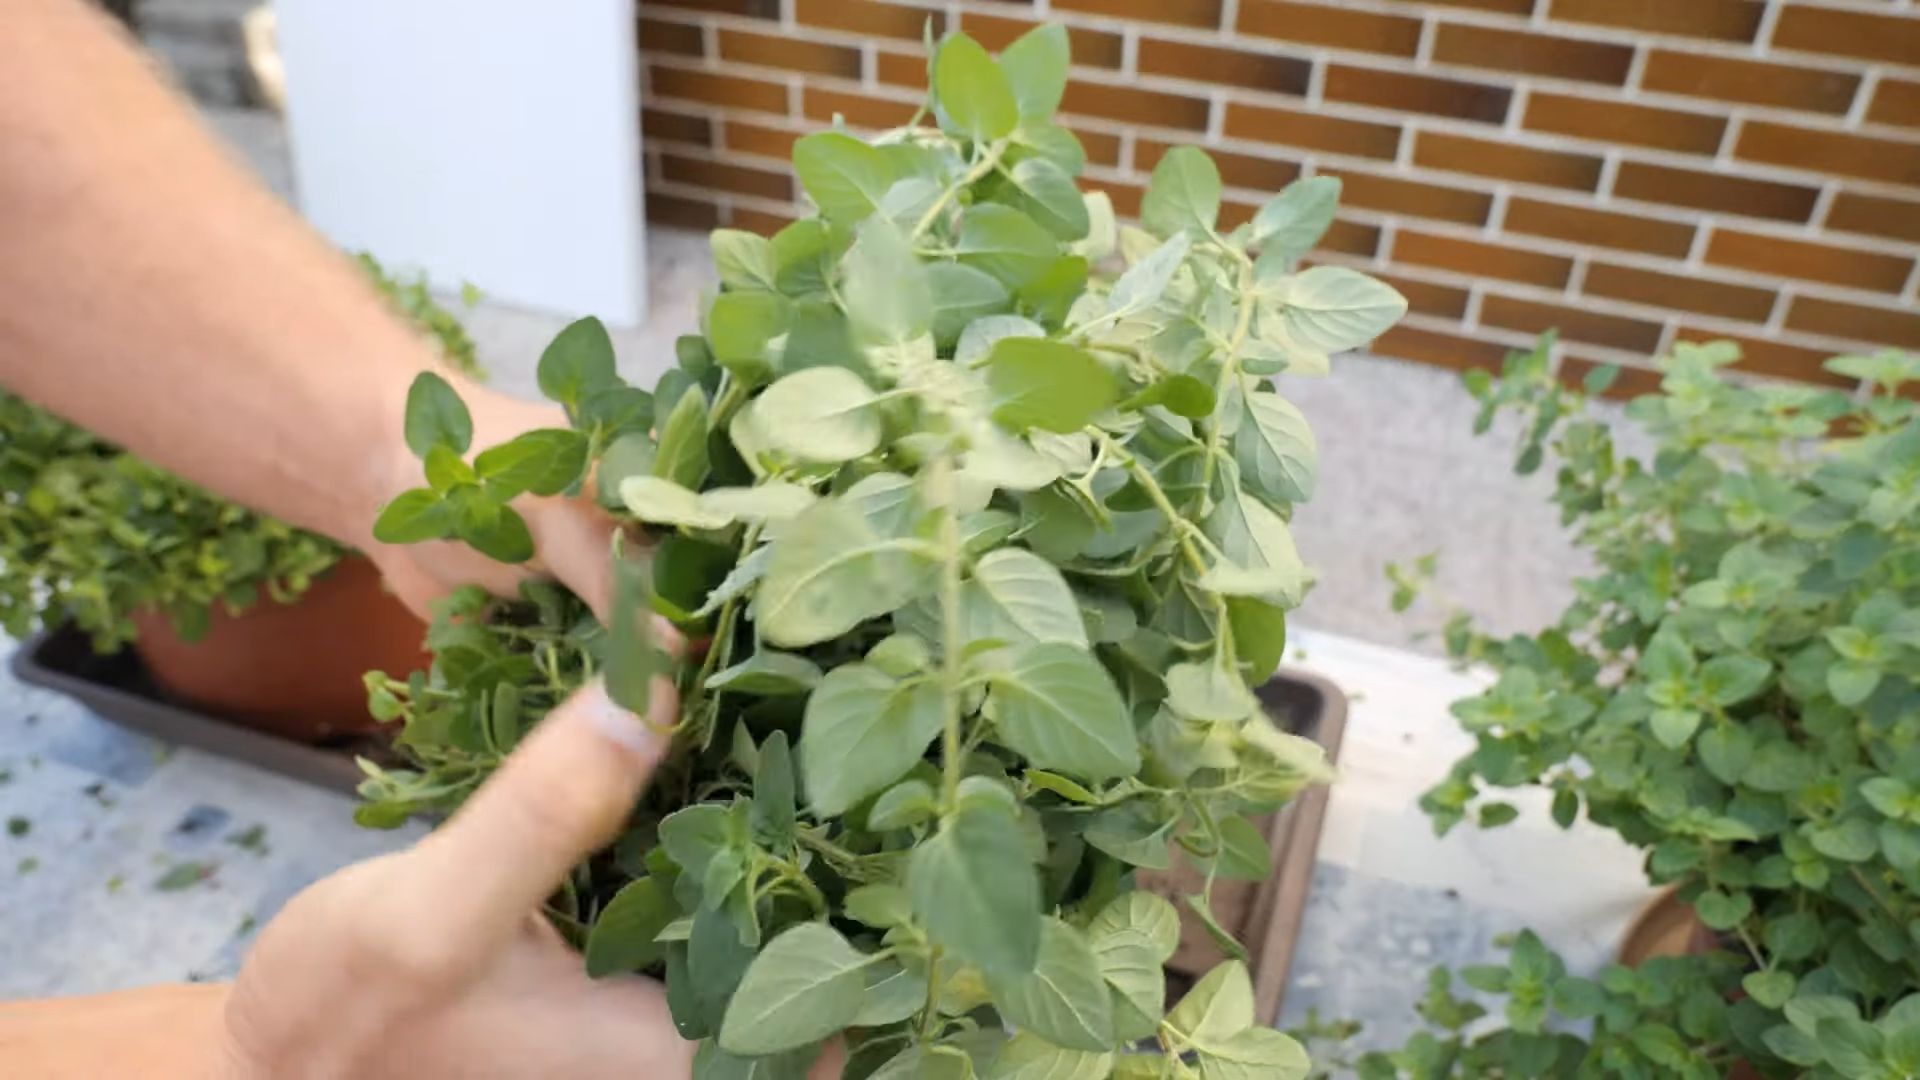
1. Take Cuttings: Choose healthy stems from your oregano plant. Cut 4-6 inch sections just below a leaf node (the point where leaves grow from the stem).
2. Remove Lower Leaves: Remove the leaves from the bottom 1-2 inches of the cutting. This will prevent them from rotting when you plant the cutting.
3. Apply Rooting Hormone (Optional): Dip the cut end of the stem into rooting hormone. This will encourage root growth.
4. Plant the Cuttings: Fill your small pots with potting mix. Make a small hole in the soil and insert the cutting. Gently firm the soil around the cutting.
5. Water Thoroughly: Water the cuttings thoroughly.
6. Create a Humid Environment: Cover the pots with plastic bags or a humidity dome to create a humid environment.
7. Provide Light and Warmth: Place the pots in a warm location with bright, indirect light.
8. Monitor and Water: Check the soil daily and water as needed to keep it moist.
9. Check for Root Growth: After a few weeks, gently tug on the cuttings to check for root growth. If they resist, they’ve rooted!
10. Remove Humidity Cover: Once the cuttings have rooted, gradually remove the humidity cover over a few days to acclimate them to the drier air.
11. Transplant: Once the cuttings are well-rooted, transplant them into larger pots or directly into your garden.
Caring for Your Oregano Plant
Now that you have your oregano plant, it’s time to provide it with the care it needs to thrive.
Sunlight:
Oregano loves sunshine! Aim for at least 6-8 hours of direct sunlight per day. If you’re growing it indoors, a sunny windowsill or a grow light is essential.
Watering:
Water your oregano plant when the top inch of soil feels dry to the touch. Avoid overwatering, as this can lead to root rot. Oregano prefers well-drained soil.
Soil:
Use a well-draining potting mix. You can also amend your soil with perlite or vermiculite to improve drainage.
Fertilizing:
Oregano doesn’t need a lot of fertilizer. A light feeding with a balanced fertilizer every few weeks during the growing season is sufficient.
Pruning:
Regular pruning is essential for keeping your oregano plant healthy and productive. Pinch back the tips of the stems to encourage bushier growth. You can also remove any dead or yellowing leaves.
Pests and Diseases:
Oregano is generally pest-resistant, but it can be susceptible to aphids and spider mites. If you notice any pests, treat them with insecticidal soap or neem oil. Overwatering can lead to root rot, so be sure to provide good drainage.
Harvesting Your Oregano
The best part! You can start harvesting oregano once the plant is about 4-6 inches tall.
How to Harvest:
* Use sharp scissors or pruning shears to cut stems just above a leaf node.
* Harvest in the morning, after the dew has dried.
* Don’t remove more than one-third of the plant at a time.
Using Your Fresh Oregano:
* Use fresh oregano in your favorite recipes.
* Store fresh oregano in the refrigerator for up to a week. Wrap it in a damp paper towel and place it in a plastic bag.
Drying Your Oregano
Drying oregano is a great way to preserve its flavor for later use.
Methods for Drying:
* Air Drying: Tie the stems together in small bundles and hang them upside down in a cool, dry, and well-ventilated place.
* Oven Drying: Spread the oregano leaves on a baking sheet and dry them in a low oven (170°F or 77°C) for a few hours.
* Dehydrator: Use a dehydrator to dry the oregano leaves according to the manufacturer’s instructions.
Storing Dried Oregano:
* Store dried oregano in an airtight container in a cool, dark place.
* Dried oregano will retain its flavor for up to a year.
Troubleshooting
Even with the best care, you might encounter some challenges. Here are a few common problems and how to fix them:
* Yellowing Leaves: This could be a sign of overwatering, underwatering, or nutrient deficiency. Adjust your watering schedule and fertilize as needed.
* Leggy Growth: This is
Conclusion
So, there you have it! Growing oregano at home isn’t just a fun project; it’s a gateway to fresher, more flavorful meals and a more sustainable lifestyle. Forget those sad, dried-out jars of oregano from the supermarket. Imagine stepping out into your garden or onto your balcony and snipping off exactly the amount of vibrant, aromatic oregano you need, right when you need it. The difference in taste is truly remarkable. This DIY trick is a game-changer for any home cook, regardless of experience.
Why is this a must-try? Because it puts you in control. You control the quality of your oregano, ensuring it’s organic and free from any unwanted additives. You control the quantity, always having a fresh supply on hand. And you control the cost, saving money in the long run by avoiding frequent trips to the grocery store. Plus, let’s be honest, there’s something incredibly satisfying about nurturing a plant from a tiny seedling or cutting to a thriving herb.
But the benefits don’t stop there. Growing your own oregano opens up a world of culinary possibilities. Experiment with different varieties! Did you know there’s Greek oregano, known for its intense flavor, and Italian oregano, which is milder and sweeter? You can even try growing golden oregano for its beautiful foliage and subtle taste. Use your fresh oregano in everything from pizzas and pasta sauces to grilled meats and vegetable dishes. Infuse it into olive oil for a flavorful dipping sauce, or dry it for later use. The options are endless!
Consider these variations to personalize your oregano-growing experience:
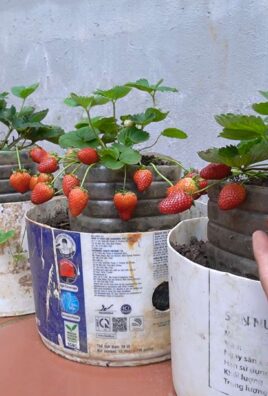
* Container Gardening: If you’re short on space, oregano thrives in pots. Choose a well-draining container and use a high-quality potting mix.
* Hydroponics: For a modern twist, try growing oregano hydroponically. This method allows you to grow herbs indoors without soil, using nutrient-rich water.
* Companion Planting: Plant oregano alongside other herbs and vegetables that benefit from its presence. It’s said to repel certain pests and attract beneficial insects.
* Oregano Tea: Harvest your oregano and dry it to make a soothing and flavorful tea. Oregano tea is known for its potential health benefits.
We wholeheartedly encourage you to give this DIY trick a try. It’s easier than you might think, and the rewards are well worth the effort. Once you’ve experienced the joy of growing your own oregano, you’ll never go back to store-bought again.
Don’t be shy! We’d love to hear about your experiences growing oregano at home. Share your tips, tricks, and photos in the comments below. Let’s build a community of oregano enthusiasts and inspire others to embrace the joys of homegrown herbs. What variety did you choose? What are your favorite ways to use your fresh oregano? We can’t wait to hear from you! This simple act of growing oregano at home can transform your cooking and connect you with nature in a meaningful way.
Frequently Asked Questions (FAQ)
1. What is the best way to start growing oregano?
There are several ways to start growing oregano: from seeds, cuttings, or purchased seedlings. Starting from seeds is the most economical option, but it takes longer. Sow seeds indoors 6-8 weeks before the last expected frost. Cuttings are a faster way to propagate oregano. Simply take a 4-6 inch cutting from a healthy plant, remove the lower leaves, and place it in water or directly into moist potting mix. Purchased seedlings are the easiest option, as they are already established and ready to be planted.
2. What kind of soil does oregano need?
Oregano prefers well-draining soil with a slightly alkaline pH (around 6.5-7.0). Amend heavy clay soil with compost or other organic matter to improve drainage. A mix of potting soil, perlite, and vermiculite works well for container-grown oregano. Avoid overly rich soil, as it can lead to leggy growth and less flavorful leaves.
3. How much sunlight does oregano need?
Oregano thrives in full sun, requiring at least 6-8 hours of direct sunlight per day. If you’re growing oregano indoors, place it near a sunny window or use grow lights. Insufficient sunlight can result in weak, spindly plants with reduced flavor.
4. How often should I water oregano?
Water oregano regularly, but avoid overwatering. Allow the soil to dry out slightly between waterings. Overwatering can lead to root rot, which is a common problem for oregano. Check the soil moisture by sticking your finger into the soil. If the top inch feels dry, it’s time to water.
5. How do I harvest oregano?
You can start harvesting oregano once the plant is about 4-6 inches tall. Simply snip off the stems with scissors or pruning shears. Regular harvesting encourages bushier growth. For the best flavor, harvest oregano in the morning after the dew has dried.
6. Can I dry oregano?
Yes, drying oregano is a great way to preserve it for later use. To dry oregano, tie the stems together and hang them upside down in a cool, dry, and well-ventilated place. Alternatively, you can spread the leaves on a screen or dehydrator tray. Once the leaves are completely dry, crumble them and store them in an airtight container.
7. How do I prune oregano?
Prune oregano regularly to encourage bushier growth and prevent it from becoming leggy. Trim back the stems by about one-third after flowering. You can also pinch off the tips of the stems to promote branching.
8. What are some common pests and diseases that affect oregano?
Oregano is generally pest and disease-resistant, but it can be susceptible to aphids, spider mites, and root rot. Inspect your plants regularly for signs of pests or diseases. Treat infestations with insecticidal soap or neem oil. Prevent root rot by ensuring proper drainage and avoiding overwatering.
9. Can I grow oregano indoors?
Yes, oregano can be grown indoors, provided it receives enough sunlight or artificial light. Place the plant near a sunny window or use grow lights. Ensure the pot has drainage holes and use a well-draining potting mix.
10. What are the health benefits of oregano?
Oregano is rich in antioxidants and has potential anti-inflammatory and antimicrobial properties. It has been traditionally used to treat various ailments, such as coughs, colds, and digestive problems. However, more research is needed to confirm these health benefits. Always consult with a healthcare professional before using oregano for medicinal purposes.
11. What are some different varieties of oregano?
There are many different varieties of oregano, each with its own unique flavor and characteristics. Some popular varieties include Greek oregano (Origanum vulgare hirtum), Italian oregano (Origanum x majoricum), Mexican oregano (Lippia graveolens), and golden oregano (Origanum vulgare ‘Aureum’). Experiment with different varieties to find your favorite.
12. How do I overwinter oregano?
In colder climates, oregano may need to be overwintered indoors. Before the first frost, dig up the plant and pot it in a container. Bring the container indoors and place it in a sunny location. Water sparingly during the winter months. Alternatively, you can take cuttings from the plant and root them indoors to create new plants for the following spring.

Leave a Comment