
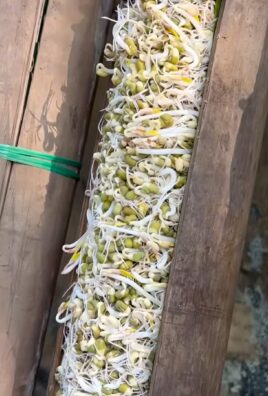
Harvest Garlic Easily? Absolutely! Imagine effortlessly pulling plump, perfectly formed garlic bulbs from your garden, ready to infuse your culinary creations with their pungent, delightful flavor. No more struggling with broken stems or leaving precious cloves behind in the soil. This isn’t just a dream; it’s an achievable reality with a few simple tricks and DIY hacks that I’m excited to share with you.
Garlic, a staple in cuisines worldwide, boasts a rich history dating back thousands of years. From ancient Egypt, where it was revered for its medicinal properties and even used as currency, to its prominent role in Mediterranean cooking, garlic has always been a culinary powerhouse. Growing your own allows you to connect with this history and enjoy the freshest, most flavorful garlic imaginable.
But let’s be honest, harvesting garlic can sometimes feel like a chore. You might be wondering, “Why do I need these DIY tricks?” Well, improper harvesting can lead to damaged bulbs, reduced storage life, and a less-than-satisfying yield. That’s where these simple, yet effective, techniques come in. I’m going to show you how to harvest garlic easily and efficiently, ensuring a bountiful and delicious harvest every time. Get ready to unlock the secrets to perfectly harvested garlic and elevate your home gardening game!
Harvest Garlic Like a Pro: My Foolproof DIY Hack
Okay, garlic lovers, gather ’round! Harvesting garlic can feel like a treasure hunt, but sometimes you end up digging and digging with little to show for it. I’ve been there! After years of struggling, I’ve perfected a DIY hack that makes harvesting garlic so much easier and less damaging to those precious bulbs. Trust me, this will change your garlic-growing game.
The Secret Weapon: A Homemade Garlic Lifter
The key to this whole operation is a simple tool I crafted myself. It’s basically a modified garden fork, but the changes make all the difference.
Materials You’ll Need:
* A sturdy garden fork (the kind with four tines is ideal)
* A metal pipe (about 1 inch in diameter and 12 inches long)
* A metal rod (slightly smaller diameter than the inside of the pipe, about 14 inches long)
* A welding machine (or access to one – maybe a friend can help!)
* A metal file or grinder
* Safety glasses
* Work gloves
* Measuring tape or ruler
* Marker
Building Your Garlic Lifter: Step-by-Step
1. Prepare the Fork: First, put on your safety glasses and gloves! We’re dealing with metal here. Examine your garden fork. You want to modify the curve of the tines slightly. The goal is to make them a little less aggressive, so they slide under the garlic bulb more easily without piercing it. If your fork tines are very sharply curved, you might gently bend them straighter using a vise and some leverage. Be careful not to weaken the metal.
2. Creating the Handle Extension: This is where the metal pipe comes in. The pipe will extend the handle of the fork, giving you more leverage. Slide the metal pipe over the existing handle of the garden fork. You want it to slide on as far as possible, ideally covering at least 6 inches of the original handle.
3. Welding the Pipe: Now comes the welding part. If you’re not comfortable welding, definitely enlist the help of someone who is experienced. Carefully weld the metal pipe to the garden fork handle. Make sure the weld is strong and secure all the way around the circumference of the pipe where it meets the fork handle. This is crucial for the tool’s durability. Let the weld cool completely before proceeding.
4. Reinforcing the Handle: The metal rod adds extra strength to the extended handle. Slide the metal rod into the pipe from the top. It should go down as far as it can, ideally reaching the original fork handle inside the pipe.
5. Securing the Rod: Weld the metal rod to the top of the metal pipe. Again, make sure the weld is strong and secure. This prevents the rod from slipping out and provides additional support to the extended handle. Let the weld cool completely.
6. Finishing Touches: Once everything is cool, use a metal file or grinder to smooth down any rough edges or sharp points on the welds. This will make the tool safer and more comfortable to use.
7. Testing the Tool: Before you head out to the garlic patch, give your new garlic lifter a test run. Try inserting it into the soil and gently lifting. Make sure the tines slide in easily and that the handle feels sturdy.
Harvesting Your Garlic: The Gentle Lift Method
Now that you have your custom garlic lifter, it’s time to harvest those beautiful bulbs!
When to Harvest: The Timing is Key
Knowing when to harvest is just as important as having the right tool. Here’s what I look for:
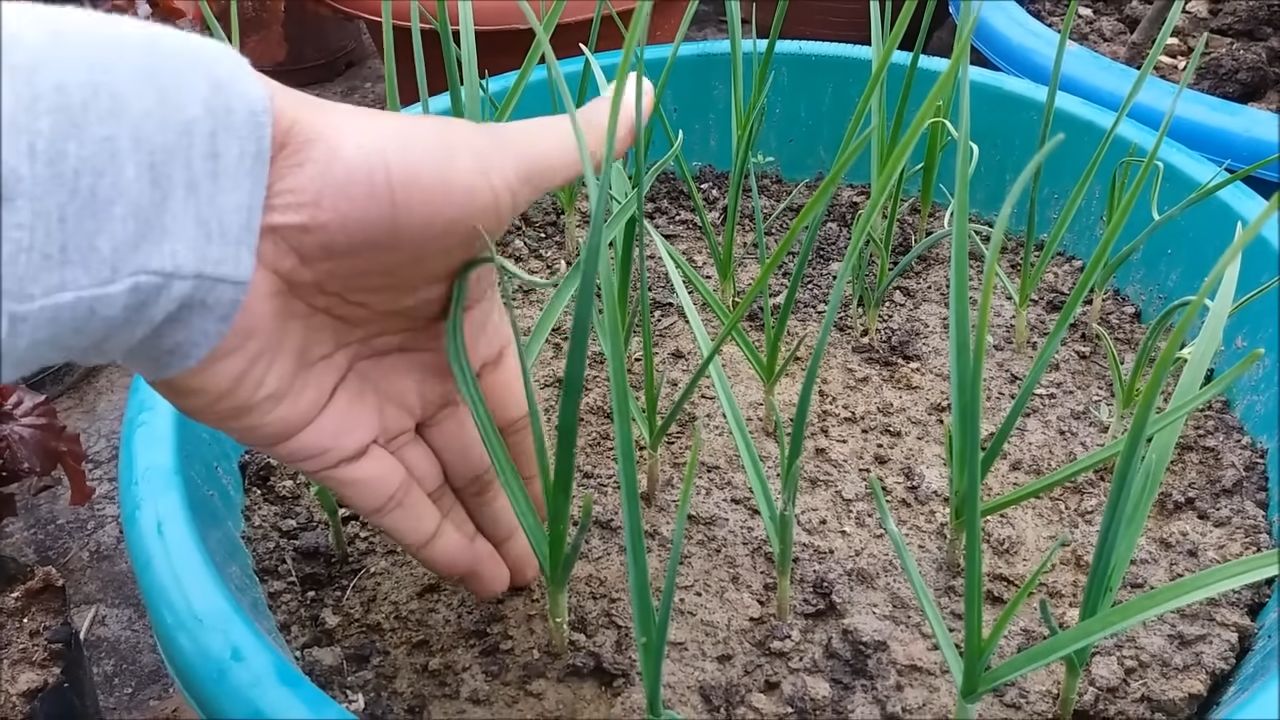
* The Leaves: The bottom leaves of the garlic plant will start to turn yellow and brown. This usually happens when about 1/3 to 1/2 of the leaves have died back. Don’t wait until all the leaves are brown, or the bulbs might start to deteriorate in the ground.
* The Scape (if you grew hardneck garlic): If you grew hardneck garlic, you probably harvested the scapes earlier in the season. Harvesting the scapes encourages the bulb to grow larger.
* Check a Test Bulb: The best way to be sure is to dig up a test bulb. If the bulb is plump and the cloves are well-defined, it’s time to harvest!
Harvesting Steps:
1. Prepare the Area: Water the garlic patch a day or two before harvesting. This will soften the soil and make it easier to lift the bulbs.
2. Insert the Lifter: Carefully insert the tines of your garlic lifter into the soil about 4-6 inches away from the garlic plant. Angle the tines slightly downwards, so you’re lifting under the bulb rather than piercing it.
3. Gently Lift: Gently push down on the handle of the lifter to lift the soil and the garlic bulb. Avoid yanking or pulling, as this can damage the bulb or separate it from the stem.
4. Loosen the Soil: If the soil is compacted, you might need to wiggle the lifter back and forth to loosen the soil around the bulb before lifting.
5. Lift and Remove: Once the bulb is loose, carefully lift it out of the ground. Brush off any excess soil.
6. Handle with Care: Garlic bulbs are delicate, especially when freshly harvested. Handle them gently to avoid bruising or damaging them.
7. Repeat: Repeat the process for each garlic plant, working your way down the row.
8. Inspect for Damage: As you harvest, inspect each bulb for any signs of damage or disease. Discard any bulbs that are soft, rotten, or have signs of pests.
Curing Your Garlic: The Key to Long-Term Storage
Harvesting is only half the battle. Curing your garlic properly is essential for long-term storage.
Curing Steps:
1. Clean (Optional): Some people like to gently brush off the excess soil from the bulbs, while others prefer to leave it on. It’s up to you. If you do clean them, be very careful not to damage the outer layers of the bulb.
2. Prepare for Curing: Lay the garlic plants out in a single layer on a screen or slatted surface. Make sure there’s good air circulation around each bulb. You can also braid the garlic plants together and hang them to cure.
3. Choose a Curing Location: The ideal curing location is a dry, well-ventilated, and shaded area. A barn, shed, or garage works well. Avoid direct sunlight, as it can scorch the bulbs.
4. Curing Time: Cure the garlic for 2-4 weeks, or until the necks are completely dry and the outer skins are papery.
5. Check for Mold: During the curing process, check the garlic regularly for any signs of mold or rot. Remove any affected bulbs immediately to prevent the spread of disease.
Storing Your Garlic: Keeping it Fresh
Once the garlic is fully cured, it’s time to store it properly.
Storage Tips:
* Trim the Roots: Trim the roots of the garlic bulbs to about 1/2 inch long.
* Leave the Stalks (Optional): You can leave the stalks on the bulbs if you plan to braid them for storage. Otherwise, trim the stalks to about 1-2 inches above the bulb.
* Choose a Storage Location: Store the garlic in a cool, dry, and dark place. A temperature between 60-70°F (15-21°C) is ideal.
* Proper Ventilation: Store the garlic in a mesh bag, basket, or other container that allows for good air circulation.
* Avoid Refrigeration: Don’t store garlic in the refrigerator, as it can cause it to sprout or become moldy.
* Check Regularly: Check the garlic regularly for any signs of spoilage. Use any soft or sprouting bulbs first.
Troubleshooting: Common Garlic Harvesting Problems
Even with the best tools and techniques, you might encounter some problems during garlic harvesting. Here are a few common issues and how to address them:
* Bulbs are Damaged: If you accidentally damage a bulb during harvesting, use it immediately. Damaged bulbs don’t store well.
* Bulbs are Small: If your garlic bulbs are smaller than expected, it could be due to several factors, such as poor soil, insufficient watering, or competition from weeds. Amend the soil with compost before planting next year, water regularly, and keep the area weed-free.
* Garlic Rot: Garlic rot can be caused by various fungal or bacterial diseases. To prevent it, plant disease-resistant varieties, ensure good drainage, and avoid overwatering.
* Pests: Pests like garlic mites can damage the bulbs. Inspect the bulbs regularly and take appropriate measures to control pests if necessary.
With this DIY garlic lifter and these harvesting tips
Conclusion
So, there you have it! Harvesting garlic can often feel like a Herculean task, a battle against stubborn bulbs clinging fiercely to the earth. But with this simple, yet incredibly effective DIY trick, you can transform garlic harvesting from a chore into a breeze. This method isn’t just about ease; it’s about preserving the integrity of your precious garlic crop. By gently loosening the soil around the bulbs before pulling, you minimize the risk of bruising, breaking, or otherwise damaging your hard-earned harvest. Damaged bulbs are more susceptible to rot and spoilage, significantly reducing their storage life.
Think about it: all those months of nurturing, watering, and weeding culminate in this final act. Why risk losing a portion of your yield to a clumsy harvest? This DIY trick ensures that you reap the full rewards of your labor, bringing in a healthy, intact crop ready for curing and long-term storage.
Beyond the basic technique, there are several variations you can explore to further optimize your garlic harvesting experience. For instance, if you’re dealing with particularly compacted soil, consider using a garden fork instead of a trowel to loosen the earth. Insert the fork a few inches away from the bulb and gently rock it back and forth to create space. Be careful not to pierce the bulb itself! Another variation involves pre-soaking the soil a day or two before harvest. This can make the soil even softer and easier to work with, especially in drier climates. However, avoid overwatering, as excessively wet soil can also make the bulbs more prone to damage.
And don’t forget the importance of timing! Knowing when to harvest garlic is just as crucial as knowing how to harvest it. Look for signs like yellowing and browning of the lower leaves, while the top leaves are still mostly green. This typically indicates that the bulbs have reached their peak size and flavor. Harvesting too early can result in smaller, less flavorful bulbs, while harvesting too late can lead to bulb splitting and reduced storage life.
We wholeheartedly encourage you to try this DIY trick for harvesting garlic during your next harvest. It’s a game-changer that will save you time, effort, and potentially a significant portion of your crop. Once you’ve experienced the ease and effectiveness of this method, you’ll never go back to struggling with stubborn garlic bulbs again.
But the real magic happens when we share our experiences and learn from each other. We’d love to hear about your own garlic harvesting adventures! Did this DIY trick work for you? Did you try any variations or modifications? What challenges did you encounter, and how did you overcome them? Share your stories, tips, and photos in the comments below. Let’s create a community of garlic growers who are passionate about maximizing their yields and enjoying the fruits (or rather, the bulbs!) of their labor. Your insights could be invaluable to other gardeners who are just starting out or looking for ways to improve their own harvesting techniques. So, get out there, harvest your garlic with confidence, and let’s talk garlic!
Frequently Asked Questions (FAQ)
When is the best time to harvest garlic?
The ideal time to harvest garlic is when the lower leaves of the plant begin to turn yellow and brown, while the top leaves are still mostly green. This usually occurs in late summer or early fall, depending on your climate and the variety of garlic you’re growing. A good rule of thumb is to harvest when about 50-60% of the leaves have turned brown. Harvesting too early will result in smaller bulbs, while harvesting too late can cause the bulbs to split and reduce their storage life. Keep a close eye on your plants and monitor their progress regularly to determine the optimal harvest time.
What tools do I need for harvesting garlic using this DIY trick?
You’ll need a few basic gardening tools: a trowel or garden fork, gloves, and a clean container or basket to collect your harvested garlic. The trowel or garden fork is used to gently loosen the soil around the bulbs. Gloves will protect your hands from dirt and potential irritants. A clean container is essential for keeping your harvested garlic clean and preventing damage during transport. You might also want to have a pair of pruning shears or scissors on hand to trim the roots and tops of the garlic after harvesting.
How do I cure garlic after harvesting?
Curing garlic is essential for long-term storage. After harvesting, gently brush off any excess dirt from the bulbs, but avoid washing them. Tie the garlic plants together in bundles of 6-10 bulbs and hang them in a well-ventilated, dry, and shaded area for 2-4 weeks. Good air circulation is crucial to prevent mold and rot. The garlic is properly cured when the necks are dry and tight, and the outer skins are papery. Once cured, you can trim the roots and tops, leaving about an inch of stem above the bulb. Store the cured garlic in a cool, dry, and dark place, such as a pantry or basement.
What if the soil is very hard and compacted?
If you’re dealing with very hard and compacted soil, you might need to take extra steps to loosen it before harvesting. Try watering the soil deeply a day or two before harvest to soften it. You can also use a garden fork instead of a trowel to loosen the soil. Insert the fork a few inches away from the bulb and gently rock it back and forth to create space. Be careful not to pierce the bulb itself. In extreme cases, you might need to use a soil loosening tool or even consider amending the soil with organic matter to improve its texture and drainage for future plantings.
Can I use this trick for all types of garlic?
Yes, this DIY trick is suitable for harvesting all types of garlic, including both hardneck and softneck varieties. However, hardneck garlic tends to be more sensitive to damage, so extra care should be taken when loosening the soil around the bulbs. Regardless of the variety, the principle remains the same: gently loosen the soil to minimize the risk of bruising or breaking the bulbs during harvest.
What should I do with damaged garlic bulbs?
Damaged garlic bulbs are more susceptible to rot and spoilage and should not be stored long-term. Use them as soon as possible in your cooking. You can also chop them up and freeze them for later use. Avoid using damaged bulbs for planting, as they may not sprout properly.
How can I prevent garlic rot during storage?
Proper curing is the key to preventing garlic rot during storage. Ensure that the garlic is thoroughly dried and cured in a well-ventilated area before storing it. Avoid storing garlic in humid or damp environments, as this can promote mold growth. Regularly check your stored garlic for any signs of rot or spoilage and remove any affected bulbs immediately to prevent the spread of the problem.
Is it necessary to trim the roots and tops of the garlic after curing?
Trimming the roots and tops of the garlic after curing is not strictly necessary, but it can help to improve its appearance and prevent the spread of pests or diseases. Trimming the roots also makes the bulbs easier to handle and store. When trimming, leave about an inch of stem above the bulb and cut the roots close to the base of the bulb.
Leave a Comment