
Mint Growing in Pots: Unlock the secrets to a thriving herb garden, even if you’re short on space! Have you ever dreamed of stepping outside your kitchen and snipping fresh mint for a refreshing mojito or a fragrant cup of tea? I know I have! But the thought of an unruly mint patch taking over my entire garden always held me back. That’s where the magic of container gardening comes in, and specifically, mastering the art of mint growing in pots.
Mint has a rich history, dating back to ancient civilizations where it was prized for its medicinal and culinary properties. From the Egyptians using it in religious ceremonies to the Romans flavoring their sauces and wines, mint has always been a beloved herb. Today, its popularity continues to soar, and for good reason! But let’s be honest, mint’s vigorous growth can be a bit… aggressive. That’s why growing it in pots is the perfect solution.
This DIY guide is your ticket to enjoying a constant supply of fresh mint without the worry of it spreading like wildfire. I’ll walk you through everything you need to know, from choosing the right pot and soil to watering and pruning techniques. Imagine the satisfaction of harvesting your own homegrown mint, knowing you’ve created a little oasis of freshness right on your windowsill or balcony. So, grab your gardening gloves, and let’s get started on this exciting journey of mint growing in pots! You’ll be amazed at how easy and rewarding it can be.
Growing Mint in Pots: A DIY Guide to Fresh Flavor at Your Fingertips
Hey there, fellow herb enthusiasts! I’m so excited to share my tried-and-true method for growing mint in pots. Mint is such a versatile herb, perfect for everything from refreshing mojitos to adding a zing to your salads. Plus, growing it yourself is incredibly rewarding. Trust me, once you’ve tasted homegrown mint, you’ll never go back to the store-bought stuff!
Why grow mint in pots, you ask? Well, mint is notorious for being an aggressive grower. Plant it directly in your garden, and it’ll quickly take over everything. Containing it in a pot is the best way to enjoy its deliciousness without the headache of constant weeding and control.
What You’ll Need
Before we dive in, let’s gather our supplies. Here’s a list of everything you’ll need to successfully grow mint in pots:
* **A Pot:** Choose a pot that’s at least 12 inches in diameter. This gives the mint plenty of room to spread its roots. Make sure it has drainage holes!
* **Potting Mix:** Use a high-quality potting mix, not garden soil. Potting mix is lighter and provides better drainage, which is crucial for mint.
* **Mint Plant or Seeds:** You can start with a young mint plant from a nursery or grow it from seeds. I personally prefer starting with a plant because it’s faster and easier.
* **Watering Can:** For gentle watering.
* **Optional: Slow-Release Fertilizer:** This will provide your mint with a steady supply of nutrients.
* **Optional: Pebbles or Gravel:** To improve drainage at the bottom of the pot.
* **Gardening Gloves:** To keep your hands clean.
Step-by-Step Instructions: Planting Your Mint
Alright, let’s get our hands dirty! Here’s how to plant your mint in a pot:
1. **Prepare the Pot:** If you’re using a new pot, give it a quick rinse to remove any dust or debris. If you’re using an old pot, make sure it’s clean and free of any lingering diseases.
2. **Add Drainage (Optional):** Place a layer of pebbles or gravel at the bottom of the pot. This will help improve drainage and prevent the roots from sitting in water.
3. **Fill with Potting Mix:** Fill the pot with potting mix, leaving about an inch or two of space at the top.
4. **Plant the Mint:**
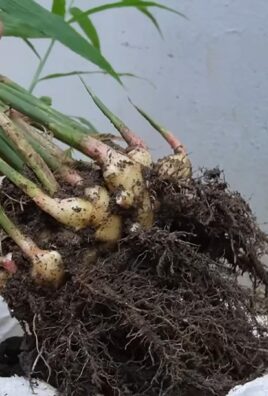
* **If you’re using a plant:** Gently remove the mint plant from its nursery container. Loosen the roots a bit with your fingers. Dig a hole in the potting mix that’s large enough to accommodate the root ball. Place the plant in the hole and backfill with potting mix. Gently pat down the soil around the plant.
* **If you’re using seeds:** Sprinkle the mint seeds evenly over the surface of the potting mix. Lightly cover the seeds with a thin layer of potting mix. Gently water the soil.
5. **Water Thoroughly:** Water the mint plant thoroughly until water drains out of the drainage holes. This will help settle the soil and ensure that the roots are properly hydrated.
Caring for Your Mint Plant
Now that your mint is planted, it’s time to learn how to care for it. Here’s what you need to know:
1. **Sunlight:** Mint thrives in partial shade to full sun. Aim for at least 4-6 hours of sunlight per day. If you live in a hot climate, afternoon shade is beneficial.
2. **Watering:** Mint likes consistently moist soil, but not soggy. Water when the top inch of soil feels dry to the touch. Avoid overwatering, as this can lead to root rot. During hot weather, you may need to water more frequently.
3. **Fertilizing:** Feed your mint plant with a balanced liquid fertilizer every 2-4 weeks during the growing season (spring and summer). Alternatively, you can use a slow-release fertilizer when you plant the mint.
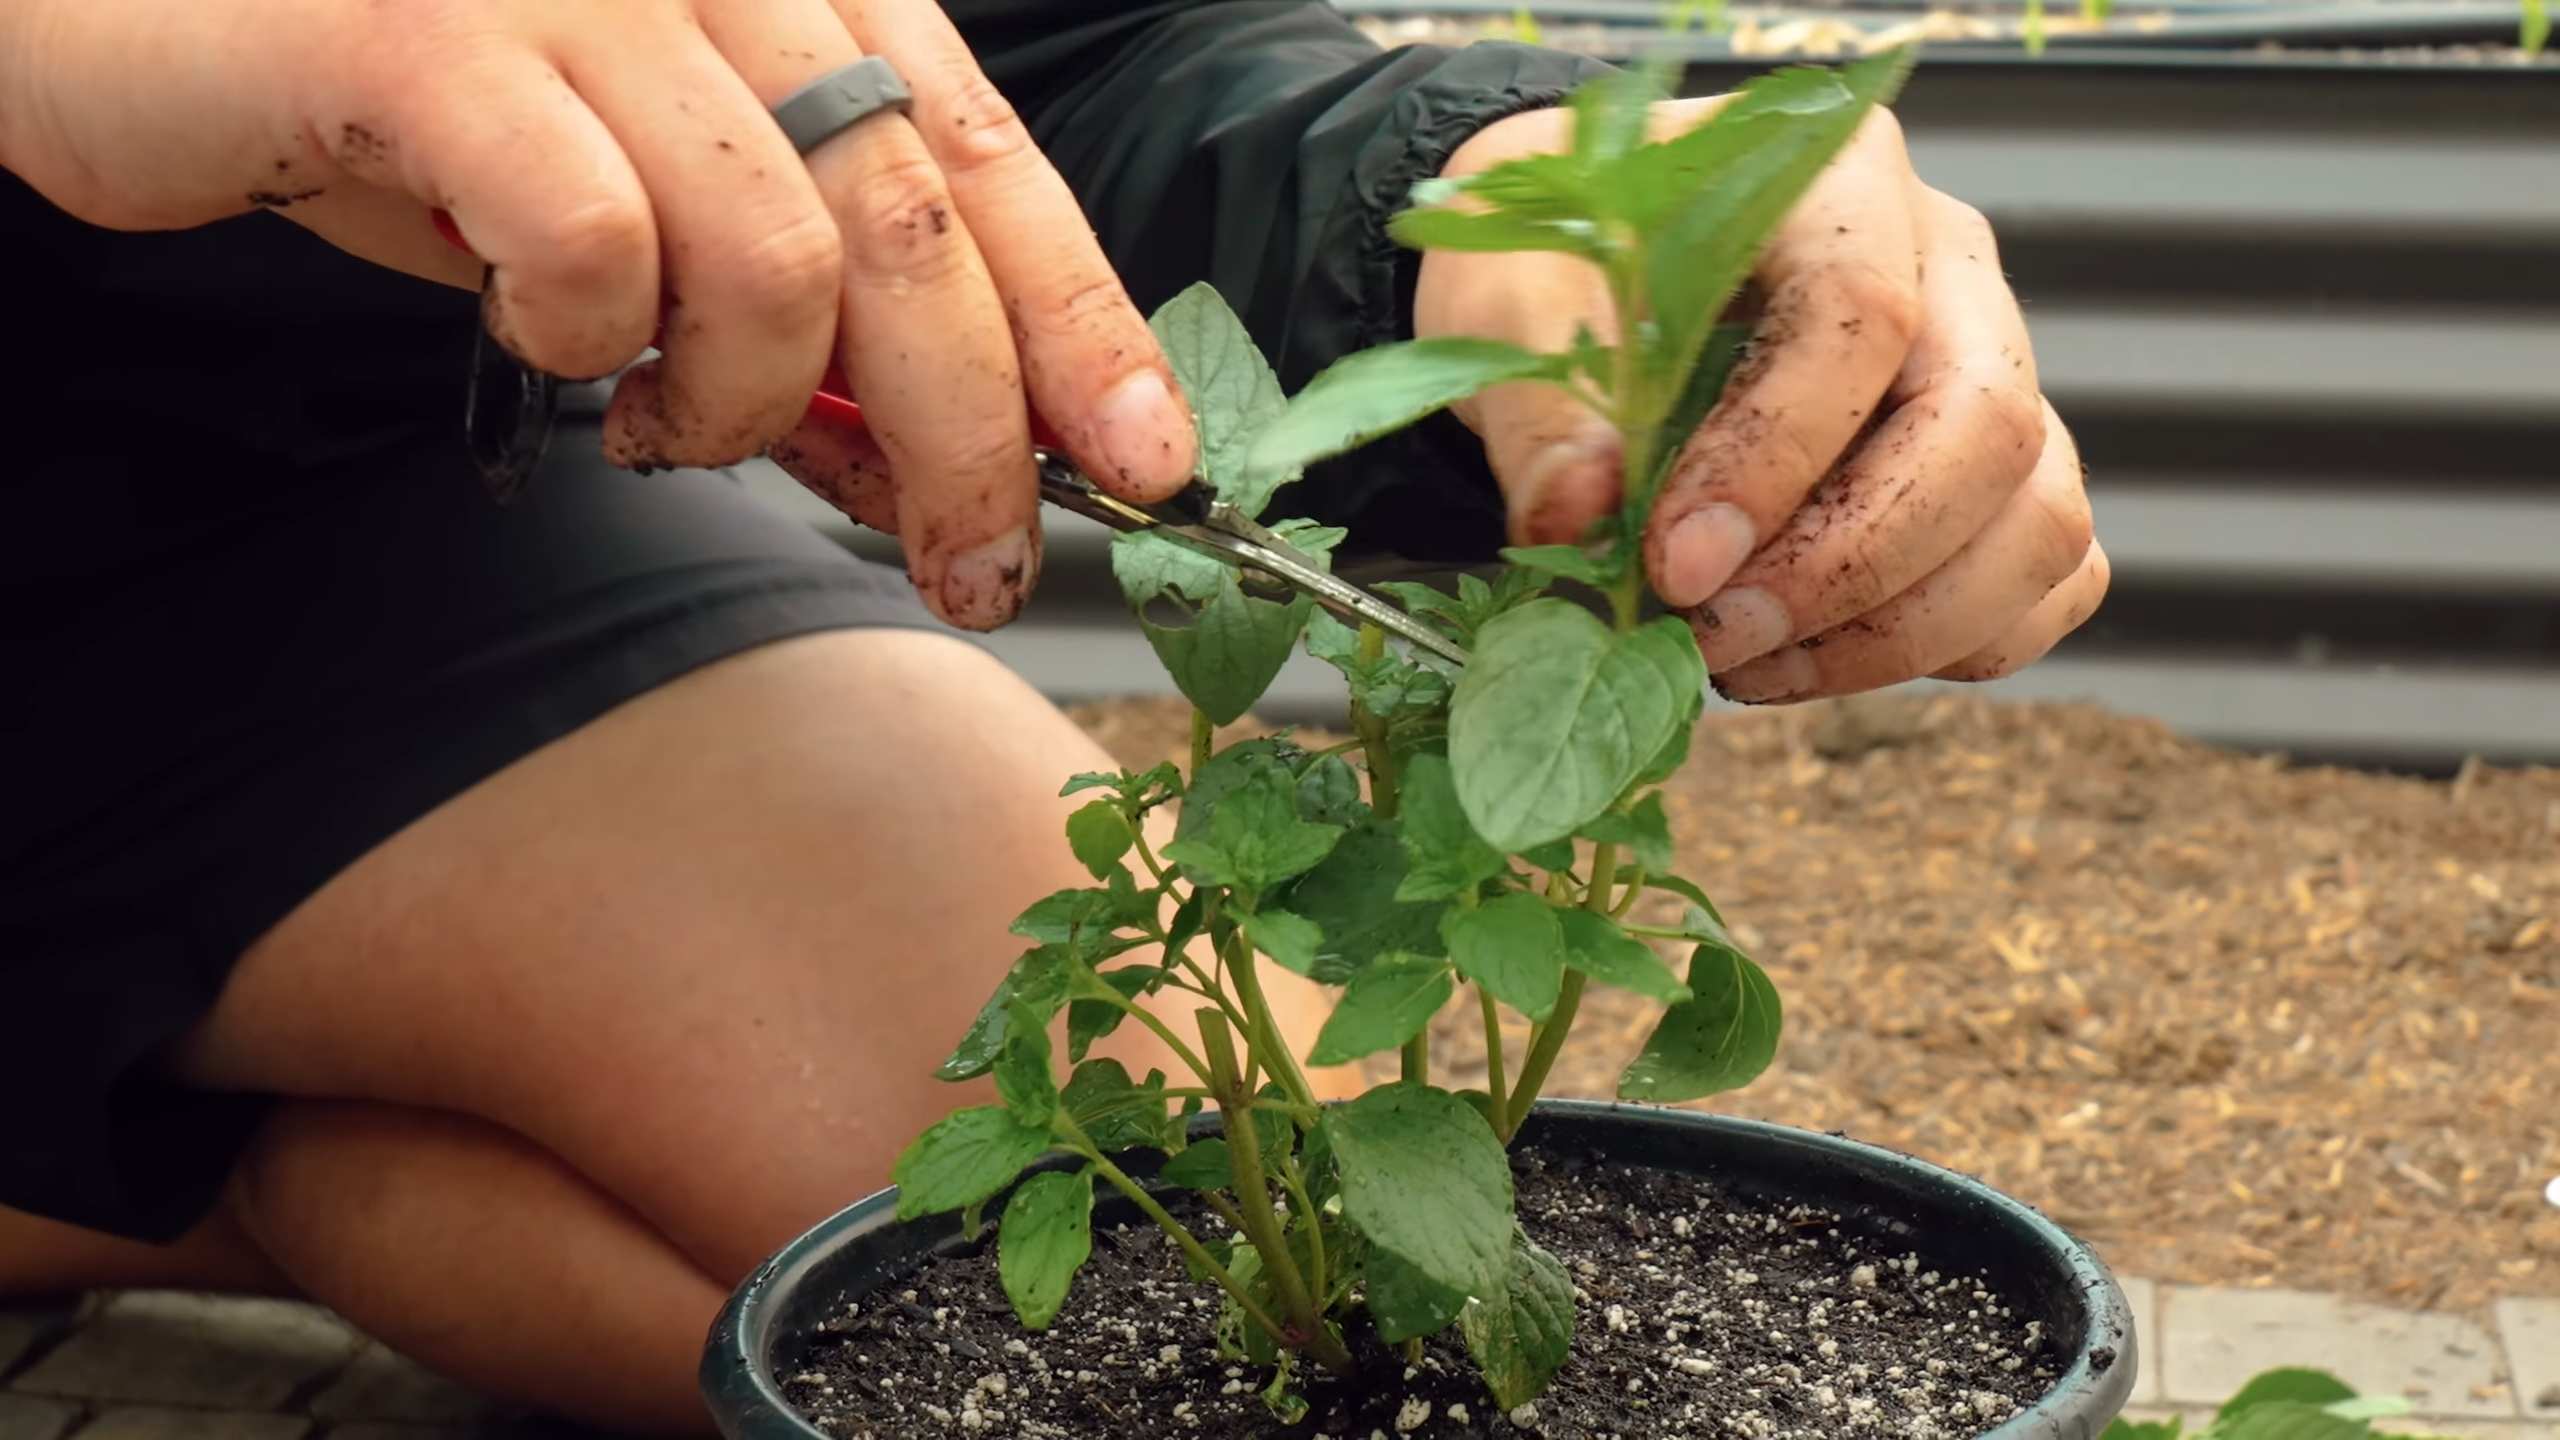
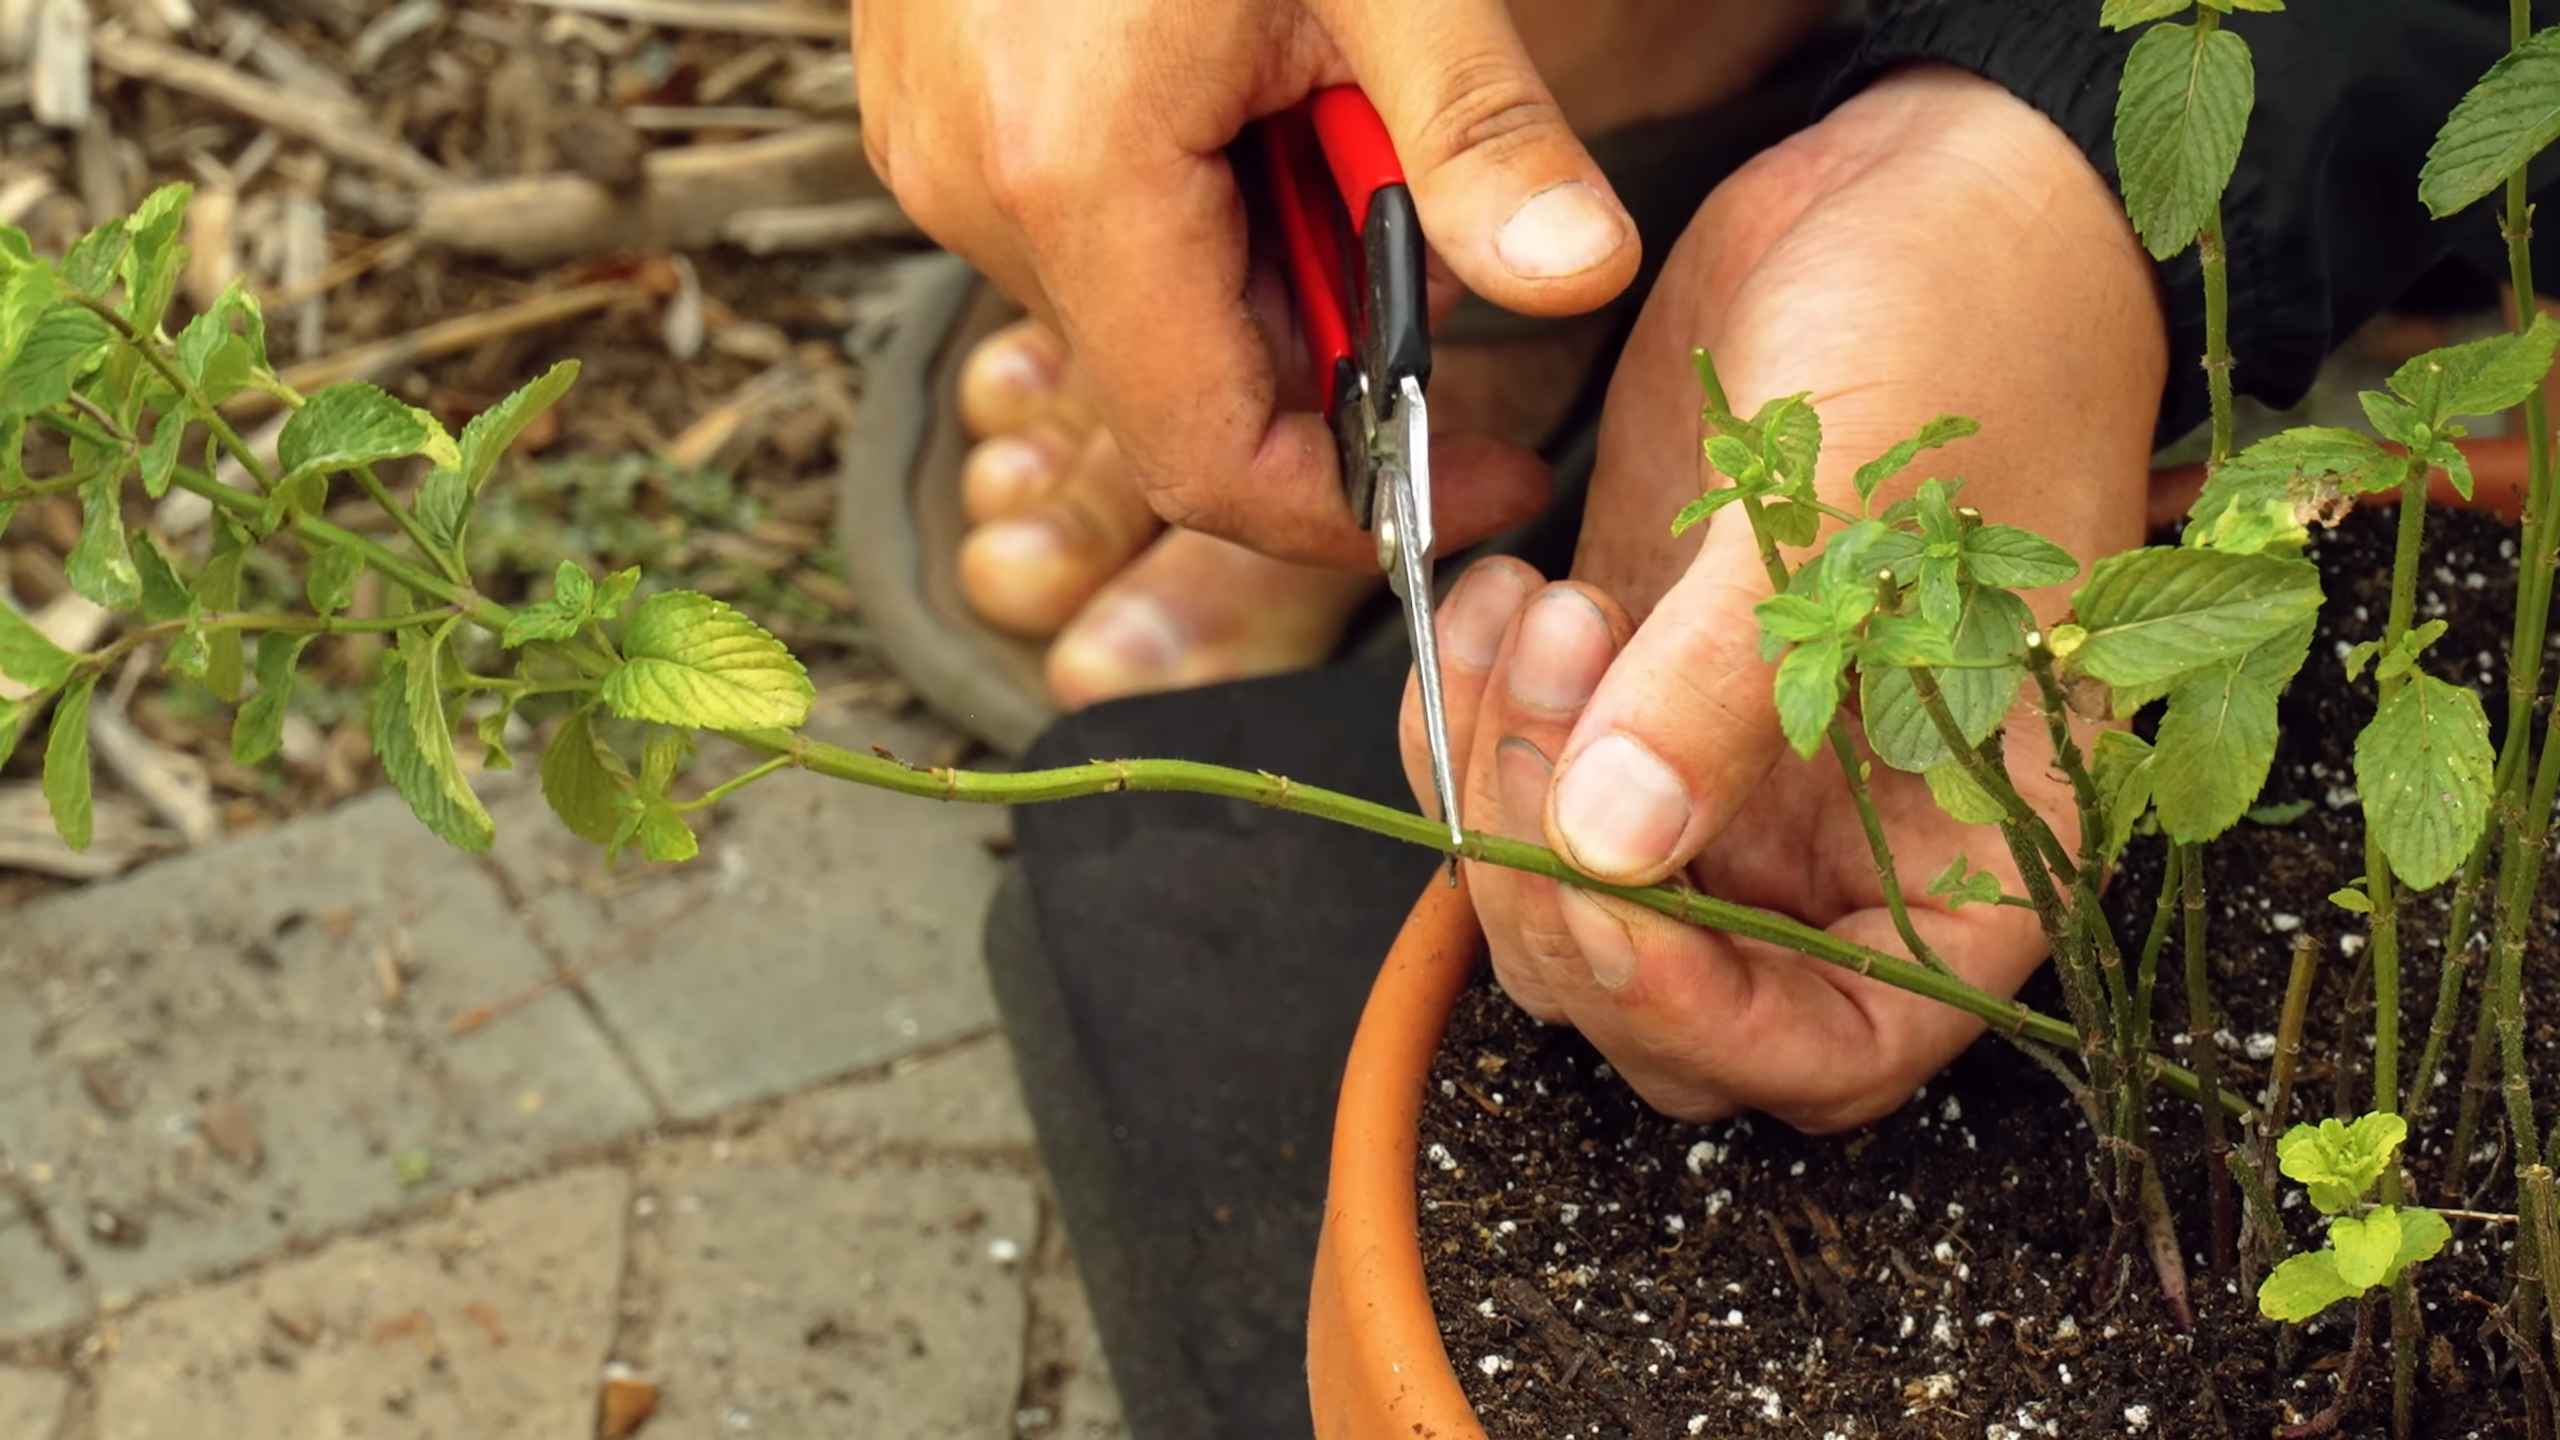
4. **Pruning:** Pruning is essential for keeping your mint plant healthy and productive. Regularly pinch off the top leaves to encourage bushier growth. You can also prune back the entire plant by about one-third every few weeks to prevent it from becoming leggy. Don’t be afraid to harvest your mint frequently! The more you harvest, the more it will grow.
5. **Pest Control:** Mint is relatively pest-resistant, but it can occasionally be affected by aphids, spider mites, or whiteflies. If you notice any pests, try spraying the plant with a strong stream of water or using an insecticidal soap.
6. **Overwintering:** In colder climates, mint may die back in the winter. Don’t worry, it will usually come back in the spring. To help protect your mint plant during the winter, you can move it indoors or mulch around the base of the plant.
Troubleshooting Common Mint Problems
Even with the best care, you might encounter some problems with your mint plant. Here are a few common issues and how to fix them:
* **Yellowing Leaves:** This can be caused by overwatering, underwatering, or nutrient deficiencies. Check the soil moisture and adjust your watering accordingly. If the soil is consistently moist, reduce your watering frequency. If the soil is dry, water more often. You can also try fertilizing the plant with a balanced fertilizer.
* **Leggy Growth:** This is usually caused by insufficient sunlight. Move your mint plant to a sunnier location. You can also prune back the plant to encourage bushier growth.
* **Powdery Mildew:** This is a fungal disease that can affect mint plants, especially in humid conditions. To prevent powdery mildew, make sure your mint plant has good air circulation. You can also try spraying the plant with a fungicide.
* **Root Rot:** This is caused by overwatering. Make sure your pot has drainage holes and avoid overwatering. If you suspect root rot, you can try repotting the plant in fresh potting mix.
Harvesting Your Mint
The best part about growing mint is, of course, harvesting it! You can start harvesting mint leaves as soon as the plant is established. Simply pinch off the leaves as needed. For the best flavor, harvest mint in the morning after the dew has dried.
To dry mint, tie a bunch of stems together and hang them upside down in a cool, dry place. Once the leaves are completely dry, you can crumble them and store them in an airtight container.
Different Varieties of Mint
There are many different varieties of mint to choose from, each with its own unique flavor and aroma. Here are a few popular varieties:
* **Peppermint:** This is the most common type of mint. It has a strong, refreshing flavor that’s perfect for teas, desserts, and candies.
* **Spearmint:** This mint has a milder, sweeter flavor than peppermint. It’s often used in chewing gum, toothpaste, and sauces.
* **Chocolate Mint:** This mint has a chocolatey aroma and flavor. It’s delicious in desserts and drinks.
* **Orange Mint:** This mint has a citrusy aroma and flavor. It’s great in salads, teas, and cocktails.
* **Apple Mint:** This mint has a fruity aroma and flavor. It’s delicious in salads, desserts, and teas.
Creative Uses for Your Homegrown Mint
Now that you have a bountiful supply of fresh mint, here are some creative ways to use it:
* **Mojitos:** This classic Cuban cocktail is a refreshing way to use mint.
* **Mint Tea:** Steep fresh mint leaves in hot water for a soothing and flavorful tea.
* **Mint Julep:** This refreshing cocktail is a Kentucky Derby tradition.
* **Mint Sauce:** This tangy sauce is a perfect accompaniment to lamb.
* **Mint Chocolate Chip Ice Cream:** Add fresh mint leaves to your homemade ice cream for a burst of flavor.
* **Mint Salad Dressing:** Blend fresh mint leaves with olive oil, vinegar, and other seasonings for a delicious salad dressing.
* **Garnish:** Use fresh mint leaves to garnish desserts, drinks, and savory dishes.
* **Mint Simple Syrup:** Use this syrup to add a minty flavor to cocktails, iced tea, and other beverages.
* **Mint-Infused Water:** Add fresh mint leaves to a pitcher of water for a refreshing and healthy drink.
* **Potpourri:** Dry mint leaves and add them to potpourri for a fragrant and natural air freshener.
I hope this guide has inspired you to grow your own mint in pots. It’s a simple and rewarding project that will provide you with fresh, flavorful mint all season long. Happy gardening!
Conclusion
So, there you have it! Growing mint in pots isn’t just a gardening trend; it’s a game-changer for anyone who loves fresh flavor at their fingertips. We’ve walked through the simple steps, highlighted the benefits, and armed you with the knowledge to cultivate your own thriving mint patch, contained and controlled, right on your patio, balcony, or even windowsill.
Why is this DIY trick a must-try? Because it offers a level of convenience and control that traditional in-ground planting simply can’t match. No more runaway mint taking over your entire garden! No more worrying about invasive roots choking out your other plants! With potted mint, you dictate the boundaries, ensuring a manageable and productive herb garden. Plus, the portability of pots allows you to chase the sun, protect your mint from harsh weather, and even bring it indoors during the colder months, guaranteeing a year-round supply of fresh, fragrant leaves.
But the benefits extend beyond mere convenience. Growing your own mint is incredibly rewarding. There’s a unique satisfaction in snipping fresh leaves for your tea, cocktails, or culinary creations, knowing that you nurtured them from tiny seedlings or cuttings. It’s a connection to nature, a mindful activity that can reduce stress and enhance your overall well-being. And let’s not forget the environmental advantages – reducing your reliance on store-bought herbs, minimizing packaging waste, and contributing to a greener lifestyle.
Ready to take your mint game to the next level? Consider experimenting with different varieties. Peppermint, spearmint, chocolate mint, orange mint – the possibilities are endless! Each variety offers a unique flavor profile, allowing you to tailor your mint garden to your specific tastes and culinary preferences. You can also try companion planting within the pot. Marigolds, for example, can help deter pests, while basil can enhance the flavor of your mint.
Another fun variation is to create a tiered mint garden using multiple pots of different sizes. This not only adds visual appeal but also allows you to grow a wider variety of mint in a compact space. You can also explore different potting mixes to see which one works best for your specific climate and growing conditions. Some gardeners prefer a mix of potting soil, perlite, and vermiculite, while others opt for a more organic blend with compost and aged manure.
The key to success with potted mint is consistent care. Regular watering, proper drainage, and occasional fertilization are essential for healthy growth. Don’t be afraid to prune your mint regularly to encourage bushier growth and prevent it from becoming leggy. And remember to protect your mint from extreme temperatures and pests.
We are confident that you will find growing mint in pots a delightful and rewarding experience. It’s a simple, affordable, and sustainable way to add fresh flavor and fragrance to your life. So, grab a pot, some soil, and a mint plant, and get started today!
We’re eager to hear about your experiences! Share your photos, tips, and tricks in the comments below. Let us know what varieties you’re growing, what recipes you’re using your mint in, and any challenges you’ve encountered along the way. Together, we can create a thriving community of mint enthusiasts, sharing our knowledge and inspiring each other to grow the best mint possible. Happy gardening!
Frequently Asked Questions (FAQs)
What is the best type of pot for growing mint?
The best type of pot for growing mint is one that is at least 12 inches in diameter and has good drainage holes. Terracotta pots are a good choice because they allow the soil to breathe, but plastic pots are also suitable. Avoid using pots that are too small, as this can restrict the growth of the mint. The material of the pot is less important than the size and drainage. Make sure the pot is clean before planting to prevent the spread of diseases. Consider using a self-watering pot if you tend to forget to water your plants regularly.
What kind of soil should I use for growing mint in pots?
Mint thrives in well-draining soil that is rich in organic matter. A good potting mix for mint should consist of equal parts of potting soil, compost, and perlite or vermiculite. The potting soil provides a base for the plant to grow, the compost adds nutrients and improves drainage, and the perlite or vermiculite helps to aerate the soil and prevent it from becoming compacted. Avoid using garden soil, as it can be too heavy and may contain pests or diseases. You can also add a slow-release fertilizer to the potting mix to provide the mint with a steady supply of nutrients.
How often should I water my potted mint?
Water your potted mint regularly, especially during hot and dry weather. The soil should be kept consistently moist, but not waterlogged. Check the soil moisture by sticking your finger about an inch into the soil. If the soil feels dry, it’s time to water. Water deeply until water drains out of the drainage holes. Avoid watering the leaves, as this can promote fungal diseases. In general, you may need to water your potted mint every day or two during the summer months, and less frequently during the cooler months.
How much sunlight does mint need?
Mint prefers partial shade, especially during the hottest part of the day. While it can tolerate full sun, the leaves may become scorched or stressed if exposed to intense sunlight for extended periods. Aim for at least 4-6 hours of sunlight per day. If you’re growing your mint indoors, place it near a sunny window or use a grow light. If you notice the leaves turning yellow or brown, it may be a sign that the mint is getting too much sun.
How do I prune my mint plant?
Pruning is essential for keeping your mint plant healthy and productive. Regularly pinch off the top leaves to encourage bushier growth and prevent the plant from becoming leggy. You can also prune back the entire plant by about one-third every few weeks to promote new growth. Remove any dead or yellowing leaves. Pruning also helps to prevent the mint from flowering, which can reduce the flavor of the leaves. The best time to prune mint is in the morning, after the dew has dried.
How do I fertilize my potted mint?
Fertilize your potted mint every 2-4 weeks during the growing season with a balanced liquid fertilizer diluted to half strength. You can also use a slow-release fertilizer at the beginning of the growing season. Avoid over-fertilizing, as this can lead to leggy growth and a decrease in flavor. Organic fertilizers, such as compost tea or fish emulsion, are also good options. Look for a fertilizer that is specifically formulated for herbs.
How do I prevent mint from spreading in pots?
Even in pots, mint can sometimes try to spread. To prevent this, make sure the pot has adequate drainage and that the soil is not too compacted. You can also line the bottom of the pot with a layer of gravel or rocks to improve drainage. Regularly check the pot for any runners or roots that are growing out of the drainage holes and trim them back. If you’re growing multiple mint plants in the same pot, give them plenty of space to grow.
What are some common pests and diseases that affect mint?
Common pests that affect mint include aphids, spider mites, and whiteflies. These pests can be controlled with insecticidal soap or neem oil. Common diseases that affect mint include powdery mildew and rust. These diseases can be prevented by providing good air circulation and avoiding overwatering. If you notice any signs of pests or diseases, treat them promptly to prevent them from spreading.
Can I grow different varieties of mint in the same pot?
It’s generally not recommended to grow different varieties of mint in the same pot, as they can cross-pollinate and lose their distinct flavors. Additionally, some varieties of mint are more aggressive than others and may outcompete the other varieties. If you want to grow multiple varieties of mint, it’s best to plant them in separate pots.
How do I overwinter my potted mint?
In colder climates, you’ll need to overwinter your potted mint indoors. Before the first frost, bring the pot indoors and place it in a cool, sunny location. Water sparingly during the winter months, allowing the soil to dry out slightly between waterings. You can also prune back the plant by about one-third to encourage new growth in the spring. In the spring, gradually acclimate the plant to outdoor conditions before placing it back in its original location.

Leave a Comment