
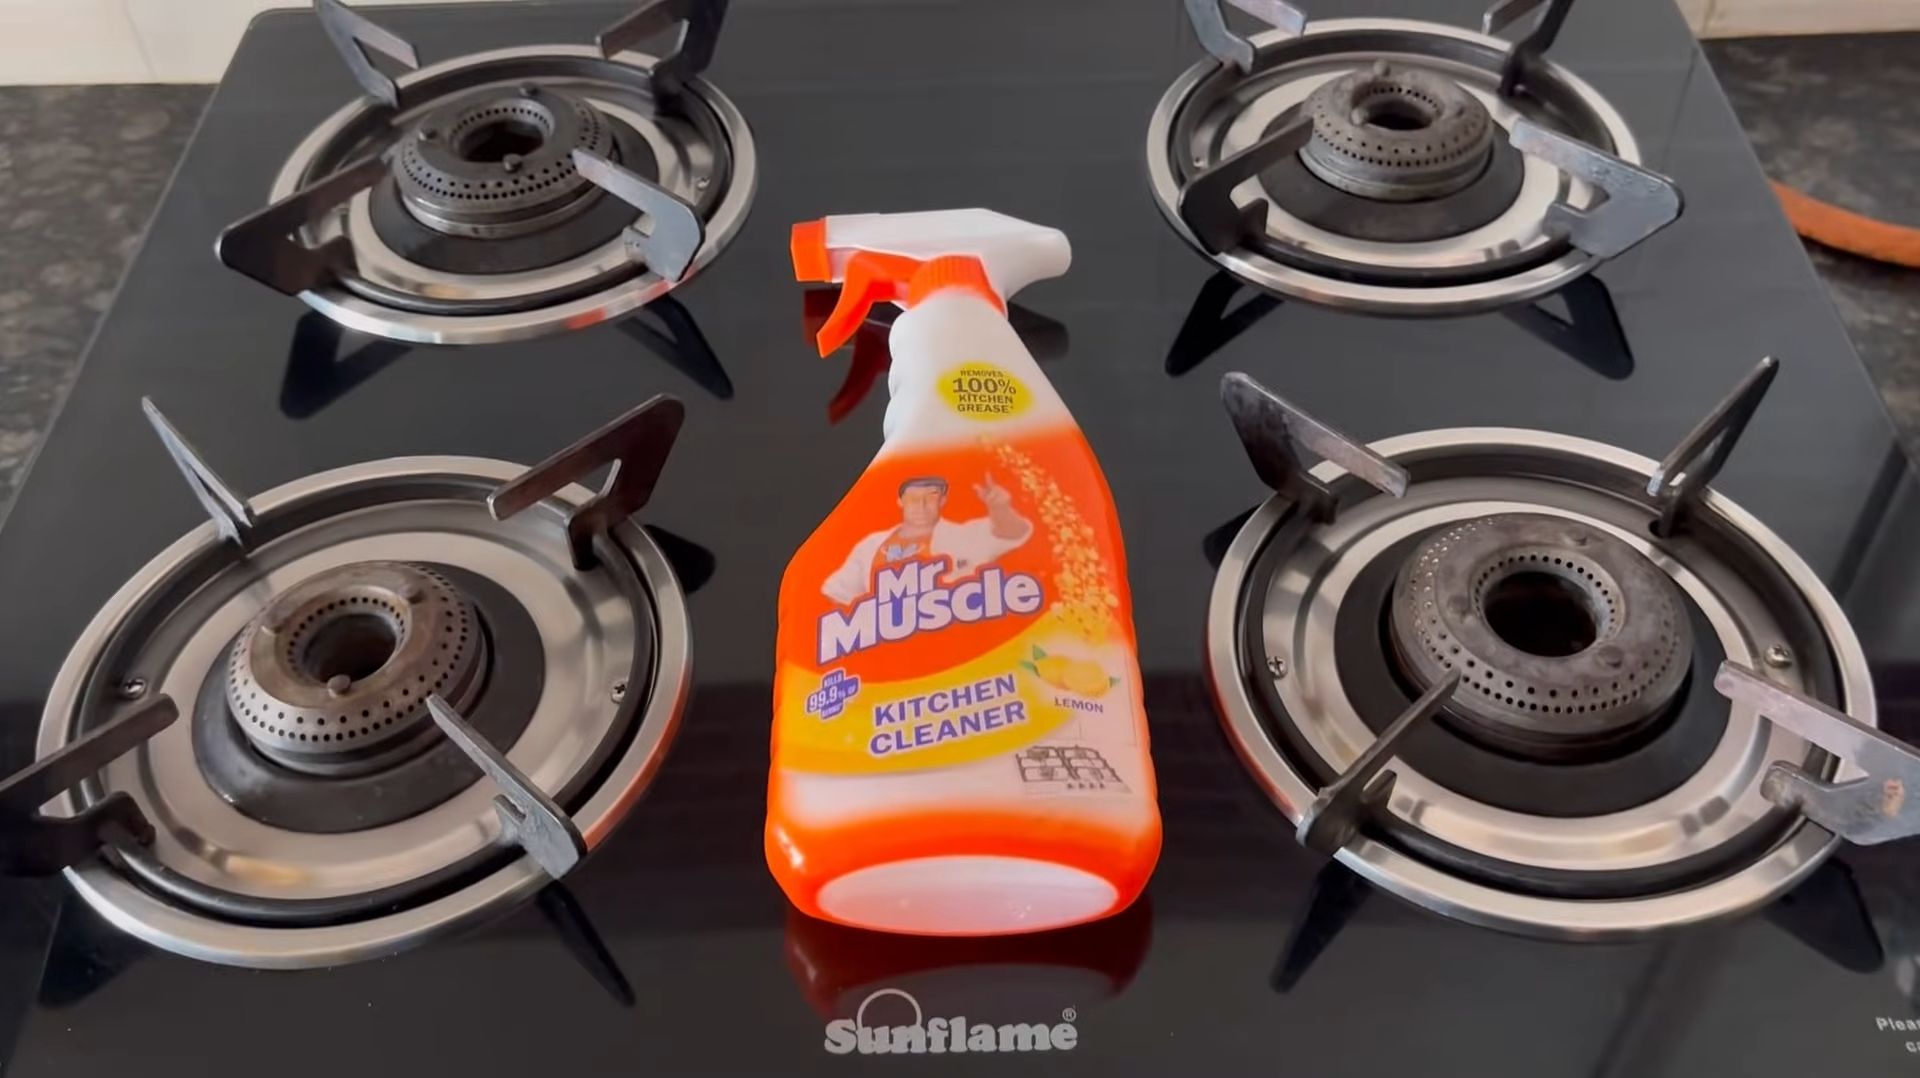
Mr Muscle Kitchen Cleaner Uses: Beyond the grime and grease, did you know your trusty bottle of Mr. Muscle Kitchen Cleaner holds a surprising number of secrets? I’m not talking about conjuring up a spotless kitchen with a single spray (though it certainly feels that way sometimes!), but rather clever, unexpected ways to utilize this cleaning powerhouse around your home. For generations, we’ve relied on powerful cleaners to maintain hygiene and order in our kitchens, a space that has always been the heart of the home. But what if I told you that you could extend its usefulness far beyond the stovetop?
In this DIY article, I’m going to reveal some amazing Mr. Muscle Kitchen Cleaner uses that will not only save you money but also simplify your cleaning routine. From tackling stubborn stains to refreshing unexpected surfaces, you’ll be amazed at the versatility of this everyday product. Why spend a fortune on specialized cleaners when you can unlock the hidden potential of something you already have under your sink? Let’s dive in and discover how to make the most of your Mr. Muscle Kitchen Cleaner!
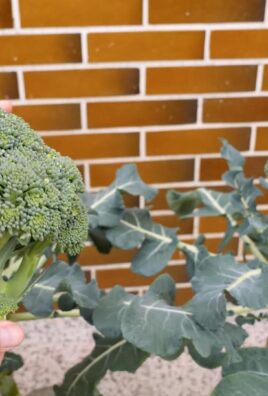
Growing Dill Indoors: A Beginner’s Guide
Hey there, fellow plant enthusiasts! Ever dreamt of having fresh, fragrant dill right at your fingertips, no matter the season? Well, you’re in the right place! I’m going to walk you through everything you need to know to successfully grow dill indoors. It’s easier than you think, and the reward of having homegrown herbs is totally worth it.
What You’ll Need
Before we dive in, let’s gather our supplies. Here’s a checklist to make sure you’re all set:
* **Dill Seeds:** You can find these at most garden centers or online. Make sure they’re fresh for the best germination rate.
* **Potting Mix:** Use a high-quality, well-draining potting mix. Avoid using garden soil, as it can compact and hinder drainage.
* **Grow Pot:** Choose a pot that’s at least 6 inches in diameter and depth. Dill has a taproot, so it needs room to grow.
* **Grow Lights (Optional but Recommended):** Dill needs plenty of light, especially indoors. A grow light will ensure it gets enough, especially during the darker months.
* **Watering Can or Spray Bottle:** For gentle watering.
* **Small Shovel or Trowel:** For planting the seeds.
* **Seed Starting Tray (Optional):** If you prefer to start your seeds indoors before transplanting.
* **Well-Ventilated Area:** Dill thrives in good air circulation.
Choosing the Right Dill Variety
While most dill varieties will grow indoors, some are better suited than others. Consider these options:
* **’Dukat’:** This variety is known for its strong flavor and compact size, making it ideal for indoor growing.
* **’Fernleaf’:** Another compact variety that’s slow to bolt (go to seed), which means you’ll have a longer harvest period.
* **’Bouquet’:** A popular variety with a high yield of flavorful leaves.
Planting Your Dill Seeds
Okay, let’s get our hands dirty! Here’s how to plant your dill seeds:
1. **Prepare the Pot:** Fill your chosen pot with the potting mix, leaving about an inch of space at the top. Gently pat down the soil to remove any air pockets.
2. **Sow the Seeds:** Sprinkle the dill seeds evenly over the surface of the soil. You can sow them quite densely, as you can always thin them out later.
3. **Cover the Seeds:** Lightly cover the seeds with a thin layer of potting mix, about 1/4 inch deep.
4. **Water Gently:** Use a watering can or spray bottle to gently moisten the soil. Be careful not to dislodge the seeds.
5. **Provide Light:** Place the pot in a sunny location or under a grow light. If using a grow light, position it about 6-12 inches above the soil surface.
6. **Maintain Moisture:** Keep the soil consistently moist but not waterlogged. Check the soil moisture daily and water when the top inch feels dry.
Germination and Early Care
Now comes the waiting game! Dill seeds typically germinate in 7-14 days. Here’s what to do during this crucial period:
1. **Monitor Germination:** Keep an eye on your pot for signs of sprouting. Once you see the first seedlings emerge, you’re on your way!
2. **Thin Seedlings (If Necessary):** If your seedlings are growing too close together, thin them out to allow for better air circulation and growth. Aim for about 2-3 inches between plants. To thin, gently snip off the unwanted seedlings at the soil line with small scissors. Don’t pull them out, as this can disturb the roots of the remaining plants.
3. **Adjust Lighting:** If using a grow light, adjust the height as the seedlings grow to maintain the optimal distance.
4. **Rotate the Pot:** Rotate the pot regularly to ensure that all sides of the plant receive equal light. This will prevent the plant from leaning towards the light source.
Caring for Your Dill Plant
Once your dill plants are established, it’s time to focus on ongoing care. Here’s what you need to know:
1. **Watering:** Water your dill plants regularly, keeping the soil consistently moist but not waterlogged. Overwatering can lead to root rot, so be sure to let the top inch of soil dry out between waterings.
2. **Fertilizing:** Dill doesn’t require heavy fertilization, but a light feeding every few weeks can help promote healthy growth. Use a balanced liquid fertilizer diluted to half strength.
3. **Light:** Dill needs at least 6 hours of sunlight per day. If you’re growing it indoors, a grow light is essential, especially during the winter months.
4. **Temperature:** Dill prefers temperatures between 60-70°F (15-21°C). Avoid placing your plant near drafts or sources of extreme heat or cold.
5. **Air Circulation:** Good air circulation is crucial for preventing fungal diseases. Make sure your dill plant is in a well-ventilated area. You can also use a small fan to improve air circulation.
6. **Pest Control:** Keep an eye out for common pests like aphids and spider mites. If you spot any pests, you can try spraying them with insecticidal soap or neem oil.
Harvesting Your Dill
The best part! You can start harvesting dill leaves once the plant is about 6-8 inches tall.
1. **Harvesting Leaves:** Snip off the leaves with scissors or your fingers. Start with the outer leaves and work your way inwards. Regular harvesting will encourage the plant to produce more leaves.
2. **Harvesting Seeds:** If you want to harvest dill seeds, allow the plant to flower and go to seed. Once the seed heads turn brown and dry, you can cut them off and hang them upside down in a paper bag to dry completely. Once dry, you can shake the seeds out of the seed heads.
Preventing Bolting
Bolting is when a plant prematurely flowers and goes to seed. This can happen when dill is exposed to high temperatures or stress. To prevent bolting:
1. **Maintain Consistent Temperatures:** Keep the temperature around your dill plant consistent and avoid exposing it to extreme heat.
2. **Provide Adequate Water:** Make sure your dill plant is getting enough water, especially during hot weather.
3. **Harvest Regularly:** Regular harvesting will encourage the plant to produce more leaves and delay bolting.
Troubleshooting
Even with the best care, you might encounter some challenges. Here are a few common problems and how to fix them:
* **Yellowing Leaves:** This could be a sign of overwatering, underwatering, or nutrient deficiency. Check the soil moisture and adjust your watering accordingly. If the problem persists, try fertilizing with a balanced liquid fertilizer.
* **Leggy Growth:** This is usually caused by insufficient light. Make sure your dill plant is getting enough sunlight or grow light.
* **Pests:** As mentioned earlier, aphids and spider mites are common pests. Treat them with insecticidal soap or neem oil.
* **Root Rot:** This is caused by overwatering and poor drainage. Make sure your pot has drainage holes and avoid overwatering. If you suspect root rot, you may need to repot your plant with fresh potting mix.
Enjoying Your Homegrown Dill
Now that you’ve successfully grown your own dill, it’s time to enjoy the fruits (or rather, leaves) of your labor! Here are a few ideas:
* **Fresh Dill:** Add fresh dill to salads, soups, sauces, and dips. It’s also delicious with fish and potatoes.
* **Dried Dill:** Dry your dill leaves by hanging them upside down in a paper bag or using a dehydrator. Store the dried dill in an airtight container.
* **Dill Vinegar:** Infuse vinegar with fresh dill for a flavorful addition to salads and marinades.
* **Dill Oil:** Infuse oil with fresh dill for a flavorful cooking oil.
Growing dill indoors is a rewarding experience that allows you to enjoy fresh herbs year-round. With a little care and attention, you can have a thriving dill plant that provides you with a constant supply of flavorful leaves. Happy gardening!
Conclusion
So, there you have it! Ditching the harsh chemicals and embracing a homemade solution inspired by Mr Muscle Kitchen Cleaner uses is not just about saving money; it’s about creating a healthier, more sustainable cleaning routine for your home and family. The simplicity of this DIY approach is truly remarkable. With just a few readily available ingredients, you can whip up a powerful cleaner that tackles grease, grime, and everyday messes with impressive efficiency.
But why is this DIY trick a must-try? Beyond the cost savings and eco-friendliness, it’s about control. You know exactly what’s going into your cleaner, avoiding potentially harmful chemicals and allergens that can be present in commercial products. This is especially important for households with children, pets, or individuals with sensitivities. Plus, the satisfaction of creating something effective and useful with your own hands is incredibly rewarding.
This homemade kitchen cleaner is a game-changer.
Now, let’s talk variations! Feel free to experiment with essential oils to customize the scent and add extra cleaning power. Lemon essential oil is a classic choice for its degreasing properties and fresh aroma. Tea tree oil is a natural disinfectant, perfect for tackling stubborn stains and bacteria. Lavender oil adds a calming scent and has mild antibacterial properties. Just a few drops of your favorite essential oil can elevate your DIY cleaner to the next level.
Another variation involves adjusting the ratio of ingredients to suit your specific needs. If you’re dealing with particularly greasy surfaces, you might want to increase the amount of vinegar or washing soda. For lighter cleaning tasks, you can dilute the mixture with more water. The beauty of this DIY recipe is its flexibility and adaptability.
Don’t be afraid to experiment and find what works best for you. Remember to always test your cleaner on a small, inconspicuous area first to ensure it doesn’t damage the surface.
We wholeheartedly encourage you to give this DIY Mr Muscle Kitchen Cleaner uses alternative a try. It’s easy, affordable, and effective. Once you experience the cleaning power and peace of mind that comes with using a homemade solution, you’ll never look back.
But the journey doesn’t end here! We want to hear about your experiences. Did you try this recipe? What variations did you experiment with? What were the results? Share your tips, tricks, and feedback in the comments below. Your insights can help other readers discover the benefits of this amazing DIY cleaner and create a healthier, happier home. Let’s build a community of DIY enthusiasts who are passionate about natural cleaning solutions.
So, grab your ingredients, put on your DIY hat, and get ready to transform your kitchen cleaning routine. You’ll be amazed at how easy and effective it is to create your own powerful, eco-friendly cleaner. Happy cleaning!
Frequently Asked Questions (FAQ)
Is this DIY cleaner as effective as Mr Muscle Kitchen Cleaner?
Yes, in many cases, it can be just as effective, and sometimes even more so, depending on the specific ingredients and ratios you use. The combination of vinegar or citric acid (for cutting grease and grime), washing soda (for its cleaning and deodorizing properties), and dish soap (for its surfactant action) creates a powerful cleaning solution. The effectiveness also depends on the type of mess you’re cleaning. For heavily soiled areas, you might need to let the cleaner sit for a few minutes before wiping. Remember to always test on an inconspicuous area first.
What surfaces can I use this DIY cleaner on?
This cleaner is generally safe for most kitchen surfaces, including countertops (granite, quartz, laminate), stovetops (glass, ceramic, stainless steel), sinks (stainless steel, porcelain), and appliances (stainless steel, enamel). However, it’s crucial to avoid using it on porous surfaces like marble or natural stone, as the acidity of the vinegar or citric acid can damage them. Always test on a small, hidden area first to ensure compatibility. For wooden surfaces, use a diluted solution and wipe dry immediately.
Can I use baking soda instead of washing soda?
While baking soda is a great cleaning agent, washing soda (sodium carbonate) is more alkaline and therefore more powerful. Baking soda (sodium bicarbonate) is milder. Washing soda is better for cutting through grease and grime. If you only have baking soda, you can use it, but you might need to use more of it and scrub harder. You can also convert baking soda to washing soda by baking it in the oven at 400°F (200°C) for about an hour.
How long does this DIY cleaner last?
This DIY cleaner typically lasts for several weeks to a few months when stored properly in an airtight container. The essential oils, if added, can help preserve the mixture and prevent bacterial growth. However, it’s best to make a fresh batch every month or two to ensure optimal effectiveness. If you notice any changes in color, odor, or consistency, discard the cleaner and make a new batch.
Is this DIY cleaner safe for pets and children?
While this DIY cleaner is generally safer than commercial cleaners, it’s still important to keep it out of reach of children and pets. The ingredients, especially washing soda and concentrated essential oils, can be irritating if ingested or come into contact with skin or eyes. Store the cleaner in a clearly labeled container and avoid spraying it directly around pets or children. If accidental ingestion or contact occurs, rinse thoroughly with water and seek medical advice if necessary.
Can I add bleach to this DIY cleaner?
No, never mix bleach with vinegar or any acidic substance. Mixing bleach with vinegar creates chlorine gas, which is highly toxic and can be fatal. It’s extremely dangerous and should be avoided at all costs. This DIY cleaner is effective on its own and does not require the addition of bleach.
What essential oils are best to use in this DIY cleaner?
Several essential oils are well-suited for cleaning purposes due to their antibacterial, antifungal, and antiviral properties. Some popular choices include:
* Lemon: Degreasing and refreshing scent
* Tea tree: Disinfectant and antibacterial
* Lavender: Calming scent and mild antibacterial
* Eucalyptus: Deodorizing and antibacterial
* Peppermint: Refreshing and invigorating scent
When using essential oils, start with a few drops (5-10 drops per batch) and adjust to your preference. Always use high-quality, pure essential oils for the best results.
How do I store this DIY cleaner?
Store the DIY cleaner in a clean, airtight spray bottle or container. Label the container clearly with the ingredients and date of preparation. Keep it in a cool, dry place away from direct sunlight and heat. Avoid storing it in metal containers, as the vinegar or citric acid can react with the metal.
What if I don’t have washing soda?
If you don’t have washing soda, you can try using borax as a substitute. Borax is another natural mineral with cleaning and deodorizing properties. However, it’s important to note that borax is slightly less alkaline than washing soda, so you might need to use a bit more of it. As mentioned earlier, you can also convert baking soda to washing soda by baking it in the oven.
My DIY cleaner is leaving streaks. What am I doing wrong?
Streaking can occur if you’re using too much cleaner or if the surface is not properly rinsed. Try using less cleaner and wiping the surface with a clean, damp cloth after cleaning. You can also add a small amount of rubbing alcohol to the cleaner to help it evaporate more quickly and prevent streaking. Ensure you are using a microfiber cloth for best results.
Leave a Comment