
Smart cleaning tricks – who doesn’t want them? Let’s be honest, cleaning isn’t usually anyone’s favorite pastime. It’s often seen as a chore, something we *have* to do rather than something we *want* to do. But what if I told you that cleaning could be less of a drag and more of a breeze? That’s where smart cleaning tricks come in!
For centuries, people have been devising clever ways to keep their homes tidy. From ancient civilizations using natural ingredients like vinegar and baking soda to our modern-day obsession with innovative gadgets, the quest for a sparkling clean home is a timeless pursuit. Think about your grandmother’s secret cleaning recipes – those were the original DIY hacks! They passed down knowledge, often born out of necessity, to make life a little easier.
In today’s busy world, time is precious. We’re all juggling work, family, and social lives, leaving little room for hours of scrubbing. That’s why these smart cleaning tricks are so essential. They’re designed to save you time, energy, and money, allowing you to enjoy a cleaner home without sacrificing your sanity. I’m going to share some of my favorite DIY cleaning hacks that will transform your cleaning routine from a dreaded task into a manageable and even (dare I say it?) enjoyable experience. Get ready to unlock the secrets to a spotless home with minimal effort!
DIY Smart Cleaning Hacks: Making Your Life Easier!
Okay, let’s dive into some seriously clever cleaning hacks that I’ve personally tested and swear by. Forget spending hours scrubbing – these tips will save you time and energy, leaving you with a sparkling clean home and more free time for the things you actually enjoy!
Cleaning Your Microwave Like a Pro
Microwaves are notorious for splatters and stuck-on food. But fear not! This hack is super easy and uses ingredients you probably already have.
What You’ll Need:
* 1 cup of water
* 1 tablespoon of white vinegar or lemon juice
* Microwave-safe bowl
* Clean sponge or cloth
Step-by-Step Instructions:
1. Prepare the Cleaning Solution: In your microwave-safe bowl, combine the water and vinegar (or lemon juice). I prefer lemon juice because it leaves a fresher scent, but vinegar works just as well for loosening grime.
2. Microwave the Solution: Place the bowl in the microwave and heat it on high for 5-7 minutes. The water should boil and create steam inside the microwave. This steam is what will loosen all the stuck-on food.
3. Let it Sit: Once the timer goes off, don’t open the microwave immediately! Let the bowl sit inside for another 2-3 minutes. This allows the steam to continue working its magic.
4. Wipe it Clean: Carefully remove the bowl (it will be hot!). Use your sponge or cloth to wipe down the inside of the microwave. You’ll be amazed at how easily the grime comes off! For stubborn spots, you might need a little extra elbow grease, but overall, it should be a breeze.
5. Clean the Turntable: Don’t forget to remove and wash the microwave turntable and the rotating ring underneath. These can usually be washed with soap and water in the sink.
6. Dry and Enjoy: Once everything is clean and dry, put the turntable and ring back in place. Your microwave should now be sparkling clean and ready to use!
Reviving Your Showerhead with Vinegar
Hard water deposits can clog your showerhead, reducing water pressure and making your shower less enjoyable. This simple vinegar soak will dissolve those deposits and restore your showerhead to its former glory.
What You’ll Need:
* White vinegar
* Plastic bag (a Ziploc bag works great)
* Rubber band or twist tie
Step-by-Step Instructions:
1. Fill the Bag with Vinegar: Pour enough white vinegar into the plastic bag to completely submerge the showerhead.
2. Attach the Bag to the Showerhead: Carefully position the bag over the showerhead, ensuring that the entire showerhead is submerged in the vinegar. Use the rubber band or twist tie to secure the bag tightly around the showerhead neck.
3. Soak Overnight: Leave the bag in place overnight (or for at least a few hours). This allows the vinegar to dissolve the mineral deposits.
4. Remove and Rinse: The next day, remove the bag and discard the vinegar. Turn on the shower and let the water run for a few minutes to flush out any remaining vinegar and loosened deposits.
5. Scrub if Needed: If you still see some stubborn deposits, use an old toothbrush or a small scrub brush to gently scrub them away.
6. Enjoy Your Improved Shower: Your showerhead should now be flowing freely with improved water pressure!
Cleaning Your Blender the Easy Way
Cleaning a blender can be a pain, especially if you’ve been making smoothies with sticky ingredients. This hack makes it quick and easy!
What You’ll Need:
* Water
* Dish soap
Step-by-Step Instructions:
1. Rinse the Blender: After using your blender, immediately rinse out any remaining food particles.
2. Fill with Water and Soap: Fill the blender halfway with warm water and add a squirt of dish soap.
3. Blend: Secure the lid and blend on high speed for about 30-60 seconds.
4. Rinse Again: Pour out the soapy water and rinse the blender thoroughly with clean water.
5. Dry: Let the blender air dry or dry it with a clean towel.
Freshening Up Your Mattress
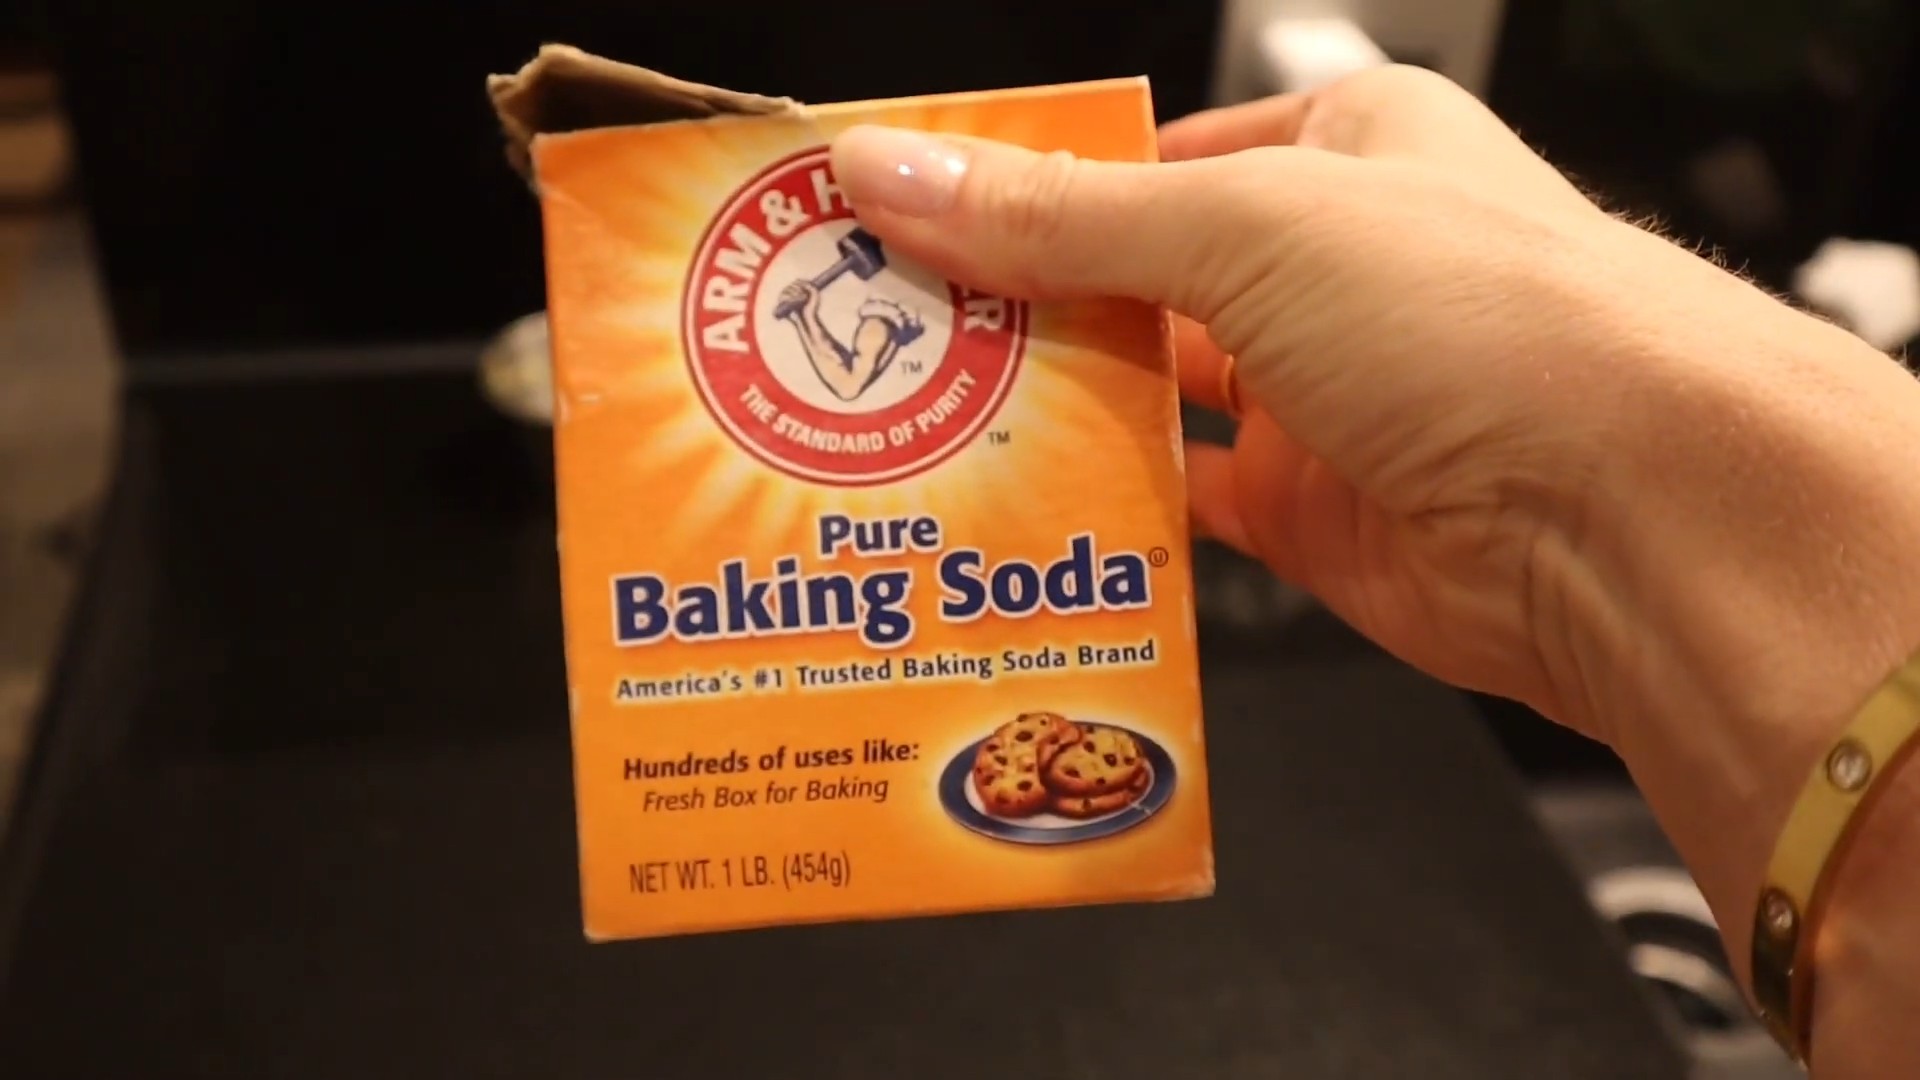
Mattresses can harbor dust mites and absorb odors over time. This simple baking soda treatment will freshen up your mattress and eliminate unwanted smells.
What You’ll Need:
* Baking soda
* Essential oil (optional, for scent)
* Sieve or sifter
* Vacuum cleaner with upholstery attachment
Step-by-Step Instructions:
1. Prepare the Baking Soda: In a bowl, mix the baking soda with a few drops of your favorite essential oil (if using). Lavender, eucalyptus, or tea tree oil are great choices for their antibacterial and deodorizing properties.
2. Sprinkle the Baking Soda: Using a sieve or sifter, evenly sprinkle the baking soda mixture over the entire surface of your mattress.
3. Let it Sit: Allow the baking soda to sit on the mattress for at least 30 minutes, or even better, for a few hours. This allows it to absorb odors and moisture.
4. Vacuum Thoroughly: Use the upholstery attachment on your vacuum cleaner to thoroughly vacuum up all the baking soda from the mattress. Make sure to get into all the crevices and corners.
5. Flip and Repeat: Flip the mattress over and repeat the process on the other side.
6. Enjoy a Fresher Mattress: Your mattress should now be fresher, cleaner, and free of unwanted odors!
Cleaning Burnt Food from Pots and Pans
Burnt food stuck to the bottom of pots and pans can be a nightmare to clean. This baking soda and vinegar trick works wonders!
What You’ll Need:
* Baking soda
* White vinegar
* Water
* Scrubbing sponge or pad
Step-by-Step Instructions:
1. Cover the Burnt Area: Sprinkle a generous amount of baking soda over the burnt food in the pot or pan.
2. Add Vinegar: Pour a small amount of white vinegar over the baking soda. It will fizz and bubble.
3. Add Water: Add enough water to cover the burnt area.
4. Boil: Bring the mixture to a boil on the stovetop.
5. Simmer: Reduce the heat and let the mixture simmer for about 10-15 minutes.
6. Let it Cool: Remove the pot or pan from the heat and let it cool slightly.
7. Scrub: Use a scrubbing sponge or pad to scrub away the loosened burnt food. You may need to use a little elbow grease, but the baking soda and vinegar should have loosened most of it.
8. Wash and Rinse: Wash the pot or pan with soap and water and rinse thoroughly.
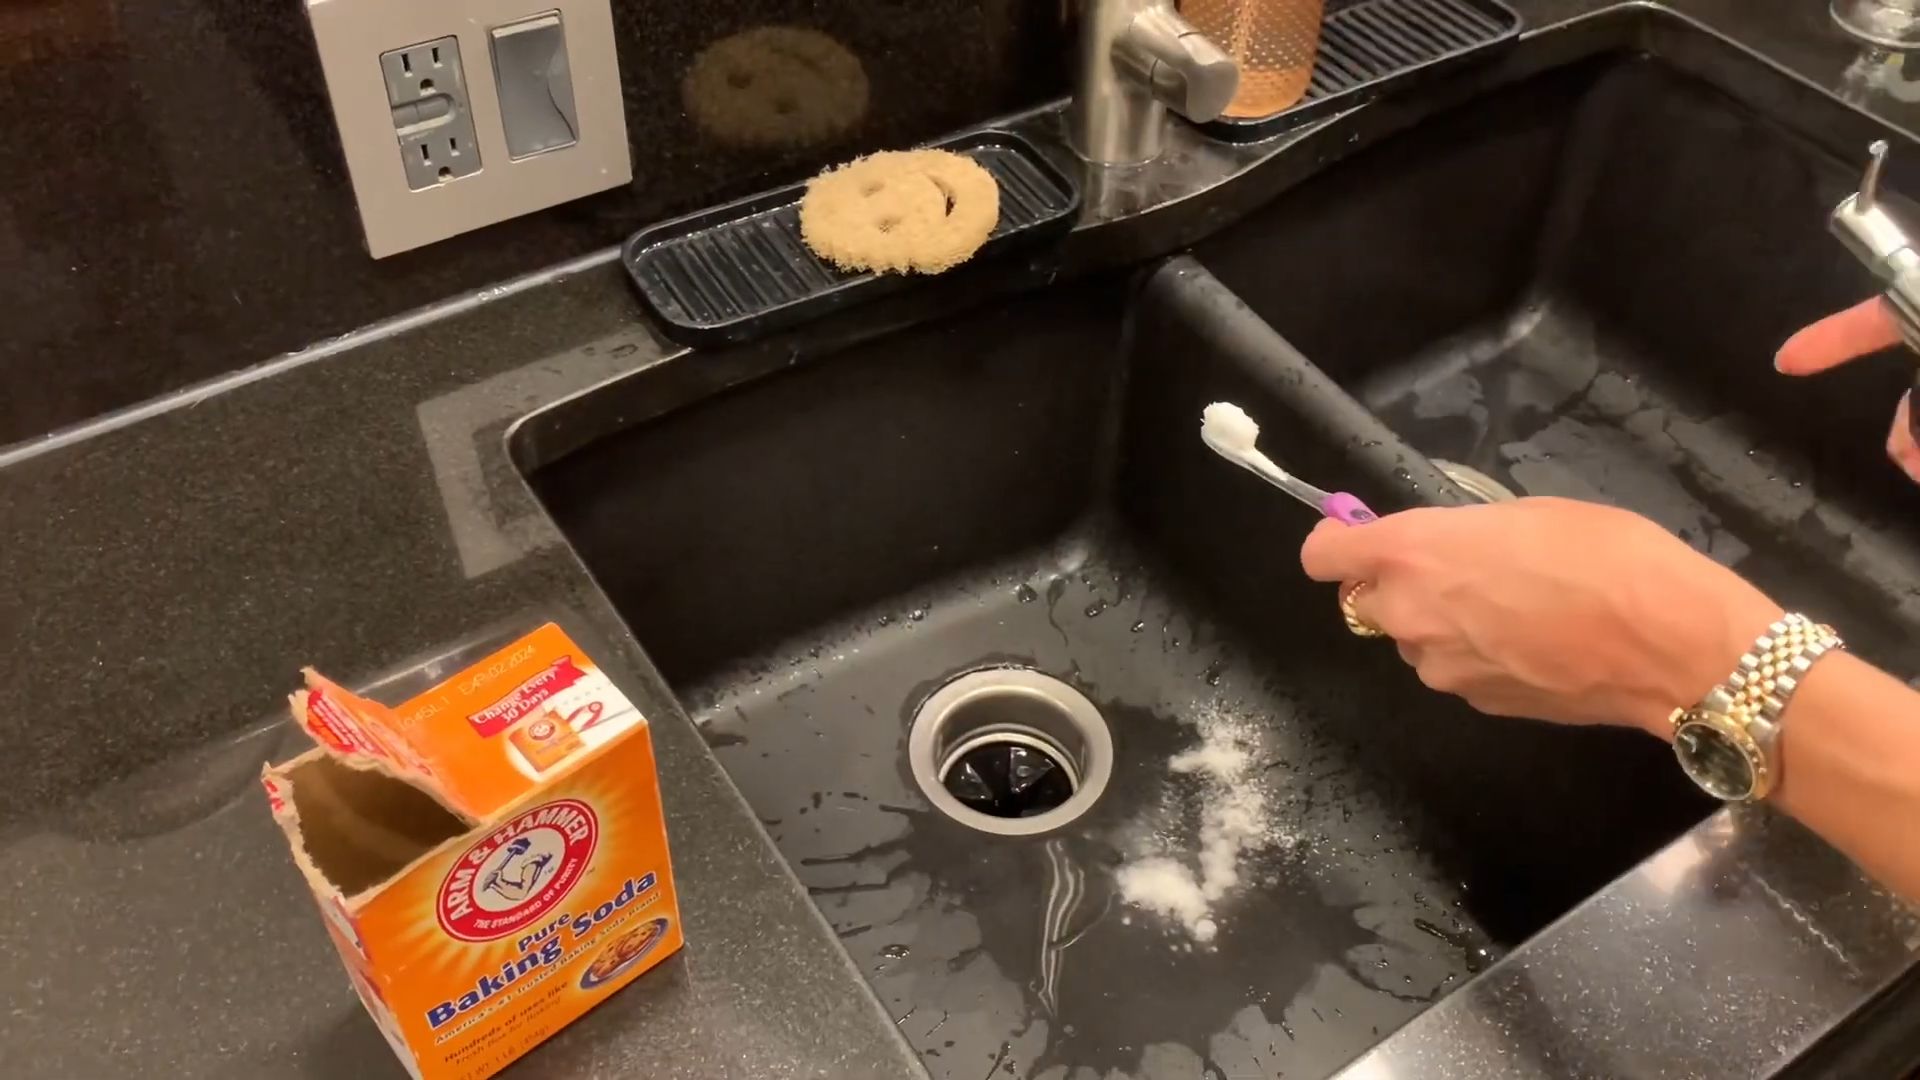
Cleaning Grout with Baking Soda Paste
Dirty grout can make your tiles look dingy. This baking soda paste will brighten your grout and make your tiles sparkle.
What You’ll Need:
* Baking soda
* Water
* Old toothbrush or grout brush
* Spray bottle (optional)
Step-by-Step Instructions:
1. Make a Paste: In a small bowl, mix baking soda with enough water to form a thick paste.
2. Apply the Paste: Apply the baking soda paste to the grout lines. You can use your fingers or a small spatula to apply it.
3. Scrub: Use an old toothbrush or a grout brush to scrub the grout lines.
4. Let it Sit: Let the paste sit on the grout for about 10-15 minutes.
5. Rinse: Rinse the grout lines thoroughly with water. You can use a spray bottle to make rinsing easier.
6. Dry: Wipe the tiles and grout dry with a clean cloth.
Removing Hard Water Stains from Faucets and Shower Doors
Hard water stains can leave unsightly deposits on faucets and shower doors. This lemon juice trick will dissolve those stains and restore shine.
What You’ll Need:
* Lemon juice
* Spray bottle or cloth
* Clean cloth
Step-by-Step Instructions:
1. Apply Lemon Juice: Pour lemon juice into a spray bottle or apply it directly to the affected areas with a cloth.
2. Let it Sit: Let the lemon juice sit on the stains for about 10-15 minutes. The acidity of the lemon juice will dissolve the mineral deposits.
3. Scrub (if needed): If the stains are stubborn, use a non-abrasive sponge or cloth to gently scrub them.
4. Rinse: Rinse the area thoroughly with water.
5.
Conclusion
So, there you have it! This simple yet incredibly effective DIY cleaning trick is a game-changer for anyone looking to streamline their cleaning routine and achieve sparkling results without breaking the bank. We’ve shown you how to harness the power of readily available household ingredients to create a potent cleaning solution that tackles grime, eliminates odors, and leaves your home feeling fresh and revitalized.
Why is this a must-try? Because it’s not just about cleaning; it’s about cleaning smarter. It’s about reducing your reliance on harsh chemicals, saving money on expensive cleaning products, and taking control of the ingredients you bring into your home. It’s about embracing a more sustainable and eco-friendly approach to maintaining a clean and healthy living space. This smart cleaning trick is a win-win for your home and your wallet.
But don’t just take our word for it! We encourage you to experiment and personalize this DIY cleaning solution to suit your specific needs and preferences. For instance, if you’re dealing with particularly stubborn stains, consider adding a tablespoon of borax to the mix for an extra boost of cleaning power. If you prefer a different scent, feel free to swap out the essential oil for your favorite fragrance – lavender, lemon, or eucalyptus are all excellent choices. You could even infuse the vinegar with citrus peels for a naturally refreshing aroma.
Another variation to consider is adjusting the ratio of ingredients depending on the surface you’re cleaning. For delicate surfaces like marble or granite, dilute the solution further with water to prevent any potential damage. For tougher jobs like cleaning grout or removing soap scum, you can use the solution undiluted, but always test it in an inconspicuous area first.
The possibilities are endless! The beauty of this DIY cleaning trick lies in its versatility and adaptability. It’s a blank canvas for you to create a cleaning solution that perfectly meets your unique needs and preferences.
We are confident that once you try this DIY cleaning trick, you’ll be amazed by the results. You’ll wonder why you didn’t discover it sooner! So, ditch the expensive store-bought cleaners and embrace the power of homemade solutions.
We’re eager to hear about your experiences with this DIY cleaning trick. Did you find it effective? Did you try any variations? What were your results? Share your thoughts, tips, and tricks in the comments below. Let’s create a community of smart cleaners who are passionate about creating clean, healthy, and sustainable homes. Your feedback will not only help us improve this recipe but also inspire others to embrace the power of DIY cleaning. So, go ahead, give it a try, and let us know what you think! We can’t wait to hear from you. Happy cleaning!
Frequently Asked Questions (FAQ)
What exactly makes this a “smart cleaning trick?”
This DIY cleaning trick is considered “smart” because it utilizes readily available, inexpensive household ingredients to create a powerful and effective cleaning solution. It’s a cost-effective and eco-friendly alternative to expensive store-bought cleaners, reducing your reliance on harsh chemicals and minimizing your environmental impact. It’s also smart because it’s adaptable – you can customize the ingredients and ratios to suit your specific cleaning needs and preferences.
What types of surfaces can I clean with this solution?
This DIY cleaning solution is generally safe for a wide range of surfaces, including countertops, sinks, toilets, showers, floors (tile, linoleum, sealed wood), and appliances. However, it’s always recommended to test the solution in an inconspicuous area first, especially on delicate surfaces like marble, granite, or painted wood. Avoid using it on unsealed wood or porous surfaces that could absorb the solution.
Can I use this solution to clean my windows and mirrors?
Yes, this solution can be used to clean windows and mirrors. However, it’s important to dilute it properly to avoid streaks. Use a spray bottle to apply a light mist of the solution to the surface, then wipe it clean with a microfiber cloth. For best results, dry the surface immediately with a clean, dry cloth.
What if I don’t have essential oils? Can I still make this cleaning solution?
Yes, you can still make this cleaning solution without essential oils. The essential oils are primarily added for fragrance and some antibacterial properties, but they are not essential for the cleaning power of the solution. You can simply omit them or substitute them with a few drops of your favorite fragrance oil. Alternatively, you can infuse the vinegar with citrus peels or herbs for a natural scent.
How long will this cleaning solution last?
This DIY cleaning solution can last for several weeks or even months if stored properly in an airtight container in a cool, dark place. However, it’s best to use it within a few months to ensure its effectiveness. If you notice any changes in color, odor, or consistency, discard the solution and make a fresh batch.
Is this cleaning solution safe for pets and children?
While this DIY cleaning solution is generally safer than many commercial cleaners, it’s still important to exercise caution when using it around pets and children. Keep the solution out of their reach and avoid spraying it directly on them. If your pet or child accidentally ingests the solution, contact a veterinarian or poison control center immediately.
Can I use this solution to clean my oven?
While this solution can help with light cleaning inside the oven, for heavy-duty oven cleaning, a specialized oven cleaner might be more effective. For light cleaning, ensure the oven is turned off and cool. Spray the solution inside, let it sit for a few minutes, and then wipe clean. Avoid spraying on heating elements.
What are some other “smart cleaning tricks” I can try?
There are many other smart cleaning tricks you can try to simplify your cleaning routine and save money. Some popular options include using baking soda to deodorize carpets and refrigerators, using lemon juice to remove hard water stains, and using vinegar to clean coffee makers and dishwashers. Researching DIY cleaning recipes online can provide a wealth of information and inspiration.
How do I deal with stubborn stains using this solution?
For stubborn stains, pre-treat the area by spraying the solution directly onto the stain and letting it sit for several minutes before wiping it away. You can also try scrubbing the stain with a soft brush or sponge. For particularly tough stains, consider adding a tablespoon of borax to the solution for an extra boost of cleaning power.
What if the vinegar smell is too strong?
The vinegar smell will dissipate quickly after the solution dries. However, if you find the smell too strong, you can reduce the amount of vinegar in the solution or add more essential oils to mask the odor. You can also try using distilled white vinegar, which has a milder smell than other types of vinegar.


Leave a Comment