
Restore Frying Pan Baking Soda: Is your trusty frying pan looking a little worse for wear? Are burnt-on bits and stubborn stains turning your cooking experience into a scrubbing nightmare? Don’t despair! Before you resign yourself to buying a new one, I’m here to share a simple, effective, and surprisingly satisfying DIY trick that will breathe new life into your favorite pan using the power of baking soda.
For generations, baking soda has been a household staple, not just for baking, but for its incredible cleaning properties. Our grandmothers knew the secret – this humble powder is a gentle abrasive and a natural deodorizer, making it perfect for tackling tough messes without harsh chemicals. Think of it as a time-tested remedy passed down through families, now ready to rescue your cookware!
Let’s face it, a clean frying pan is essential for enjoyable cooking. Burnt food not only tastes bad but can also release harmful compounds. Plus, who wants to spend hours scrubbing after a delicious meal? This DIY hack using baking soda is a game-changer because it’s affordable, eco-friendly, and incredibly effective. I’m going to show you how to easily restore frying pan baking soda magic, saving you money and time, and getting you back to creating culinary masterpieces with ease!

Revive Your Scorched Frying Pan with Baking Soda: A DIY Guide
Hey there, fellow home cooks! Ever stared in dismay at a frying pan caked with burnt-on food, wondering if it’s destined for the trash? Don’t despair! Before you toss it, let me show you a simple, effective, and budget-friendly way to restore your beloved pan using the magic of baking soda. I’ve rescued countless pans this way, and I’m confident you can too. This method works wonders on stainless steel, enamel, and even some non-stick surfaces (though be extra gentle with non-stick!).
What You’ll Need
Before we dive in, gather your supplies. This is a pretty straightforward project, so you probably have most of these items already:
* Baking soda (the star of the show!)
* Water
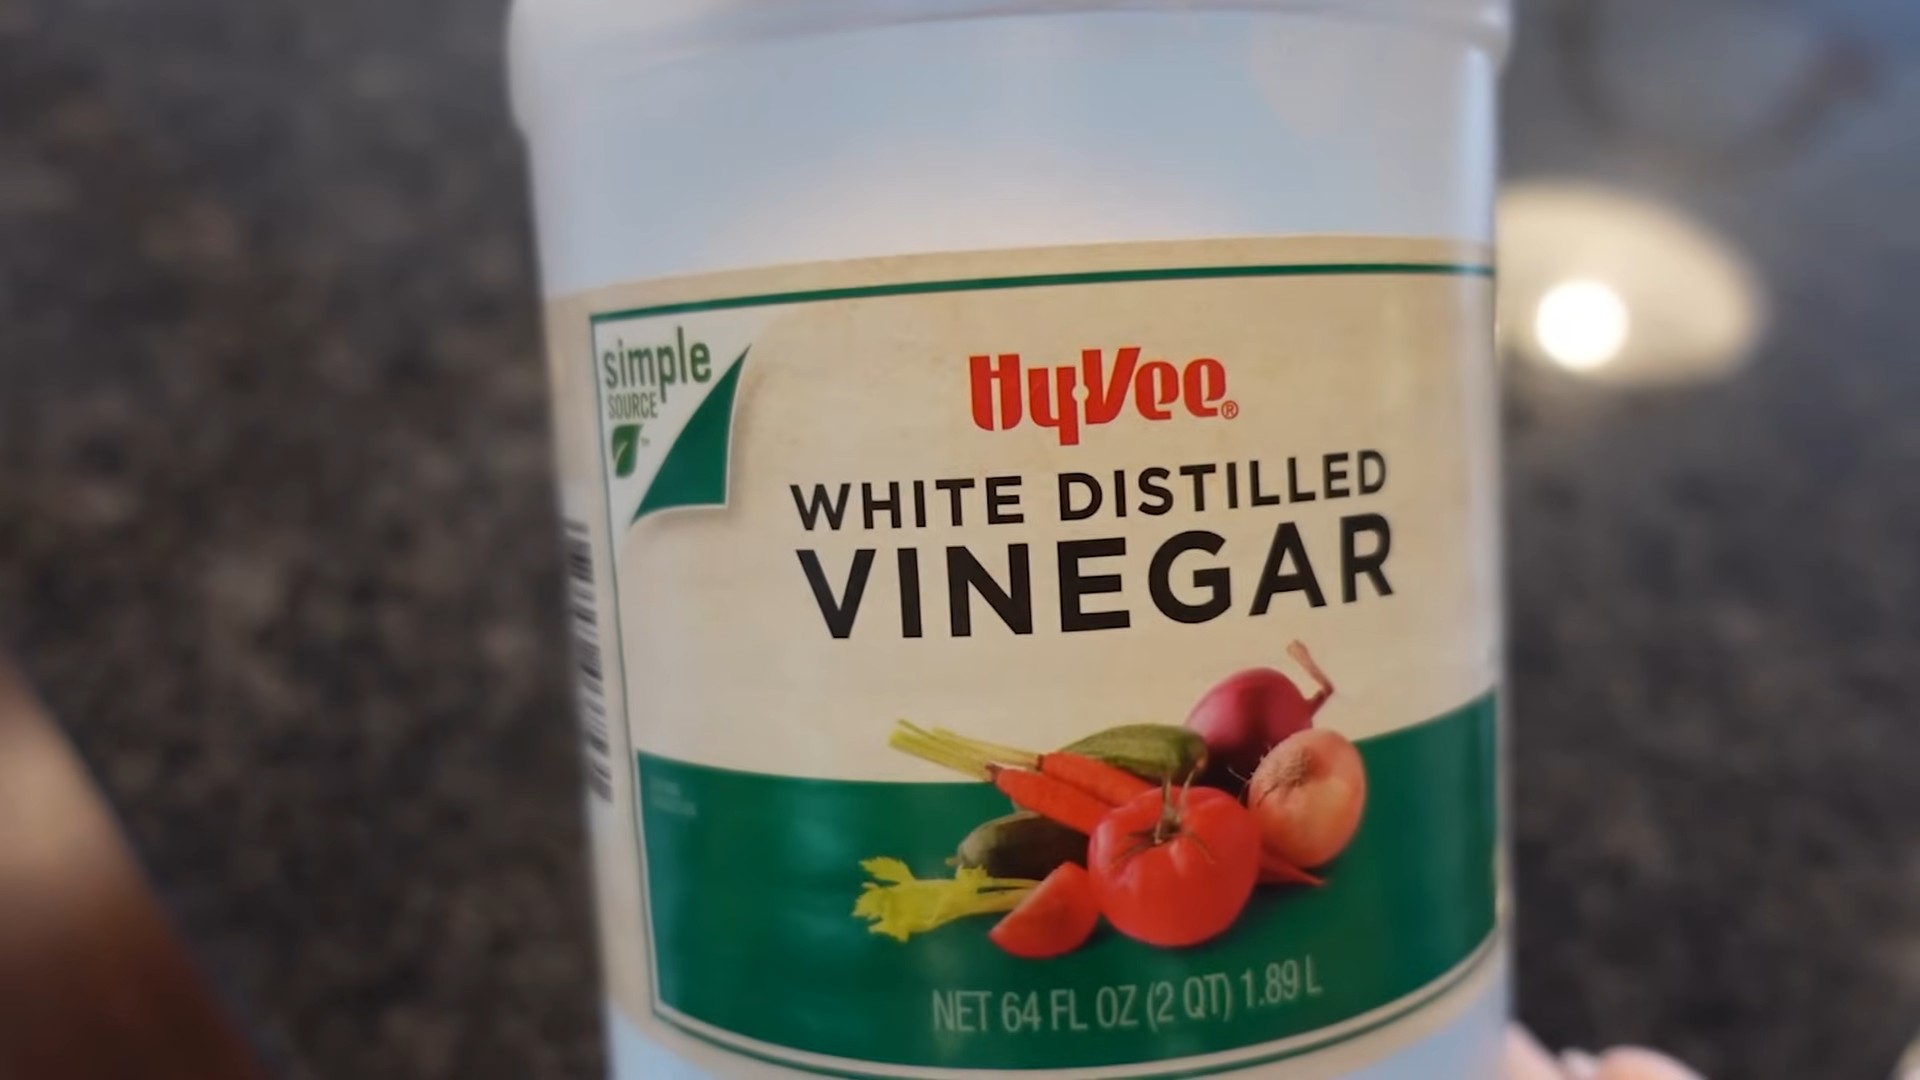
* White vinegar (optional, but it adds some extra oomph)
* Dish soap
* A non-abrasive sponge or scrub brush (avoid steel wool or anything too harsh, especially on non-stick)
* A soft cloth or paper towels
* A large pot or sink (depending on the size of your pan)
* Gloves (optional, but recommended if you have sensitive skin)
The Baking Soda Paste Method: For Light to Moderate Burns
This is my go-to method for everyday burnt-on messes. It’s gentle yet effective.
1. Prepare the Pan: First, remove any loose debris from the pan. You can use a spatula or scraper to gently dislodge any large chunks of food. Rinse the pan with warm water to get rid of any remaining loose particles.
2. Create the Baking Soda Paste: In a small bowl, mix baking soda with just enough water to form a thick paste. The consistency should be similar to toothpaste. You want it thick enough to stick to the burnt areas.
3. Apply the Paste: Generously apply the baking soda paste to all the burnt areas of the pan. Make sure to cover the entire affected surface. Don’t be shy – the more paste, the better!
4. Let it Sit: This is the crucial part! Let the baking soda paste sit on the burnt areas for at least 30 minutes. For tougher burns, you can let it sit for several hours or even overnight. The baking soda needs time to loosen the burnt-on food. I usually leave it overnight if I’m dealing with a particularly stubborn mess.
5. Scrub Gently: After the soaking time, use your non-abrasive sponge or scrub brush to gently scrub the burnt areas. You should notice the burnt food starting to lift away. Avoid using excessive force, especially on non-stick surfaces. Patience is key!
6. Rinse and Repeat (if necessary): Rinse the pan thoroughly with warm water. If some burnt areas remain, repeat steps 3-5. Sometimes, it takes a couple of applications to completely remove the stubborn residue.
7. Wash with Dish Soap: Once you’ve removed the burnt food, wash the pan with dish soap and water as you normally would. This will remove any remaining baking soda residue and ensure the pan is clean and ready to use.
8. Dry Thoroughly: Dry the pan completely with a soft cloth or paper towels. This will prevent water spots and keep your pan looking its best.
The Baking Soda Boil Method: For Stubborn, Heavily Burnt Pans
When the baking soda paste method isn’t enough, it’s time to bring out the big guns: boiling. This method is particularly effective for pans with thick, stubborn layers of burnt-on food.
1. Prepare the Pan: As with the paste method, start by removing any loose debris and rinsing the pan with warm water.
2. Fill the Pan with Water: Fill the pan with enough water to cover all the burnt areas. If the burn extends up the sides of the pan, fill it accordingly.
3. Add Baking Soda: Add 2-3 tablespoons of baking soda to the water in the pan. The amount of baking soda you use will depend on the size of the pan and the severity of the burn.
4. Bring to a Boil: Place the pan on the stovetop and bring the water to a boil.
5. Simmer: Once the water is boiling, reduce the heat to a simmer and let it simmer for 15-30 minutes. As the water simmers, the baking soda will help to loosen the burnt-on food. Keep an eye on the water level and add more if necessary to keep the burnt areas submerged.
6. Let it Cool: Carefully remove the pan from the heat and let it cool completely. The hot water and baking soda solution will have loosened the burnt food, but it will still be hot!
7. Scrub Gently: Once the pan has cooled, use your non-abrasive sponge or scrub brush to gently scrub the burnt areas. You should find that the burnt food comes off much more easily than before.
8. Rinse and Repeat (if necessary): Rinse the pan thoroughly with warm water. If some burnt areas remain, repeat steps 2-7.
9. Wash with Dish Soap: After removing the burnt food, wash the pan with dish soap and water as usual.
10. Dry Thoroughly: Dry the pan completely with a soft cloth or paper towels.
The Baking Soda and Vinegar Power Combo: For Extra Cleaning Power
For those extra-stubborn burns, adding vinegar to the mix can really boost the cleaning power. This method combines the abrasive action of baking soda with the acidity of vinegar to break down the burnt-on food.
1. Prepare the Pan: Remove any loose debris and rinse the pan with warm water.
2. Sprinkle Baking Soda: Generously sprinkle baking soda over the burnt areas of the pan.
3. Add Vinegar: Pour a small amount of white vinegar over the baking soda. You’ll see a fizzing reaction – that’s the baking soda and vinegar working together!
4. Let it Fizz: Let the mixture fizz for a few minutes. This will help to loosen the burnt-on food.
5. Add Water and Boil (Optional): For even more cleaning power, you can add water to the pan and bring it to a boil, following the steps in the “Baking Soda Boil Method” above. This is particularly helpful for heavily burnt pans.
6. Scrub Gently: After the fizzing (and boiling, if you choose to do it), use your non-abrasive sponge or scrub brush to gently scrub the burnt areas.
7. Rinse and Repeat (if necessary): Rinse the pan thoroughly with warm water. Repeat steps 2-6 if needed.
8. Wash with Dish Soap: Wash the pan with dish soap and water to remove any remaining residue.
9. Dry Thoroughly: Dry the pan completely with a soft cloth or paper towels.
Important Considerations for Different Pan Types
* Stainless Steel: Stainless steel is generally very durable and can withstand more aggressive scrubbing. However, avoid using steel wool, as it can scratch the surface.
* Non-Stick: Be extremely gentle with non-stick pans! Avoid using abrasive scrub brushes or harsh chemicals, as they can damage the non-stick coating. Stick to the baking soda paste method and use a soft sponge. Never boil baking soda and vinegar in a non-stick pan, as this can damage the coating.
* Enamel: Enamel pans are also relatively durable, but they can chip if handled roughly. Avoid using steel wool or dropping heavy objects on the pan.
* Cast Iron: While baking soda can be used on cast iron, it’s important to re-season the pan afterward. Baking soda can strip away the seasoning, so you’ll need to reapply a layer of oil and bake the pan to restore its non-stick properties.
Preventing Future Burns
Of course, the best way to deal with burnt-on food is to prevent it from happening in the first place! Here are a few tips to help you keep your pans clean:
* Don’t Overheat: Avoid overheating your pans, especially when cooking with oil or butter.
* Stir Frequently: Stir your food frequently to prevent it from sticking to the bottom of the pan.
* Add Liquid: If food starts to stick, add a little liquid (water, broth, or wine) to the pan to deglaze it.
* Clean Immediately: Clean your pans as soon as possible after cooking. The longer you wait, the harder it will be to remove burnt-on food.
* Soak Stubborn Messes: If you do end up with a burnt pan, soak it in warm, soapy water before attempting to scrub it.
So there you have it! With a little baking soda and some elbow grease, you can revive even the most scorched frying pan. Happy cooking!
Conclusion
So, there you have it! Reviving your beloved, but battle-scarred, frying pan doesn’t require a costly replacement. This simple, effective, and surprisingly satisfying DIY trick using baking soda is a game-changer for any home cook. We’ve shown you how to banish those stubborn, burnt-on food remnants and restore your pan to its former glory, all with ingredients you likely already have in your pantry.
Why is this a must-try? Because it’s economical, eco-friendly, and incredibly effective. Think about the money you’ll save by not constantly replacing pans. Consider the reduced waste contributing to landfills. And, most importantly, imagine the joy of cooking on a clean, responsive surface again. No more struggling with food sticking, no more uneven cooking, just pure culinary bliss.
But the beauty of this method lies in its adaptability. While we’ve focused on baking soda, feel free to experiment with variations. For particularly stubborn stains, try adding a splash of white vinegar to the baking soda paste for an extra fizzing boost. The acidic reaction helps to loosen the grime. You could also incorporate a gentle scrubbing pad, but always test it in an inconspicuous area first to ensure it doesn’t scratch the pan’s surface. For cast iron pans, remember to re-season them after cleaning to maintain their non-stick properties.
This isn’t just about cleaning; it’s about extending the life of your cookware and making your time in the kitchen more enjoyable. A clean pan is a happy pan, and a happy pan leads to delicious meals. It’s a small investment of time that yields significant returns in terms of cooking performance and overall kitchen satisfaction.
We are confident that this restore frying pan baking soda method will become your go-to solution for tackling tough cooking messes. It’s a simple, reliable, and cost-effective way to keep your cookware in top condition.
Now, it’s your turn! We wholeheartedly encourage you to give this DIY trick a try. Don’t let those burnt-on messes intimidate you any longer. Grab your baking soda, follow our simple steps, and prepare to be amazed by the results.
And most importantly, we want to hear about your experience! Share your before-and-after photos, your tips and tricks, and any variations you’ve discovered in the comments below. Let’s create a community of clean-pan enthusiasts and help each other keep our cookware sparkling. Your feedback is invaluable and will help others discover the magic of baking soda for restoring their frying pans. Happy cleaning, and even happier cooking!
Frequently Asked Questions (FAQ)
Q: What types of frying pans can I clean with baking soda?
A: This method is generally safe and effective for most types of frying pans, including stainless steel, non-stick (with caution), ceramic, and even cast iron (with proper re-seasoning afterward). However, it’s always a good idea to test a small, inconspicuous area first, especially with delicate non-stick surfaces, to ensure no damage occurs. Avoid using abrasive scrubbers on non-stick pans, as they can scratch the coating. For cast iron, remember that baking soda can remove the seasoning, so re-seasoning is crucial after cleaning.
Q: How often should I clean my frying pan with baking soda?
A: The frequency depends on how often you use your frying pan and how much food gets burnt on. For pans used daily, a weekly cleaning with baking soda can help prevent buildup. For pans used less frequently, clean them as needed when you notice stubborn stains or burnt-on food. Regular cleaning not only keeps your pan looking good but also improves its cooking performance.
Q: Can I use baking powder instead of baking soda?
A: No, baking powder is not a suitable substitute for baking soda in this cleaning method. Baking soda (sodium bicarbonate) is a base that reacts with acids to create a powerful cleaning action. Baking powder contains baking soda but also includes an acidifying agent and a drying agent. It won’t provide the same level of cleaning power as pure baking soda.
Q: What if the burnt-on food is extremely stubborn and doesn’t come off easily?
A: For extremely stubborn burnt-on food, you can try a few things. First, increase the amount of baking soda and water you use to create a thicker paste. Second, let the paste sit on the affected area for a longer period, even overnight. Third, add a splash of white vinegar to the baking soda paste. The fizzing action of the vinegar will help to loosen the grime. Finally, you can gently scrub with a non-abrasive sponge or a specialized pan scraper, but be careful not to scratch the pan’s surface.
Q: Will baking soda scratch my non-stick frying pan?
A: Baking soda itself is generally not abrasive enough to scratch a non-stick frying pan. However, using excessive force or abrasive scrubbers in conjunction with baking soda can damage the non-stick coating. Always use a gentle touch and a soft sponge or cloth when cleaning non-stick pans with baking soda. If you’re concerned about scratching, test the method on a small, inconspicuous area first.
Q: How do I re-season a cast iron frying pan after cleaning it with baking soda?
A: Re-seasoning a cast iron pan is essential after cleaning it with baking soda, as the baking soda can remove the existing seasoning. To re-season, first, wash and dry the pan thoroughly. Then, apply a thin, even coat of cooking oil (such as vegetable oil, canola oil, or flaxseed oil) to the entire pan, inside and out. Wipe off any excess oil with a clean cloth. Place the pan upside down in a preheated oven at 350-400°F (175-200°C) for one hour. Let the pan cool completely in the oven before using it. This process creates a new layer of polymerized oil, which protects the pan and provides a non-stick surface.
Q: Can I use this method to clean the outside of my frying pan?
A: Yes, you can use this method to clean the outside of your frying pan as well. The baking soda paste can help remove grease and grime from the exterior surfaces. However, be mindful of the material of the pan’s exterior and avoid using abrasive scrubbers that could damage the finish.
Q: Is it safe to use baking soda on all types of cookware handles?
A: While baking soda is generally safe, it’s important to consider the material of your cookware handles. For metal handles, baking soda is usually fine. However, for wooden or plastic handles, prolonged exposure to moisture and baking soda could potentially cause damage. Avoid soaking wooden handles in water and wipe them dry immediately after cleaning. For plastic handles, test a small area first to ensure the baking soda doesn’t discolor or damage the plastic.
Q: What are some other uses for baking soda in the kitchen?
A: Baking soda is a versatile ingredient with many uses beyond cleaning frying pans. It can be used to deodorize your refrigerator, clean your microwave, remove stains from coffee mugs, and even tenderize meat. It’s also a key ingredient in many baking recipes, where it acts as a leavening agent. Keeping a box of baking soda in your kitchen is a great way to have a natural and effective cleaning and cooking aid on hand.

Leave a Comment