
Backyard Grape Harvest Increase – sounds like a dream, right? Imagine baskets overflowing with juicy, sun-ripened grapes, all thanks to your own green thumb! For centuries, cultivating grapes has been a cherished tradition, from the ancient vineyards of Rome to the sprawling estates of Napa Valley. But you don’t need a sprawling estate to enjoy a bountiful grape harvest.
Let’s be honest, sometimes our backyard vines just don’t deliver the goods. You’ve pruned, you’ve watered, you’ve even whispered sweet nothings to your grapevines, but the yield is still… underwhelming. That’s where these DIY tricks come in! I’m going to share some simple, yet incredibly effective, methods to dramatically boost your backyard grape harvest increase.
Why do you need these hacks? Because who wants to settle for a handful of grapes when you could be making homemade jam, delicious grape juice, or even experimenting with your own backyard wine? These tips are designed to help you understand your vines better, optimize their growing conditions, and ultimately, unlock their full potential. Get ready to transform your grape-growing game and enjoy the sweet rewards of a truly abundant harvest!
Boosting Your Backyard Grape Harvest: A DIY Guide
Okay, grape lovers, let’s talk about getting more grapes from your backyard vines! I’ve been tinkering with my own grapevines for years, and I’ve learned a few tricks that can seriously boost your harvest. This isn’t about magic; it’s about understanding how grapes grow and giving them what they need. So, grab your gardening gloves, and let’s get started!
Understanding Grapevine Growth
Before we dive into the DIY hacks, it’s crucial to understand how grapevines produce fruit. Grapes grow on new wood, which is the growth from the previous year. This means that proper pruning is absolutely essential for a bountiful harvest. Also, sunlight is your best friend. Grapes need at least 6-8 hours of direct sunlight per day to ripen properly. Finally, soil health and proper fertilization play a huge role.
DIY Hack #1: Pruning for Production
Pruning is arguably the most important factor in grape production. Don’t be afraid to cut back your vines! It might seem counterintuitive, but removing excess growth encourages the vine to focus its energy on producing fruit on the remaining buds.
Key Pruning Principles:
* Timing is Everything: Prune your grapevines during their dormant season, typically late winter or early spring, before the buds begin to swell. This is usually January or February in many regions.
* Know Your Vine: Different grape varieties have different pruning needs. Research your specific variety to determine the best pruning method. However, the general principles remain the same.
* Remove Dead, Damaged, and Diseased Wood: This is always the first step. Get rid of anything that’s not healthy.
* Focus on Fruiting Wood: Identify the one-year-old wood (it’s usually a lighter color than older wood). This is where your grapes will grow.
* Spur Pruning vs. Cane Pruning: These are the two main pruning methods. Spur pruning involves cutting back the one-year-old wood to short spurs with only a few buds each. Cane pruning involves selecting a few longer canes (one-year-old wood) and tying them to the trellis.
* Airflow is Key: Prune to allow for good airflow through the vine. This helps prevent fungal diseases.
Step-by-Step Pruning Guide (Spur Pruning):
1. Gather Your Tools: You’ll need sharp pruning shears, loppers (for thicker branches), and gloves. Make sure your tools are clean to prevent the spread of disease.
2. Remove Deadwood: Start by cutting away any dead, damaged, or diseased wood. Cut back to healthy wood.
3. Identify One-Year-Old Wood: Look for the lighter-colored wood that grew last year. This is where your grapes will grow.
4. Select Spurs: Choose healthy, well-spaced spurs (short sections of one-year-old wood). Aim for spurs that are about 2-3 inches long and have 2-3 buds each.
5. Cut Back to Spurs: Using your pruning shears, cut back the one-year-old wood to the selected spurs. Make your cuts at a slight angle, about 1/4 inch above a bud.
6. Remove Excess Growth: Remove any other unwanted growth, such as suckers (shoots growing from the base of the vine) and water sprouts (vigorous, upright shoots).
7. Clean Up: Dispose of the pruned wood properly. Don’t leave it lying around the vineyard, as it can harbor diseases.
Step-by-Step Pruning Guide (Cane Pruning):
1. Gather Your Tools: Same as spur pruning – sharp pruning shears, loppers, and gloves. Clean tools are essential!
2. Remove Deadwood: Again, start by removing any dead, damaged, or diseased wood.
3. Identify One-Year-Old Wood: Find that lighter-colored wood from last year.
4. Select Canes: Choose 2-4 healthy, strong canes that are well-positioned on the vine. These will be your fruiting canes.
5. Tie Canes to Trellis: Carefully bend the selected canes and tie them to the trellis using soft twine or plant ties. Make sure the canes are securely attached but not too tightly, as this can damage them.
6. Cut Back Other Canes: Cut back all other canes to short spurs with 2-3 buds each. These spurs will produce new growth for next year’s fruiting canes.
7. Remove Excess Growth: Remove any suckers or water sprouts.
8. Clean Up: Dispose of the pruned wood.
DIY Hack #2: Sunlight Optimization
As I mentioned earlier, sunlight is crucial for grape ripening. If your vines are shaded, your grapes won’t develop their full flavor and sweetness.
How to Maximize Sunlight:
* Strategic Planting: When planting new grapevines, choose a location that receives at least 6-8 hours of direct sunlight per day.
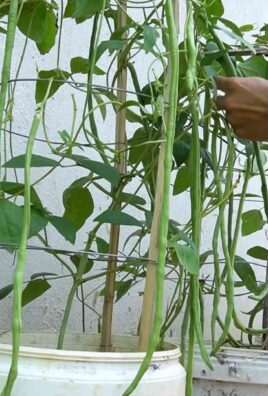
* Trellising: Proper trellising helps to expose the grapes to sunlight. Choose a trellis system that allows for good airflow and sunlight penetration.
* Leaf Removal (De-leafing): This is a technique where you remove some of the leaves around the grape clusters to expose them to more sunlight.
Step-by-Step De-leafing Guide:
1. Timing: De-leafing is typically done after fruit set, when the grapes are about pea-sized.
2. Identify Shaded Clusters: Look for grape clusters that are heavily shaded by leaves.
3. Remove Leaves: Carefully remove the leaves that are directly shading the grape clusters. Don’t remove too many leaves at once, as this can sunburn the grapes. A good rule of thumb is to remove about 50% of the leaves around the clusters.
4. Monitor Grapes: Keep an eye on the grapes after de-leafing. If they start to show signs of sunburn (e.g., browning or blistering), you may need to provide some temporary shade.
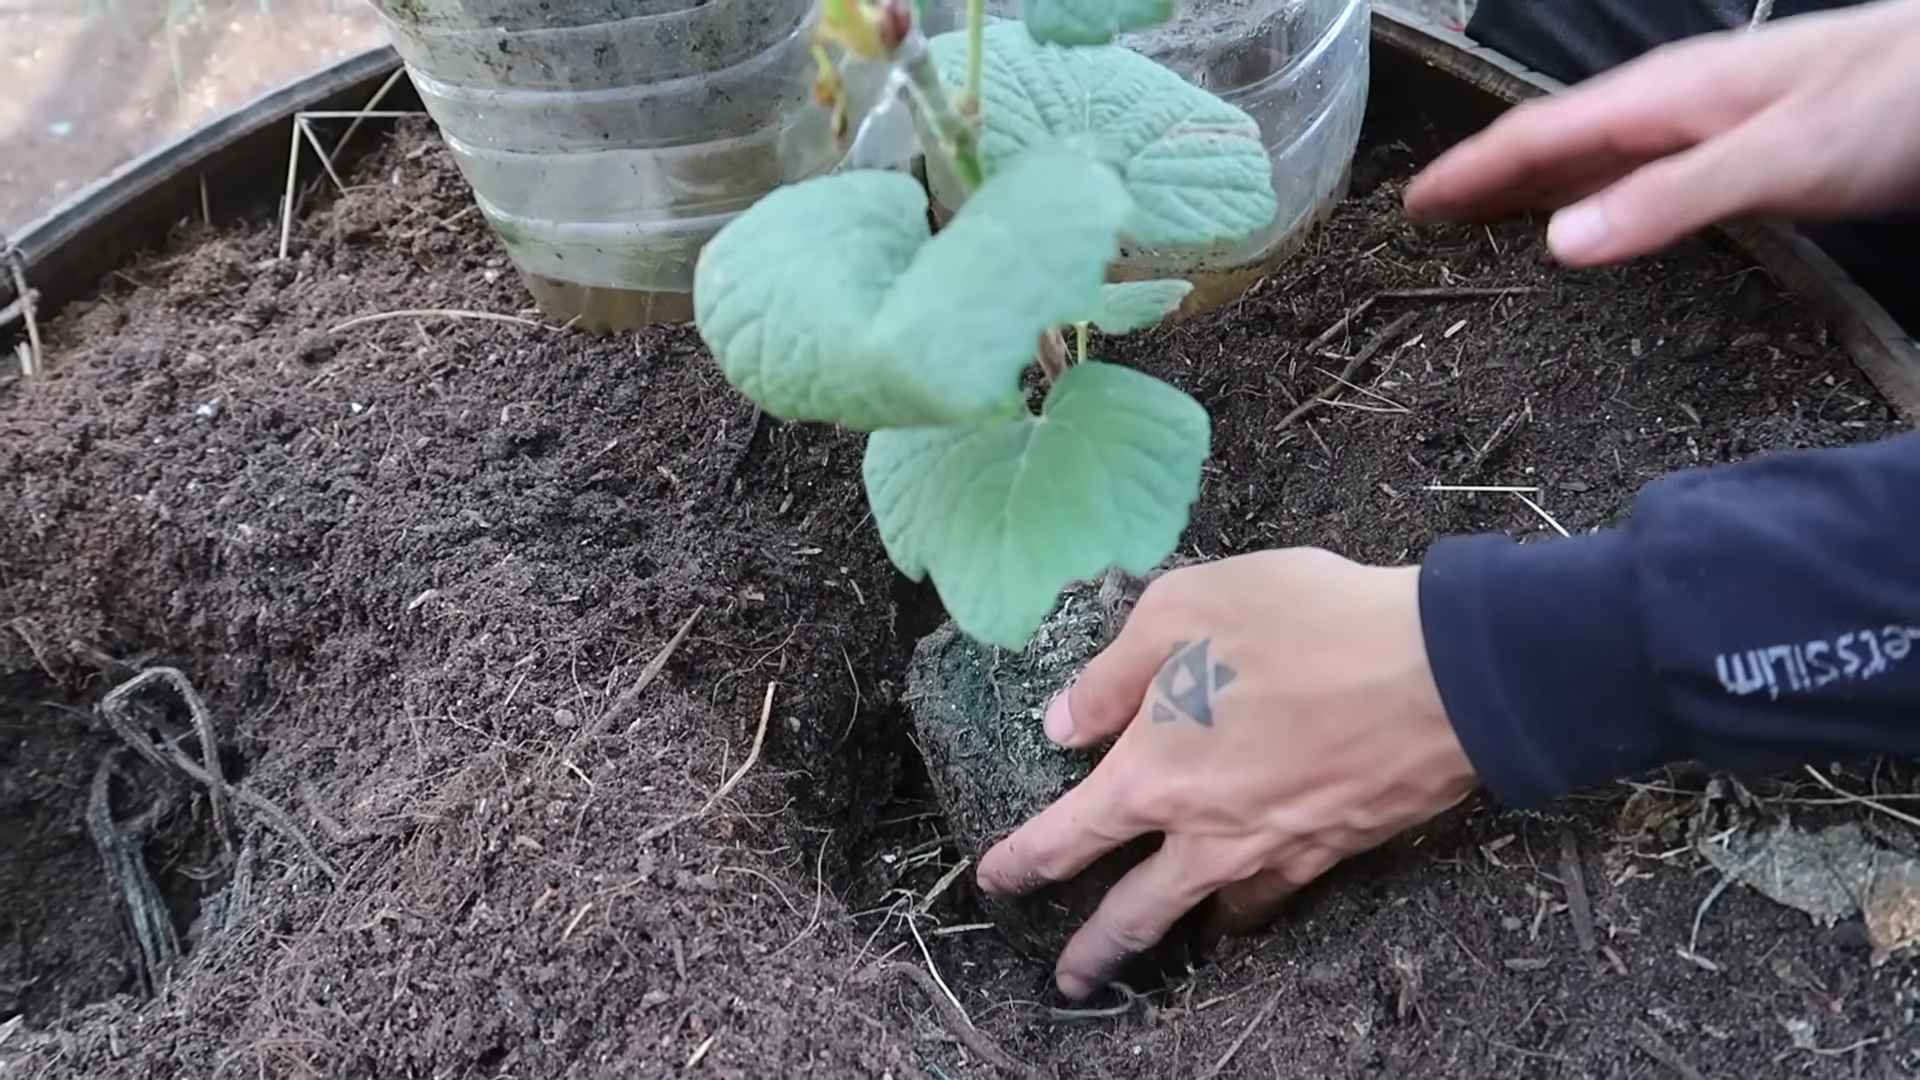
DIY Hack #3: Soil Health and Fertilization
Healthy soil is the foundation for healthy grapevines. Make sure your soil is well-drained and rich in organic matter.
Soil Improvement Techniques:
* Soil Testing: Get your soil tested to determine its pH and nutrient levels. This will help you determine what amendments are needed.
* Composting: Add compost to your soil to improve its structure and fertility. Compost provides essential nutrients and helps to retain moisture.
* Cover Cropping: Plant cover crops in the fall to improve soil health. Cover crops help to prevent erosion, suppress weeds, and add organic matter to the soil.
Fertilization Strategies:
* Balanced Fertilizer: Use a balanced fertilizer that contains nitrogen, phosphorus, and potassium. Follow the instructions on the fertilizer label.
* Organic Fertilizers: Consider using organic fertilizers, such as composted manure or bone meal. These fertilizers release nutrients slowly and are less likely to burn the roots of your grapevines.
* Foliar Feeding: Foliar feeding involves spraying a diluted fertilizer solution directly onto the leaves of the grapevines. This can be a quick way to provide nutrients, especially micronutrients.
Step-by-Step Fertilization Guide:
1. Soil Test (Optional but Recommended): Get your soil tested to determine its nutrient levels.
2. Choose Fertilizer: Select a fertilizer that is appropriate for your soil and grape variety.
3. Apply Fertilizer: Apply the fertilizer according to the instructions on the label. For granular fertilizers, spread the fertilizer evenly around the base of the vine, avoiding direct contact with the trunk. For liquid fertilizers, dilute the fertilizer with water and apply it to the soil around the vine.
4. Water Thoroughly: Water the soil thoroughly after applying fertilizer to help the nutrients reach the roots.
5. Repeat as Needed: Repeat fertilization as needed, based on your soil test results and the growth of your grapevines.
DIY Hack #4: Water Management
Proper watering is essential for healthy grapevines and a good harvest. Grapes need consistent moisture, especially during fruit development.
Watering Techniques:
* Deep Watering: Water deeply and infrequently, rather than shallowly and frequently. This encourages the roots to grow deeper into the soil, making the vines more drought-tolerant.
* Drip Irrigation: Drip irrigation is an efficient way to water grapevines. It delivers water directly to the roots, minimizing water loss through evaporation.
* Mulching: Mulch around the base of the vines to help retain moisture and suppress weeds.
Step-by-Step Watering Guide:
1. Check Soil Moisture: Before watering, check the soil moisture to see if the vines need water. You can do this
Conclusion
So, there you have it! This simple, yet incredibly effective DIY trick for boosting your backyard grape harvest is a game-changer for any home gardener. We’ve walked you through the process, highlighting the science behind why it works, and hopefully, dispelled any doubts you might have had.
Why is this a must-try? Because who doesn’t want more grapes? Imagine the possibilities: more homemade jams, more delicious grape juice, more raisins for your morning oatmeal, and of course, more grapes to simply enjoy fresh off the vine. Beyond the sheer abundance, this method also contributes to healthier, more robust vines, leading to a more sustainable and fruitful grape-growing experience year after year. It’s an investment in the long-term health and productivity of your backyard vineyard.
But the beauty of this DIY approach lies in its adaptability. Feel free to experiment with variations to suit your specific grape variety and growing conditions. For example, if you live in a particularly humid climate, you might want to increase the spacing between your vines to improve air circulation and prevent fungal diseases. Or, if you’re growing a variety that’s known for its sensitivity to sunlight, consider providing some afternoon shade to protect the developing grapes from sunburn.
Consider using different types of organic fertilizers to supplement the soil. Bone meal can provide a boost of phosphorus, which is essential for fruit development. Compost tea is another excellent option, providing a readily available source of nutrients and beneficial microbes. Always monitor your vines closely and adjust your approach as needed.
Don’t be afraid to get creative! Maybe you want to try a slightly different pruning technique, or perhaps you want to experiment with different types of trellising systems. The key is to observe your vines, learn from your experiences, and adapt your approach accordingly.
This DIY trick isn’t just about increasing your grape harvest; it’s about connecting with nature, learning about the intricacies of plant growth, and enjoying the satisfaction of nurturing your own food source. It’s about transforming your backyard into a thriving ecosystem that provides you with delicious, healthy grapes for years to come.
We are confident that by implementing this simple technique, you’ll see a significant improvement in your grape yield. The increased harvest will not only provide you with an abundance of delicious fruit but also enhance the overall health and vitality of your grapevines.
So, what are you waiting for? Grab your pruning shears, gather your supplies, and get ready to transform your backyard grape harvest. We encourage you to try this DIY trick and share your experiences with us! Let us know how it worked for you, what variations you tried, and any tips or tricks you discovered along the way. Share your photos and stories on our social media channels using #BackyardGrapeBoost. We can’t wait to see your amazing results! Remember, a bountiful grape harvest is within your reach, and this DIY trick is the key to unlocking its full potential. Happy growing!
Frequently Asked Questions (FAQ)
Q: What types of grapes does this DIY trick work best for?
A: This technique is generally effective for most common backyard grape varieties, including Concord, Thompson Seedless, Niagara, and Cabernet Sauvignon. However, the specific needs of each variety may vary slightly. Researching the specific requirements of your grape variety is always a good idea. For example, some varieties may be more susceptible to certain diseases or pests, while others may have different pruning requirements. The underlying principles of proper pruning, fertilization, and sunlight exposure apply universally, but the specific implementation may need to be tailored to your particular grape variety.
Q: How often should I apply fertilizer to my grapevines?
A: The frequency of fertilization depends on several factors, including the age of your vines, the type of soil you have, and the specific fertilizer you’re using. As a general rule, young vines should be fertilized more frequently than mature vines. A good starting point is to fertilize your vines in early spring, just before they begin to grow, and then again in mid-summer, after they have finished flowering. However, it’s essential to monitor your vines closely and adjust your fertilization schedule as needed. If your vines are showing signs of nutrient deficiency, such as yellowing leaves or stunted growth, you may need to fertilize them more frequently. Conversely, if your vines are growing too vigorously, you may need to reduce the amount of fertilizer you’re using. Soil testing can also provide valuable insights into the nutrient levels in your soil and help you determine the appropriate fertilization schedule.
Q: Is this DIY trick safe for organic gardening?
A: Yes, absolutely! The core principles of this DIY trick – proper pruning, sunlight management, and soil enrichment – are all compatible with organic gardening practices. You can use organic fertilizers, such as compost, manure, or bone meal, to nourish your vines. When it comes to pest and disease control, opt for organic solutions, such as neem oil, insecticidal soap, or copper fungicide. Avoid using synthetic pesticides and herbicides, as these can harm beneficial insects and pollute the environment. By following organic gardening practices, you can ensure that your grapes are healthy, delicious, and free from harmful chemicals.
Q: What if I don’t have a lot of space in my backyard? Can I still grow grapes?
A: Absolutely! Even if you have limited space, you can still enjoy the pleasure of growing your own grapes. Consider growing your grapes in containers or using a vertical trellising system. Container gardening is a great option for small spaces, as it allows you to control the soil conditions and move your vines around as needed. Vertical trellising systems, such as arbors or pergolas, can also help you maximize your space by training your vines to grow upwards rather than outwards. Choose a grape variety that is well-suited for container gardening or vertical trellising, and be sure to provide your vines with adequate sunlight, water, and nutrients. With a little creativity and planning, you can successfully grow grapes even in the smallest of backyards.
Q: How long does it take to see results from this DIY trick?
A: You should start to see noticeable improvements in your grape harvest within one to two growing seasons. Proper pruning will encourage new growth and fruit production, while fertilization will provide your vines with the nutrients they need to thrive. Sunlight management will ensure that your grapes receive adequate sunlight for ripening. However, it’s important to remember that grapevines take time to mature and reach their full potential. It may take several years for your vines to produce a truly abundant harvest. Be patient, persistent, and continue to care for your vines, and you will eventually be rewarded with a bountiful crop of delicious grapes.
Q: What are some common mistakes to avoid when trying this DIY trick?
A: One common mistake is over-pruning. While pruning is essential for grape production, pruning too aggressively can actually reduce your harvest. Be sure to follow the recommended pruning guidelines for your specific grape variety. Another common mistake is neglecting to fertilize your vines. Grapes are heavy feeders and require adequate nutrients to produce a good crop. Be sure to fertilize your vines regularly with a balanced fertilizer. Finally, neglecting to protect your grapes from pests and diseases can also significantly reduce your harvest. Monitor your vines regularly for signs of pests or diseases and take appropriate action to control them.
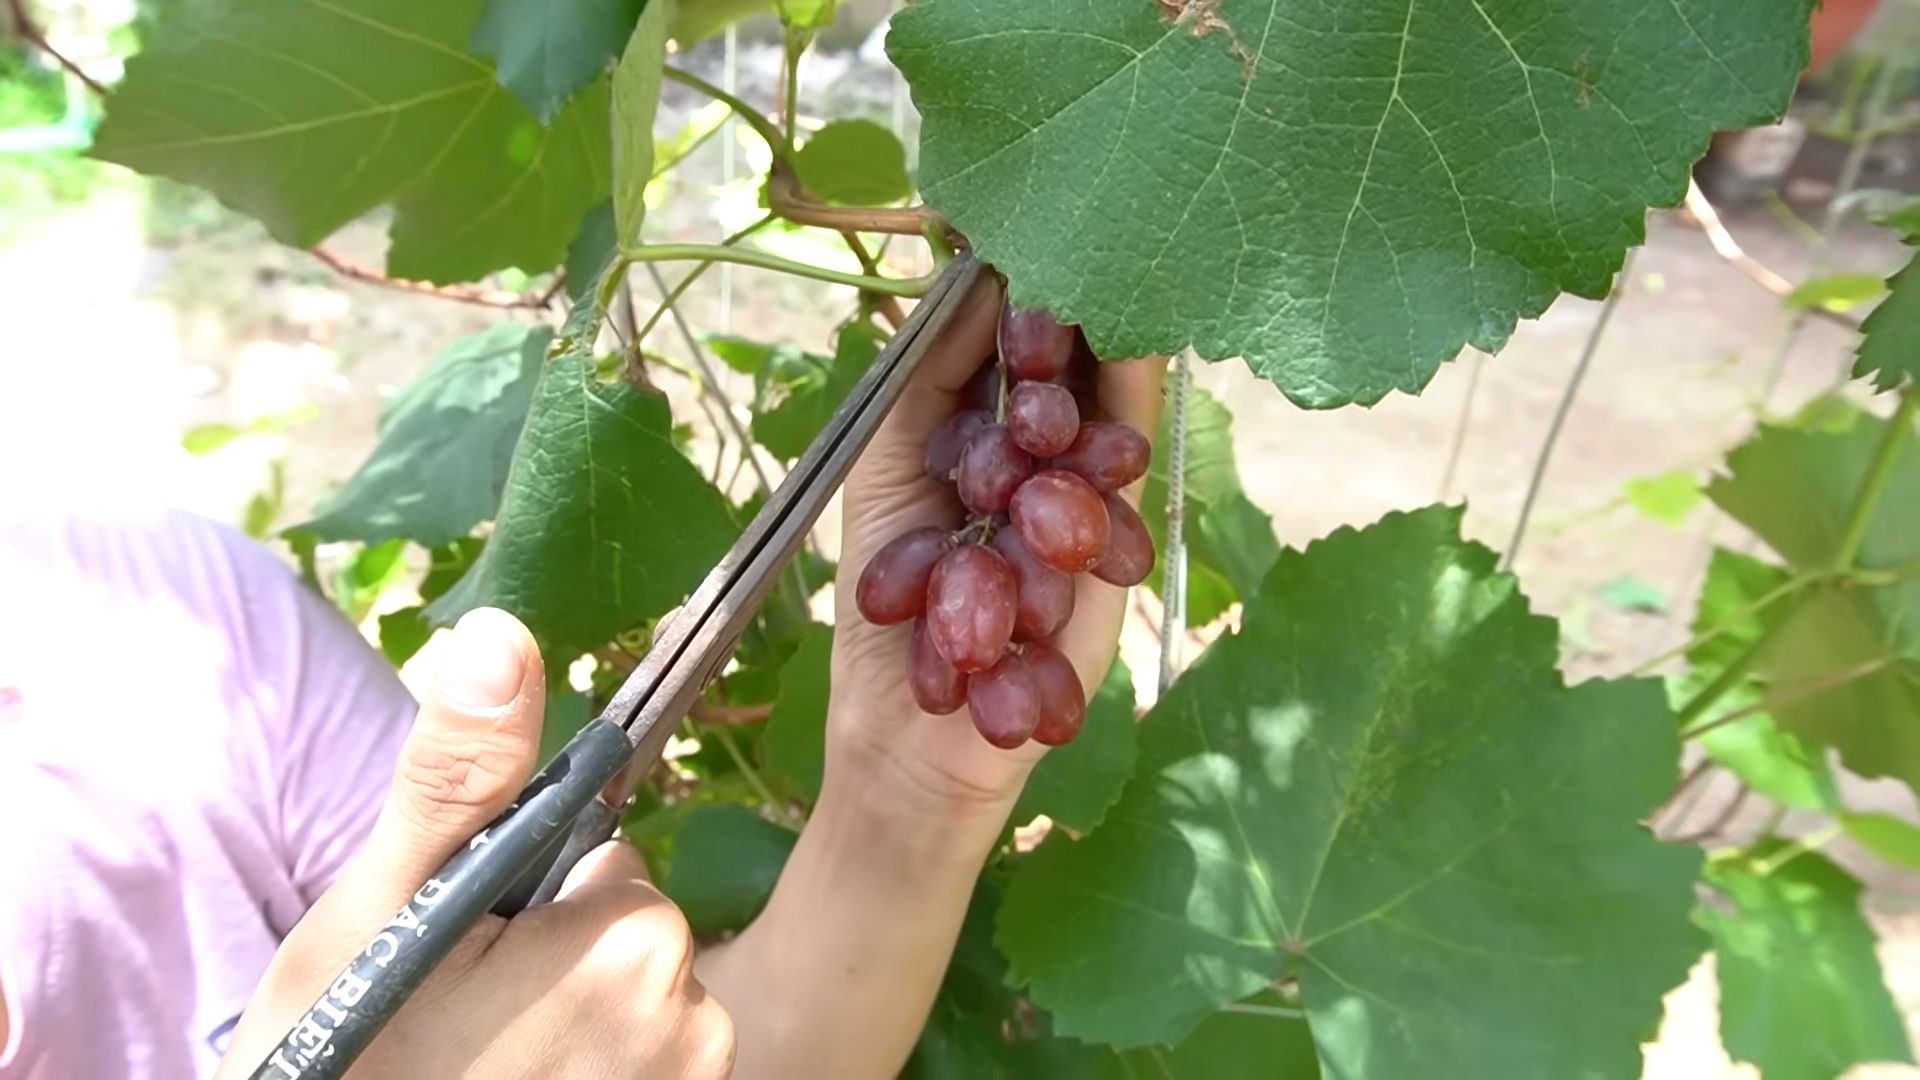
Q: How do I know when my grapes are ripe and ready to harvest?
A: Determining when your grapes are ripe and ready to harvest can be tricky, but there are several indicators to look for. First, check the color of the grapes. Ripe grapes will typically have a deep, rich color that is characteristic of the variety. Second, taste the grapes. Ripe grapes will be sweet and juicy, with a pleasant flavor. Third, check the texture of the grapes. Ripe grapes will be slightly soft to the touch, but not mushy. Finally, check the seeds. Ripe grapes will typically have brown, mature seeds. If your grapes meet all of these criteria, they are likely ripe and ready to harvest.
Leave a Comment