
Tomato plant care tips are essential for anyone dreaming of vine-ripened, juicy tomatoes bursting with flavor straight from their backyard! Imagine biting into a sun-warmed tomato, the taste a world away from the bland, store-bought variety. That’s the magic of home gardening, and it’s totally achievable, even if you don’t have a sprawling farm.
Growing your own tomatoes connects you to a long and rich history. Tomatoes, originally from South America, weren’t always a kitchen staple. In fact, they were once feared in Europe! But thankfully, their deliciousness won out, and now they’re a beloved ingredient worldwide. I think that’s a great story to tell your friends while you’re sharing your home grown tomatoes!
But let’s be honest, getting those perfect tomatoes isn’t always a walk in the park. Pests, diseases, and just plain finicky plants can throw a wrench in your gardening plans. That’s where these DIY tricks and hacks come in! I’m going to share some simple, effective, and often overlooked tomato plant care tips that will help you nurture your plants from tiny seedlings to bountiful producers. These aren’t just about growing tomatoes; they’re about creating a thriving garden ecosystem and enjoying the satisfaction of harvesting your own delicious food. So, grab your gardening gloves, and let’s get started!
DIY Tomato Plant Support System: The Ultimate Guide
Hey there, fellow gardening enthusiasts! I’m so excited to share my tried-and-true method for creating a super sturdy and effective tomato plant support system. Forget those flimsy store-bought cages that topple over the moment your tomatoes start to ripen. We’re going to build something that can handle even the most prolific varieties! This DIY project is not only cost-effective but also customizable to fit your garden’s specific needs. Let’s get started!
Materials You’ll Need
Before we dive into the construction, let’s gather all the necessary materials. Trust me, having everything on hand will make the process much smoother.
* Concrete Reinforcement Mesh (Remesh): This is the star of the show! You can usually find it at your local hardware store. A single sheet is often enough for several cages, depending on the size you want. Look for a sheet that’s at least 5 feet wide and 7 feet long.
* Bolt Cutters: Essential for cutting the remesh. Safety glasses are a must when using these!
* Gloves: Protect your hands from the sharp edges of the remesh.
* Measuring Tape: Accuracy is key for consistent cage sizes.
* Zip Ties (Heavy Duty): These will hold the cage together. Opt for UV-resistant ones for longer-lasting durability.
* Optional: Metal Stakes or Rebar: For extra support, especially in windy areas or for very heavy tomato varieties.
* Optional: Safety Glasses: Always protect your eyes when cutting metal.
* Optional: Pliers: For bending any stubborn wires.
Planning Your Cage Size
Before you start cutting, it’s crucial to determine the ideal size for your tomato cages. Consider the following:
* Tomato Variety: Determinate varieties (bush tomatoes) generally need smaller cages than indeterminate varieties (vining tomatoes). Indeterminate varieties can grow incredibly tall and require substantial support.
* Available Space: How much room do you have in your garden? Don’t overcrowd your plants.
* Desired Cage Height: I usually aim for cages that are at least 4-5 feet tall for indeterminate varieties. This provides ample support as the plants grow.
* Cage Diameter: A diameter of 18-24 inches is generally sufficient for most tomato plants.
Important Note: I recommend making your cages taller rather than shorter. You can always trim them down later if needed, but you can’t add height once they’re built!
Step-by-Step Construction Guide
Alright, let’s get our hands dirty! Follow these steps to create your own super-strong tomato cages.
1. Measure and Mark the Remesh:
* Lay the remesh sheet on a flat surface.
* Using your measuring tape, determine the dimensions for your desired cage size. For example, if you want a cage that’s approximately 24 inches in diameter and 4 feet tall, you’ll need to cut a section of remesh that’s about 75 inches long (circumference = pi x diameter, so 3.14 x 24 inches = approximately 75 inches) and 48 inches wide.
* Use a permanent marker to clearly mark the cutting lines on the remesh. I like to use a straight edge to ensure my lines are accurate.
2. Cut the Remesh:
* Put on your safety glasses and gloves.
* Using the bolt cutters, carefully cut along the marked lines. This can be a bit tough, so take your time and use a firm grip.
* Important Safety Tip: Be mindful of the sharp edges of the cut remesh. Avoid touching them directly.
3. Form the Cylinder:
* Carefully roll the cut section of remesh into a cylinder shape.
* Align the edges of the remesh so they overlap slightly. I usually overlap them by about 2-3 inches.
4. Secure the Cylinder with Zip Ties:
* Using the heavy-duty zip ties, secure the overlapping edges of the remesh.
* Start by placing zip ties at the top, middle, and bottom of the cage.
* Then, add more zip ties every 6-8 inches along the seam to ensure a secure and sturdy connection.
* Tighten the zip ties as much as possible and trim off the excess ends with your bolt cutters or a pair of scissors.
5. Reinforce the Bottom (Optional but Recommended):
* For added stability, especially for larger tomato varieties, I like to reinforce the bottom of the cage.
* You can do this by adding an extra row of zip ties along the bottom edge, connecting the vertical wires to the horizontal wires.
* This will prevent the bottom of the cage from spreading out under the weight of the plant.
6. Add Support Stakes (Optional):
* If you live in a windy area or are growing particularly heavy tomato varieties, consider adding support stakes.
* Drive metal stakes or rebar into the ground next to the cage.
* Use zip ties to attach the cage to the stakes. This will provide extra stability and prevent the cage from tipping over.
7. Smooth Out Any Sharp Edges:
* Carefully inspect the cage for any sharp edges or protruding wires.
* Use pliers to bend these edges inward to prevent injury.
* You can also cover the top edge of the cage with duct tape or pipe insulation for added safety.
Planting Your Tomatoes in the Cages
Now that your cages are built, it’s time to plant your tomatoes! Here’s how I do it:
1. Prepare the Planting Hole:
* Dig a hole that’s slightly larger than the root ball of your tomato plant.
* Amend the soil with compost or other organic matter to improve drainage and fertility.
2. Place the Cage:
* Carefully place the tomato cage over the planting hole.
* Make sure the cage is centered over the hole and that it’s firmly planted in the ground.
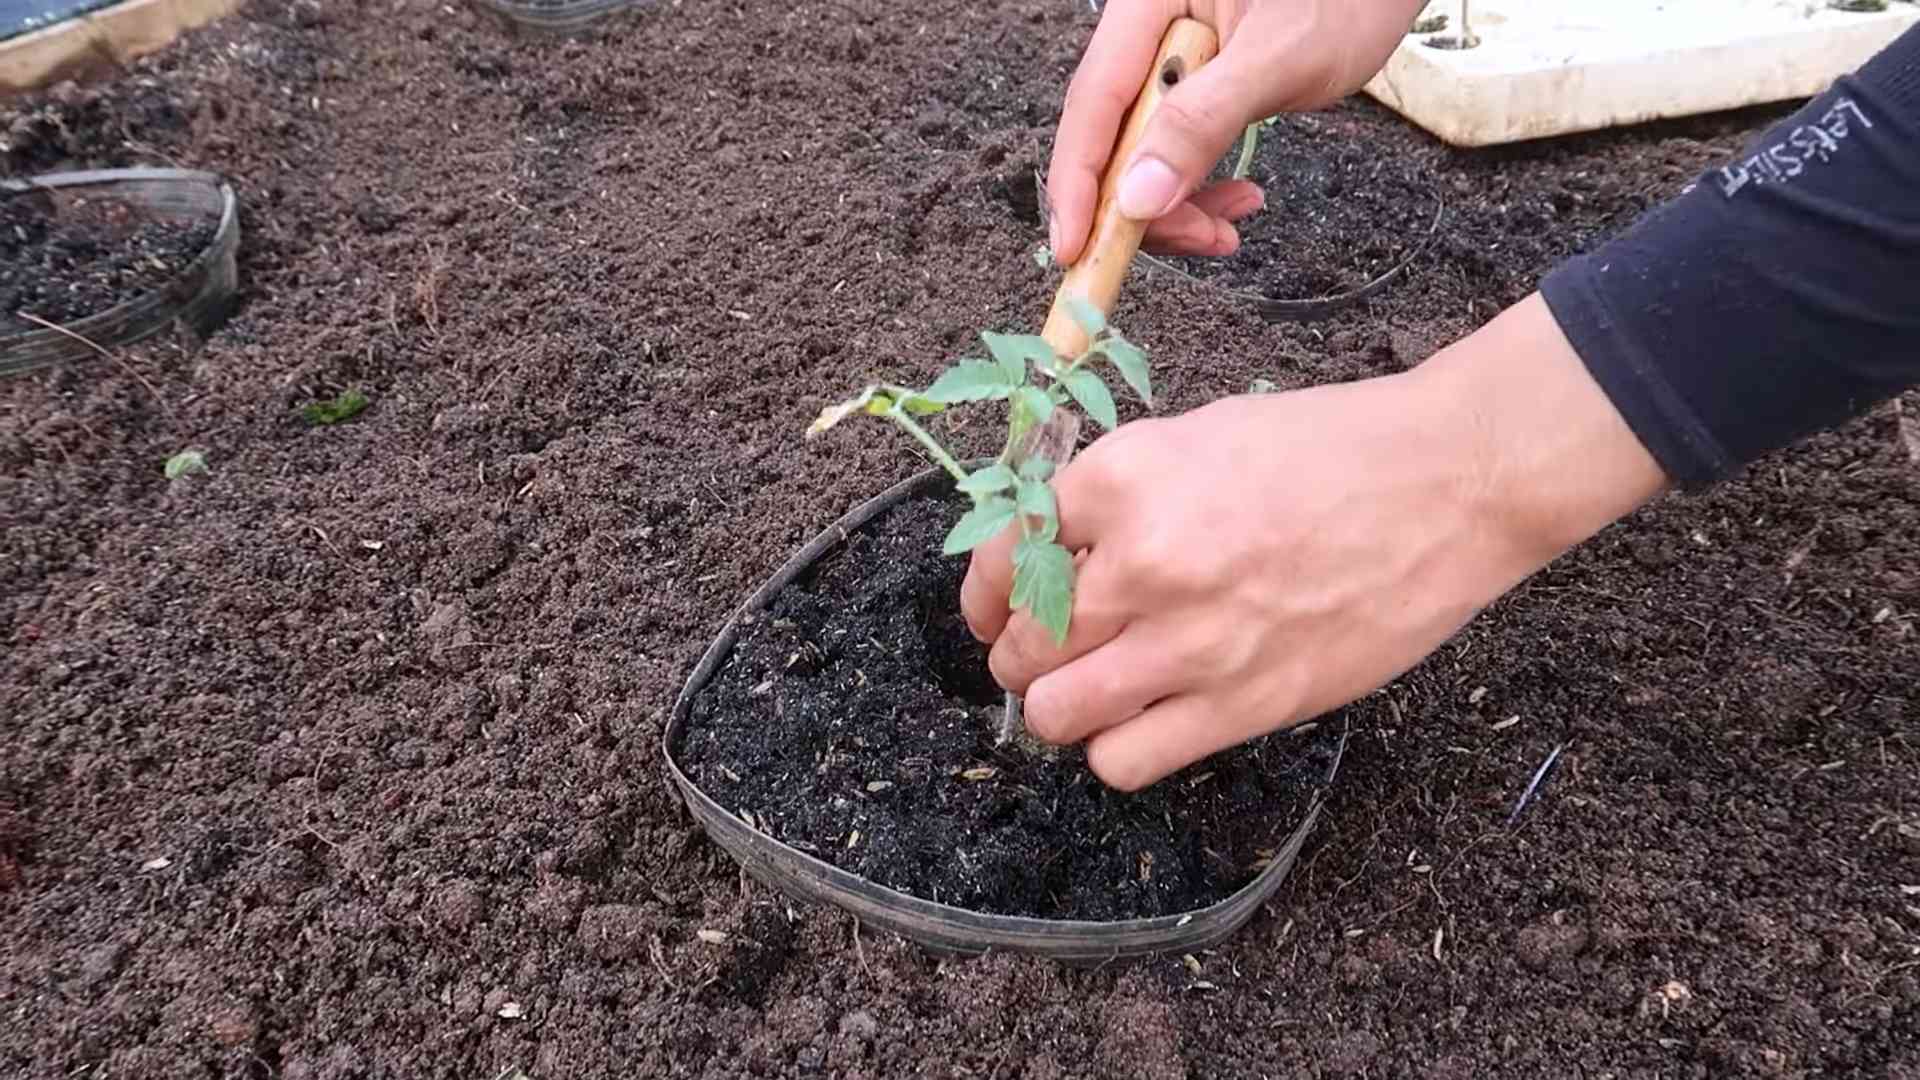
3. Plant the Tomato:
* Gently remove the tomato plant from its container.
* Loosen the roots slightly.
* Place the plant in the hole and backfill with soil.
* Water thoroughly.
4. Mulch Around the Base:
* Apply a layer of mulch around the base of the plant to help retain moisture and suppress weeds.
* I like to use straw, wood chips, or shredded leaves.
5. Train the Plant (As It Grows):
* As the tomato plant grows, gently guide the stems inside the cage.
* You can use plant clips or twine to secure the stems to the cage if needed.
* Prune away any suckers (small shoots that grow between the main stem and the branches) to encourage fruit production.
Tips for Maintaining Your Tomato Cages
To ensure your tomato cages last for many seasons, here are a few maintenance tips:
* Clean the Cages After Each Season: Remove any plant debris from the cages after the growing season. This will help prevent the spread of diseases.
* Store the Cages Properly: Store the cages in a dry place during the off-season to prevent rust.
* Repair Any Damage: Inspect the cages regularly for any damage, such as broken wires or loose zip ties. Repair any damage promptly to prevent further deterioration.
* Consider Painting the Cages: Painting the cages with a rust-resistant paint can help prolong their lifespan. Choose a color that complements your garden.
Troubleshooting
Sometimes, things don’t go exactly as planned. Here are a few common issues you might encounter and how to fix them:
* Cage is Too Short: If your tomato plant outgrows the cage, you can extend it by adding another section of remesh on top. Secure the two sections together with zip ties.
* Cage is Tipping Over: If the cage is tipping over, add more support stakes or use larger stakes. You can also try burying the bottom of the cage deeper in the ground.
* Zip Ties are Breaking: If the zip ties are breaking, replace them with heavier-duty, UV-resistant zip ties.
* Remesh is Rusting: If the remesh is rusting, clean it with a wire brush and apply a rust-resistant paint.
Alternative Materials
While I highly recommend using concrete reinforcement mesh, here are a few alternative materials you can use to build tomato cages:
* Hog Wire: Similar to remesh, but with larger openings.
* Chicken Wire: Less sturdy than remesh, but can be used for smaller tomato varieties.
* Wooden Stakes and Twine: A more traditional method,
Conclusion
So, there you have it! Mastering these simple yet effective DIY tomato plant care tips can truly transform your gardening experience and reward you with a bountiful harvest of juicy, flavorful tomatoes. We’ve covered everything from creating the perfect DIY fertilizer blend to crafting ingenious support systems, all designed to nurture your plants and maximize their potential.
Why is this a must-try? Because it’s about more than just growing tomatoes; it’s about connecting with nature, understanding the needs of your plants, and taking control of what goes into your food. Store-bought fertilizers and supports can be expensive and often contain ingredients you might not want in your garden. By embracing these DIY methods, you’re not only saving money but also ensuring that your tomatoes are grown with love and care, using natural and sustainable practices.
Think about the satisfaction of biting into a sun-ripened tomato that you nurtured from a tiny seedling, knowing that you provided it with everything it needed to thrive using your own homemade solutions. That’s a feeling that money simply can’t buy.
But the journey doesn’t end here!
Feel free to experiment with these techniques and adapt them to your specific needs and environment. For example, if you live in a particularly windy area, you might want to reinforce your DIY tomato cages with extra stakes. Or, if you’re looking for a more organic approach to pest control, consider adding companion plants like basil or marigolds to your tomato patch.
Here are a few variations to consider:
* DIY Fertilizer Boost: Instead of Epsom salts, try adding a small amount of bone meal to your fertilizer mix for an extra boost of phosphorus, which promotes strong root development and abundant flowering.
* Creative Support Systems: Get creative with your support systems! Use repurposed materials like old ladders, branches, or even sturdy tomato cages made from recycled metal fencing.
* Compost Tea Power: Brew your own compost tea using aged compost and water. This nutrient-rich liquid can be used as a foliar spray or soil drench to give your tomato plants an extra dose of beneficial microbes and nutrients.
We encourage you to dive in, get your hands dirty, and experience the joy of growing your own delicious tomatoes using these DIY tomato plant care tips. Don’t be afraid to experiment, learn from your mistakes, and most importantly, have fun!
And now, we want to hear from you! Have you tried any of these DIY techniques? What were your results? Do you have any other tips or tricks to share? Head over to the comments section and let us know! Your experiences and insights can help other gardeners achieve their tomato-growing dreams. Share your photos, your successes, and even your challenges. Let’s create a community of passionate tomato growers who are dedicated to nurturing their plants and sharing their knowledge.
Happy gardening!
Frequently Asked Questions (FAQ)
What are the most common problems tomato plants face, and how can these DIY tips help?
Tomato plants are susceptible to a range of issues, including blossom end rot, nutrient deficiencies, pests like aphids and tomato hornworms, and diseases like early blight and septoria leaf spot. These DIY tomato plant care tips address many of these problems directly. For example, the DIY fertilizer helps prevent nutrient deficiencies and blossom end rot by providing essential calcium and other nutrients. The support systems help improve air circulation, reducing the risk of fungal diseases. And companion planting, as suggested in the variations, can deter pests naturally.
How often should I apply the DIY fertilizer to my tomato plants?
The frequency of fertilizer application depends on the age and stage of your tomato plants. For young seedlings, fertilize every 2-3 weeks with a diluted solution. Once the plants start producing flowers and fruits, increase the frequency to every 1-2 weeks. Always observe your plants for signs of over-fertilization, such as leaf burn or excessive growth. Adjust the frequency and concentration of the fertilizer accordingly. Remember, it’s always better to under-fertilize than to over-fertilize.
What are some signs that my tomato plants are not getting enough nutrients?
Signs of nutrient deficiencies in tomato plants can vary depending on the specific nutrient that is lacking. Common symptoms include:
* Yellowing leaves: This can indicate a nitrogen deficiency.
* Purple leaves: This can indicate a phosphorus deficiency.
* Blossom end rot: This is caused by a calcium deficiency.
* Stunted growth: This can be a sign of a general nutrient deficiency.
* Leaf curling or distortion: This can indicate a potassium deficiency.
If you notice any of these symptoms, adjust your fertilizer regimen and consider conducting a soil test to determine the specific nutrient deficiencies.
Can I use these DIY tomato plant care tips for other types of plants?
While these tips are specifically tailored for tomato plants, many of the principles can be applied to other types of plants as well. For example, the DIY fertilizer can be used for other fruiting vegetables like peppers and eggplants. The support systems can be adapted for climbing plants like cucumbers and beans. However, it’s important to research the specific needs of each plant and adjust the techniques accordingly.
How do I deal with pests on my tomato plants using natural methods?
There are several natural methods for dealing with pests on tomato plants. Some effective strategies include:
* Companion planting: Planting basil, marigolds, or other aromatic herbs near your tomato plants can deter pests.
* Handpicking: Regularly inspect your plants and remove any pests you find by hand.
* Insecticidal soap: Spray your plants with insecticidal soap to kill aphids, whiteflies, and other soft-bodied insects.
* Neem oil: Neem oil is a natural insecticide that can be used to control a wide range of pests.
* Diatomaceous earth: Sprinkle diatomaceous earth around your plants to kill crawling insects.
What if I don’t have access to all the ingredients for the DIY fertilizer?
Don’t worry if you don’t have all the ingredients for the DIY fertilizer. You can still create a beneficial fertilizer using readily available materials. For example, you can use compost tea as a substitute for the Epsom salts and baking soda. Compost tea is a nutrient-rich liquid that is made by steeping compost in water. It contains beneficial microbes and nutrients that can help improve the health and growth of your tomato plants. You can also use other organic fertilizers like fish emulsion or seaweed extract.
How important is pruning tomato plants, and how do I do it correctly?
Pruning tomato plants is important for several reasons. It helps improve air circulation, reduces the risk of fungal diseases, and encourages the plant to focus its energy on producing fruits rather than foliage. To prune tomato plants correctly, remove suckers (the small shoots that grow between the main stem and the branches) from the bottom of the plant. You can also remove any yellowing or diseased leaves. Be careful not to remove too much foliage, as this can reduce the plant’s ability to photosynthesize.
What kind of soil is best for growing tomatoes?
Tomatoes thrive in well-draining soil that is rich in organic matter. The ideal soil pH for tomatoes is between 6.0 and 6.8. Before planting, amend your soil with compost, aged manure, or other organic materials to improve its fertility and drainage. You can also add a slow-release fertilizer to provide your plants with a steady supply of nutrients.
How much sunlight do tomato plants need?
Tomato plants need at least 6-8 hours of sunlight per day to thrive. Choose a location in your garden that receives plenty of sunlight. If you live in a hot climate, provide some afternoon shade to protect your plants from scorching.
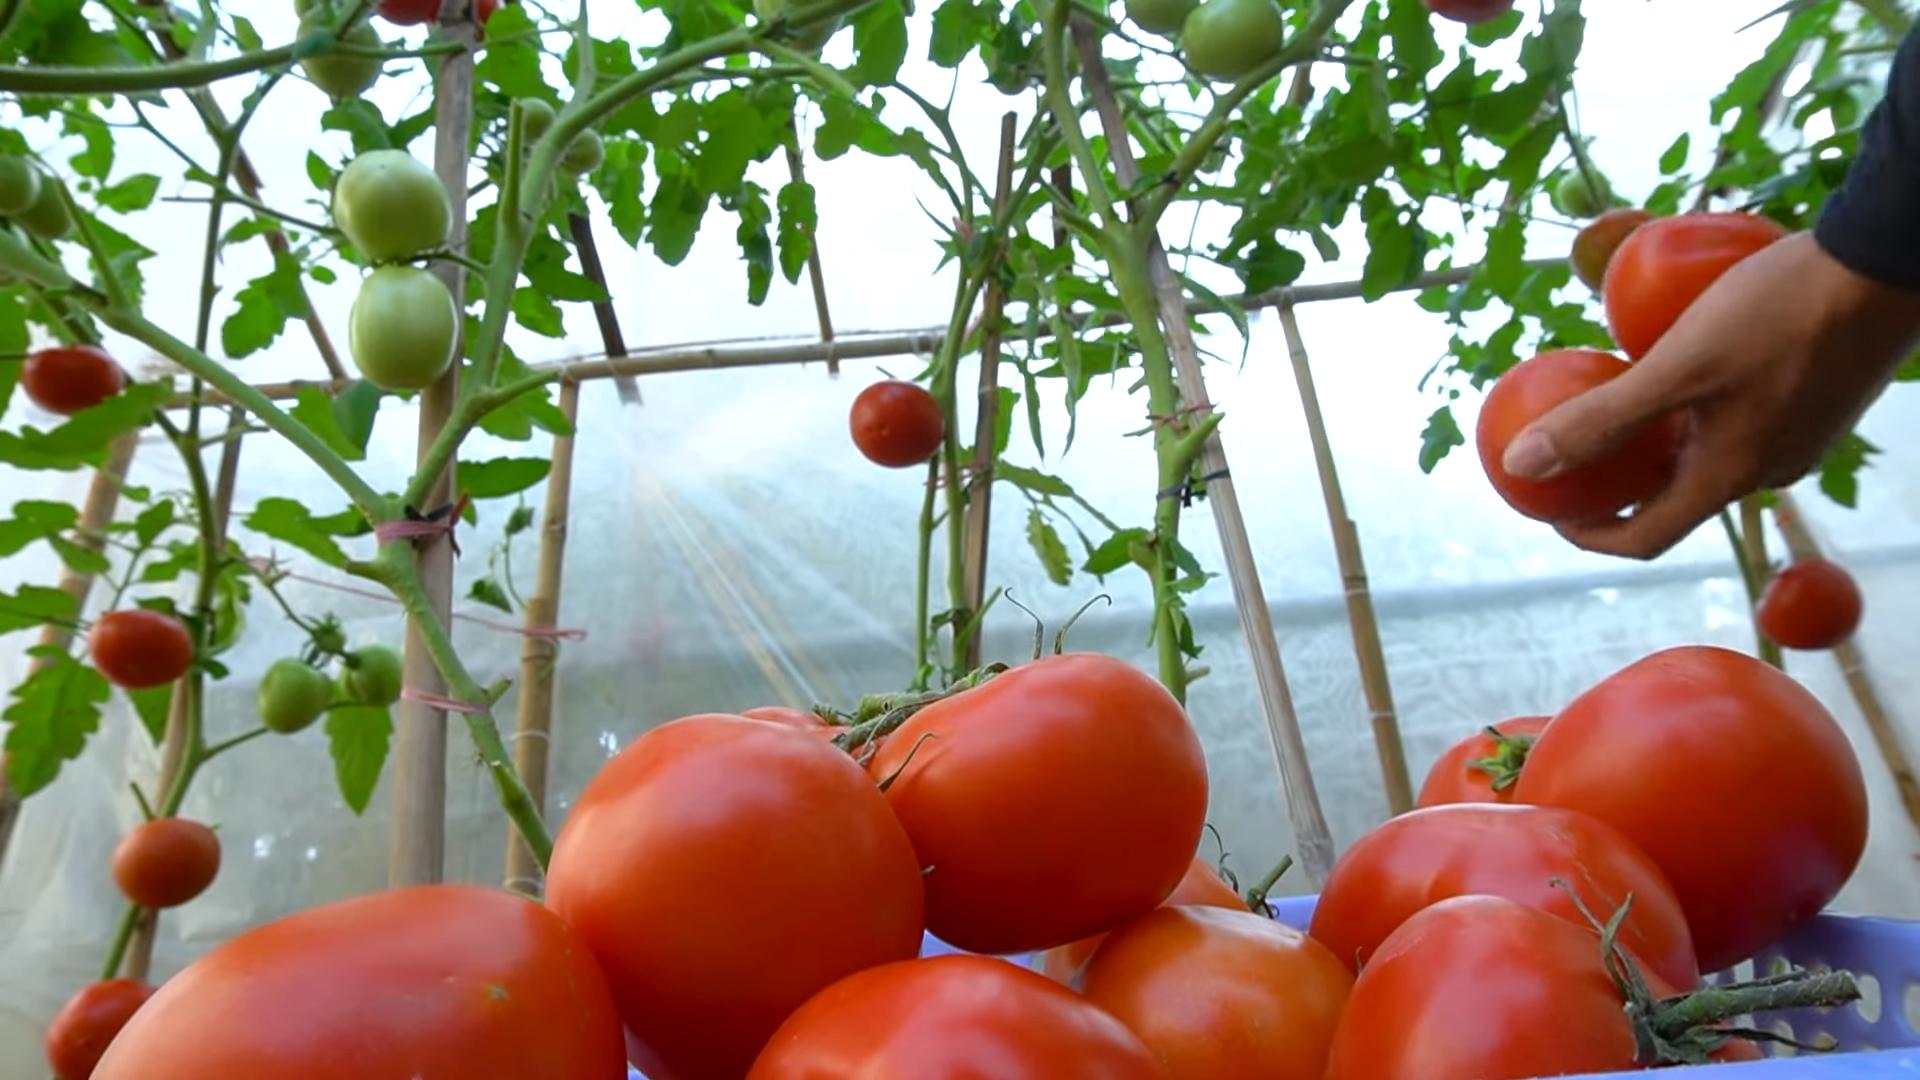
How do I know when my tomatoes are ripe?
Tomatoes are ripe when they have reached their full color and are slightly soft to the touch. The exact color will depend on the variety of tomato you are growing. Gently twist the tomato from the vine. If it comes off easily, it is ripe.
Leave a Comment